Christmas Crafts: Peppermint Stripe Soap

Don't run away. You can do this.

Get back here! You can SO DO THIS. It will cost you about $20, take two evenings tops, and in the end you will have awesome homemade gifts to give to teachers, babysitters, friends and aunts.

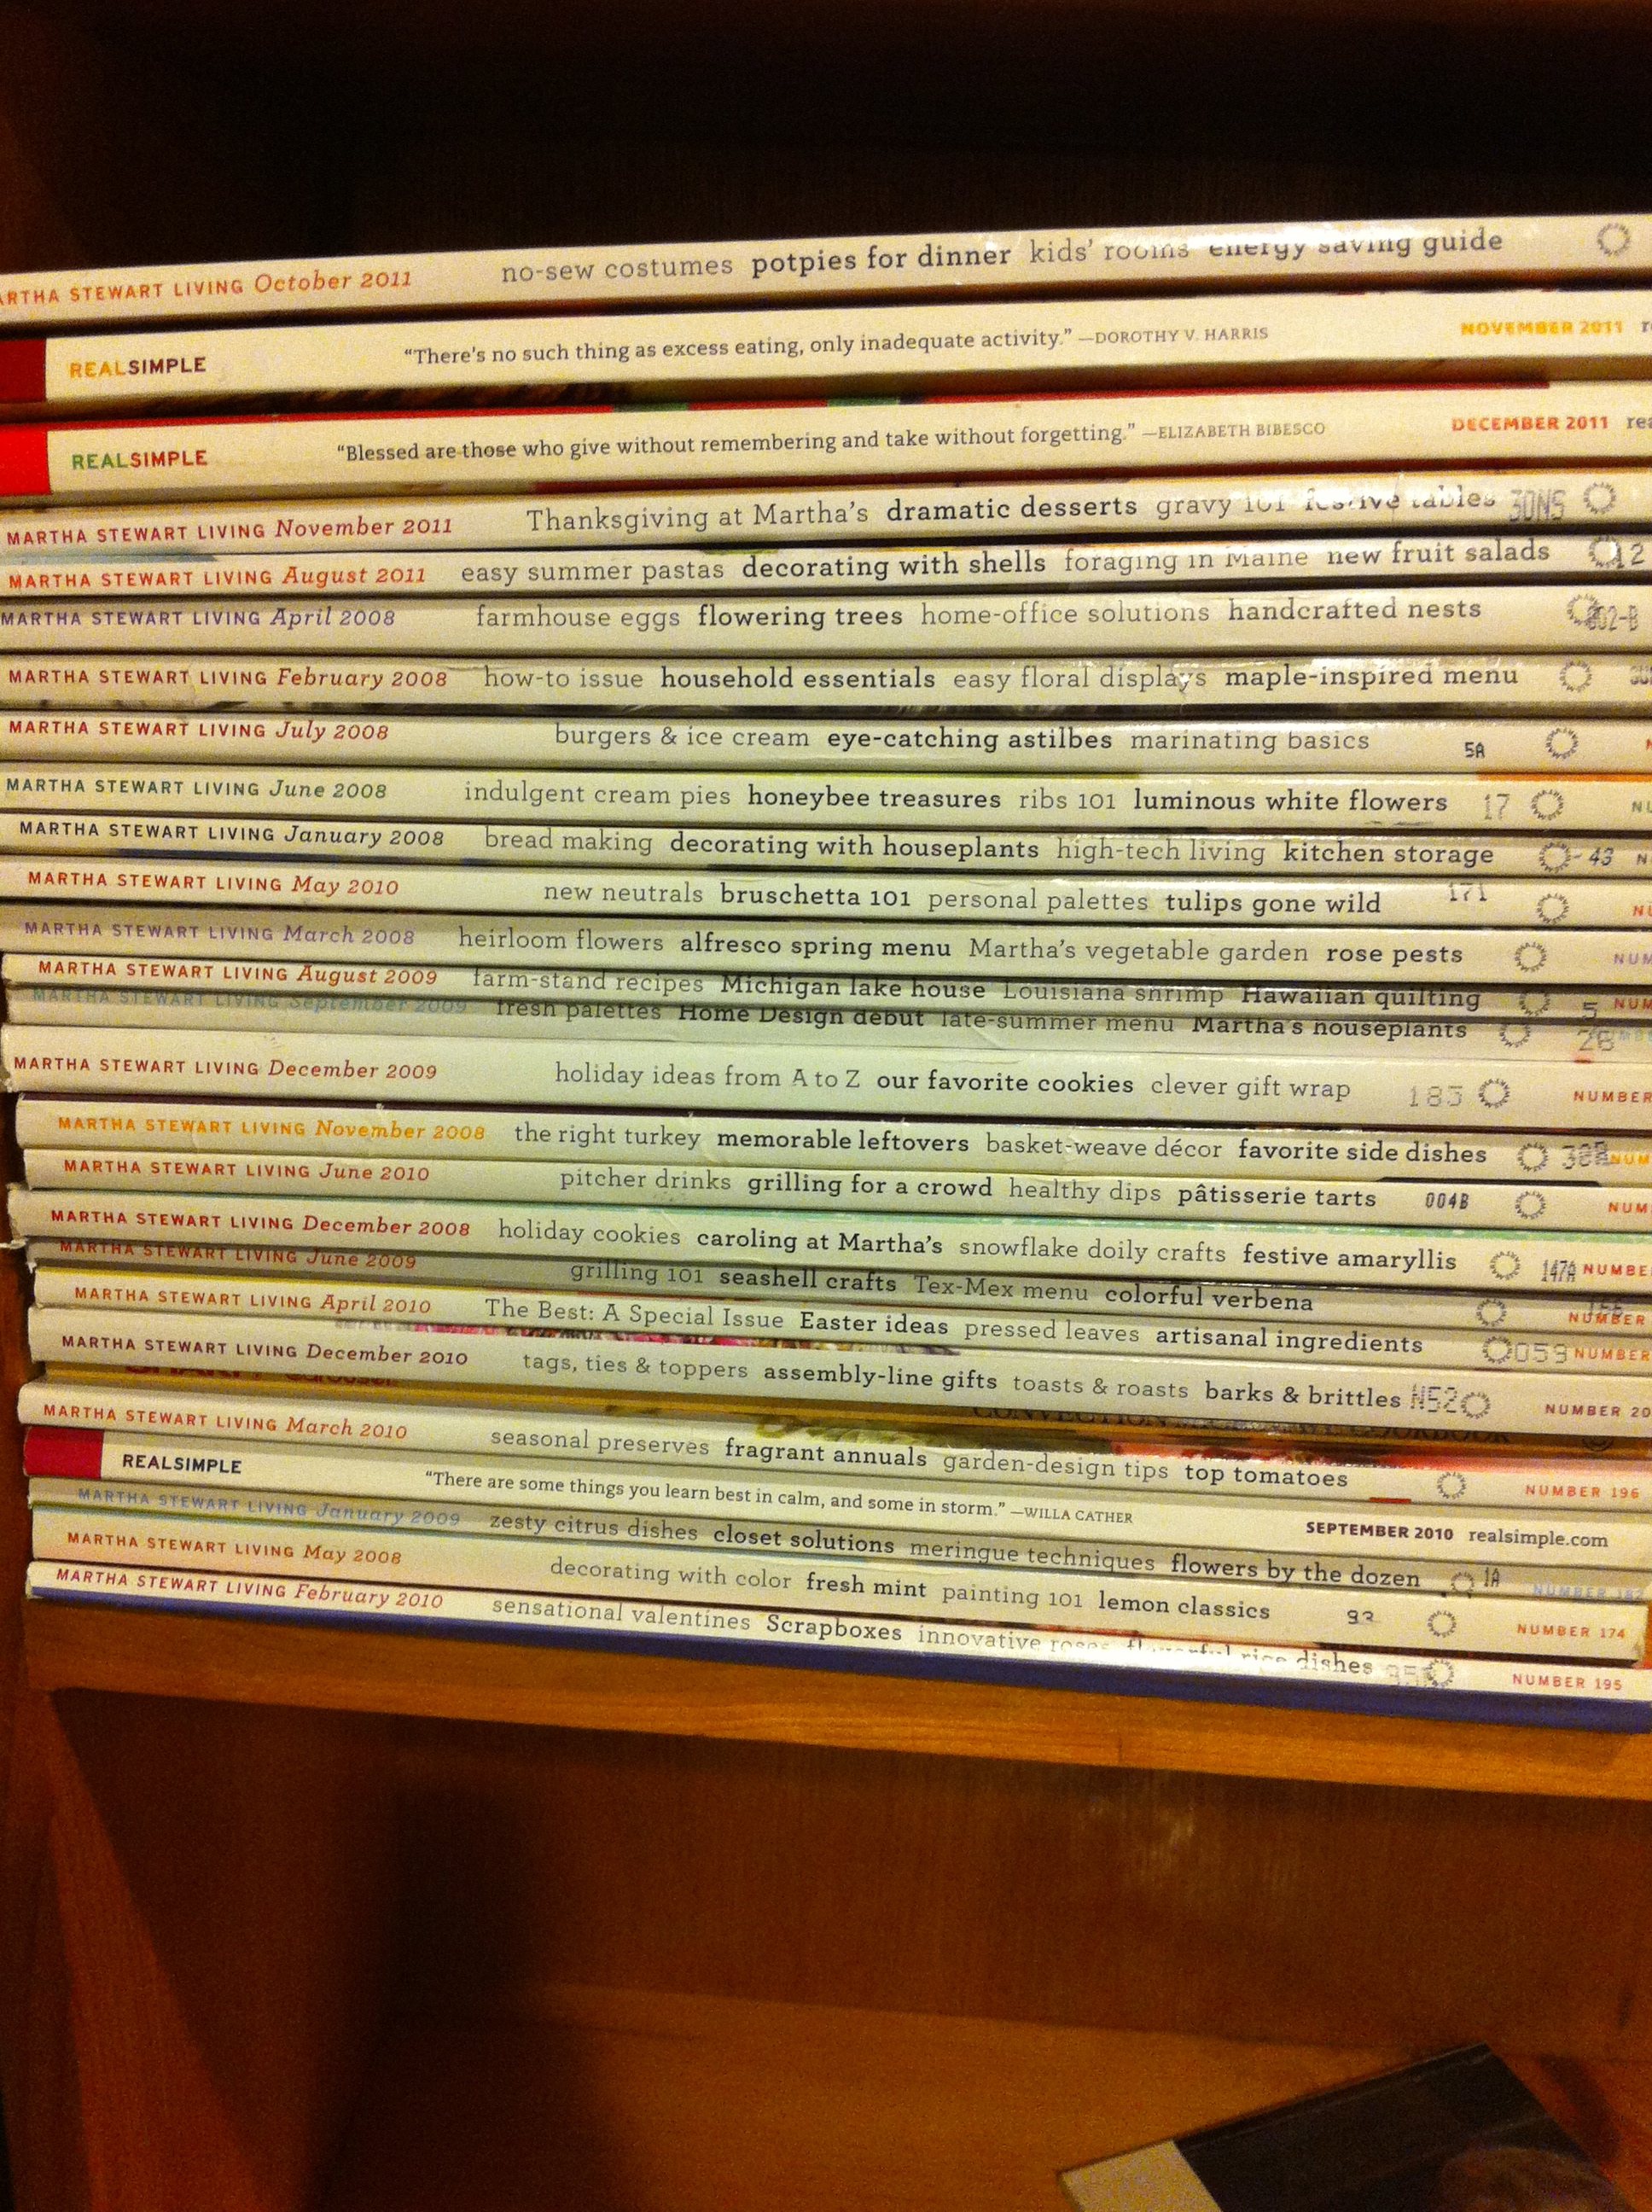
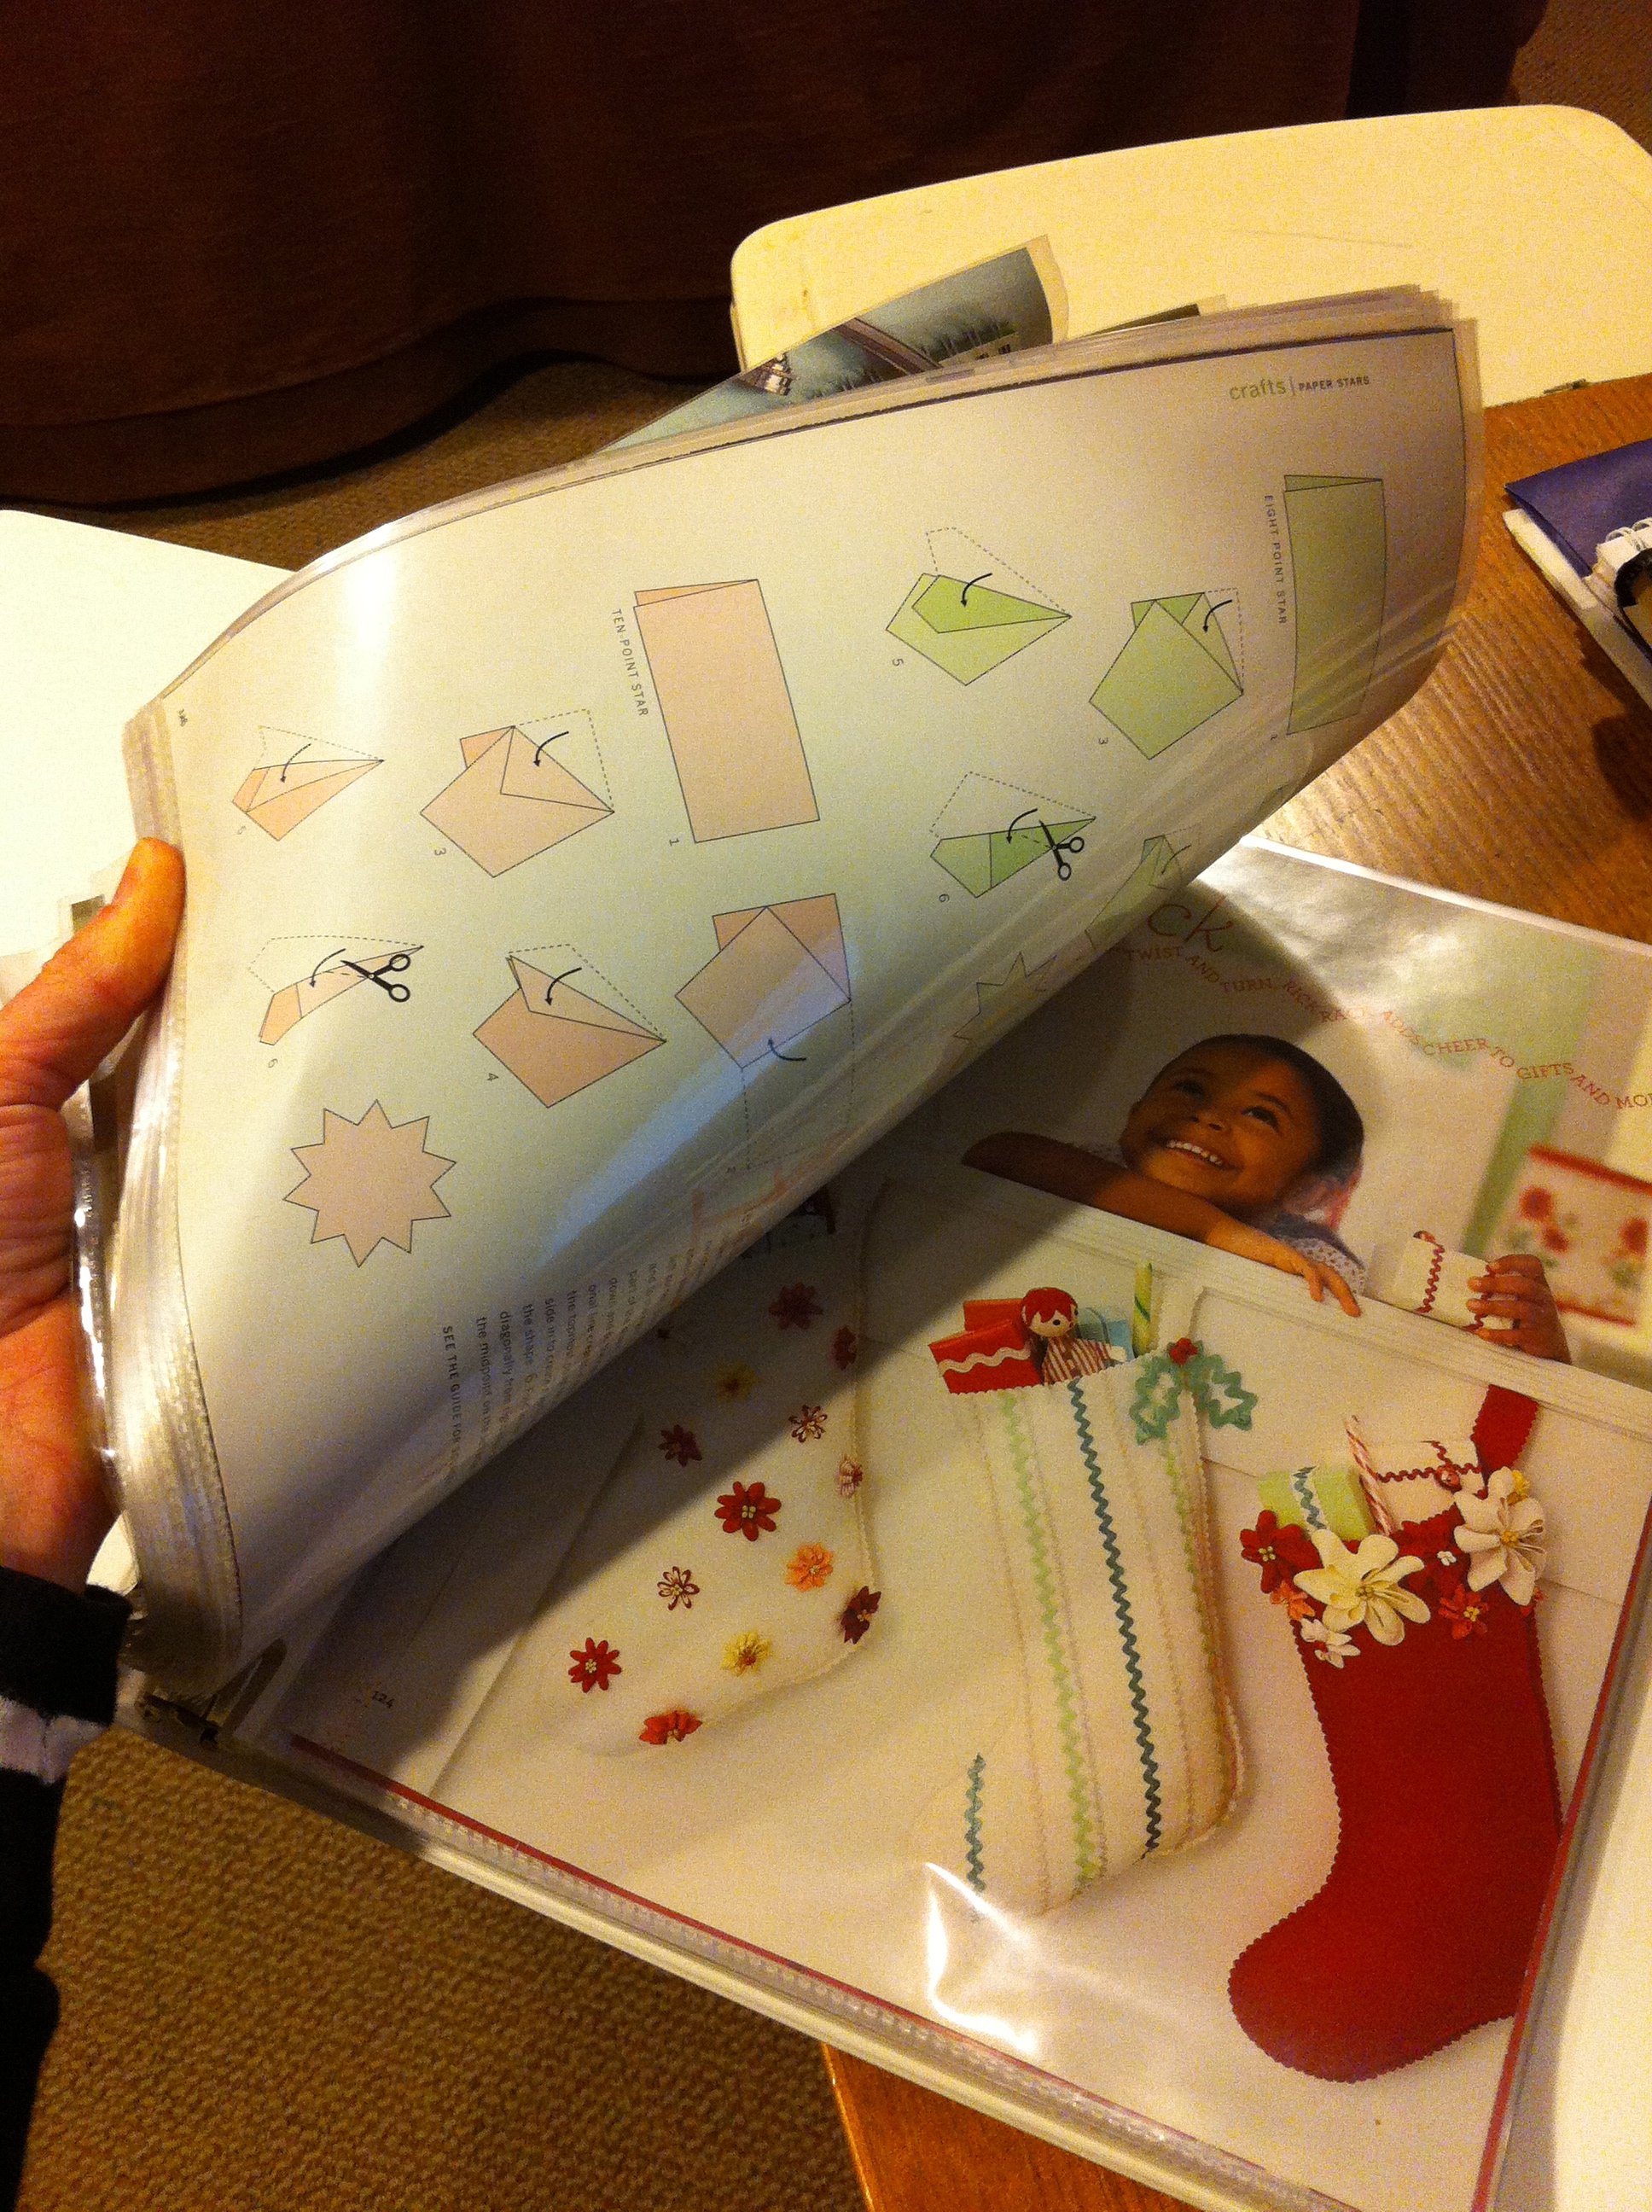
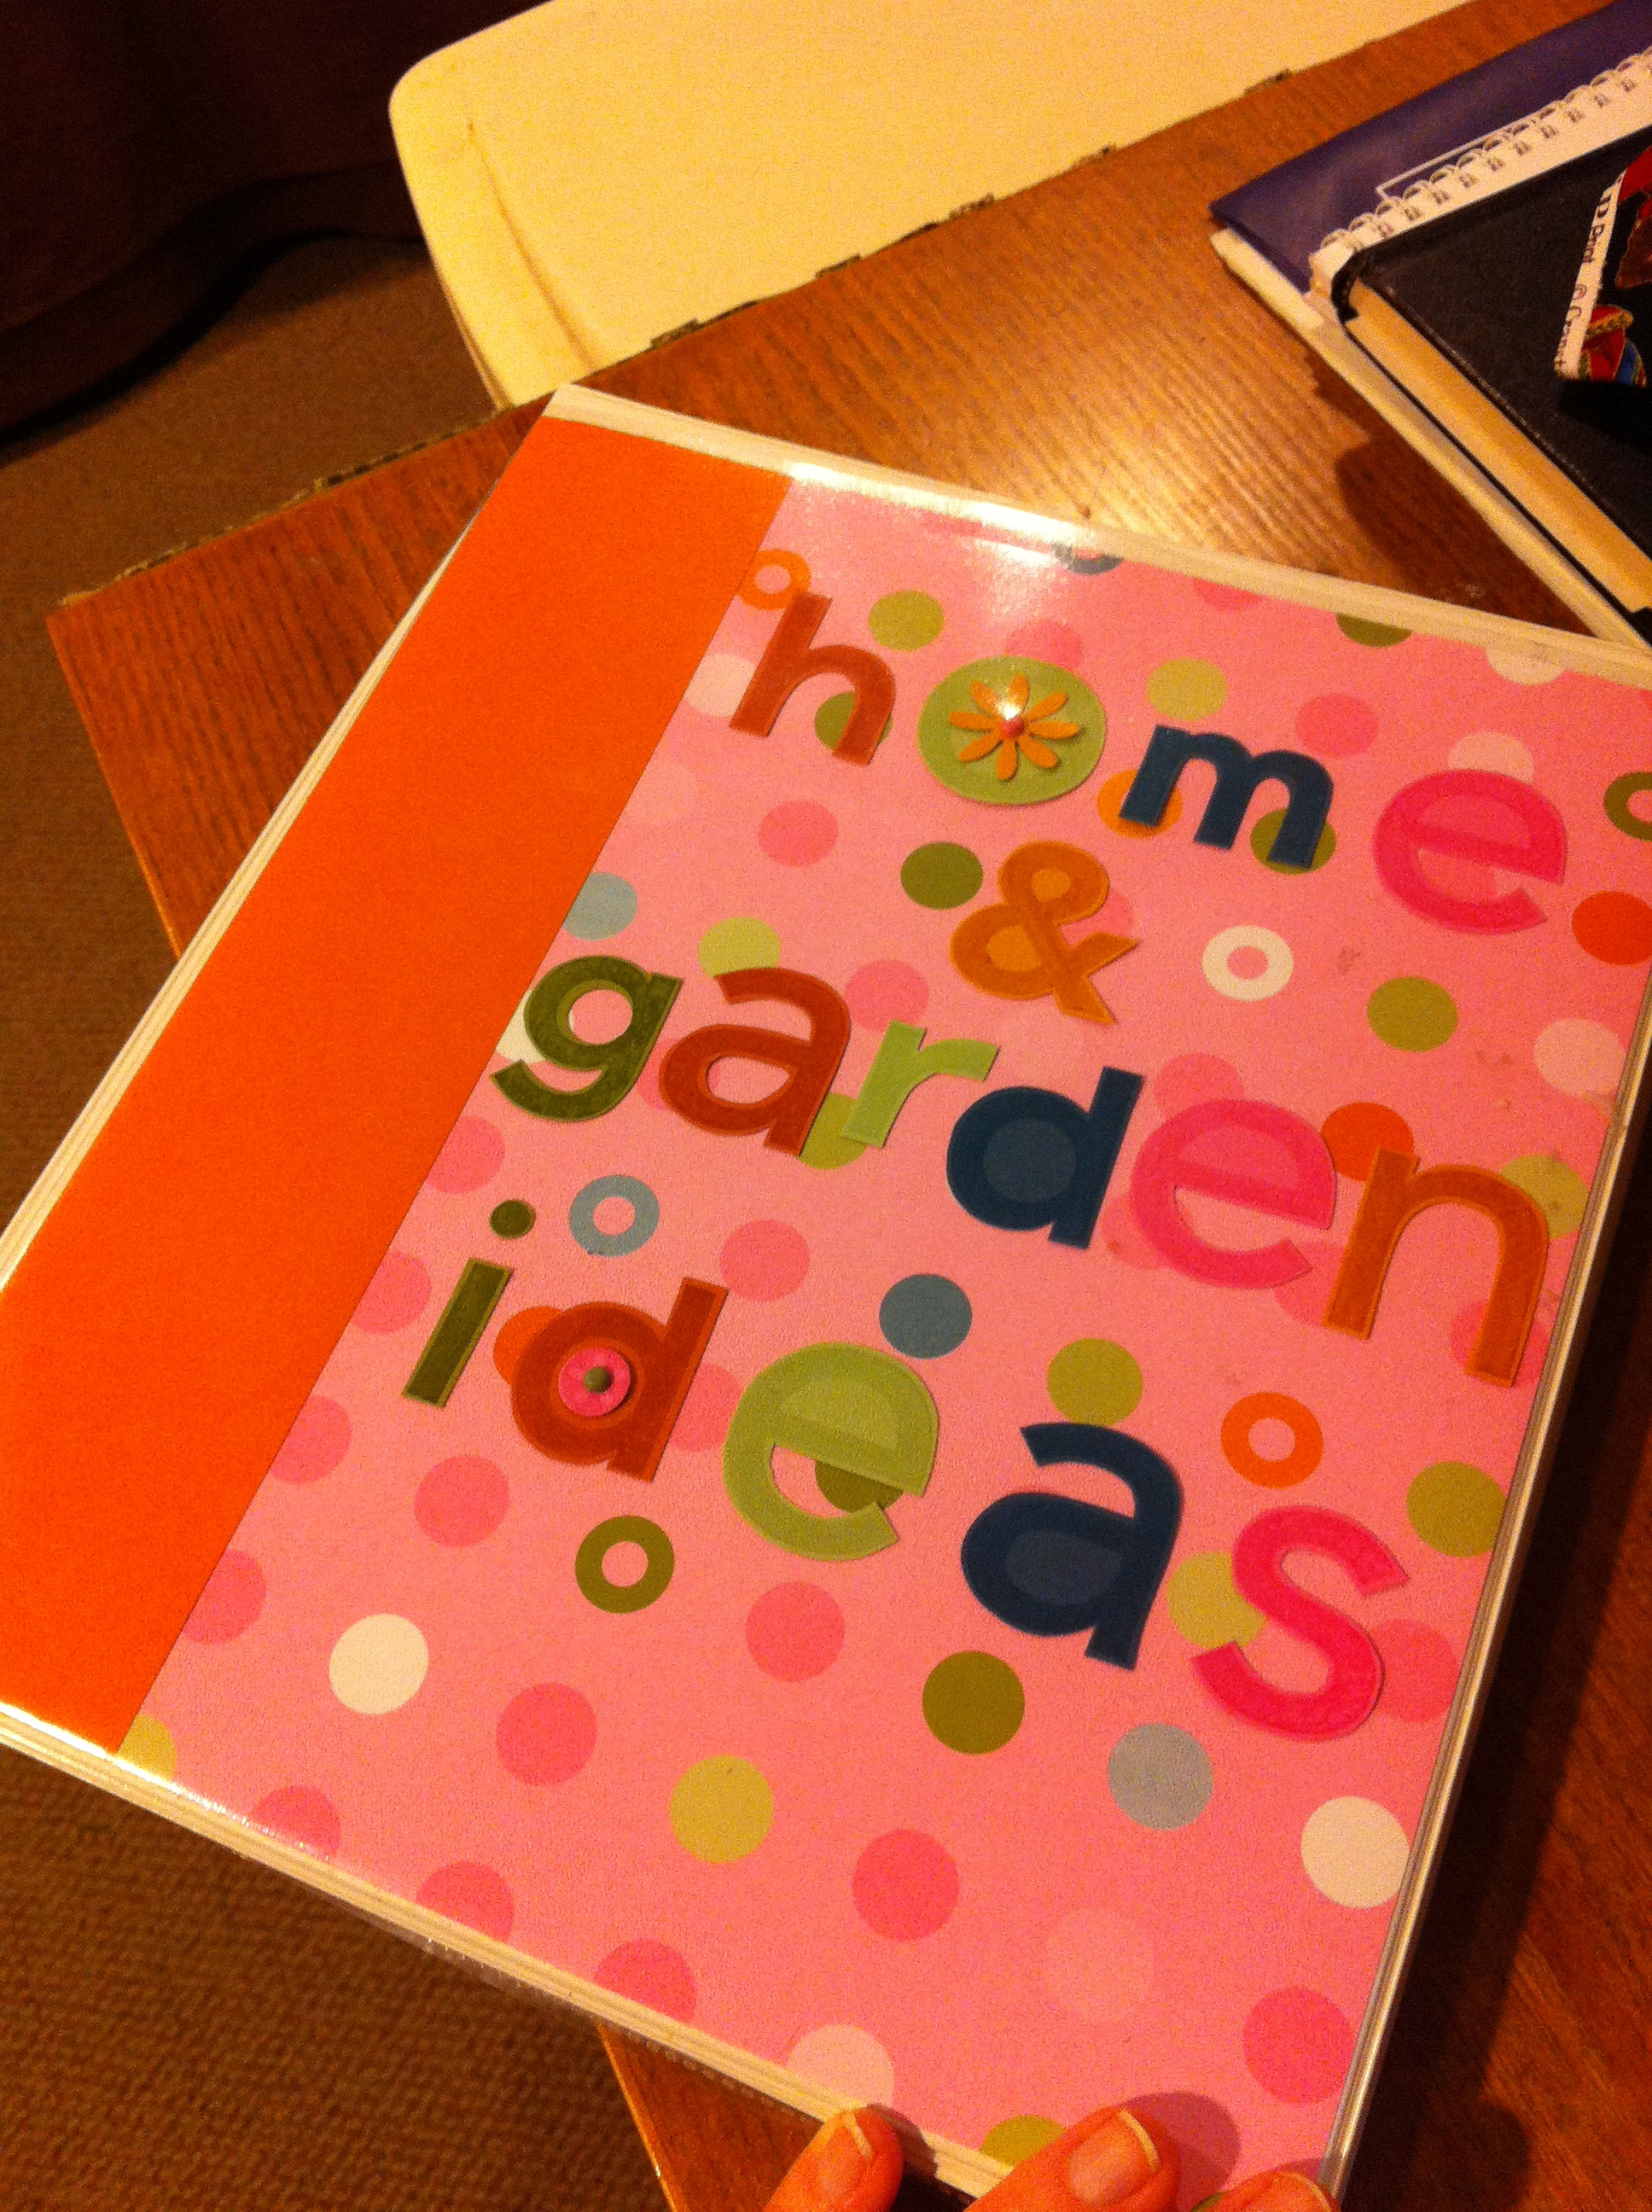
I know, you have two questions: when do I have time? (I won't answer that) and how do I come up with these things? (I will answer that!) This particular idea came from The Binder. It holds all the cool ideas I find in mags like Martha Stewart Living and Real Simple, most of which I'll never end up doing, but it's nice to know they're there. 

One of the things I've actually done is this peppermint stripe soap. Panda gave them as teacher gifts one year, and this year it's Redman's turn to make them.

The materials are readily available at any craft store: head toward the section for candlemaking, the soap stuff is usually right next door. You will need:

  • A pack of white glycerine soap
  • A pack of clear glycerine soap
  • Peppermint soap fragrance OR peppermint essential oil. Essential oil you will probably need to get at a health food store, but may be worth the extra trip for you because its fragrance is superior to the synthetic soap stuff.
  • Red and white soap coloring. Red food coloring also works. The white is NOT necessary, it's just that the red layers tend to bleed into the white ones, so I like to give the white a little boost.
  • 2 cheap microwave safe measuring cups
  • 2 mini-loaf pans
  • Popsicle sticks or wooden skewers for stirring
  • A spray bottle filled with rubbing alcohol

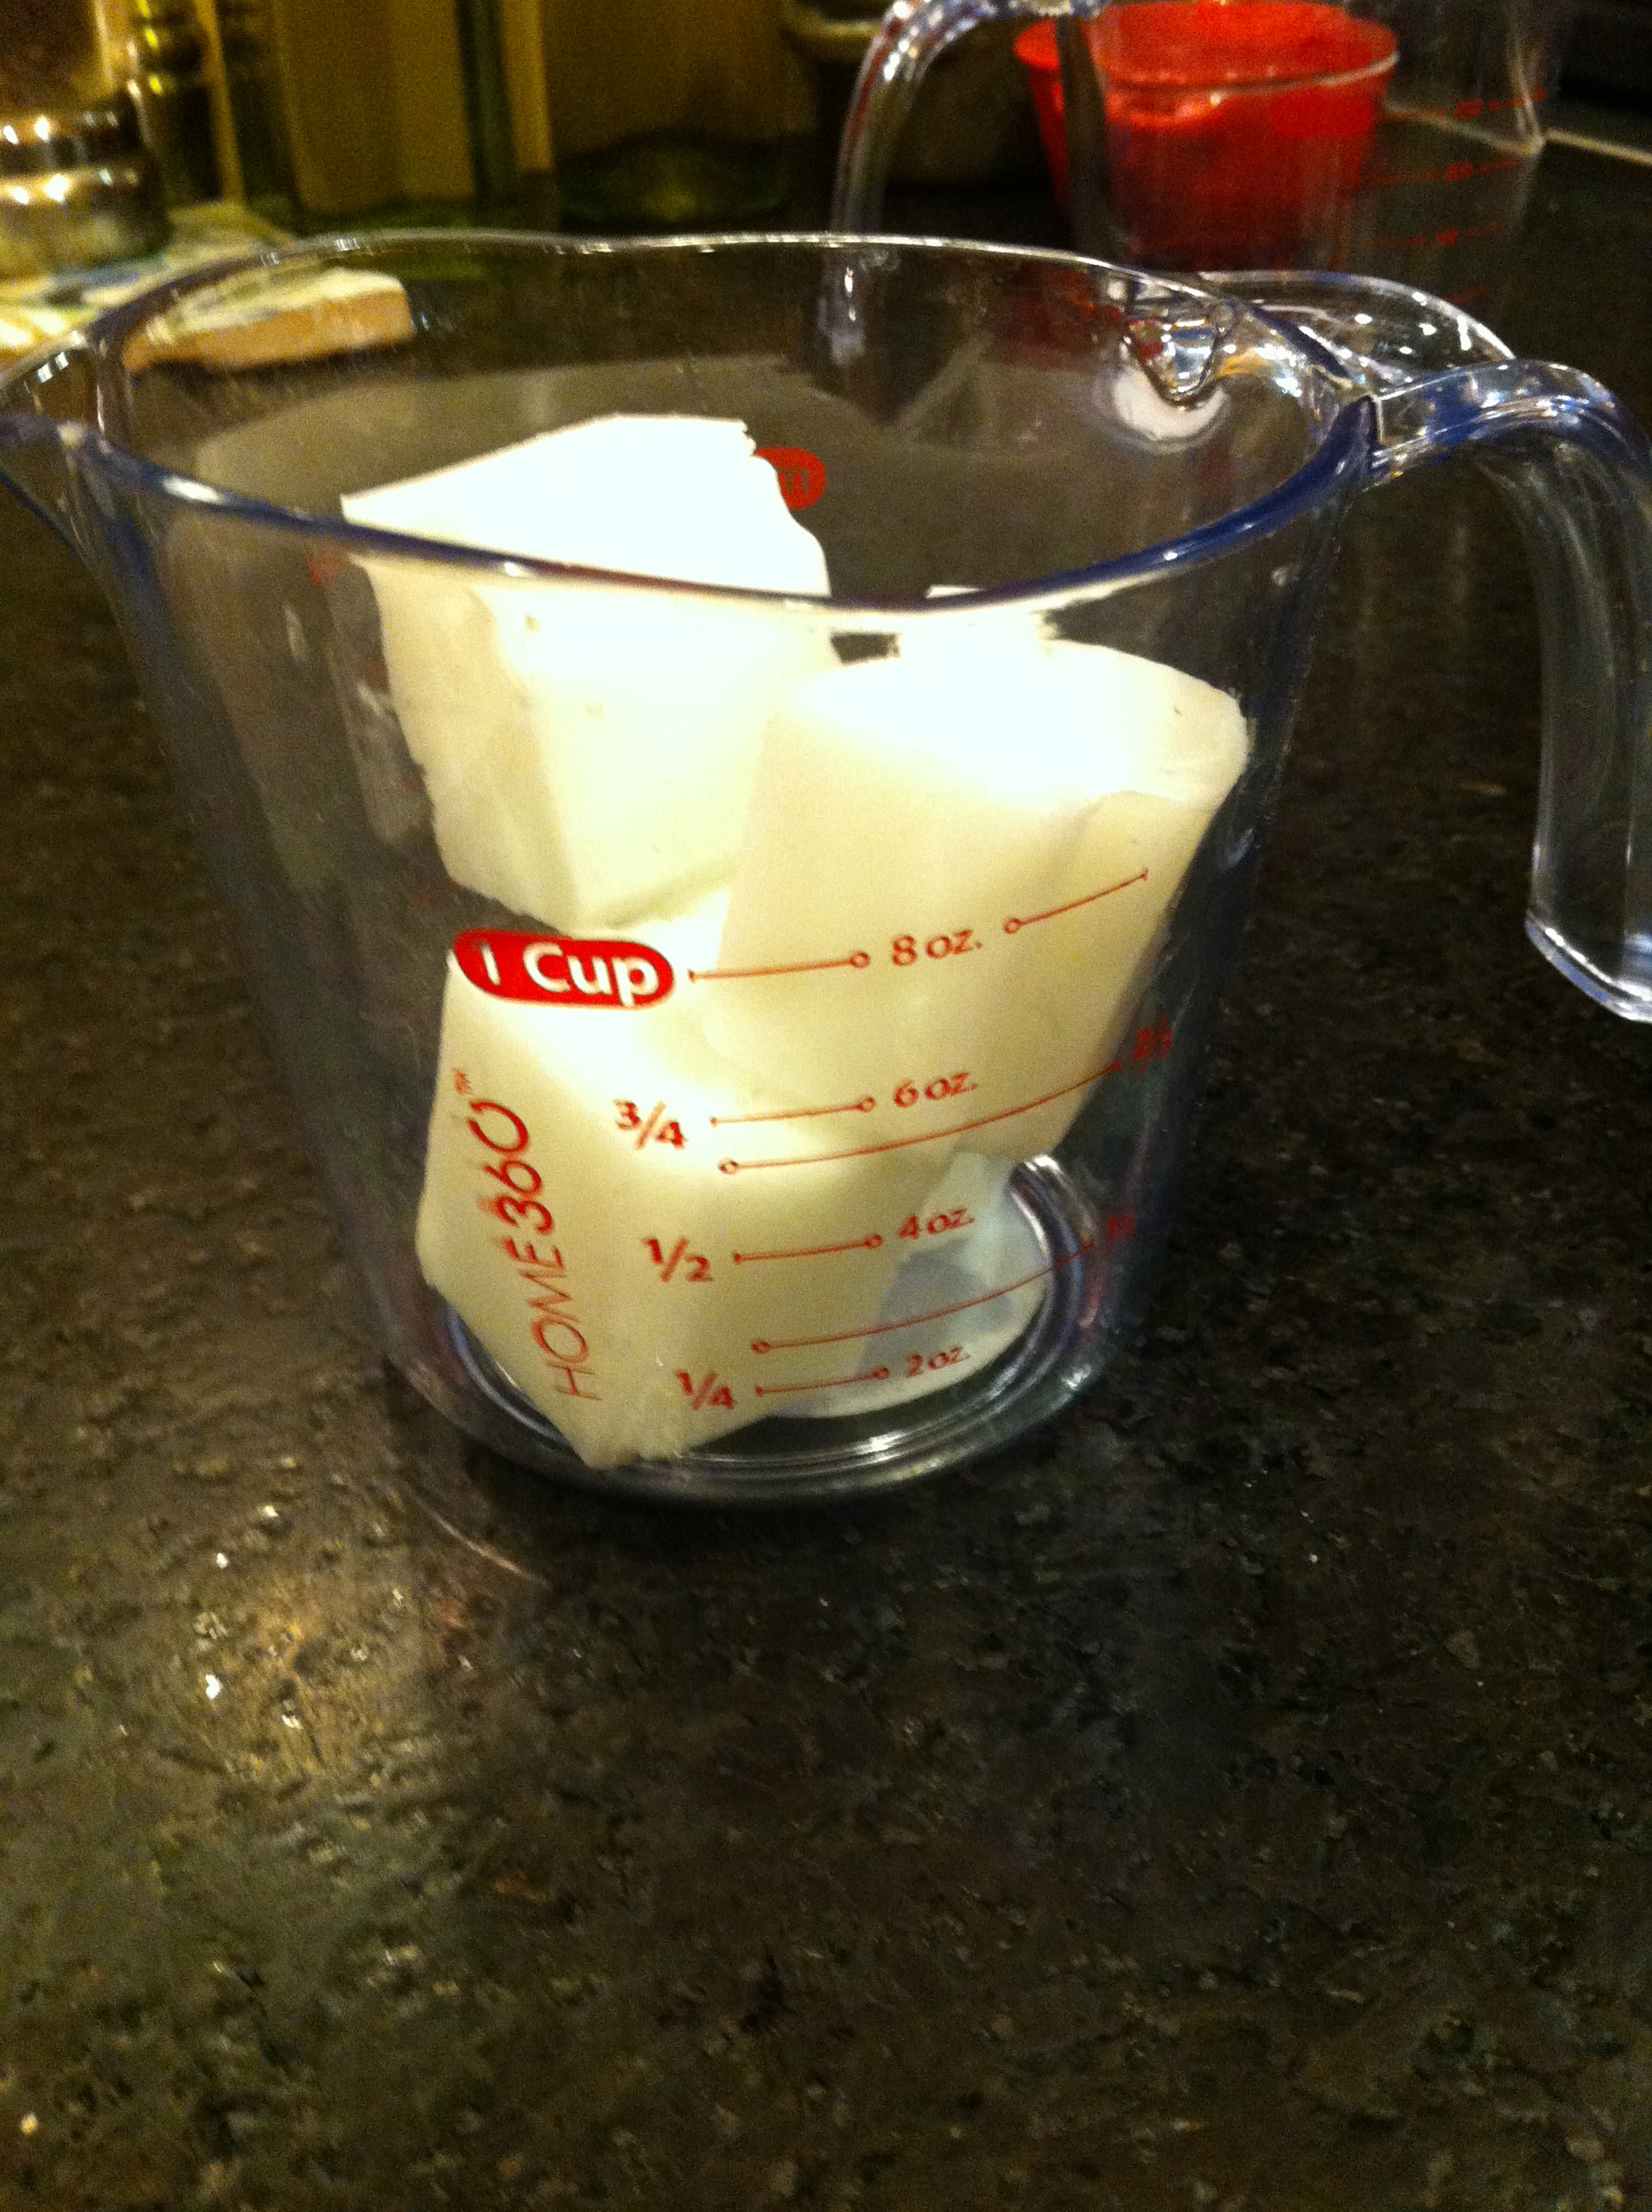
You will need 1/4 cup glycerine for each layer of soap. The glycerine usually comes pre-scored and through trial-and-error we found that 3 squares = 1/4 cup.

Cut 3 squares of white glycerine into smaller pieces, place in measuring cup and microwave at 20 second intervals until completely melted.

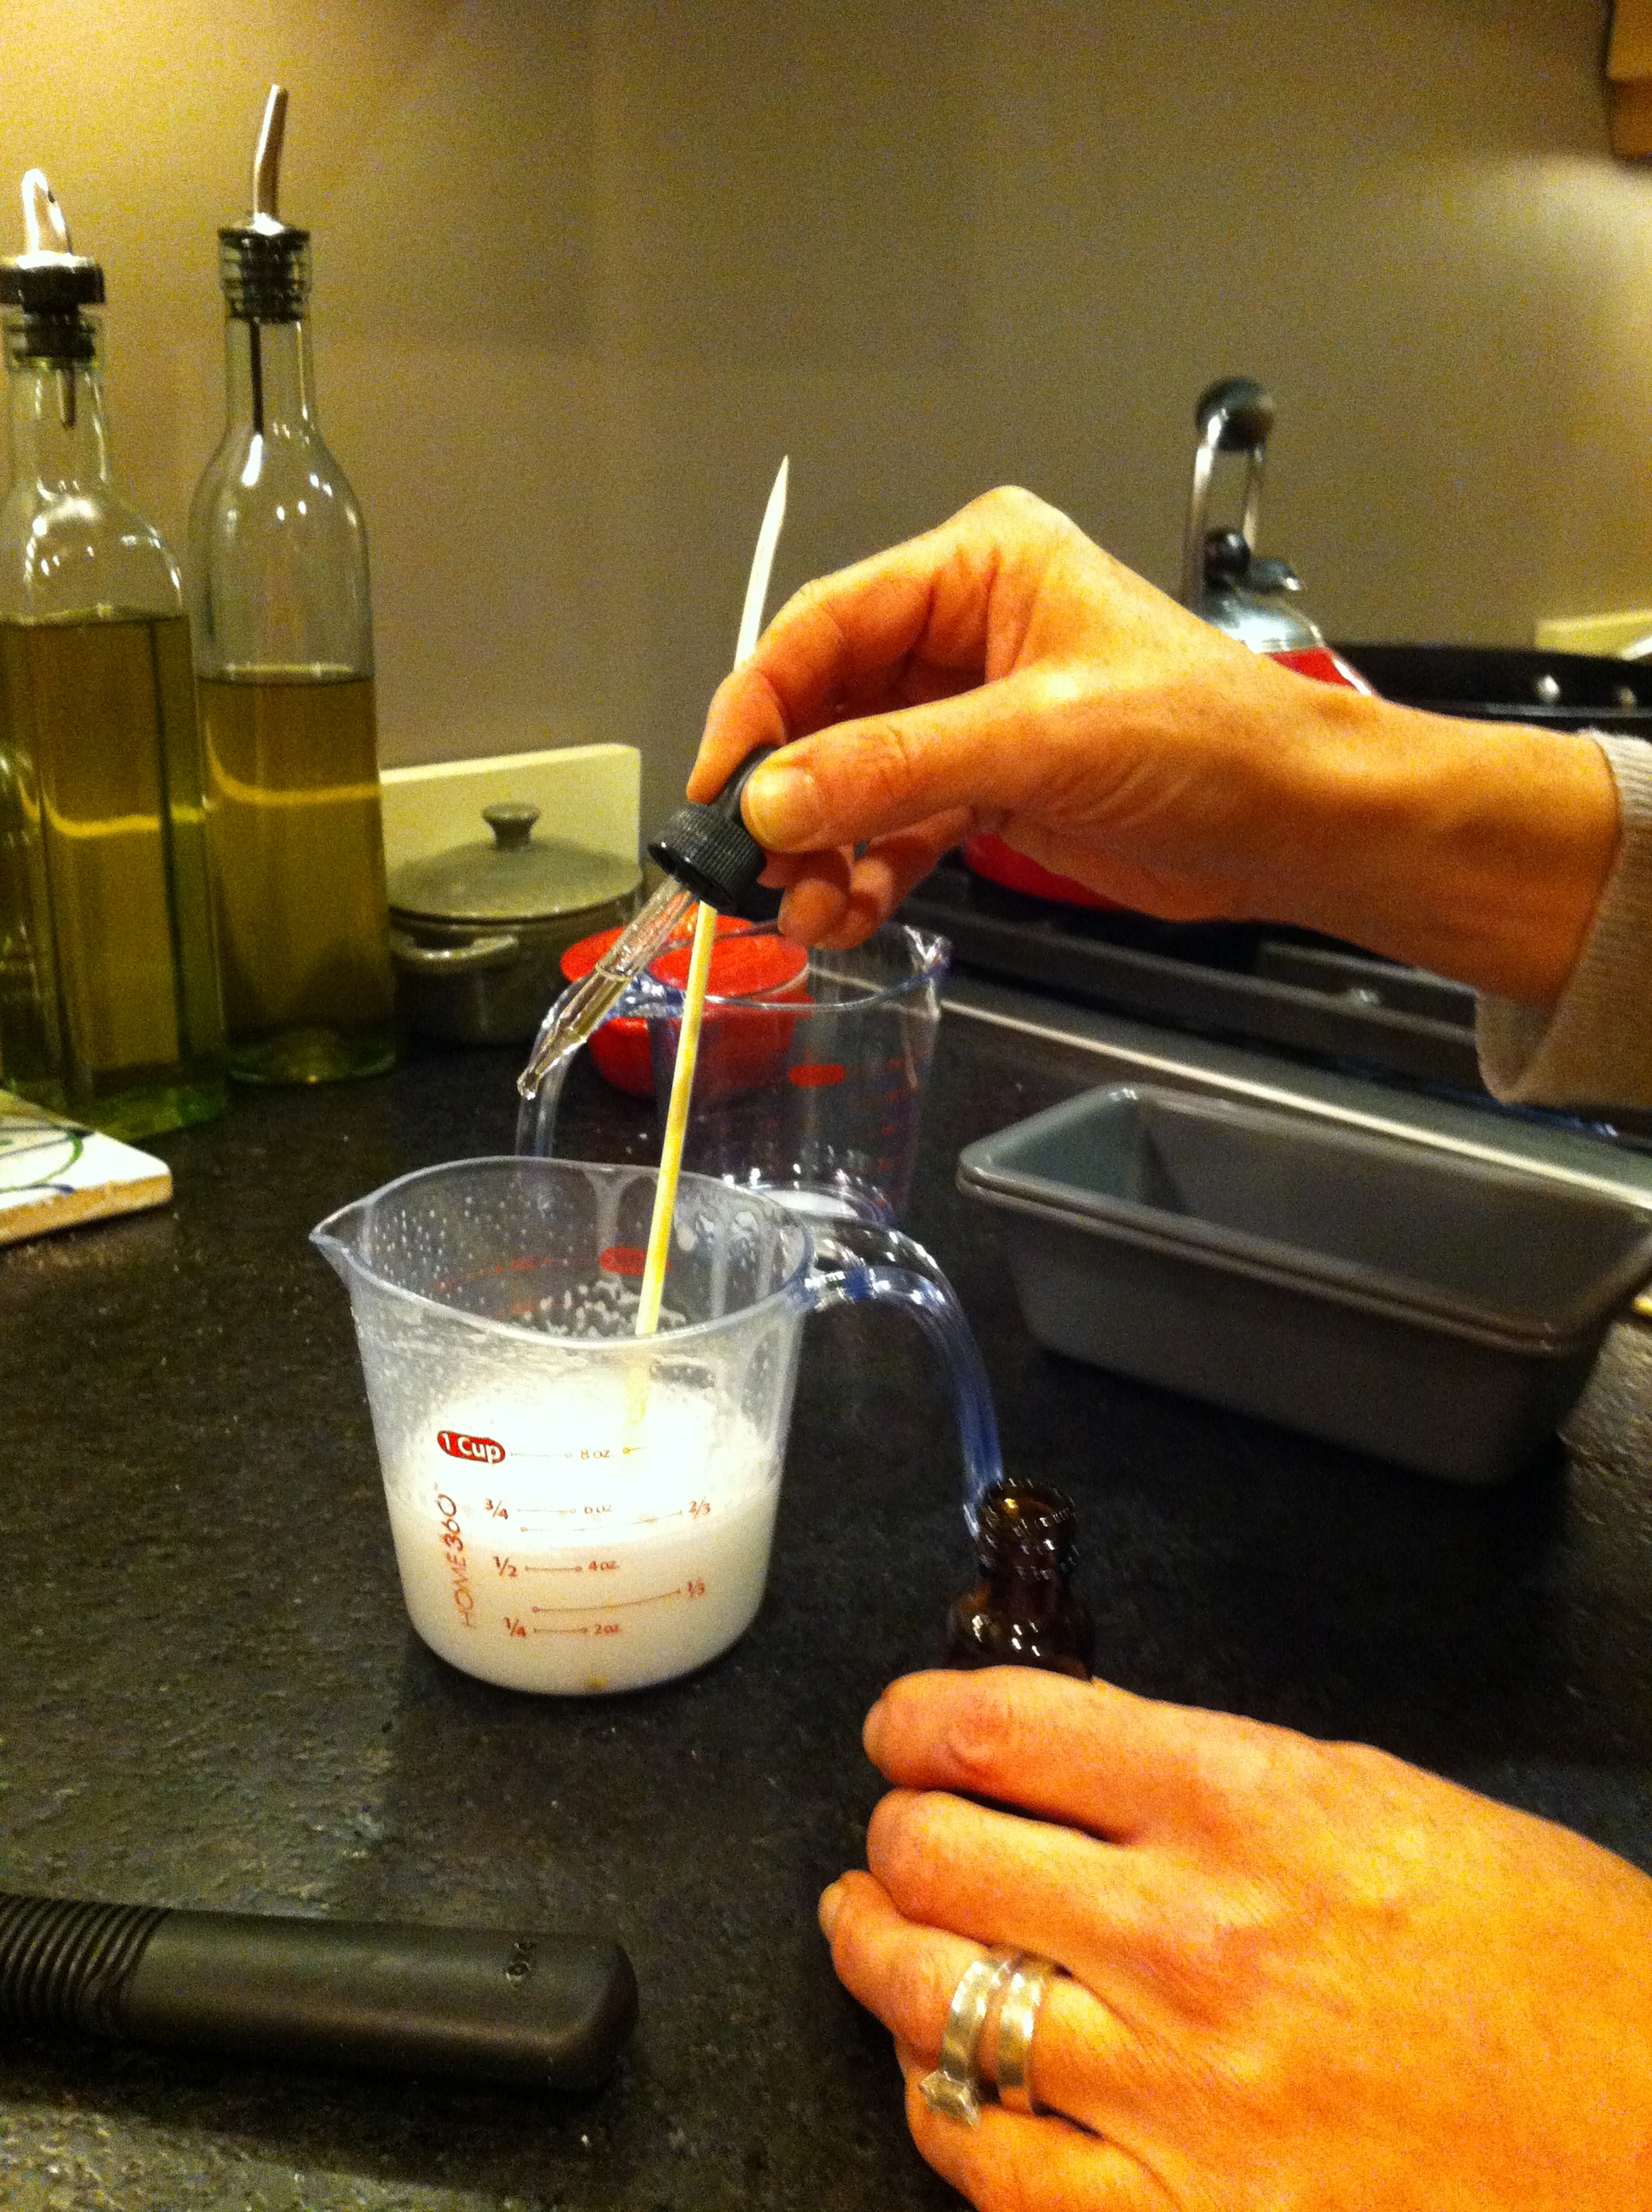
Add about 20 drops of synthetic fragrance to melted glycerine and stir. If using essential oil, add 5 drops at a time until you get the level of scent you want. Remember every white layer will have fragrance added so less is more.

Pour white soap slowly into one loaf pan—the slow pour avoids bubbles. Cut off another 3 squares of white, repeat process to fill other loaf pan. Let pans sit about 15 minutes to set.

Take a fork and score the surface of the white layer, lengthwise and crossways. Pick out all the little scraps of white, then spray the scored surface with rubbing alcohol. This process helps the layers adhere. 

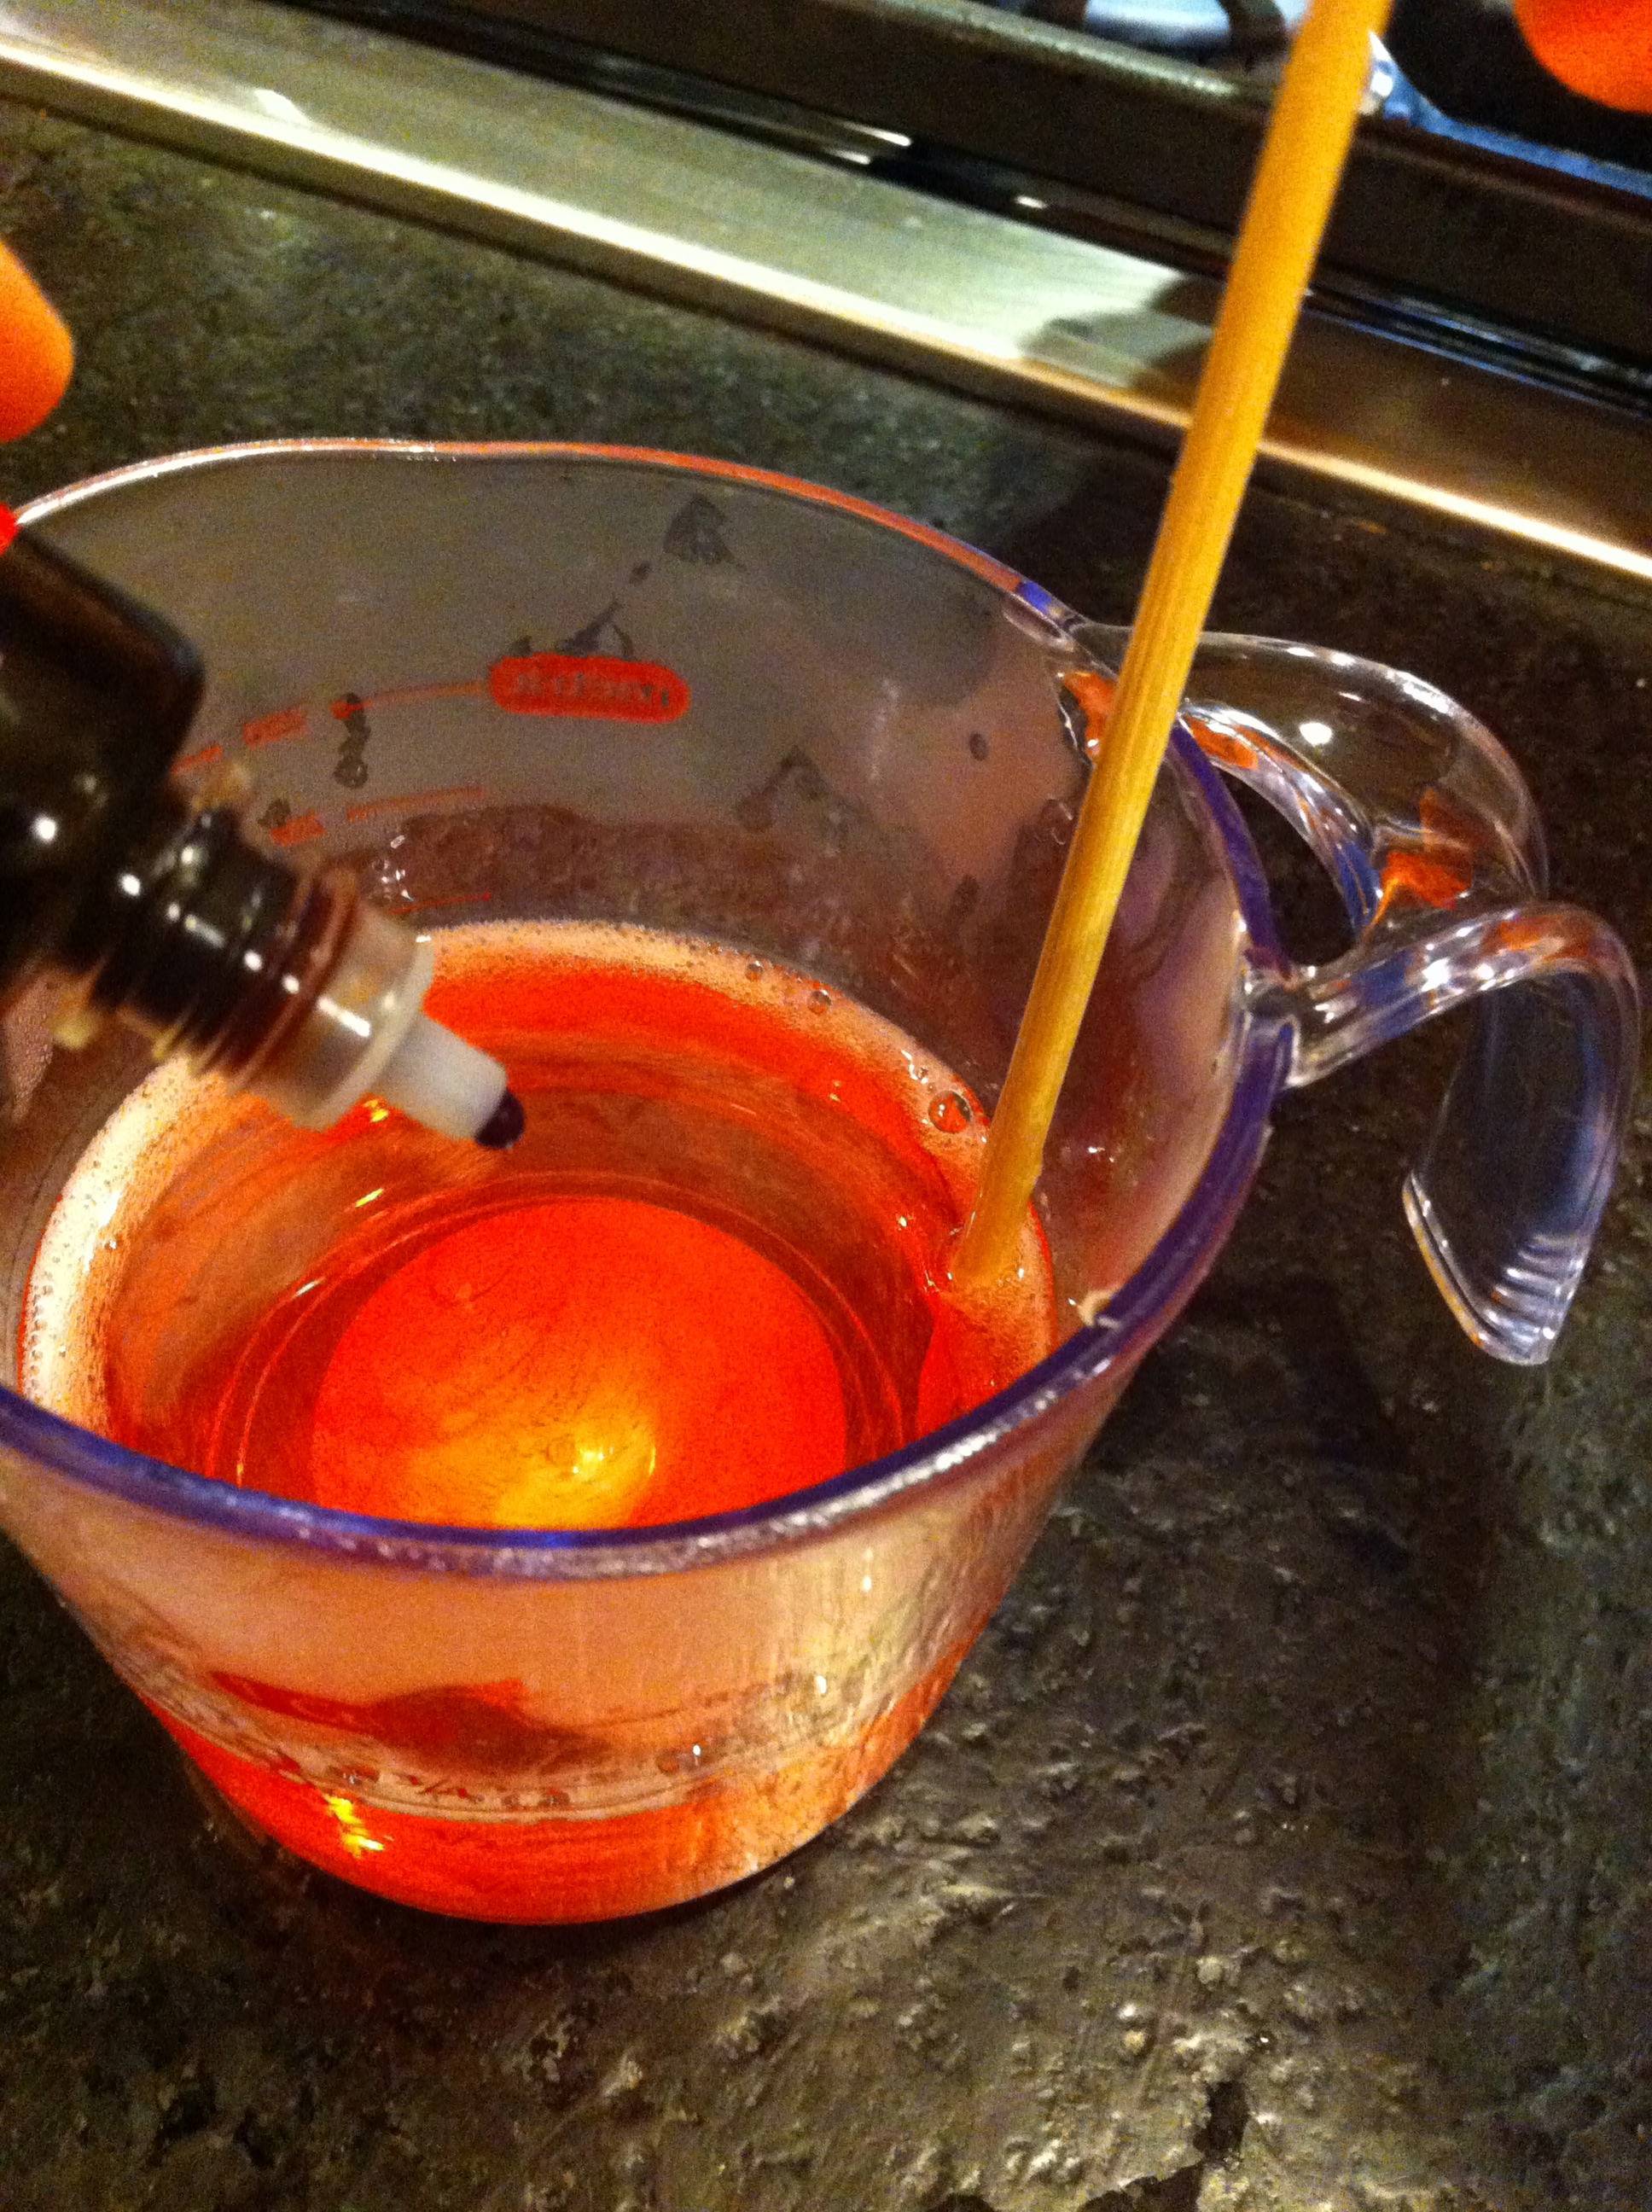
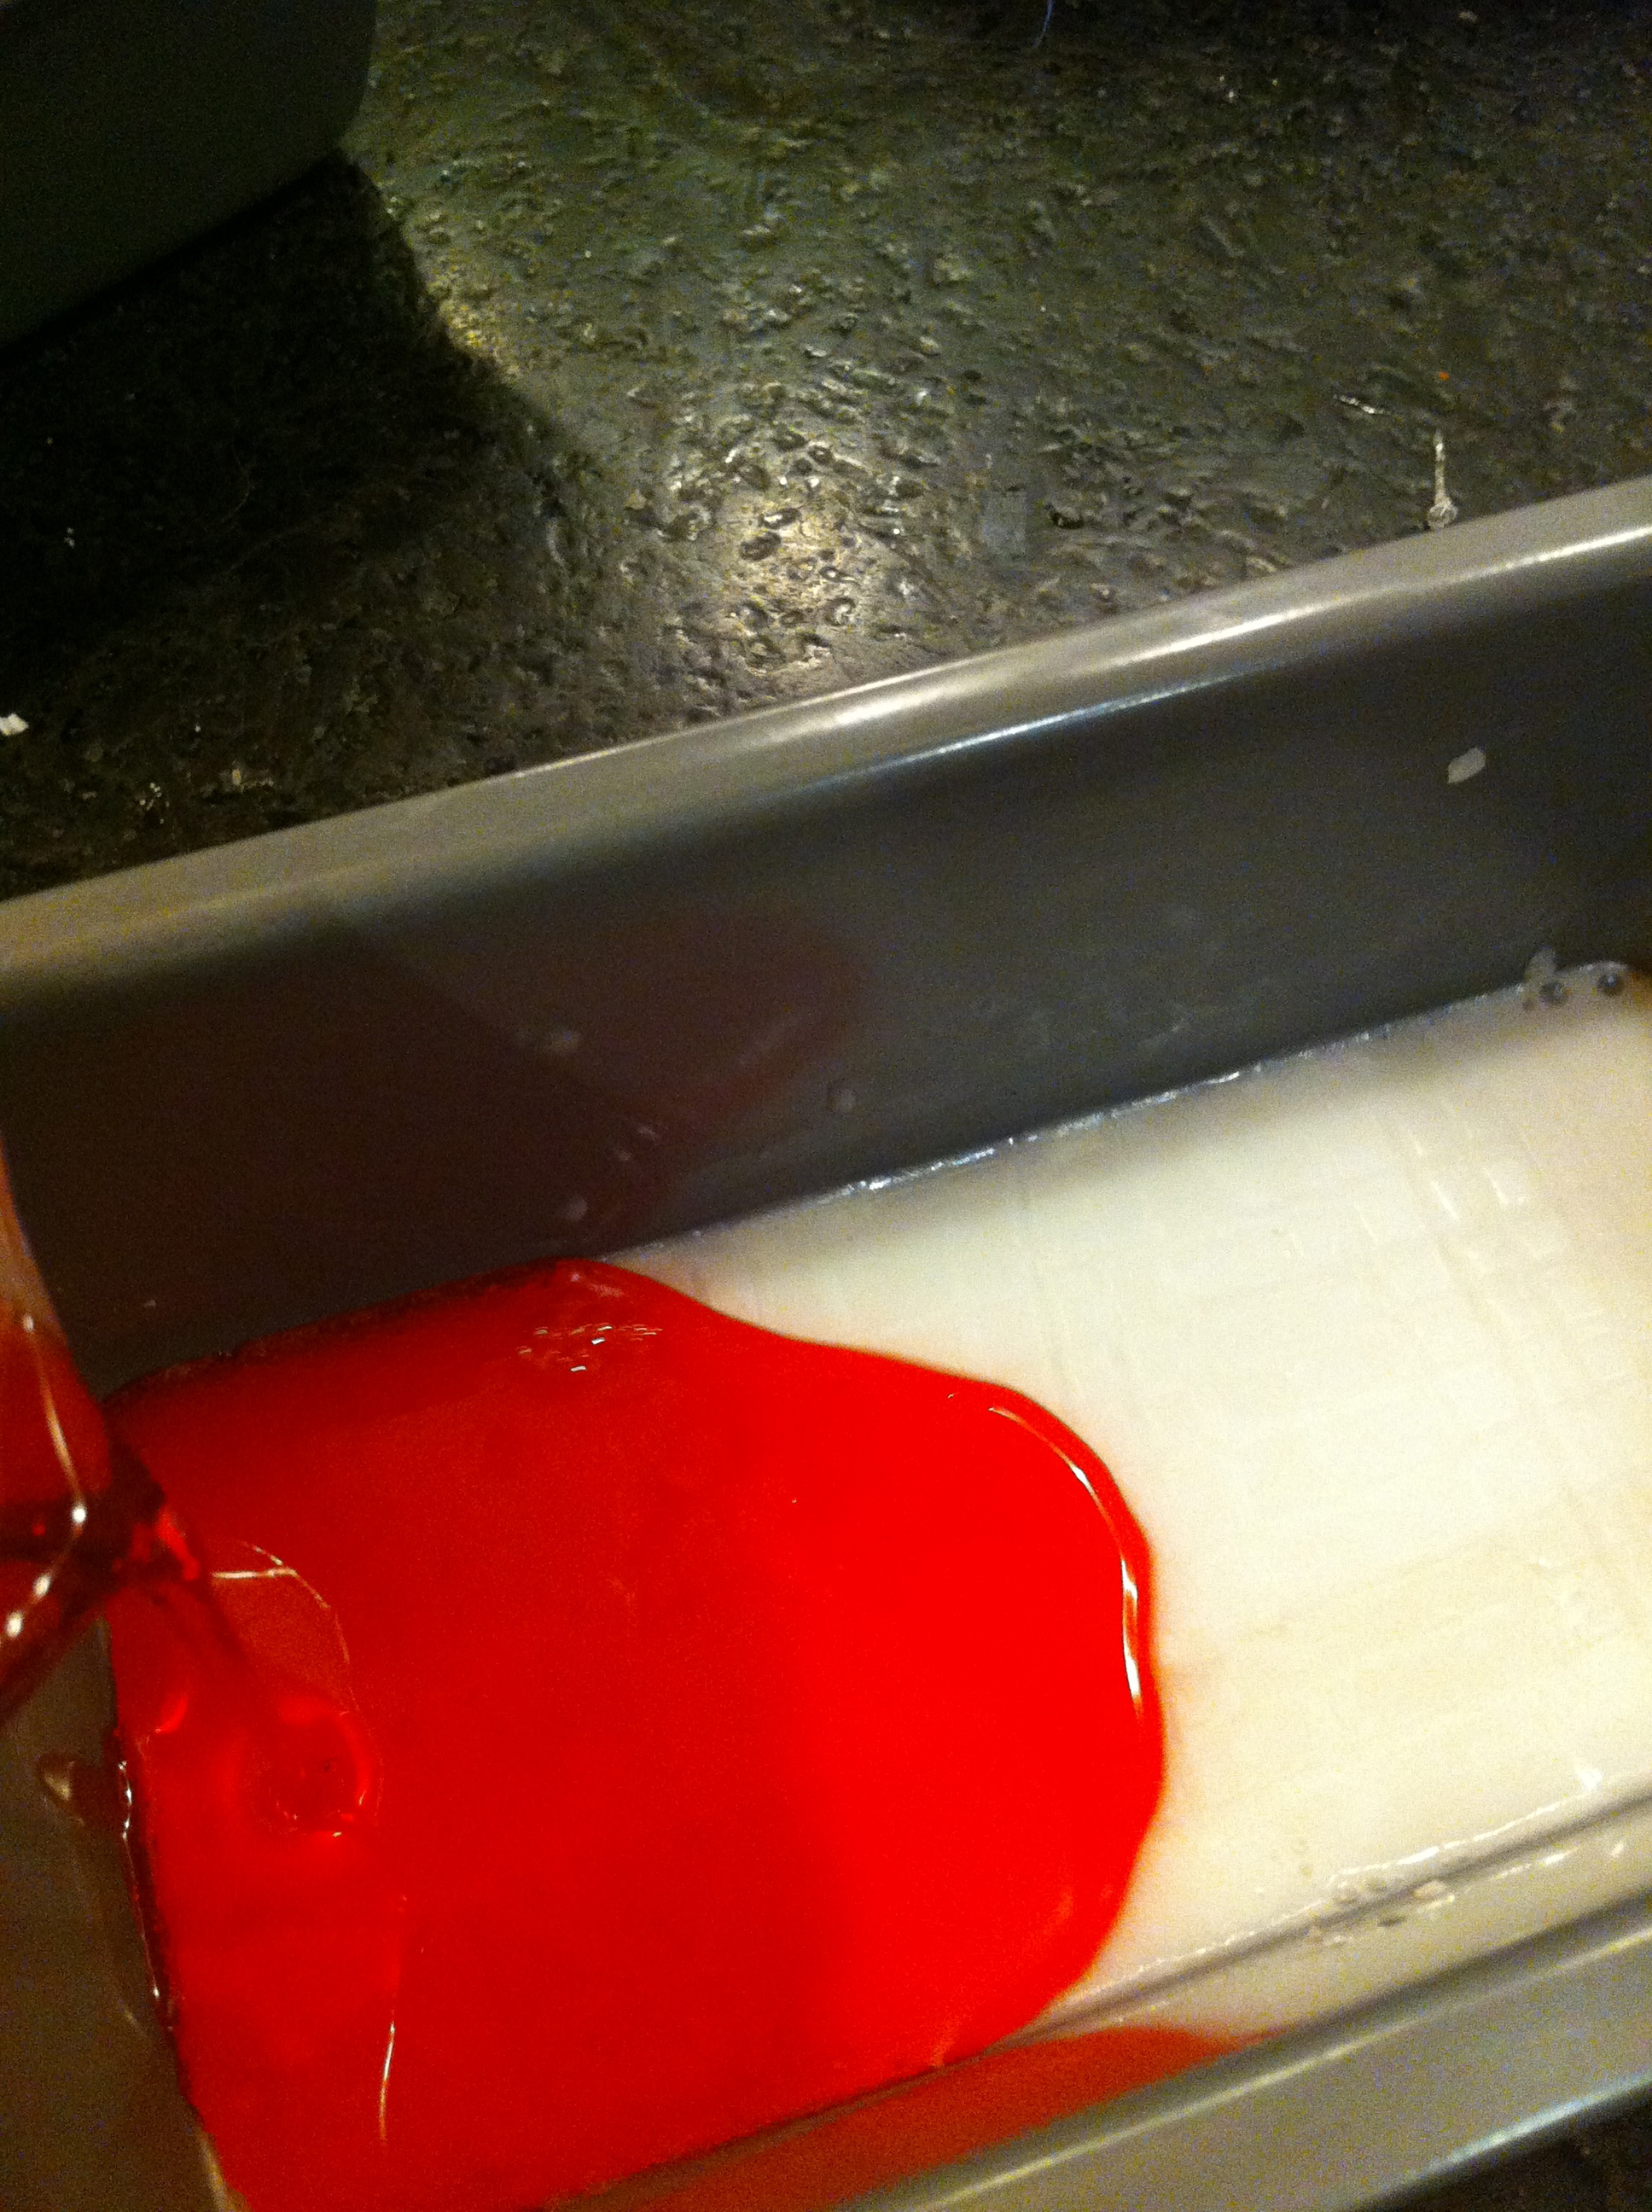
Cut off 3 squares of clear glycerine and melt in microwave. Add red food coloring and stir until it's the shade you want. Pour slowly on top of white layer in one loaf pan. Melt another 3 squares, color, stir and pour into other pan.

Again, let sit for at least 20 minutes. Before adding the next white layer, score with a fork, tap out the shreds and spray with alcohol.

And so repeat, alternating red and white until the pan is filled. Let sit for at least 4 hours, preferably overnight, in a cool place.

The soap will release easily from the pan if you put it in the freezer for 20 minutes. Hold the pan upside down, pull away the sides, press on the bottom with your thumbs, it should come right out. If it doesn't, I don't know you, this conversation never happened.

Let the soaps come back to room temperature. With a sharp knife, cut the soap into slices, slide into cellophane bags. Martha says to tie with bakery string but I don't know where you procure that. Just tie with whatever you have, make some kind of label and be sure to tout the fact that this is a HANDMADE GIFT.

Store soaps in a cool, dry place until ready to bequeath to someone you love.

You rock. How do you think of these things?

Christmas Crafts: Felt Tree Garland

I really do try to keep the Christmas Crafting in check, otherwise I end up with more doodads than I have places to put them. But this year we're moving some Christmas to the TV room downstairs, which goes hand-in-hand with a massive hauling out of old toys and junk, and surgery on our chimney so that maybe, finally, we can build a fire in the fireplace without filling the house with smoke. And suddenly there is a mantelpiece in need of its own little bit of holiday decor. Weird how that happens.

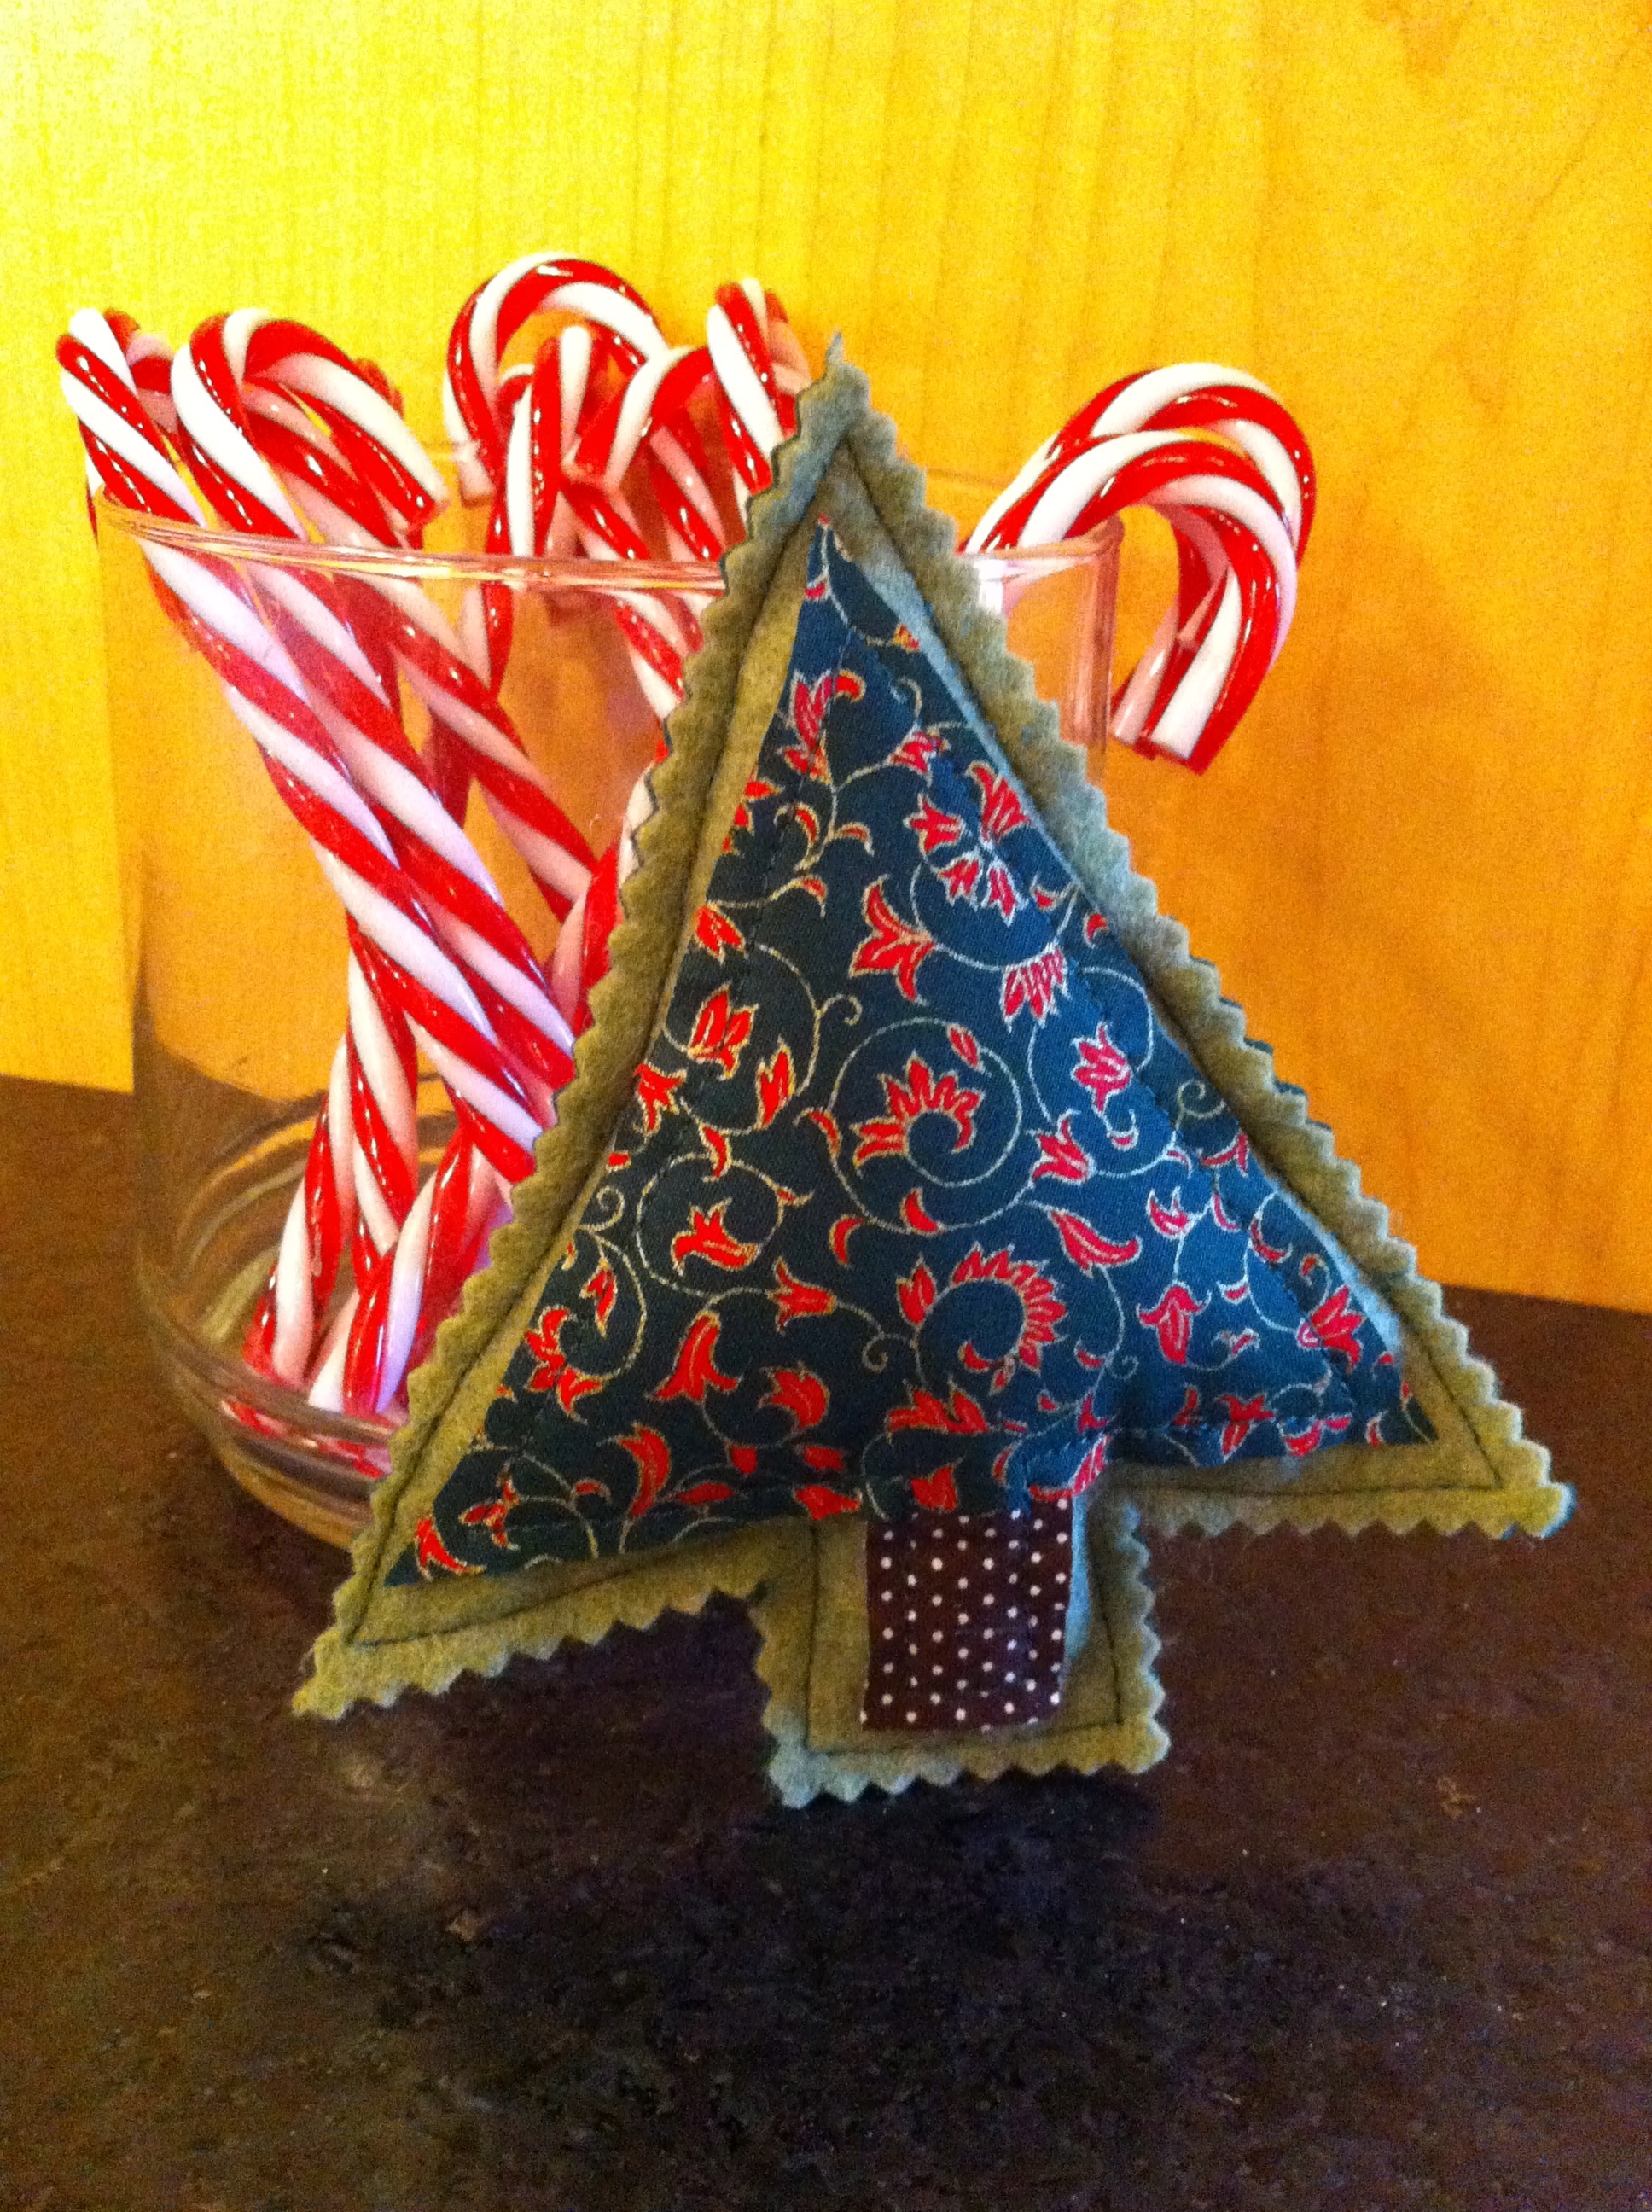
I found this tutorial at Noodlehead.com for a really adorable garland of felt trees that requires not much more than brown and green felt, and scrap holiday material. It doesn't even have to be holiday-themed. She used Liberty prints which were perfectly adorable.

This was a 2.5-evening project over the holiday weekend: Friday evening I cut out all the trees (you need 2 pieces of felt and one piece of fabric for each). Saturday evening I sewed and stuffed. Sunday afternoon I put it together. And I love it.

You can make the garland, or make each tree into a hanging or standing ornament. These are super easy, a great project for first-time sewers of all ages, and the garland looks nice anywhere you hang it.

Christmas Crafts: Paper Ornaments

OK, I've never done an actual craft tutorial before. Some of the photos are going to be weird, if not outright bad, because most were taken lefty. Taking pictures of cooking is hard enough. For crafting you definitely need a third arm. I could've called Panda to help but she was reading. Let me repeat that.  She was reading. Which never happens. So I left her alone.

Also, I first thought, "Oh my God, before I do this post, I have to vacuum my office floor!" Then I figured you all would appreciate how things truly look around here, so here you go:

That's the state of the floor when I'm in the midst of Christmas card making, in fact this isn't even bad, last week was worse. I don't even attempt to be neat about things, I just let every snippet and scrap fall on the floor and then write my Dyson a check later. Then I have to push all this other shit I'm working on aside:

I know, I have problems. So, ANYWAY, the ornaments....

I discovered these last year and in my usual manner, I made like a thousand. No really. A thousand. Look:

But I love them, they remind me of the onion domes on Russian Orthodox cathedrals. And they really are quite simple to make.

You need:

  • Designer paper (mine is from a holiday pack I got at Michael's.)
  • 20-gauge jewelry wire (or 18 is fine, too)
  • Beads (don't tell me you don't have any)
  • 1/16" hole punch
  • 1", 1/2" and 3/4" circle punches as desired
  • Card stock to complement paper
  • Wire cutters (or scissors you don't care about)
  • Needle-nose pliers (and I found mine!!!!)

You can make the ornaments any length you want. The one I'm making here is 3 3/4". If your paper has a definite "order"—such as mine has little holiday sayings in it—you will want to keep the strips of paper in order as you cut them. Likewise if there is a definite "top" and "bottom" to your pattern, you'll want to keep an eye on it.

Start by punching circles from card stock for the discs that go at the top and bottom of the ornament.  Here I've layered a 1/2" blue on a 3/4" red on a 1" green. Affix them with glue stick or mono adhesive (I use Tombow) and then punch a 1/16" hole through all layers. Put those aside.

Cut your paper into 18 1/2" strips.  Ornaments smaller than 3" will only need about 15 or 16 strips.

Punch a 1/16" hole in each end of each strip. This step is bo-ring. To make sure I'm punching each the same, I made myself a little 1/2" guide out of cardstock. I lay that on top and punch through 4 or 5 strips at a time.

Cut a piece of jewelry wire. Give yourself wiggle room and cut it an inch or two longer than your paper strips. With the pliers, put a loop in the end. Slide on 3 or 4 beads and one of the cardstock discs.

Now start threading on your strips of paper, design side down (facing the table). If your pattern has a "bottom" end, this should be the end you're threading. Now take the last strip you threaded on, curve it up and over and thread it back onto the wire (if you cut your wire extra long you might want to trim some off at this point). Continue threading the strips back on and moving them over to the side, and the ornament begins to take shape.

When the last strip is on, thread on the other cardstock disc, and another 3-4 beads. Slide your fingers down until the ornament is as round or "squished" as you like. Holding it where you want it, trim the wire just above your fingertips. Grab the end with the pliers and loop it around. Voilà. You are a genius.

To make a "double" ornament, you would need an extra, single cardstock disc to put between, and another 15-16 strips in a shorter length.  Make the larger ornament as shown above, the slide on a single disc.  Then thread on the shorter strips and repeat, finishing with a layered disc and beads.

Careful, these are kind of addictive....