Paint Swatch Art: Fall Tree

If you want to lose an hour of your life, search "Paint Swatch Art" on Pinterest. Don't say I didn't warn you. Nobody warned me, next thing I know Panda and I are skulking out of Home Depot with an innocent 5 or 6 swatch cards in our hands, but about 200 more stuffed in my purse. How many can one take before it qualifies as theft?

Anyway, Panda wanted a heart punch and a butterfly punch. I already have a heart one, I think I may have three, that's another post. As for the butterfly, we found this awesome 3-in-1 layered punch by EK Success and it's great with the paint swatches because the colors are already coordinated for you.

I got a little oak leaf punch. I had picked out mostly fall swatch colors; I had a very specific vision of a tree collage I wanted to make. It's sort of my take on Marimekko. Possibly Marimekko meets Ikea. Marimekkea?

There are so many great ideas out there for paint swatch art: making garlands out of punched shapes, folding them into little boxes, framing them under glass to make a dry-erase calendar. A lot of teens copy lyrics or inspirational sayings onto them. They are very fun things to have around. And very (cough) reasonably priced.

So here are our projects and my warning. Let's be careful out there.

20130924-230112.jpg
20130924-230112.jpg

Valentine Lollipop Covers

It's nearing Valentine's Day which means the floor by my desk is a disaster area. I send my girlfriends love notes on the 14th. I like Valentine's Day to be about the message. It kind of drives me crazy how it's become a second Halloween in the schools but I play nice. These lollipop "matchbook" covers are quick, cute and easy, and they satisfy my need for things to be handmade with kids' need to be sugary.


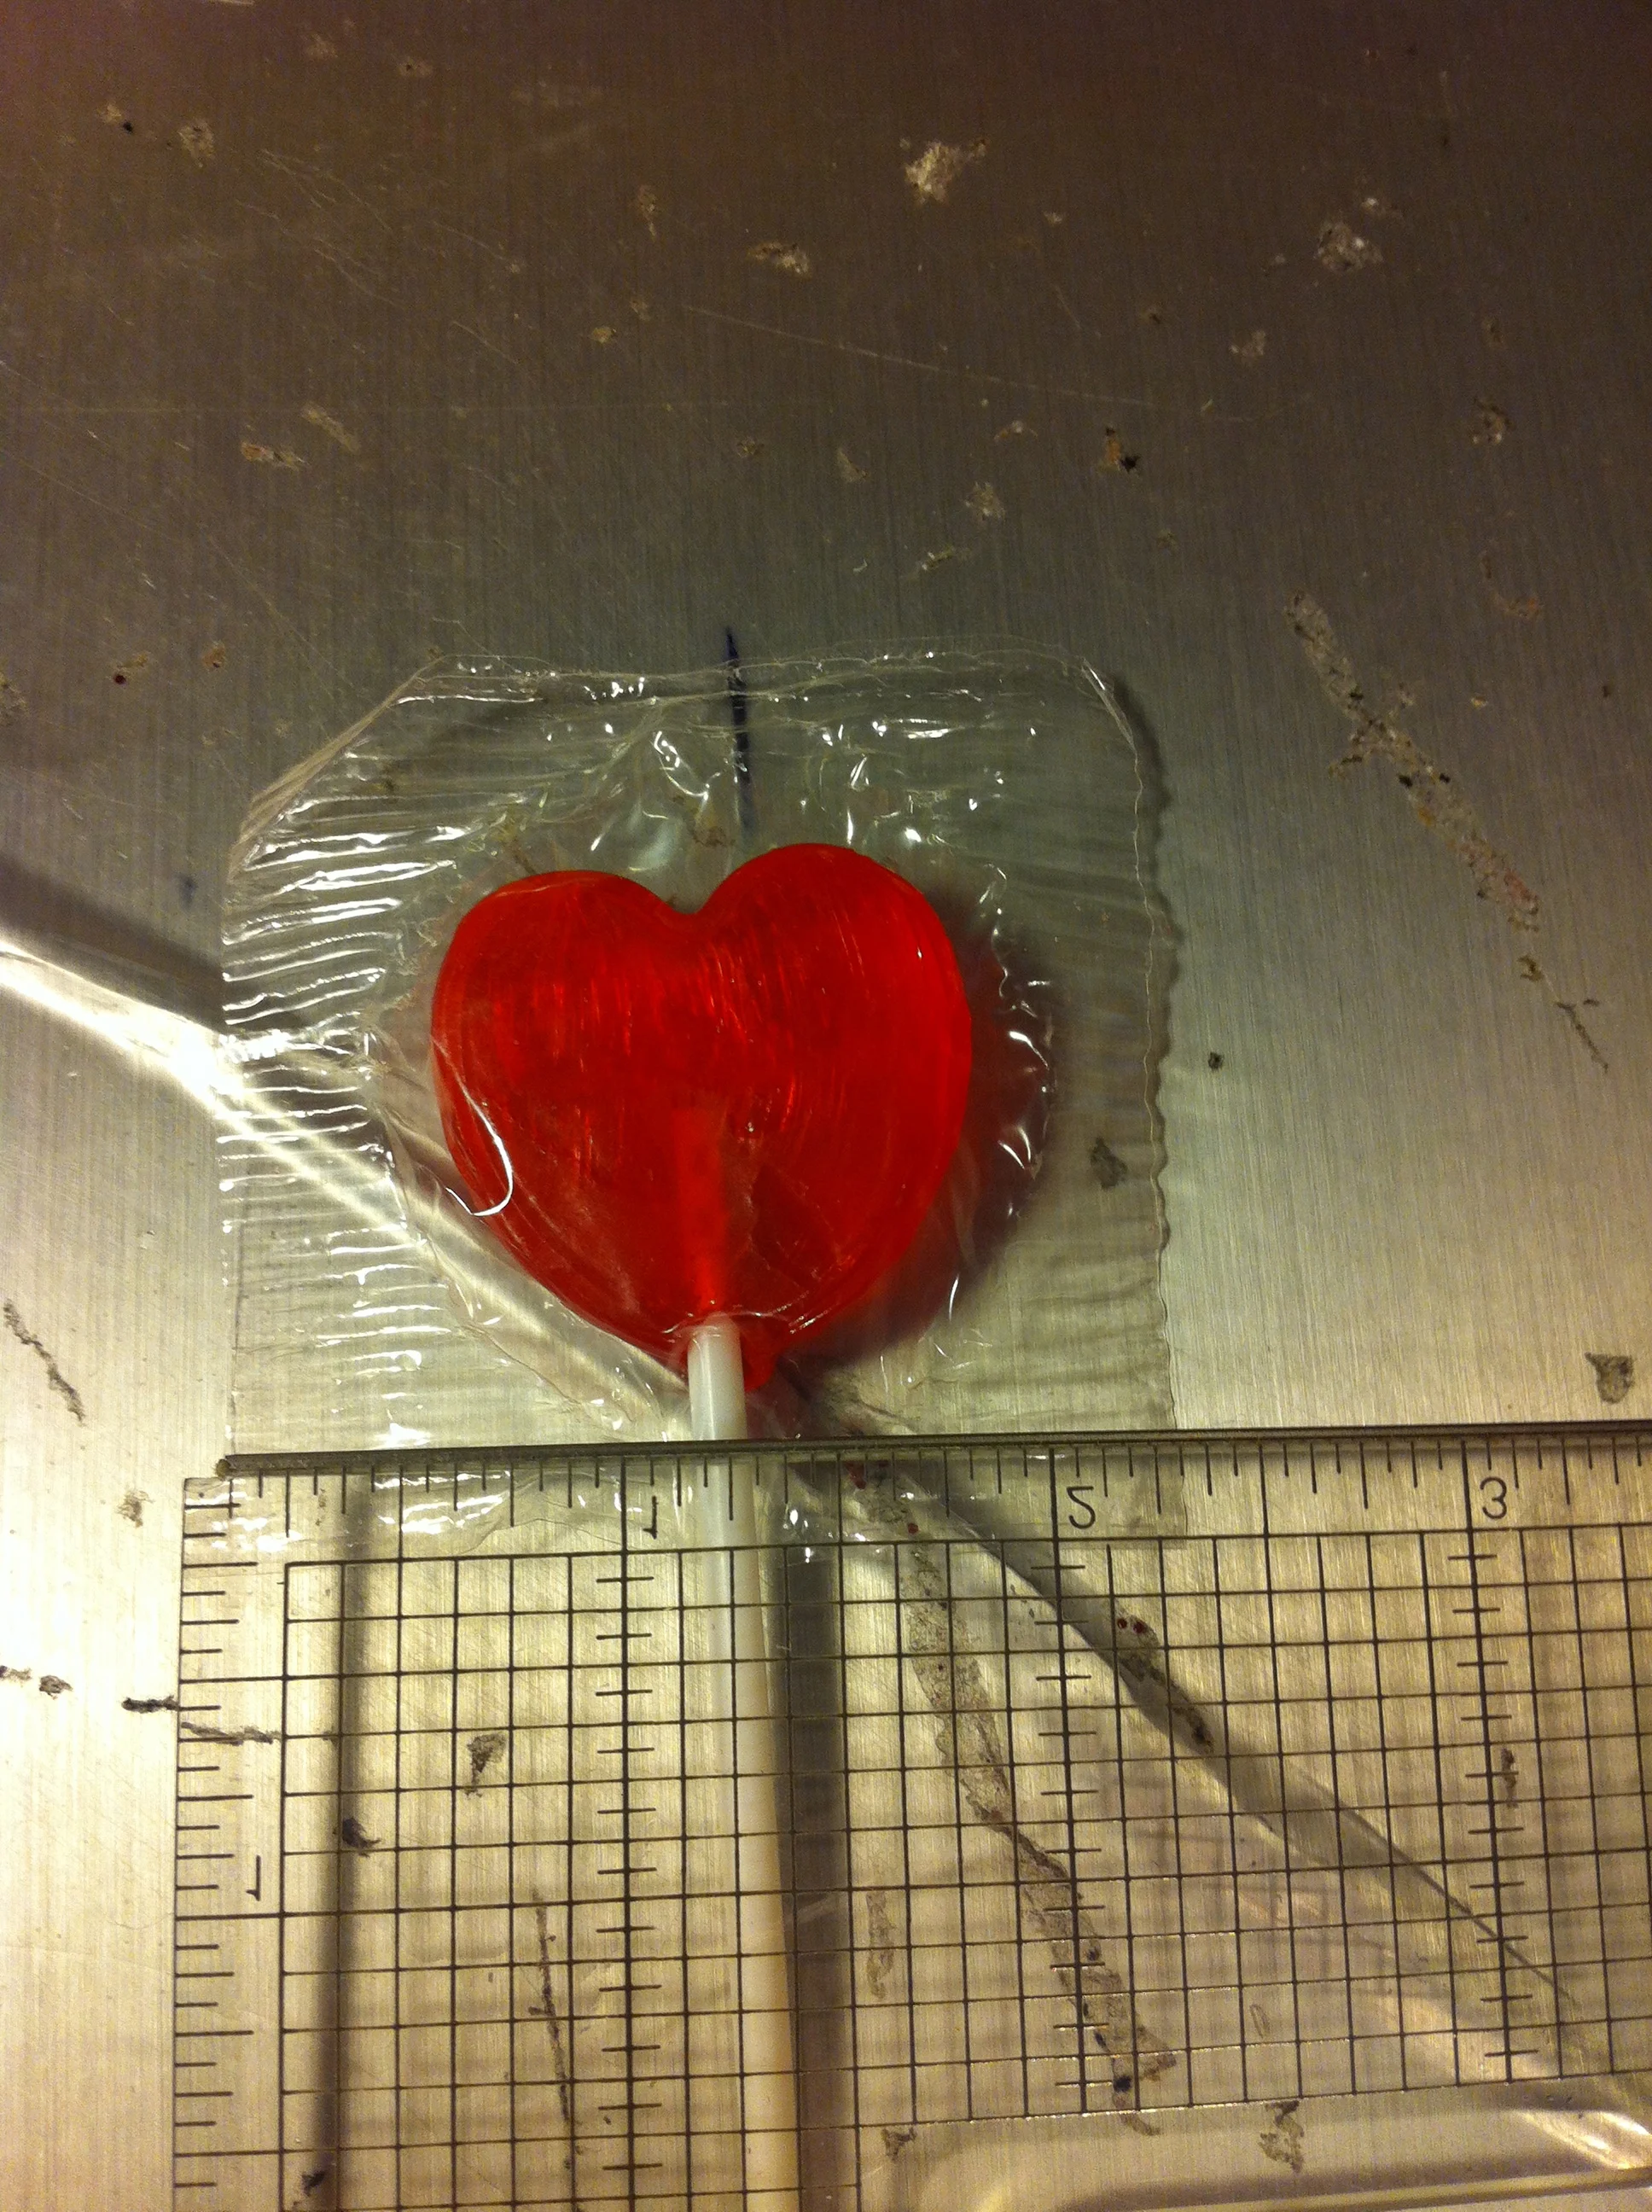
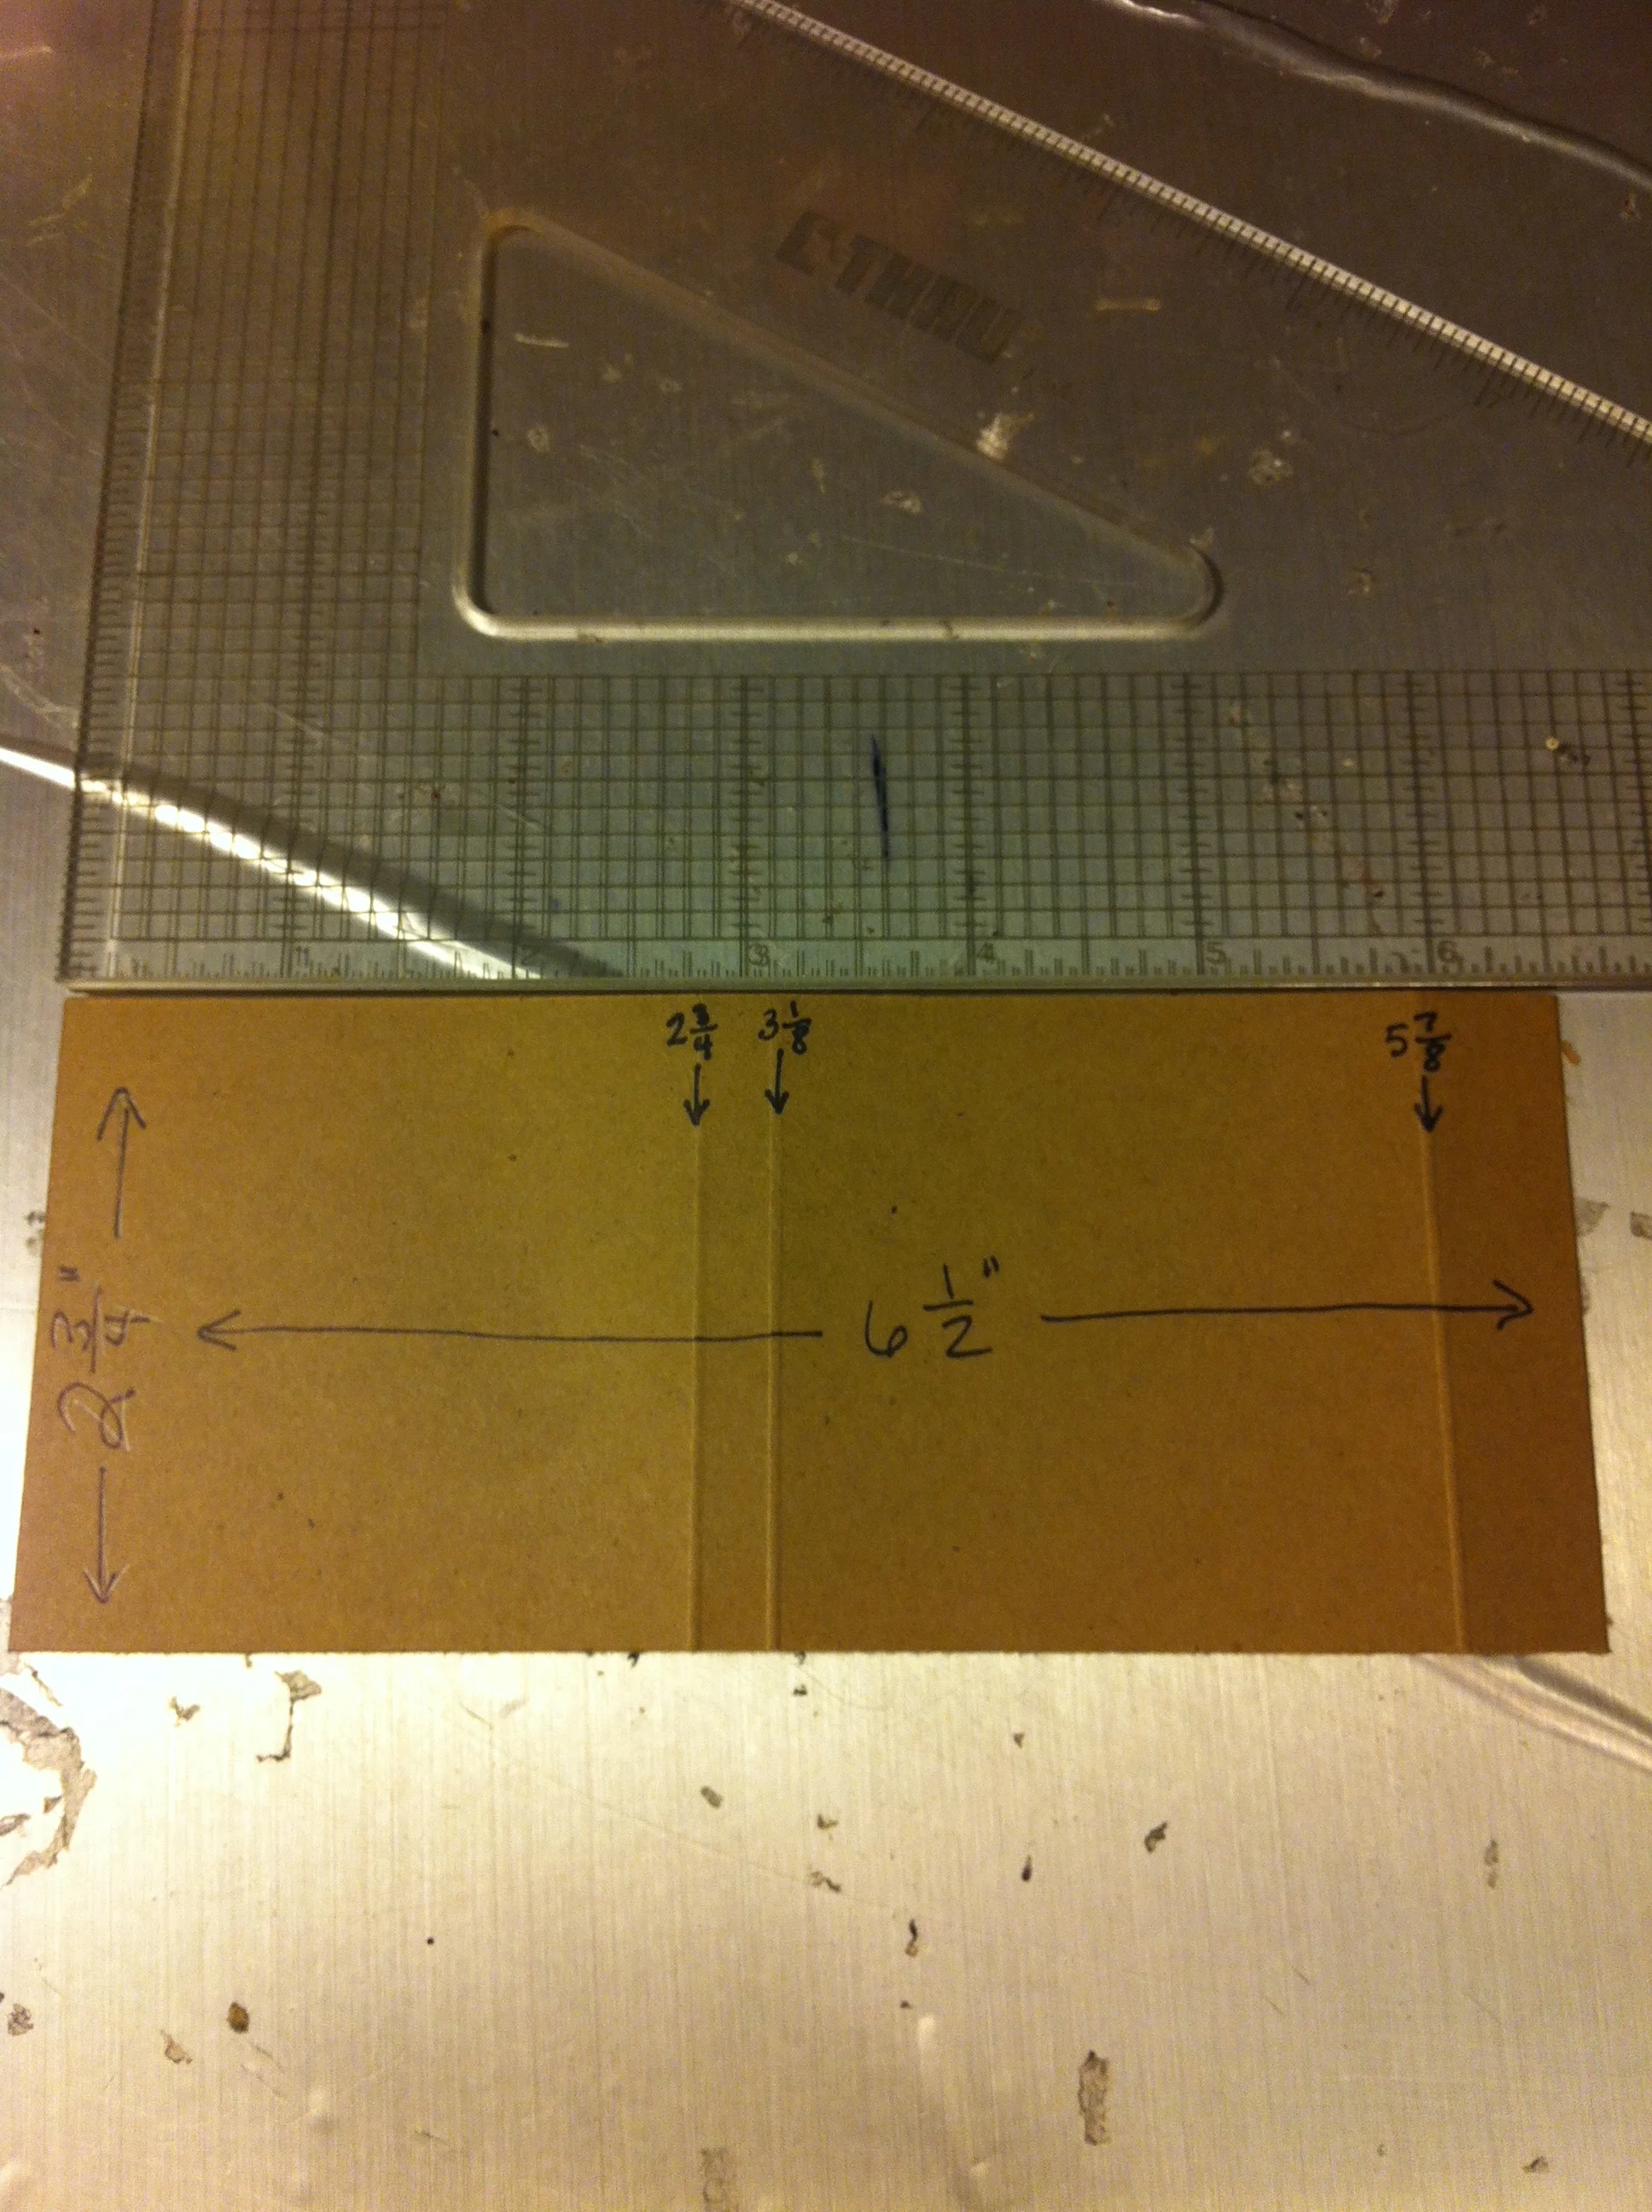
For your generic lollipop, a piece of cardstock 2 3/4" wide and 6 1/2" long will do the trick. Score at the 2 3/4", 3 1/8" and 5 7/8" mark.

You need to punch a hole in the center of the thinnest section for the stick of the lollipop to go through. A hole punch seems the obvious answer, but unless you have one of those special long-nose kind, it won't reach to the center. Among my more obscure craft supplies is this hand punch, hammer and setting mat. I think it's to set eyelets. Tell you what: I'll just leave you to fend for yourself on this step.

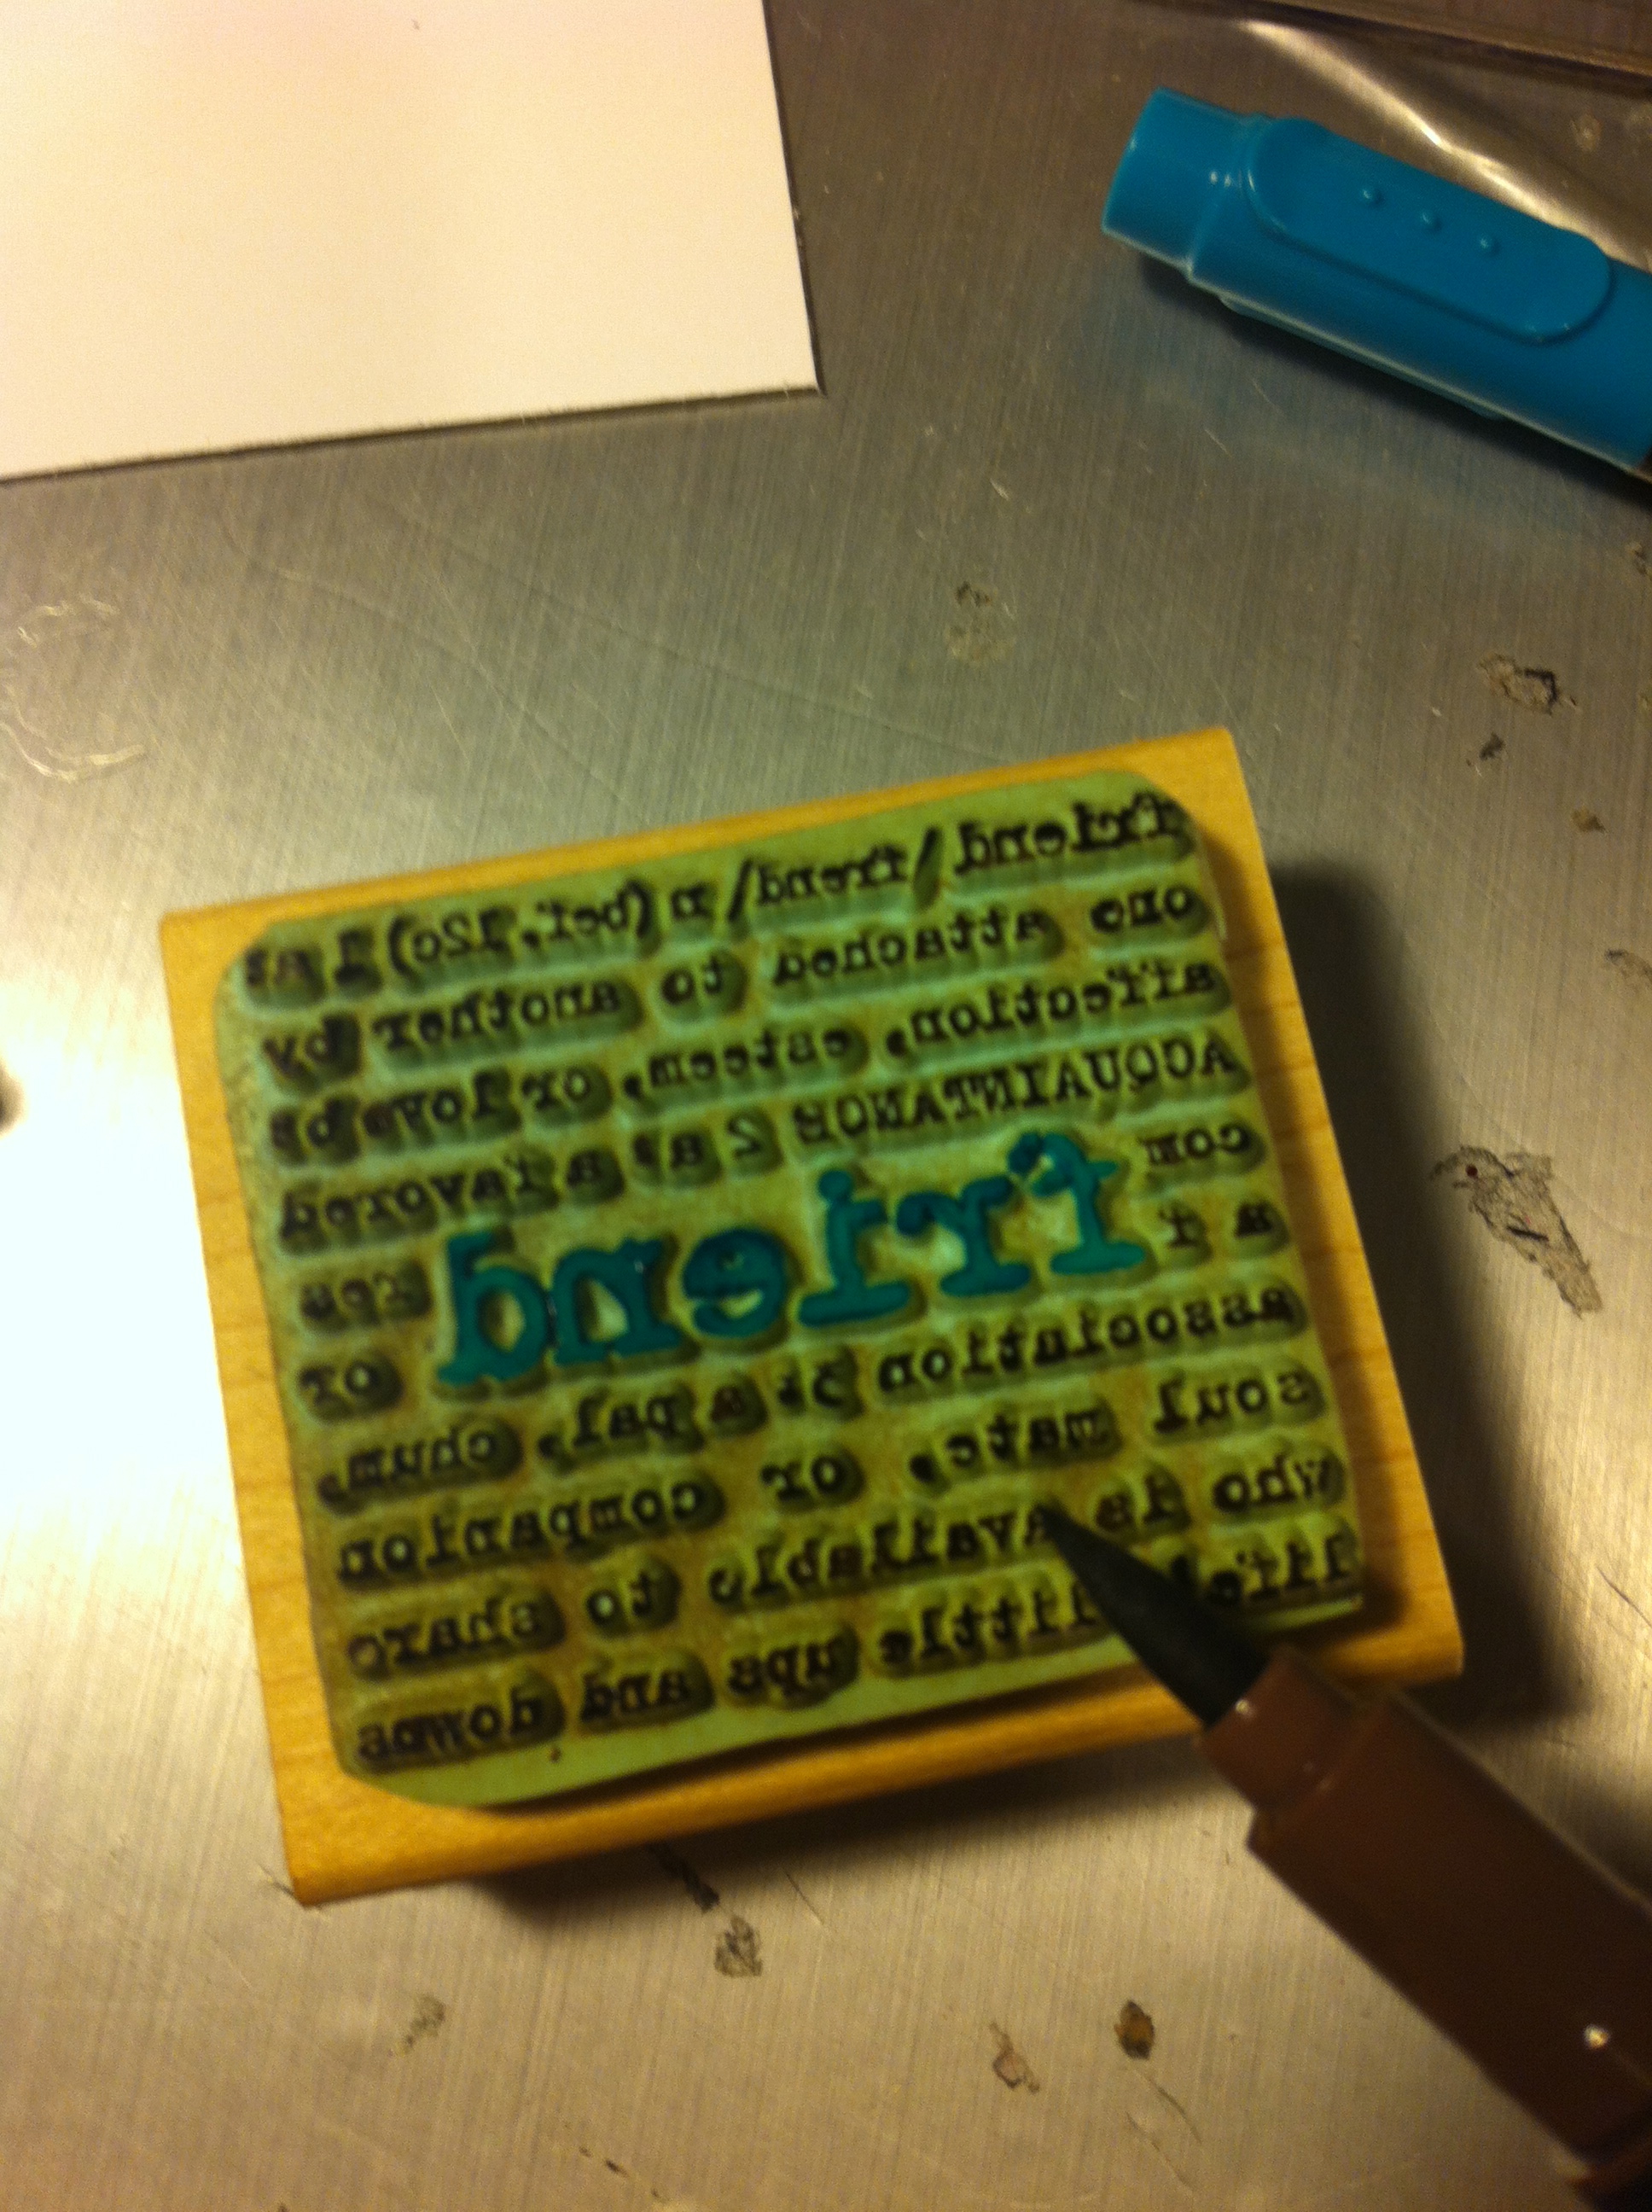
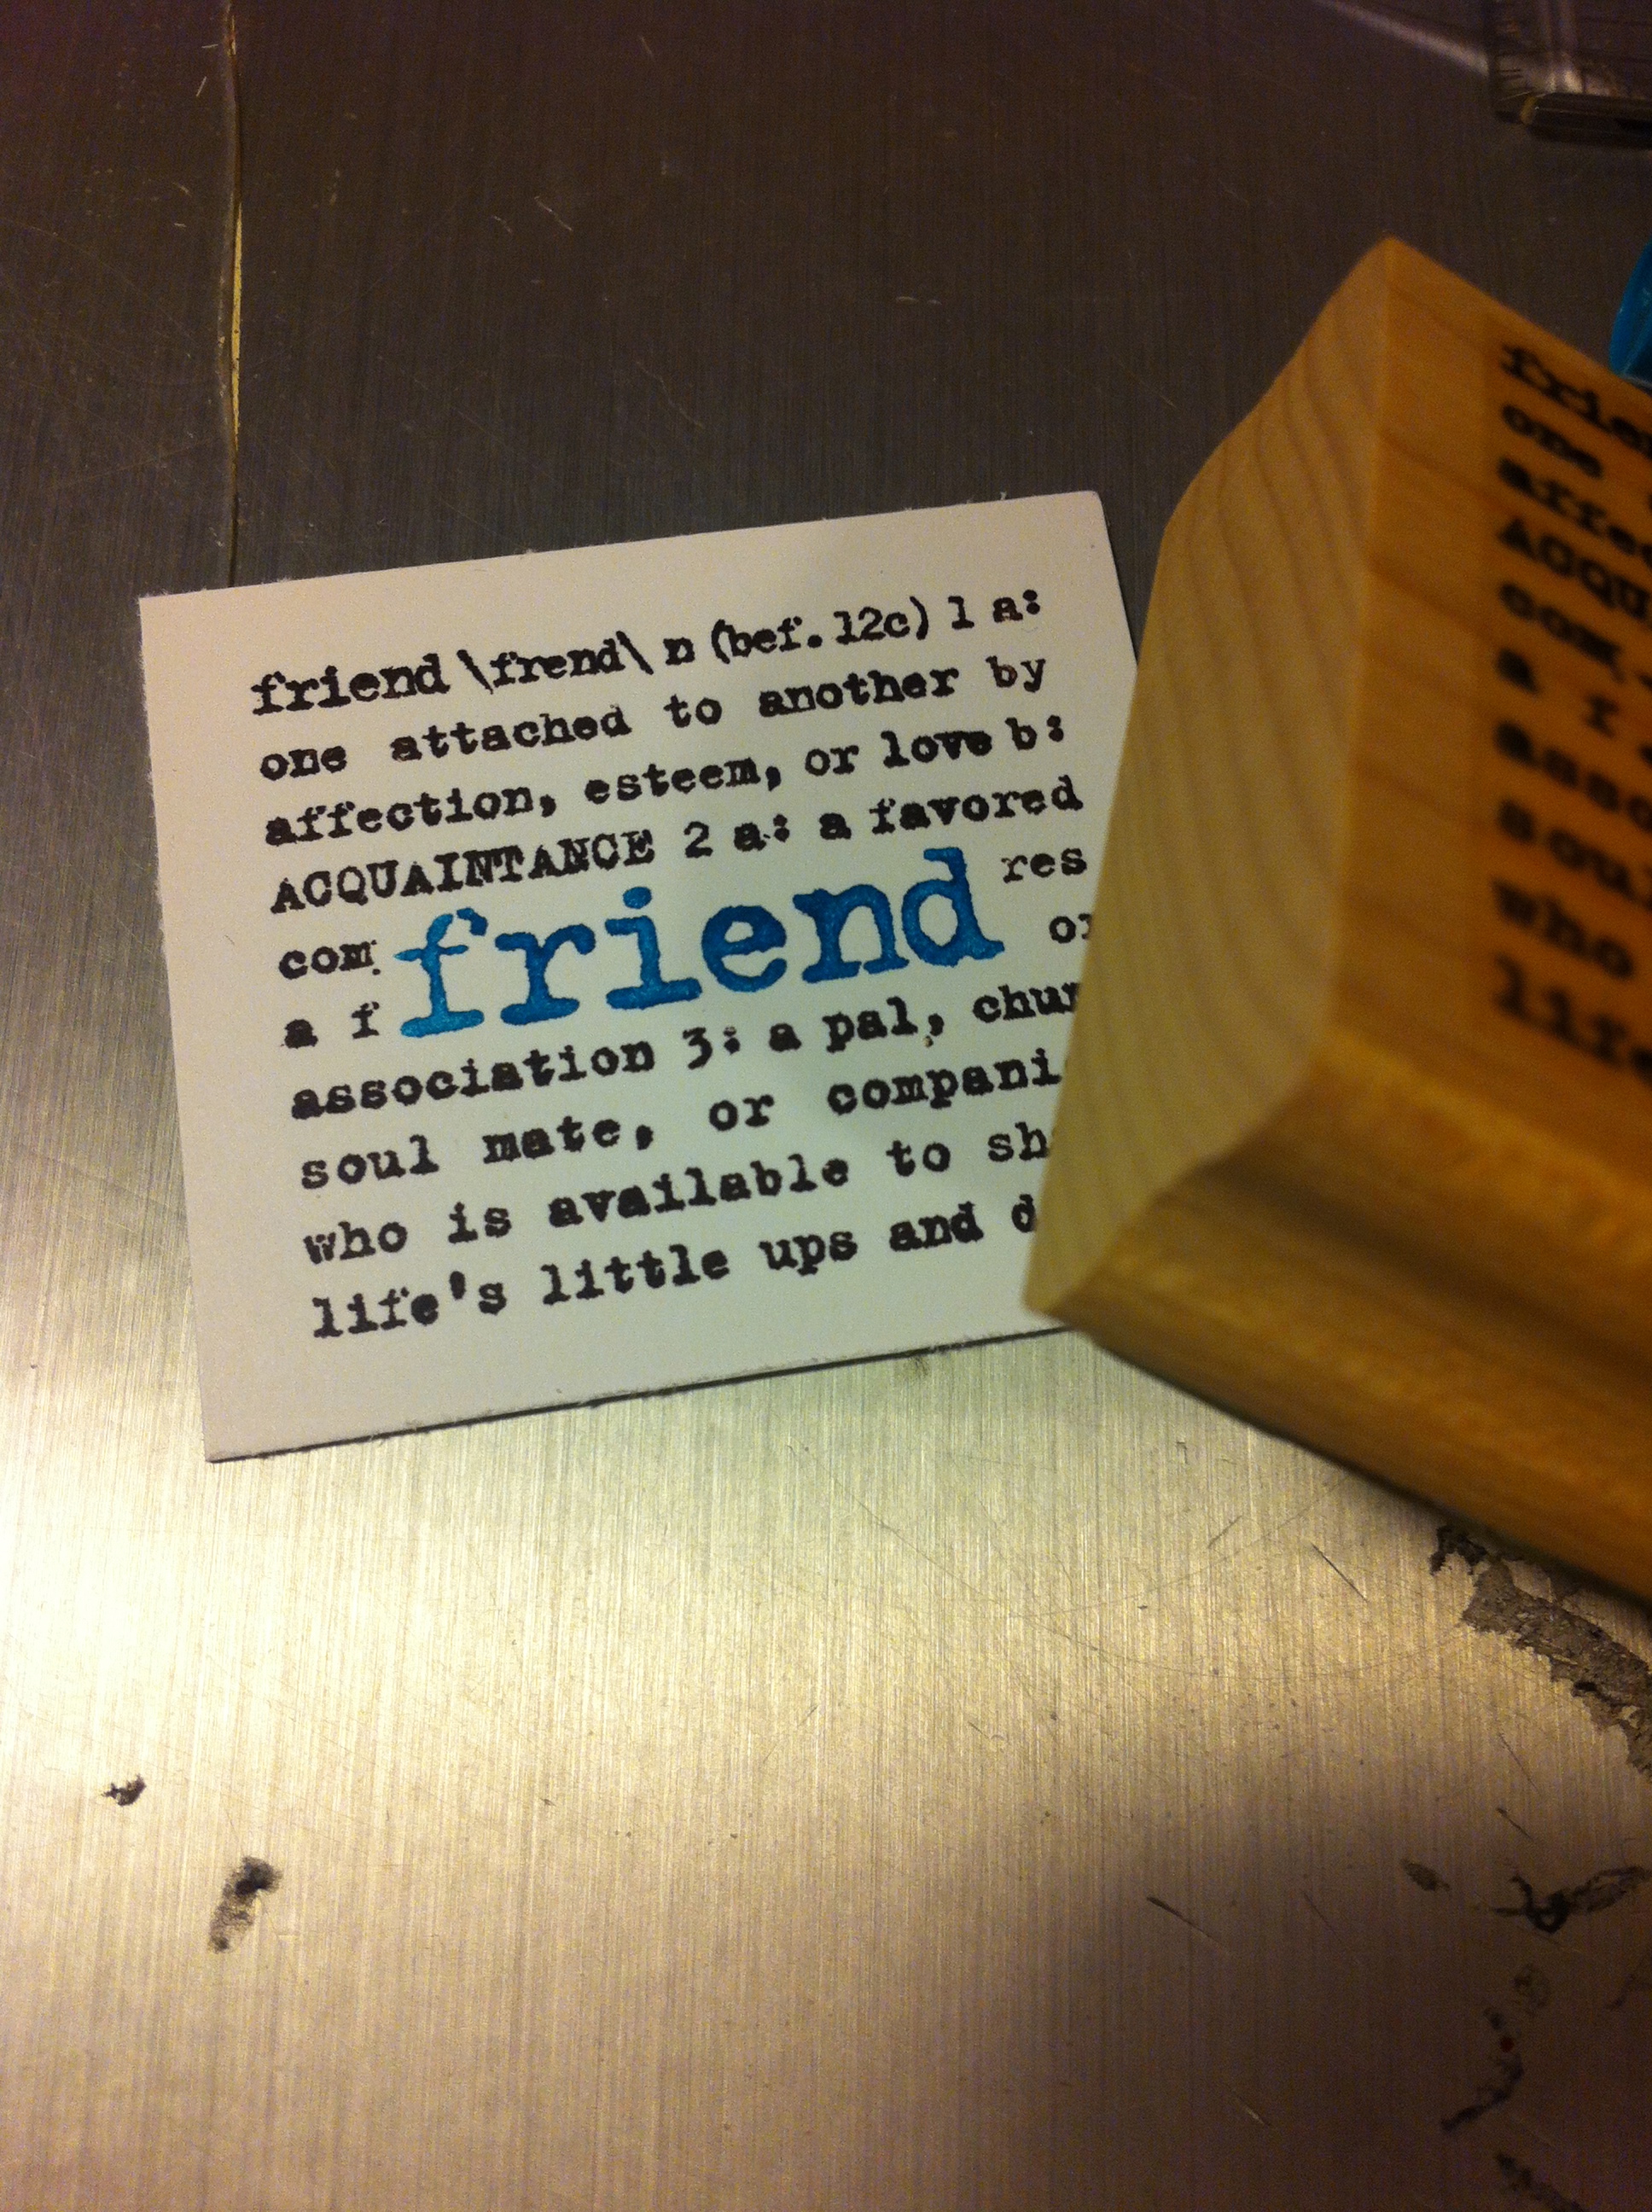
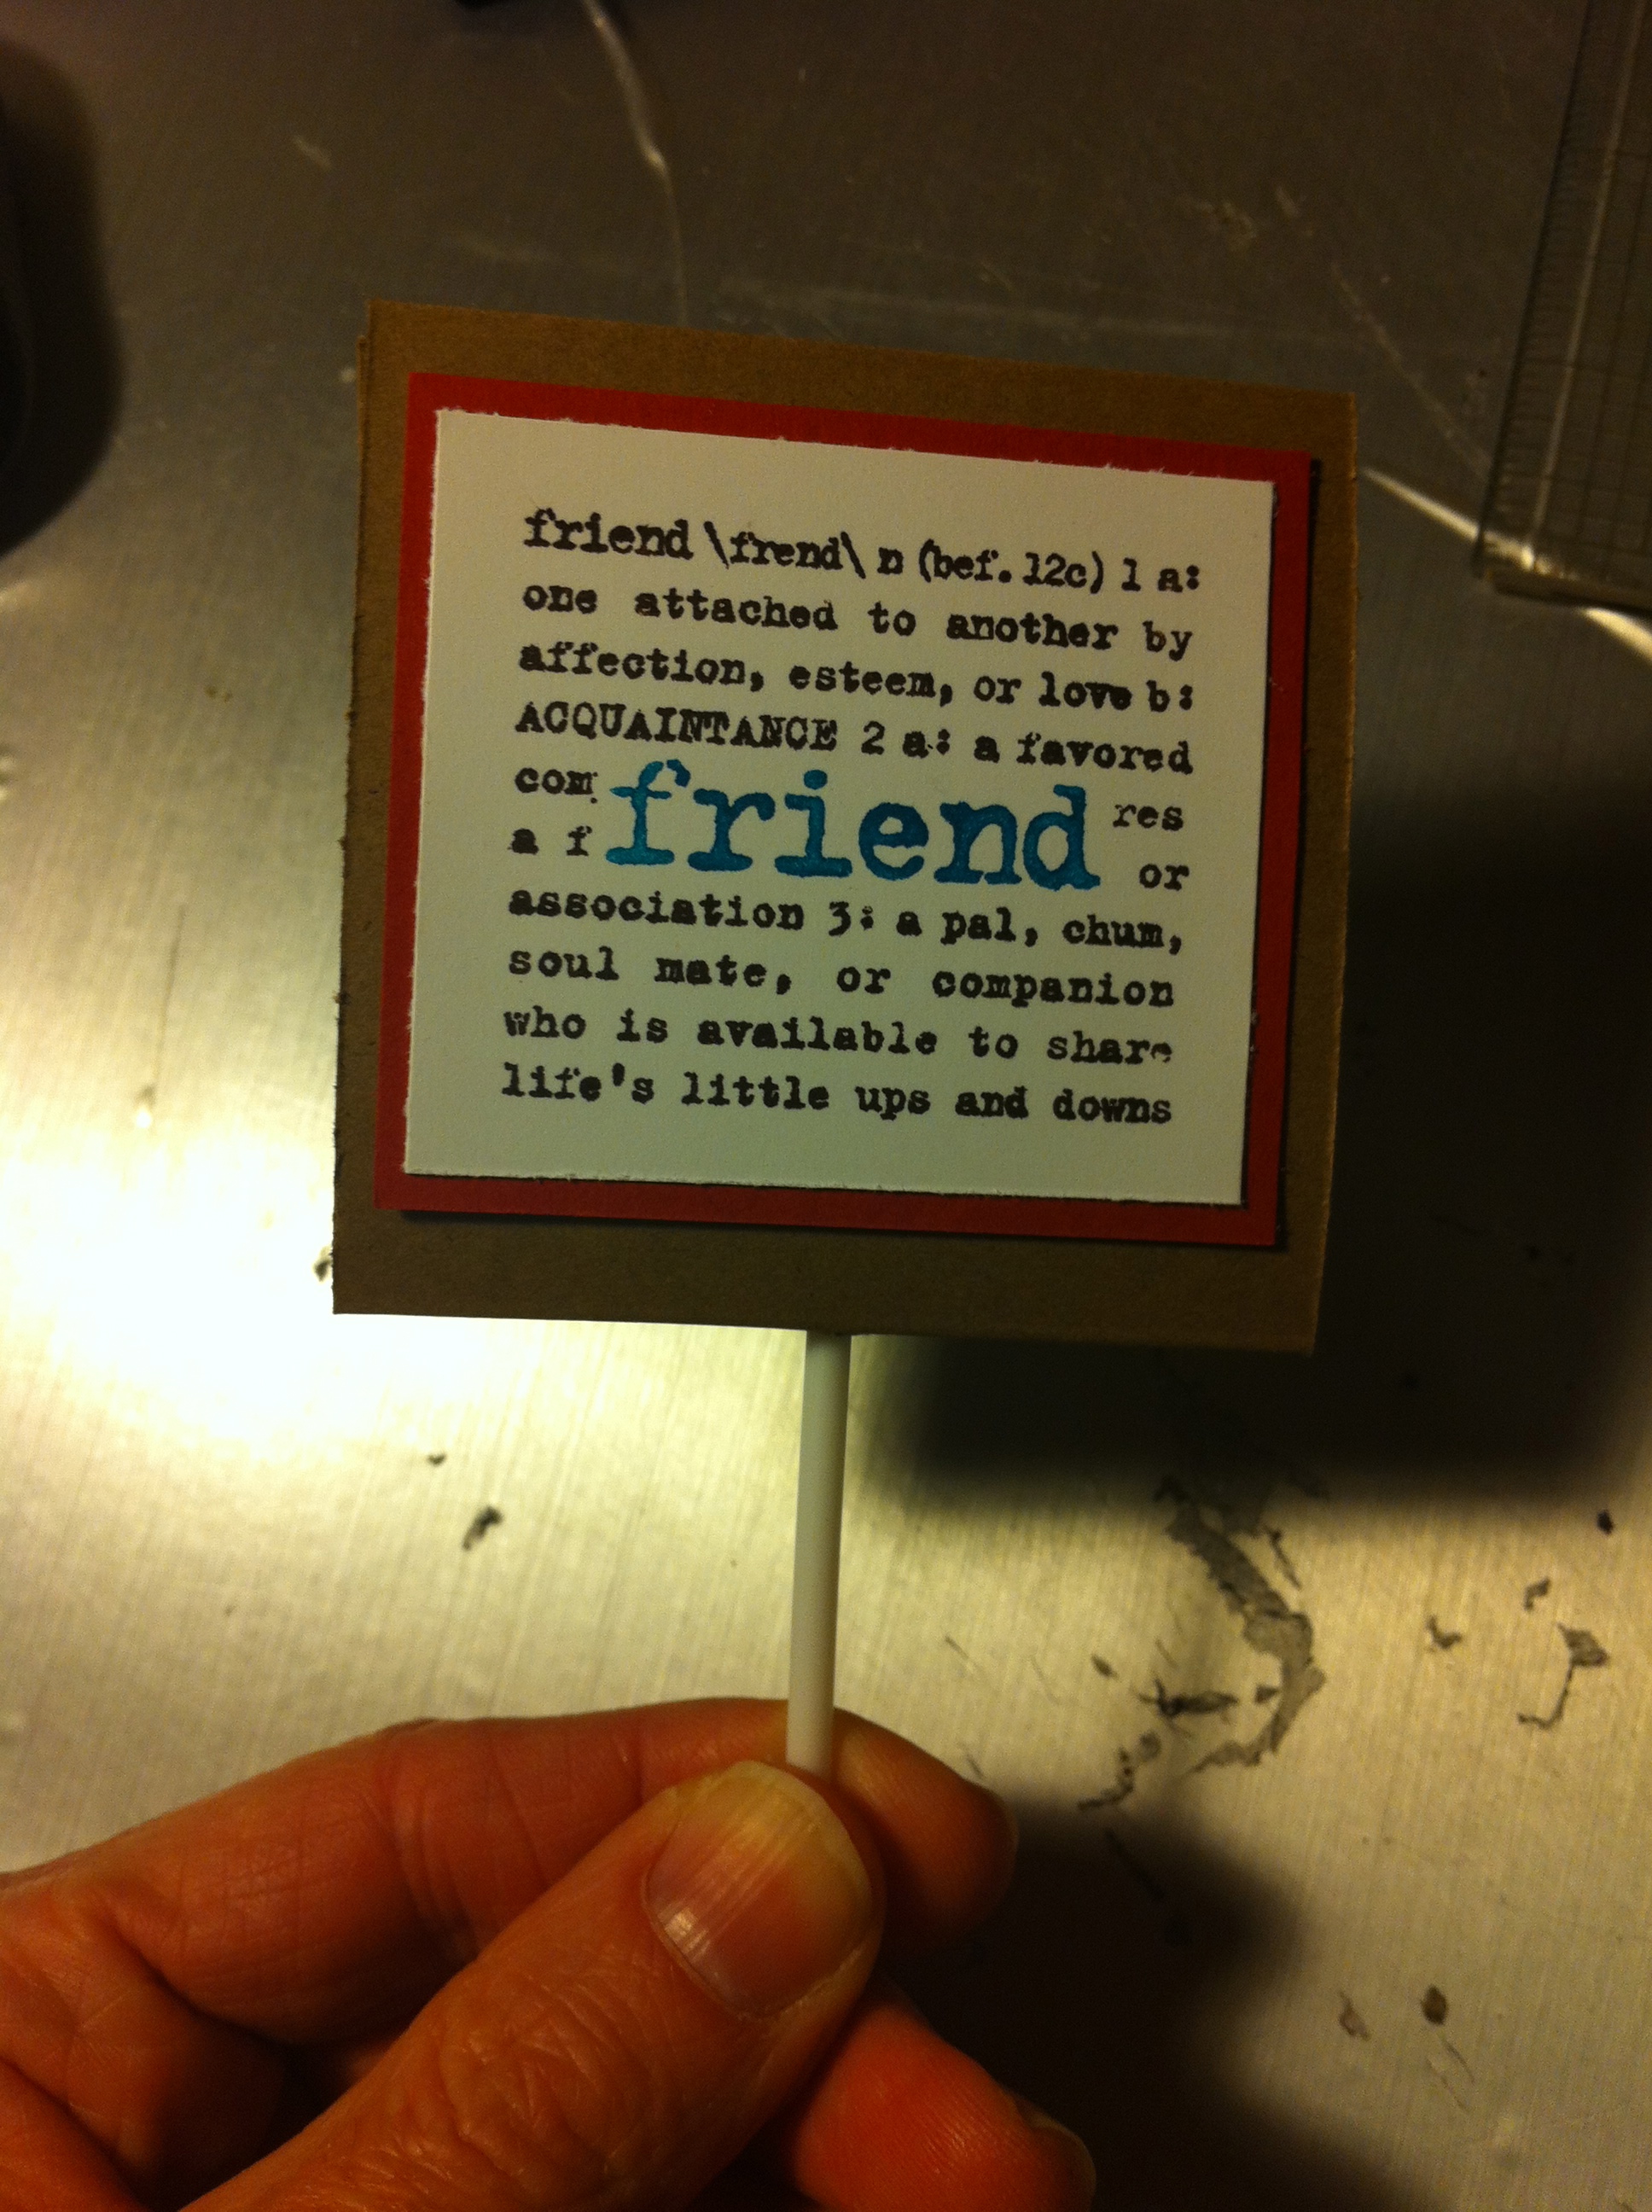
The cover is now made, now you just need a little (or a lot) of decoration for the front. Redman's sole directive is that his Valentines not be too "lovey mushy". So we went through my drawers of rubber stamps and he picked this friendly one, to be stamped in brown and blue ink.

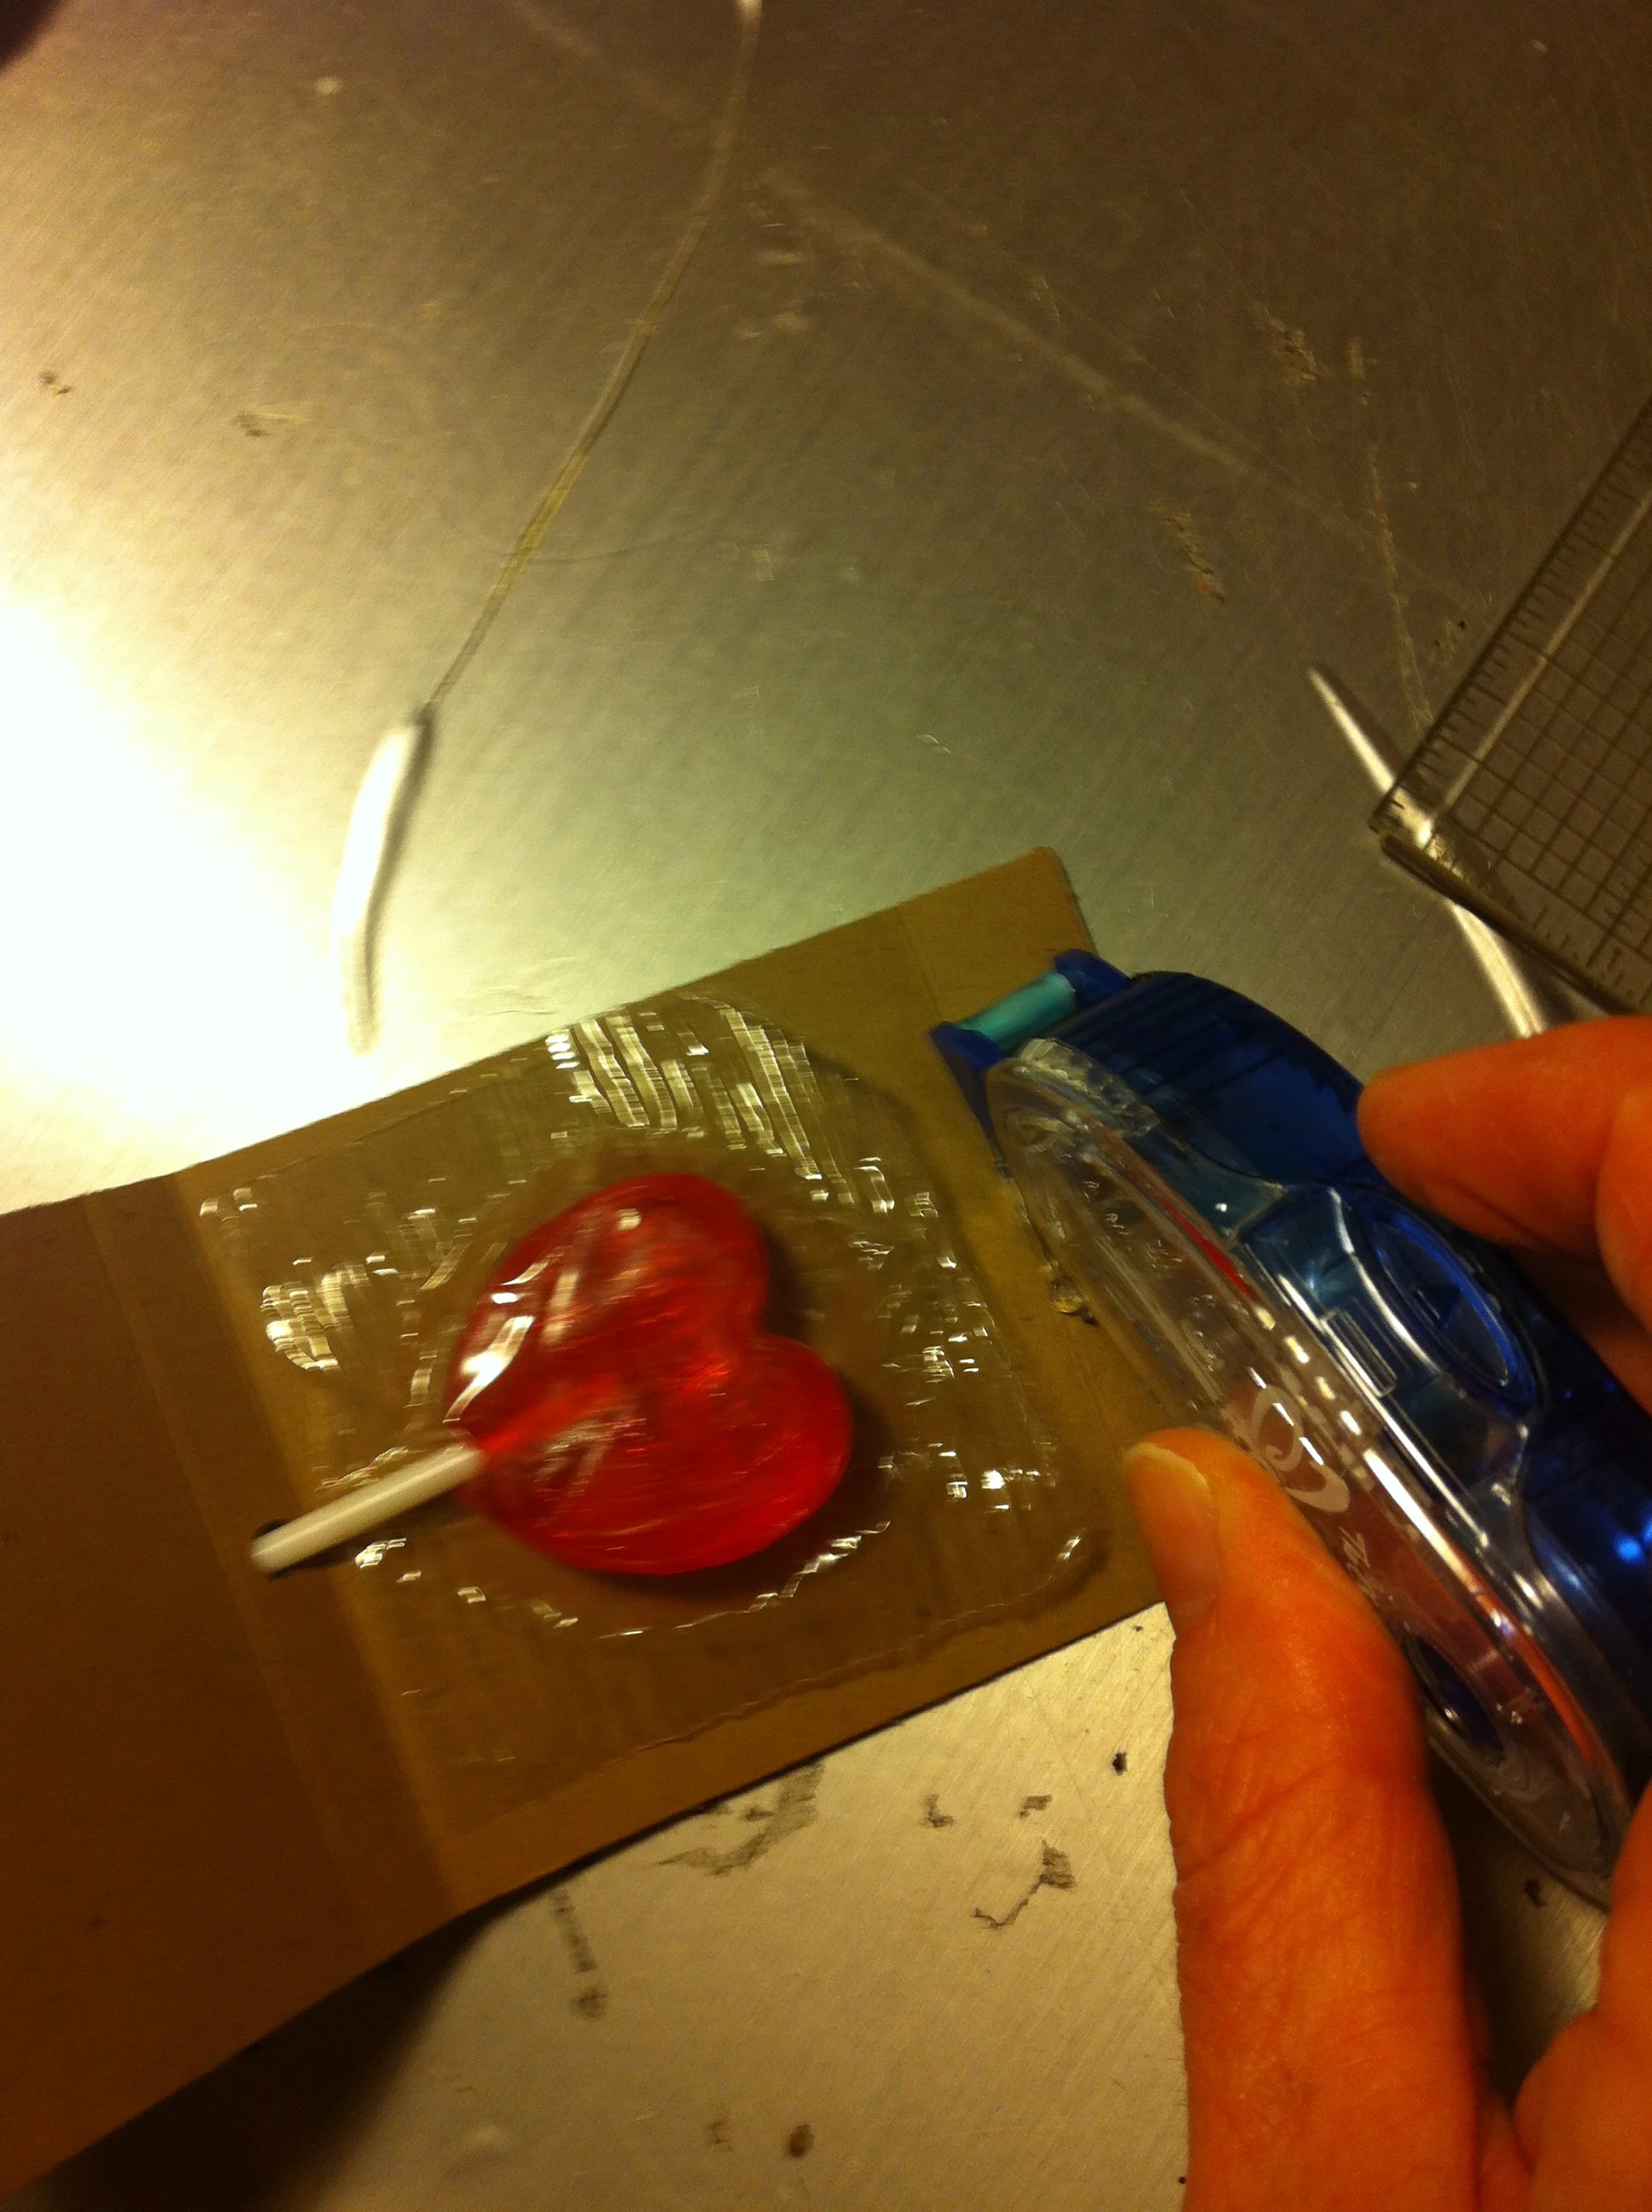
We mounted it on red paper and stuck it to the front. Then slide the stick of the lollipop through the hole and stick down the flap in the back. Done and done.

Panda adopted the same matchbook design, but skipped the lollipop in favor of a single heart-shaped chocolate. These go to her girlfriends as there seems to be an indefinite hiatus on boys receiving Valentines.

Fine by me.

Sweets to the sweet.

Artichoke Dip, Saucepans, and Paper Roses

"As all caregivers know, at four o'clock, children must be fed something."--Laurie Colwin

With triplet boys, Suzanne T. knows this all too well, and around 4:00—at least on the days that I've been in her house—she is putting out little somethings to eat. Cheese and crackers, chips and hummus, veggies and dip.  Of course I've done this myself, who can't do this? But did you ever notice that the hors d'oeuvres always look greener in someone else's kitchen? Why do most of us possess a slightly nagging suspicion that as well as we do it, somewhere there's someone doing it cooler?

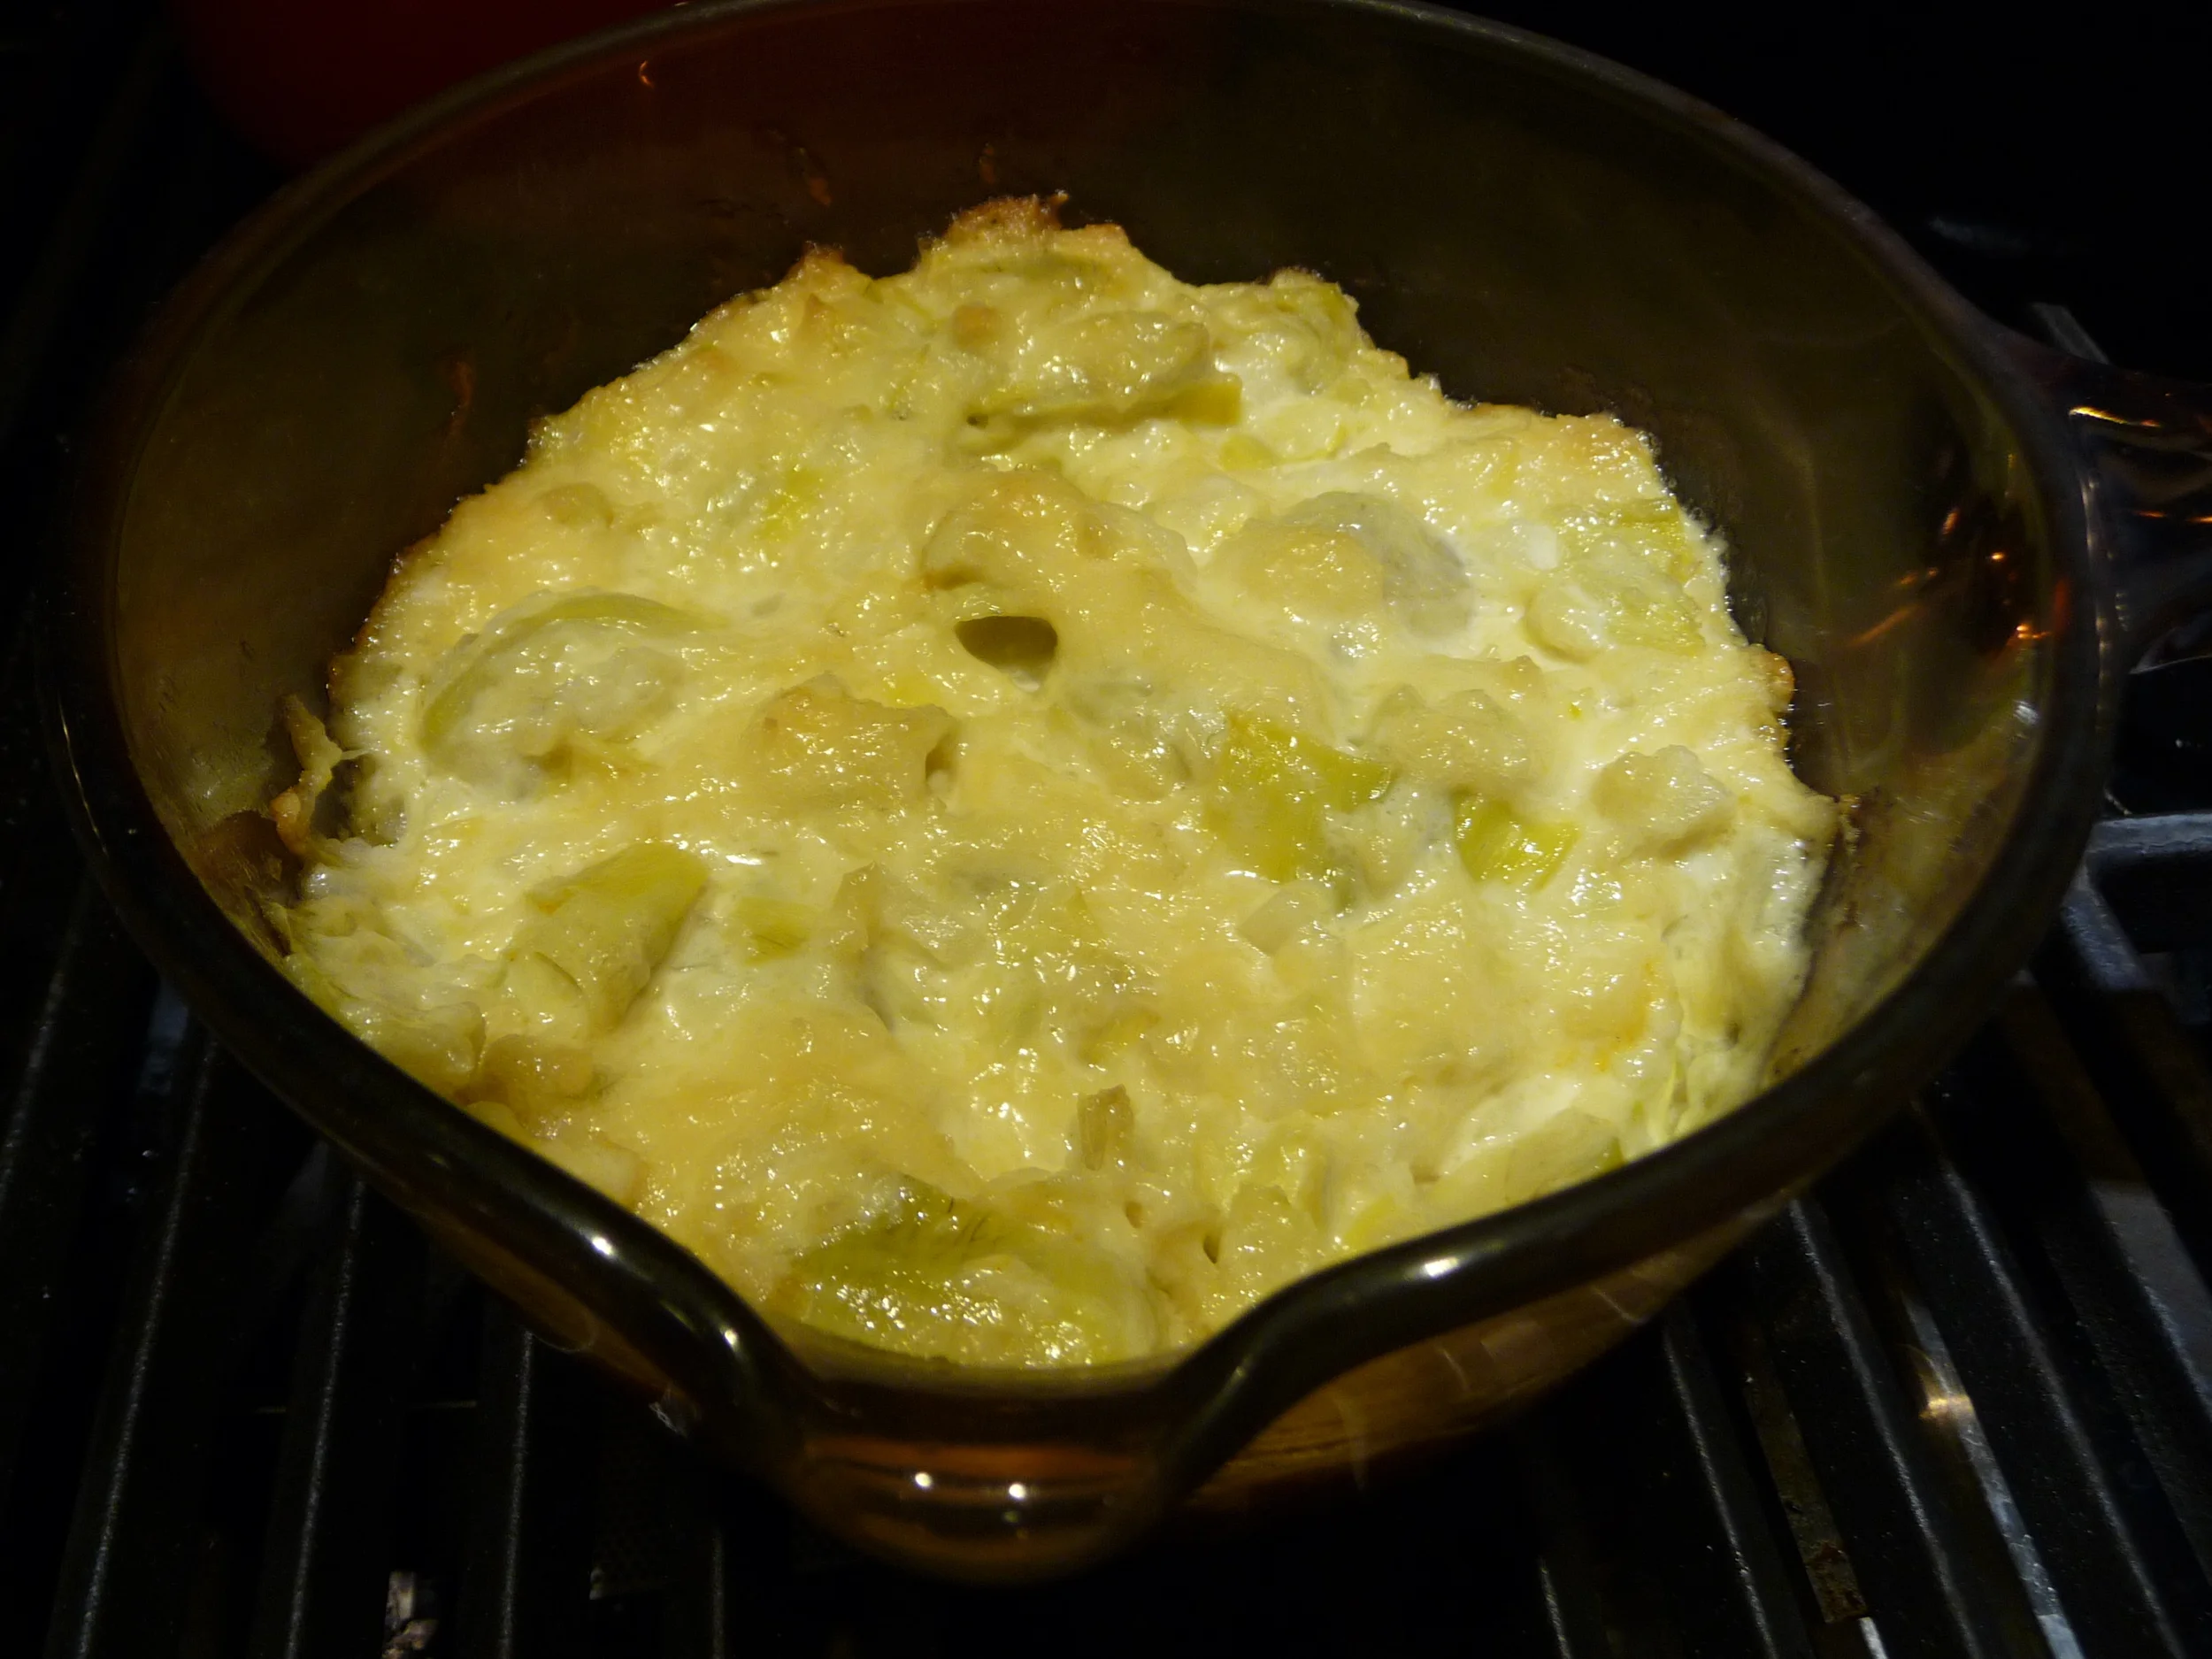
Oh screw it. Anyway, where was I? Right, the 4:00 nosh, and out of the oven Suzanne pulls a crock of amazingness: hot artichoke dip. We fell on it with pita chips and groans. I offered a taste to Panda which she accepted with a wrinkled nose. Next thing I knew she was elbowing Jeeps out of the way to get her chip into the heart of the crock. Move over ranch dressing, there's a new kid in town. 

So tonight Redman was at a friend's and got the playdate extended to dinner, and Panda asked if I'd make the dip. Why certainly, my dear. Let's have a little cocktail hour of our own.

By the way, did I ever introduce my little Corning Glass saucepan?  I have two of them.  Did I tell you this story?  No?  Well once upon a time, I used to waitress at Ponderosa. I'll pause while you process that. Yeah, it sucked, but there were small glimmers in the misery. One was this guy David who was a salesman for Corning. 

David would come into the Ponderosa every Wednesday or something, and he'd always sit in my section. He was an older guy, greying with a mustache, and just very nice to me. He possessed that keen trick some men have of taking an ordinary, restaurant-issue paper napkin and folding it into a rose. And he'd leave that along with the tip every Wednesday. 

Time passed and soon I was moving on to bigger and better things, and on my last Wednesday, David left more than a tip and a paper rose: he gave me two little Corning Glass saucepans. We said goodbye and never crossed paths again.

Or we might have.

A few summers ago, when Panda was quite young, we were down at the Jersey Shore and out to dinner at the Italian restaurant on the corner. All through dinner, there was this silver-haired gentleman with a mustache, sitting with his wife and grown children at a table across the room, and he kept glancing sideways at Panda and smiling. 

When he got up to leave with his family, he came by our table and held out to Panda a paper napkin, folded into a rose. "I just love your red hair," he said gallantly, winked at me and left. It was like a full five minutes later when my head snapped up and I thought, Oh my God, was that David?

Highly unlikely, but it makes a nice story to have over the 4:00 hors d'oeuvres.

Suzanne's Highly Unlikely Artichoke Dip

  • 1 can artichoke hearts, chopped
  • 1/2 onion, diced
  • 2 cloves garlic, minced
  • 1 cup mayo
  • 1 cup parmesan cheese
  • Pinch of horseradish (optional, I didn't have any, neither did Suzanne when she made it this last time)

Preheat oven to 350

Mix all ingredients in a bowl and pour into a small oven-proof pot, crock or casserole

Bake 25-30 minutes.

Serve.

Nosh.


Photo Credit (via creative commons):
Tavins Origami

Christmas Crafts: Paper Ornaments

OK, I've never done an actual craft tutorial before. Some of the photos are going to be weird, if not outright bad, because most were taken lefty. Taking pictures of cooking is hard enough. For crafting you definitely need a third arm. I could've called Panda to help but she was reading. Let me repeat that.  She was reading. Which never happens. So I left her alone.

Also, I first thought, "Oh my God, before I do this post, I have to vacuum my office floor!" Then I figured you all would appreciate how things truly look around here, so here you go:

That's the state of the floor when I'm in the midst of Christmas card making, in fact this isn't even bad, last week was worse. I don't even attempt to be neat about things, I just let every snippet and scrap fall on the floor and then write my Dyson a check later. Then I have to push all this other shit I'm working on aside:

I know, I have problems. So, ANYWAY, the ornaments....

I discovered these last year and in my usual manner, I made like a thousand. No really. A thousand. Look:

But I love them, they remind me of the onion domes on Russian Orthodox cathedrals. And they really are quite simple to make.

You need:

  • Designer paper (mine is from a holiday pack I got at Michael's.)
  • 20-gauge jewelry wire (or 18 is fine, too)
  • Beads (don't tell me you don't have any)
  • 1/16" hole punch
  • 1", 1/2" and 3/4" circle punches as desired
  • Card stock to complement paper
  • Wire cutters (or scissors you don't care about)
  • Needle-nose pliers (and I found mine!!!!)

You can make the ornaments any length you want. The one I'm making here is 3 3/4". If your paper has a definite "order"—such as mine has little holiday sayings in it—you will want to keep the strips of paper in order as you cut them. Likewise if there is a definite "top" and "bottom" to your pattern, you'll want to keep an eye on it.

Start by punching circles from card stock for the discs that go at the top and bottom of the ornament.  Here I've layered a 1/2" blue on a 3/4" red on a 1" green. Affix them with glue stick or mono adhesive (I use Tombow) and then punch a 1/16" hole through all layers. Put those aside.

Cut your paper into 18 1/2" strips.  Ornaments smaller than 3" will only need about 15 or 16 strips.

Punch a 1/16" hole in each end of each strip. This step is bo-ring. To make sure I'm punching each the same, I made myself a little 1/2" guide out of cardstock. I lay that on top and punch through 4 or 5 strips at a time.

Cut a piece of jewelry wire. Give yourself wiggle room and cut it an inch or two longer than your paper strips. With the pliers, put a loop in the end. Slide on 3 or 4 beads and one of the cardstock discs.

Now start threading on your strips of paper, design side down (facing the table). If your pattern has a "bottom" end, this should be the end you're threading. Now take the last strip you threaded on, curve it up and over and thread it back onto the wire (if you cut your wire extra long you might want to trim some off at this point). Continue threading the strips back on and moving them over to the side, and the ornament begins to take shape.

When the last strip is on, thread on the other cardstock disc, and another 3-4 beads. Slide your fingers down until the ornament is as round or "squished" as you like. Holding it where you want it, trim the wire just above your fingertips. Grab the end with the pliers and loop it around. Voilà. You are a genius.

To make a "double" ornament, you would need an extra, single cardstock disc to put between, and another 15-16 strips in a shorter length.  Make the larger ornament as shown above, the slide on a single disc.  Then thread on the shorter strips and repeat, finishing with a layered disc and beads.

Careful, these are kind of addictive....

My craft supplies called....

...they want me back. Bad. I've been a little busy in the evenings. In a good kind of way:

I haven't sat down to make cards since I made Valentines in February. I just kind of stalled out in the crafting department. Come to think of it, I haven't actually worked at my desk this summer. I was mostly sitting at the dining room table with my laptop because my office doesn't have windows, and with all the work I do in the gardens, I want to be able to see them. Also it gets chilly downstairs and I hate to be cold.

But I wandered down a couple nights ago to clean up my desk. Next thing I knew, in a daze of must...create...now...stamps...paper...fabric...yes. 

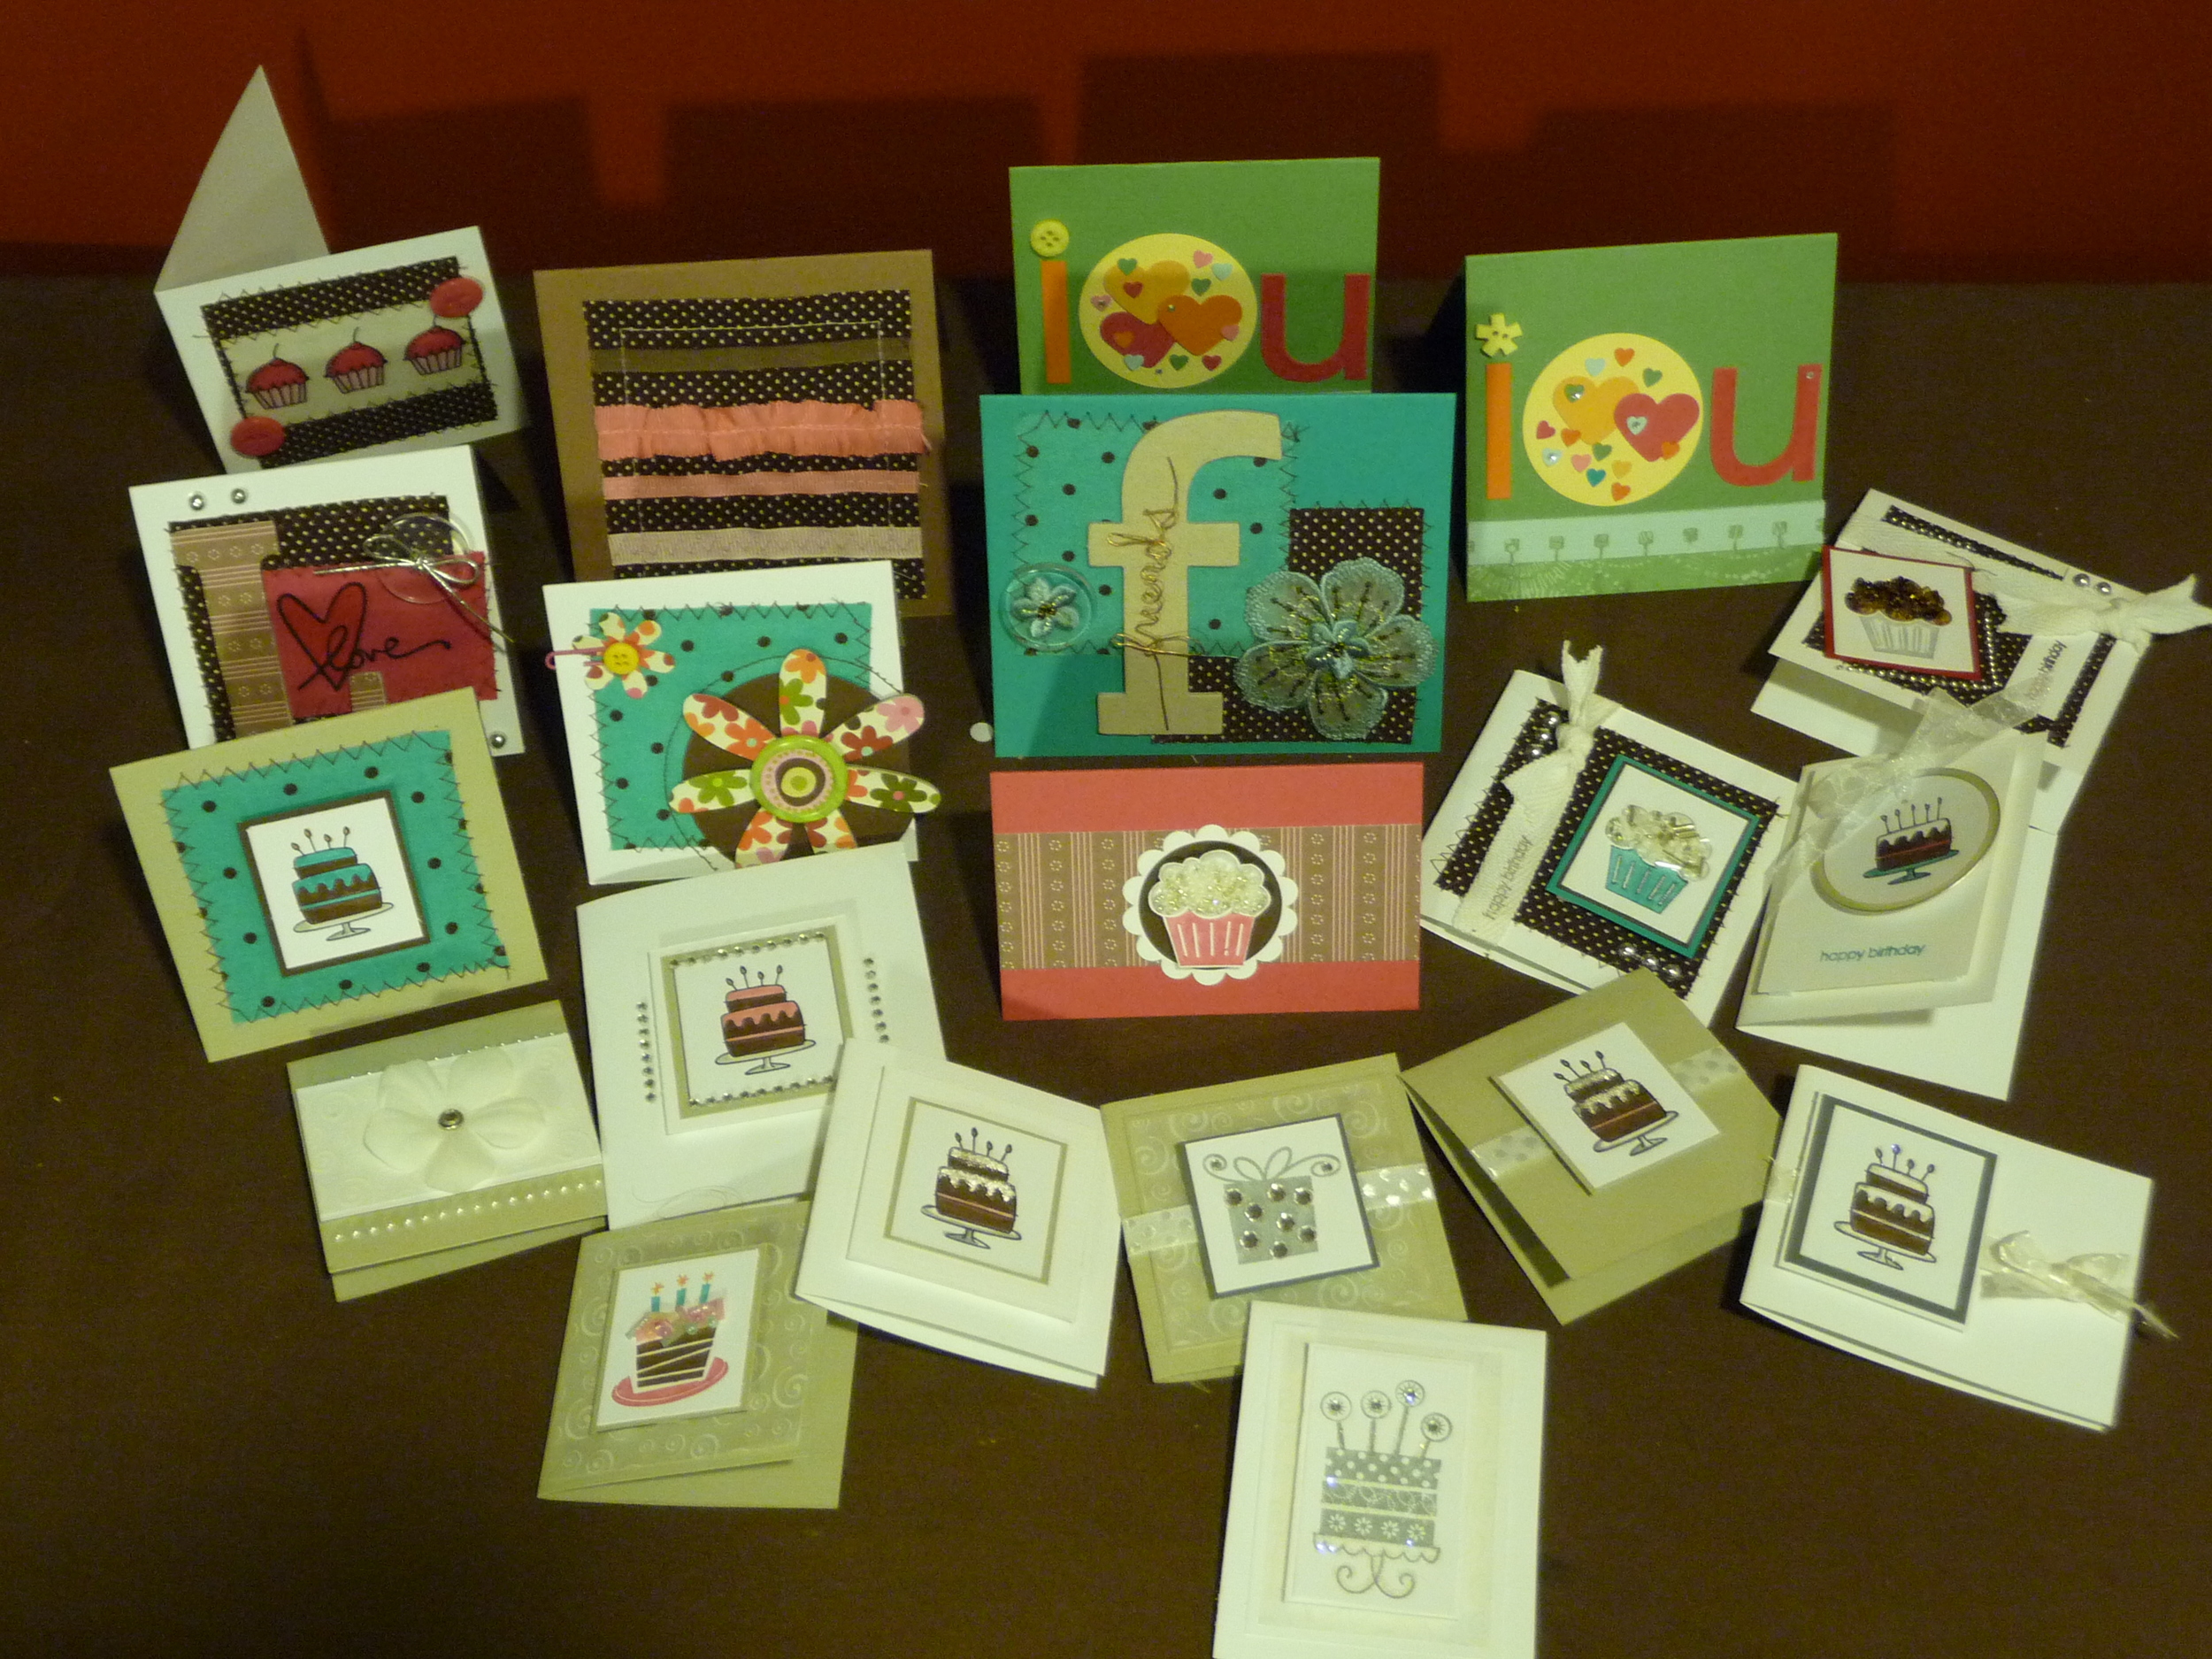
Said daze just kept going on and on, and now I've got birthdays covered.  Is it too early to start Christmas cards?

This one is by far my favorite:

And I love making white-on-white cards:

And combining elements of sewing with paper was fun, too: