Christmas Crafts: Felt Tree Garland

I really do try to keep the Christmas Crafting in check, otherwise I end up with more doodads than I have places to put them. But this year we're moving some Christmas to the TV room downstairs, which goes hand-in-hand with a massive hauling out of old toys and junk, and surgery on our chimney so that maybe, finally, we can build a fire in the fireplace without filling the house with smoke. And suddenly there is a mantelpiece in need of its own little bit of holiday decor. Weird how that happens.

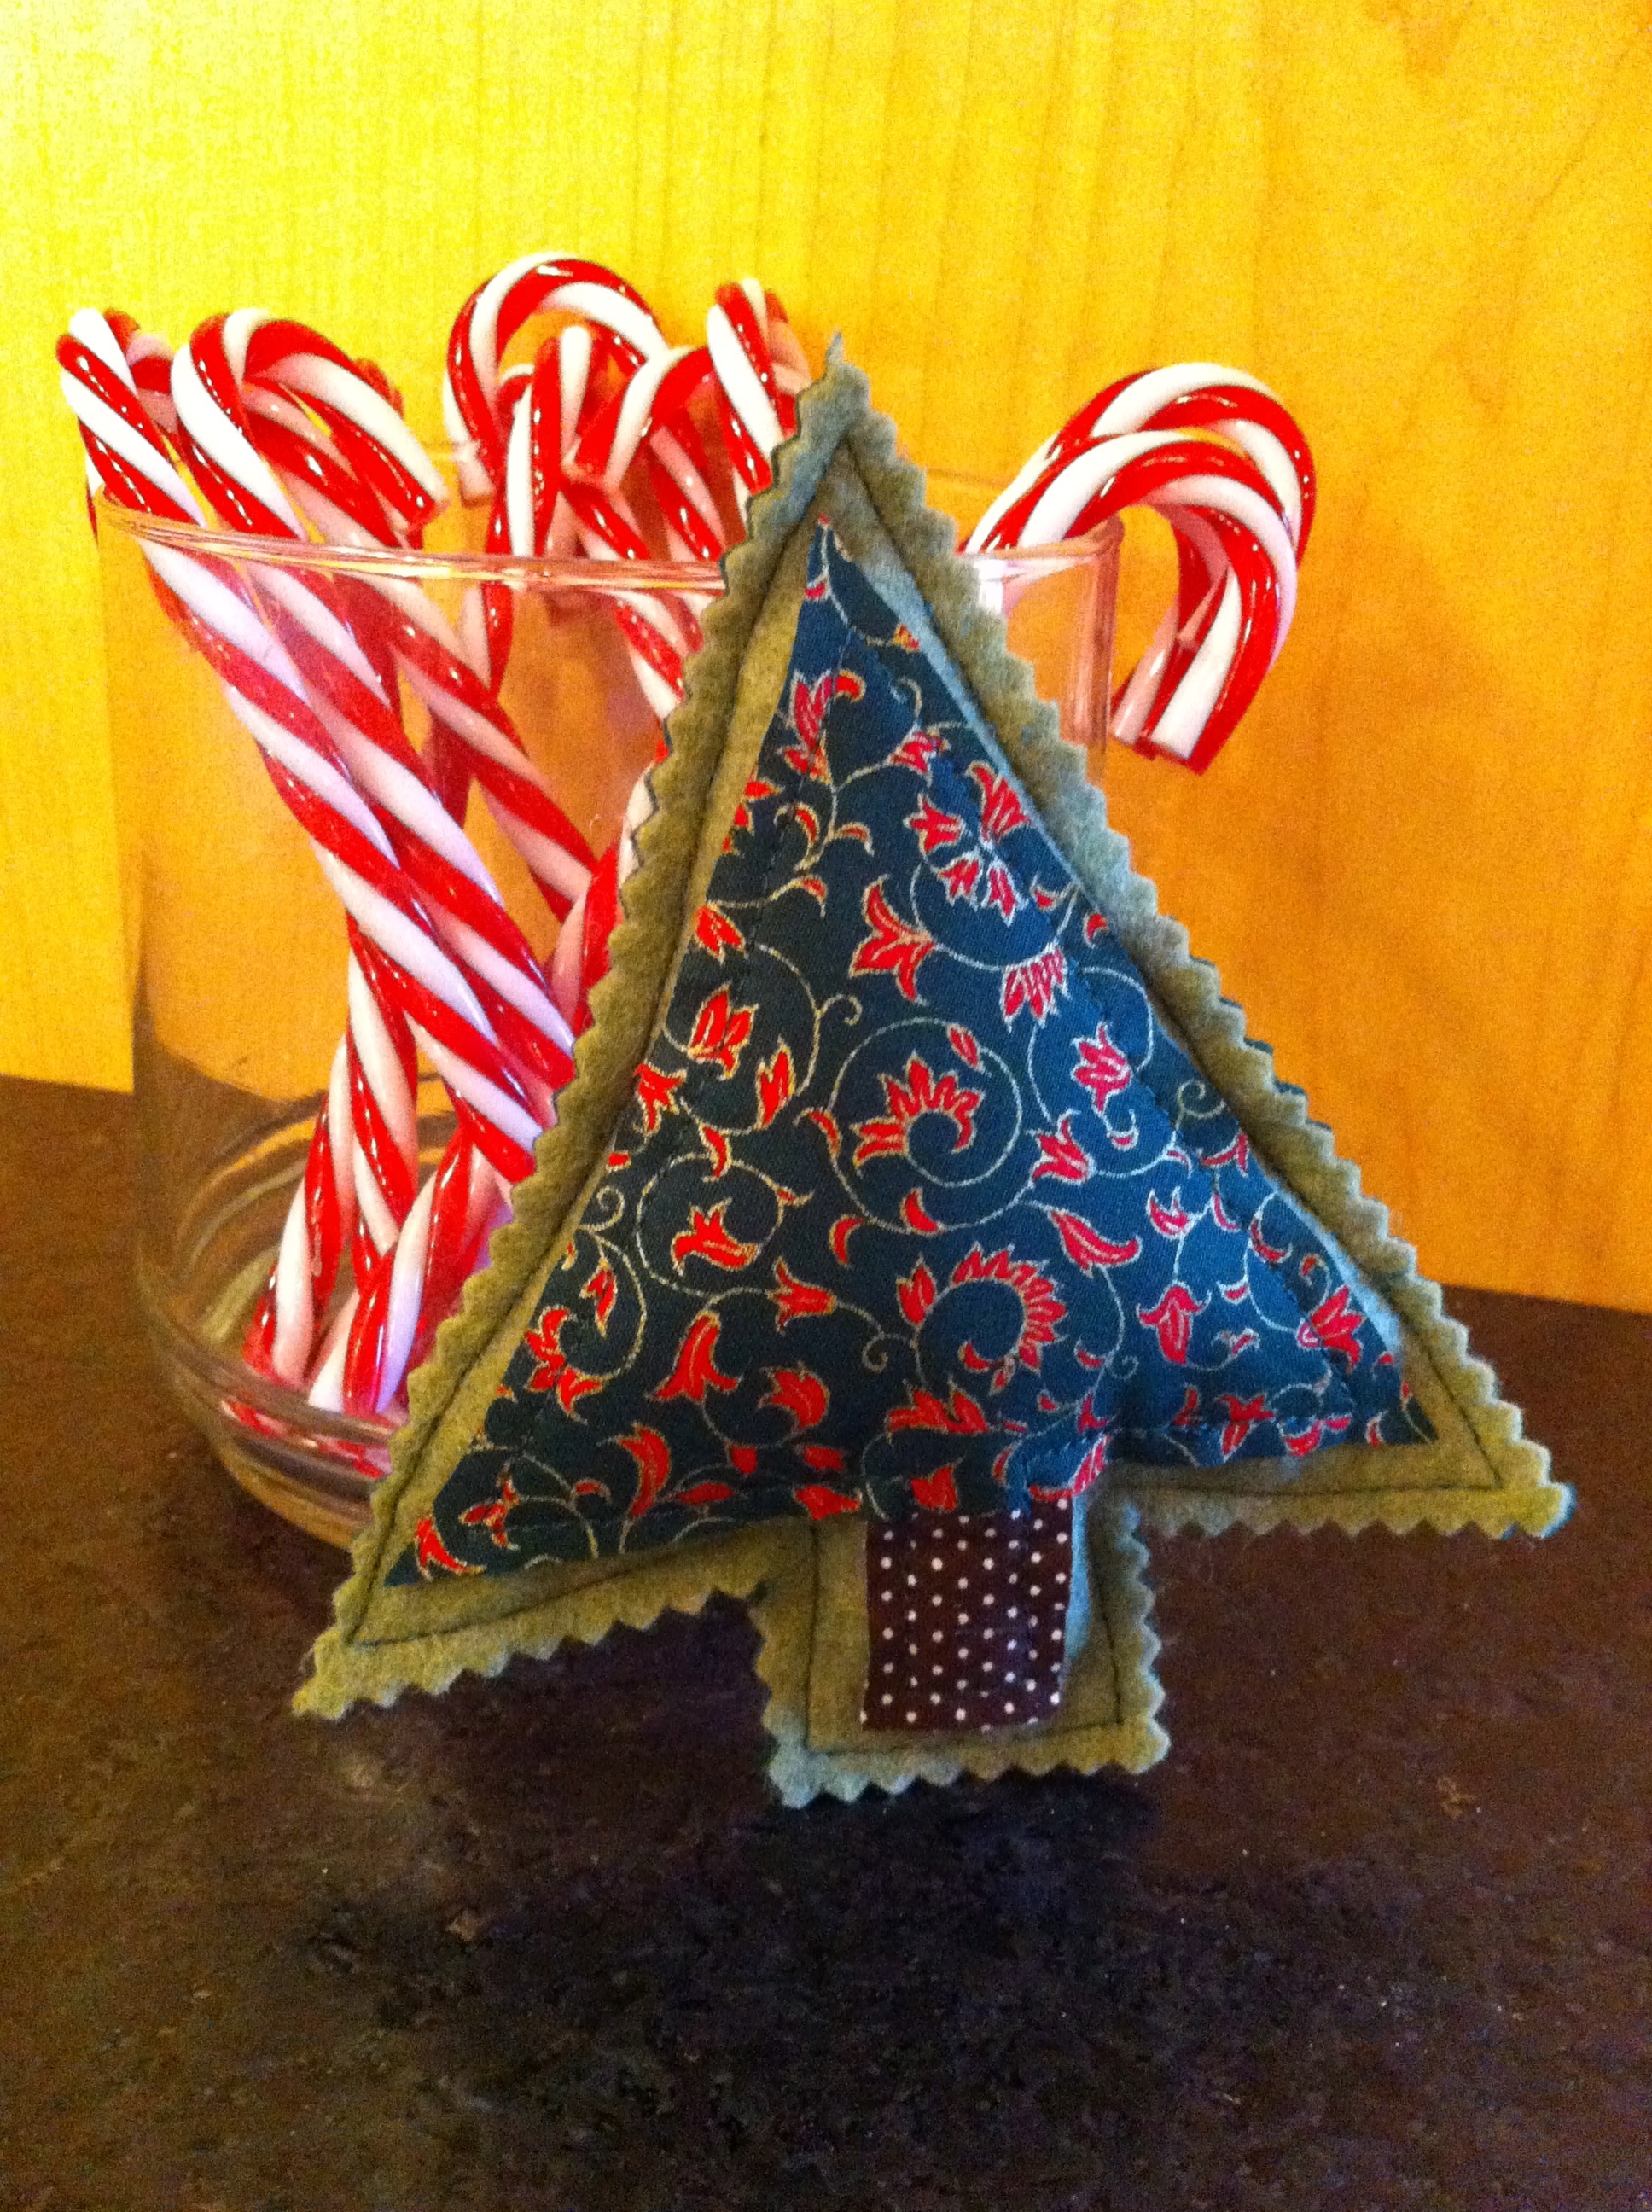
I found this tutorial at Noodlehead.com for a really adorable garland of felt trees that requires not much more than brown and green felt, and scrap holiday material. It doesn't even have to be holiday-themed. She used Liberty prints which were perfectly adorable.

This was a 2.5-evening project over the holiday weekend: Friday evening I cut out all the trees (you need 2 pieces of felt and one piece of fabric for each). Saturday evening I sewed and stuffed. Sunday afternoon I put it together. And I love it.

You can make the garland, or make each tree into a hanging or standing ornament. These are super easy, a great project for first-time sewers of all ages, and the garland looks nice anywhere you hang it.

Punkin'

It's nearing the end of October. Commence holiday crafting!! (Like we need an excuse)

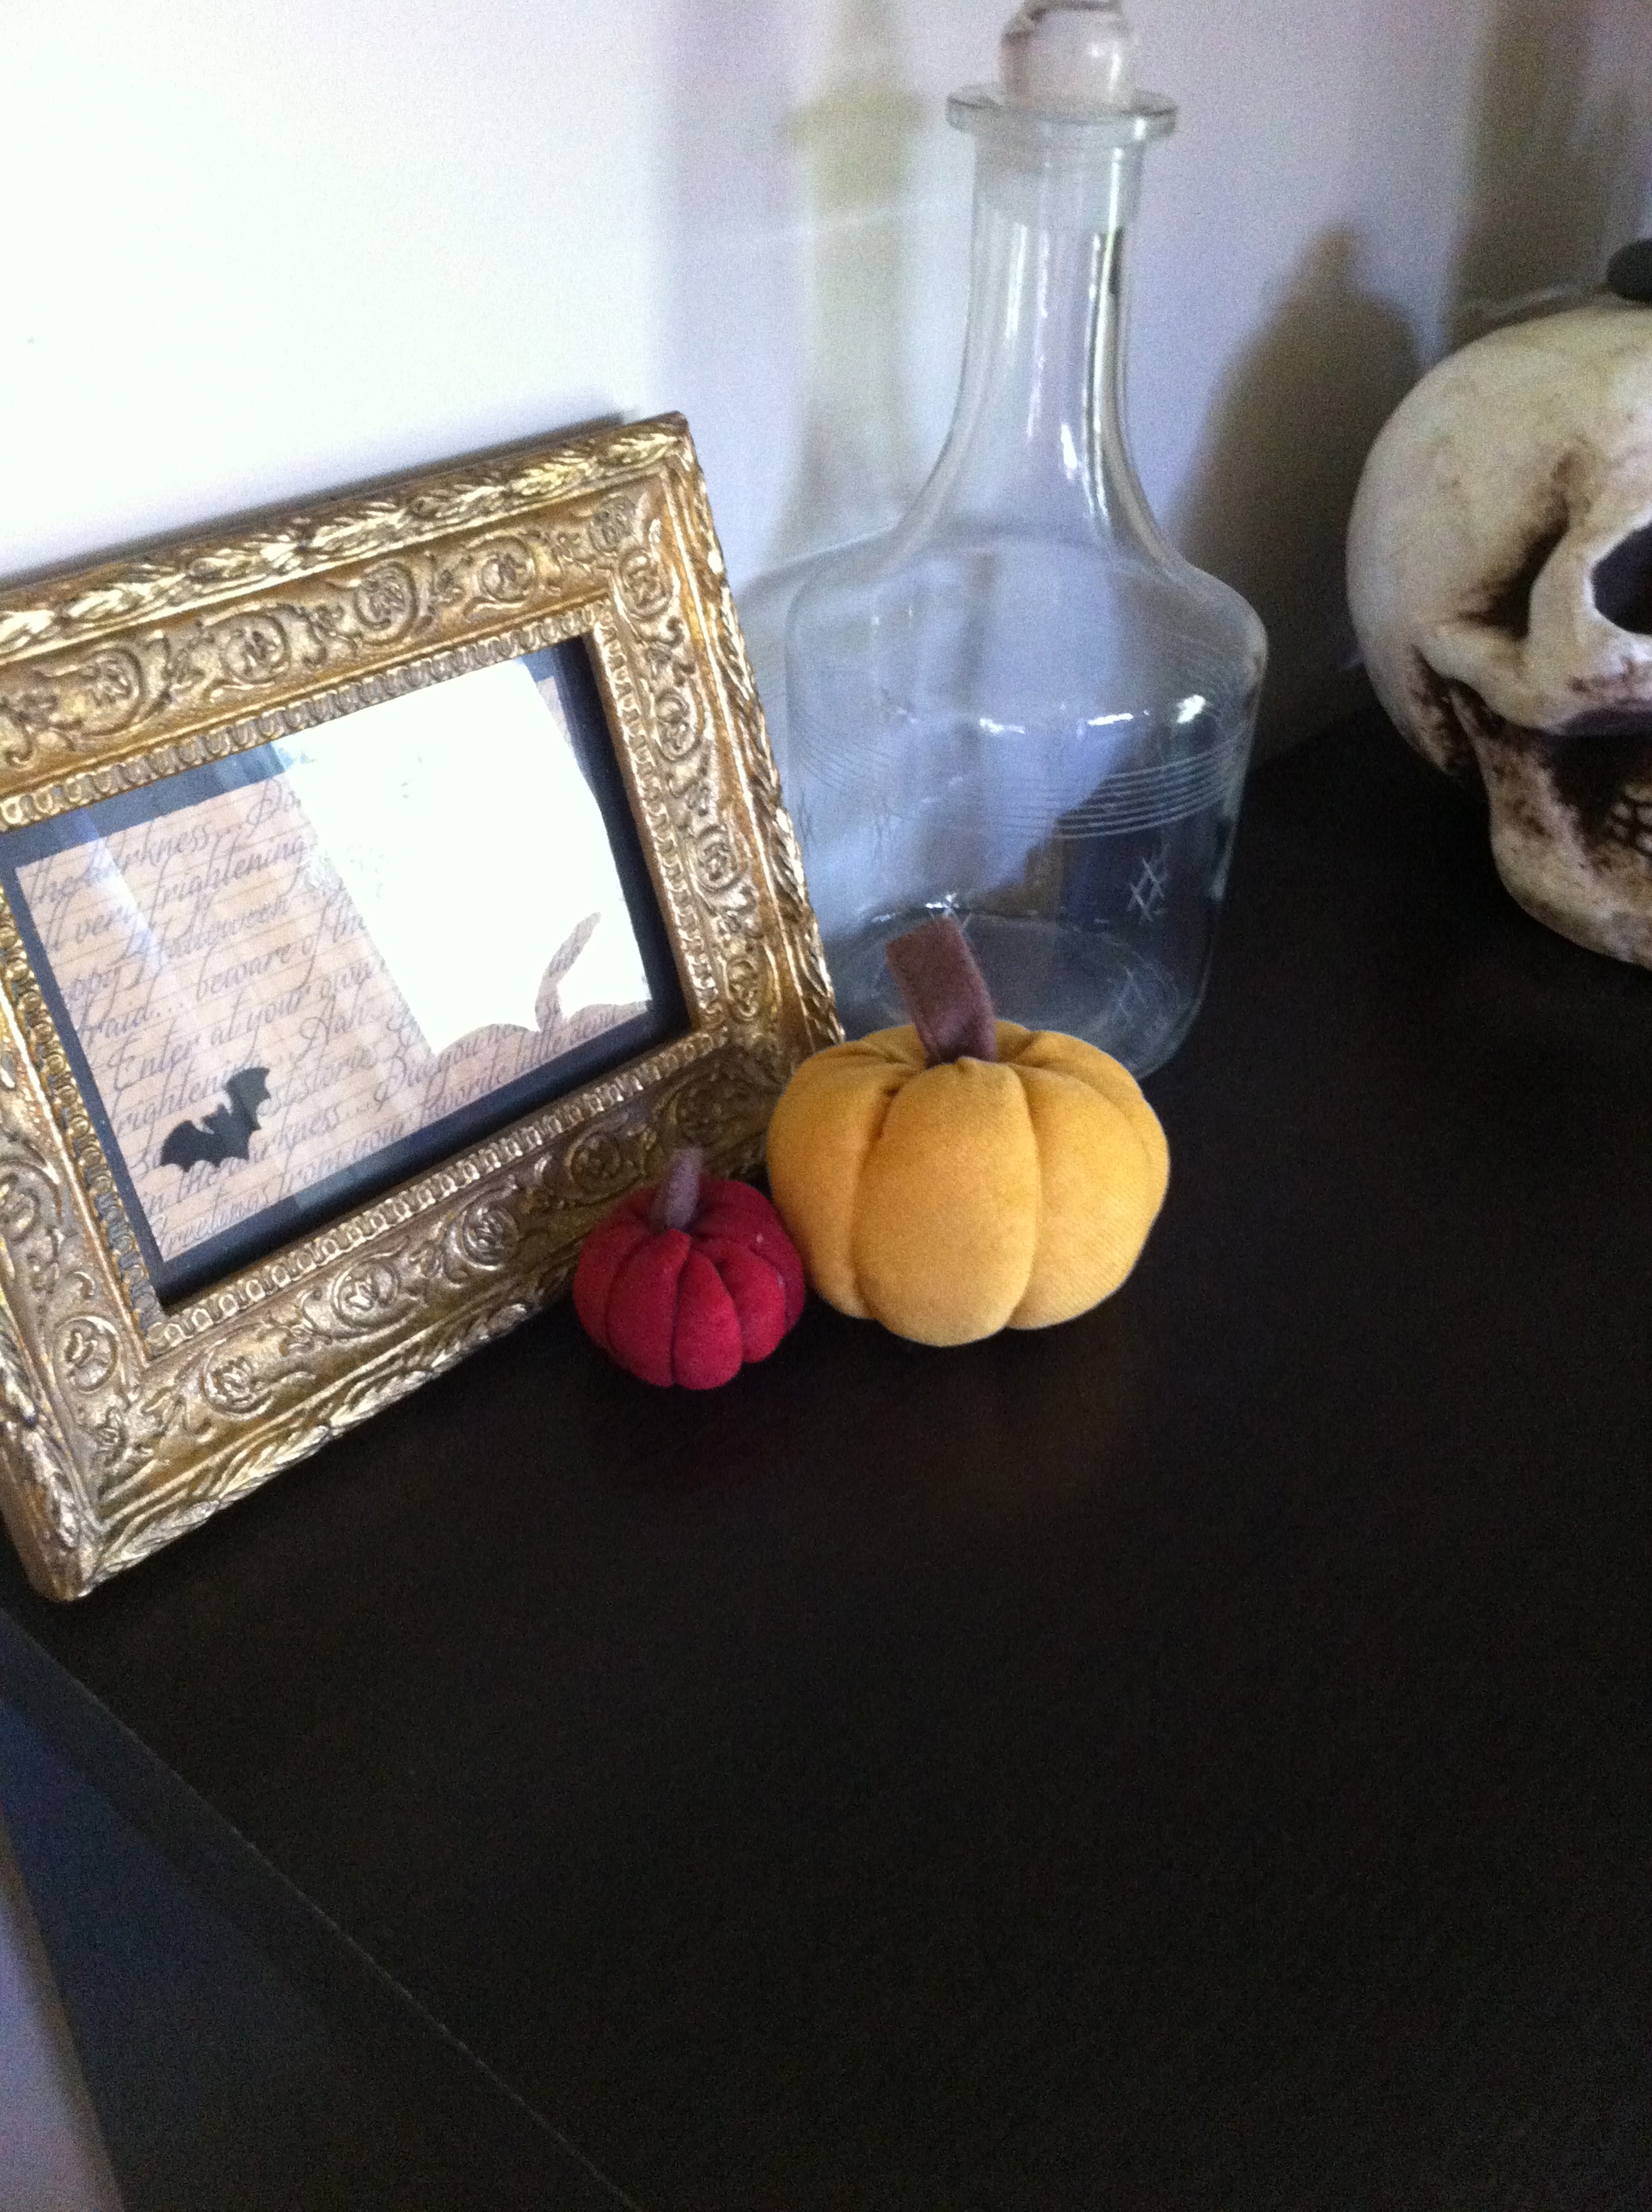
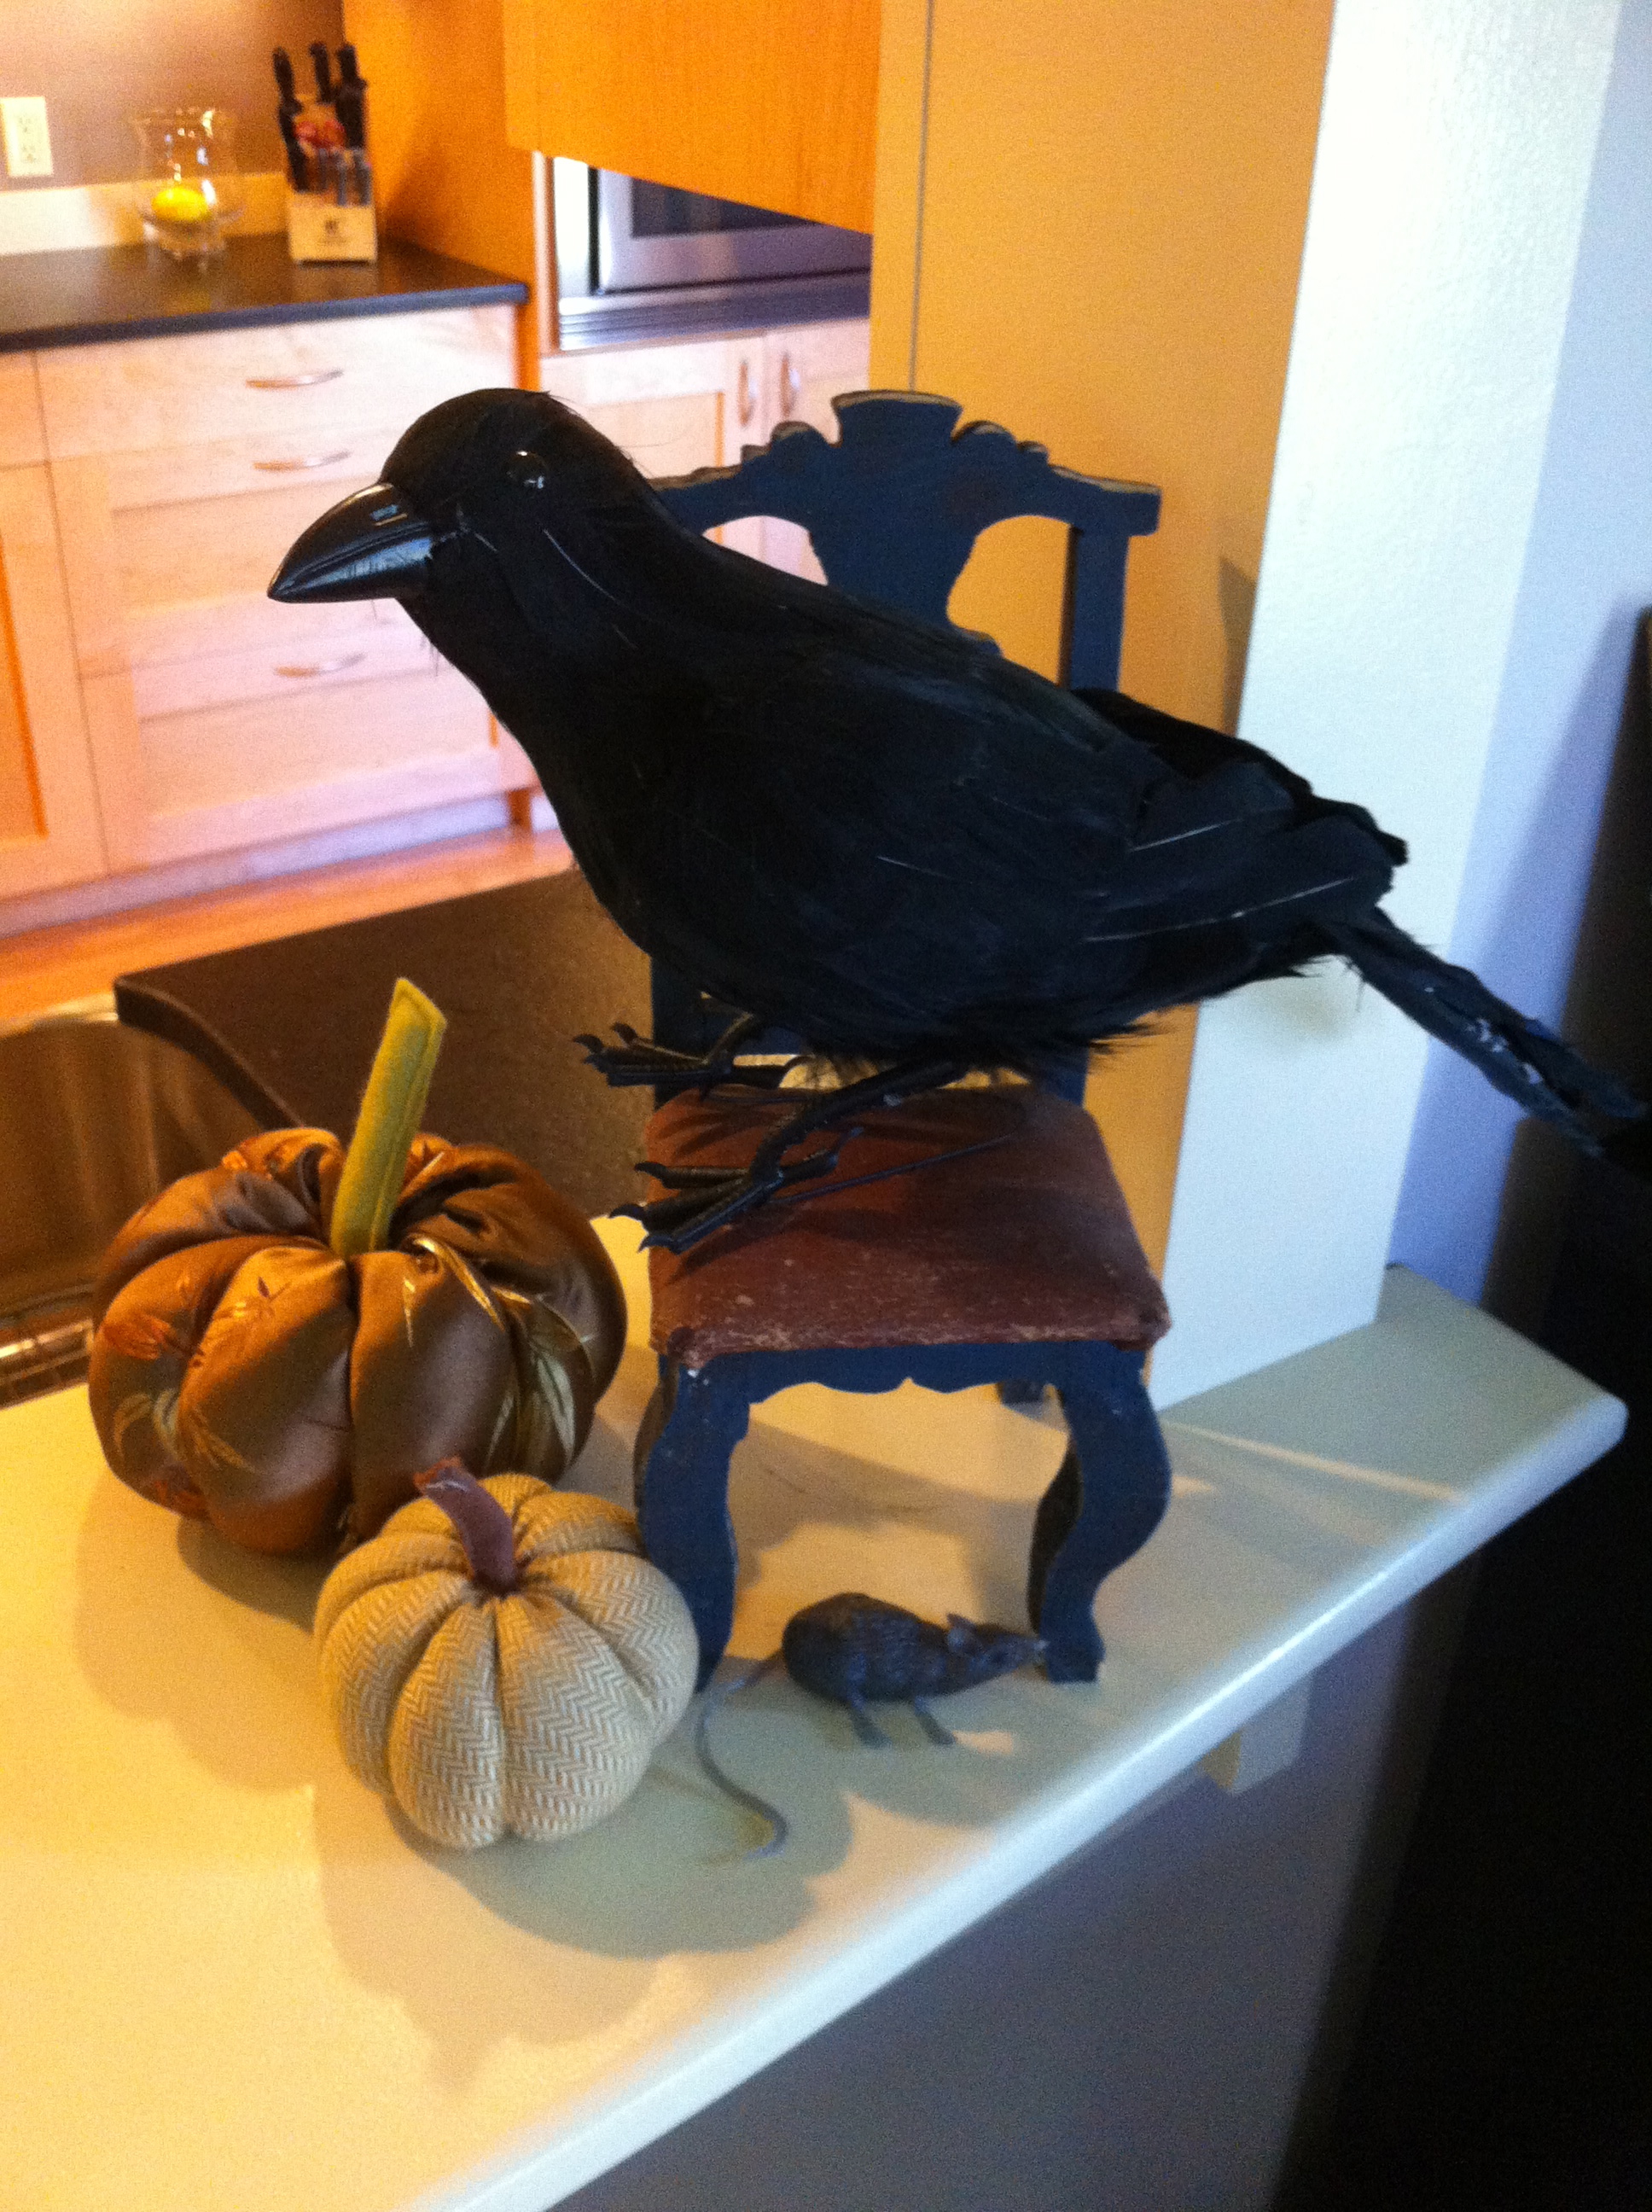
I got these fabric pumpkins out of an issue of Martha Stewart Living, many moons ago, and I love love love them. Once you make one, you can make a lot, and they are very conducive to "assembly line" tactics.

Everything you need to make these is probably already in your house, with one sole exception being a piece of specialized equipment called an embroidery needle. A LONG embroidery needle. You can do without it but when it comes time to wrap the pumpkin and shape the "ribs", a long embroidery needle can't be beat.

You will need:

  • Fun, autumnal fabric of any kind, color, texture, pattern.  Oranges and yellows are lovely but don't be afraid to experiment
  • Green and/or brown felt for the stem
  • Thread in all colors
  • Stuffing
  • Sewing and/or embroidery needles

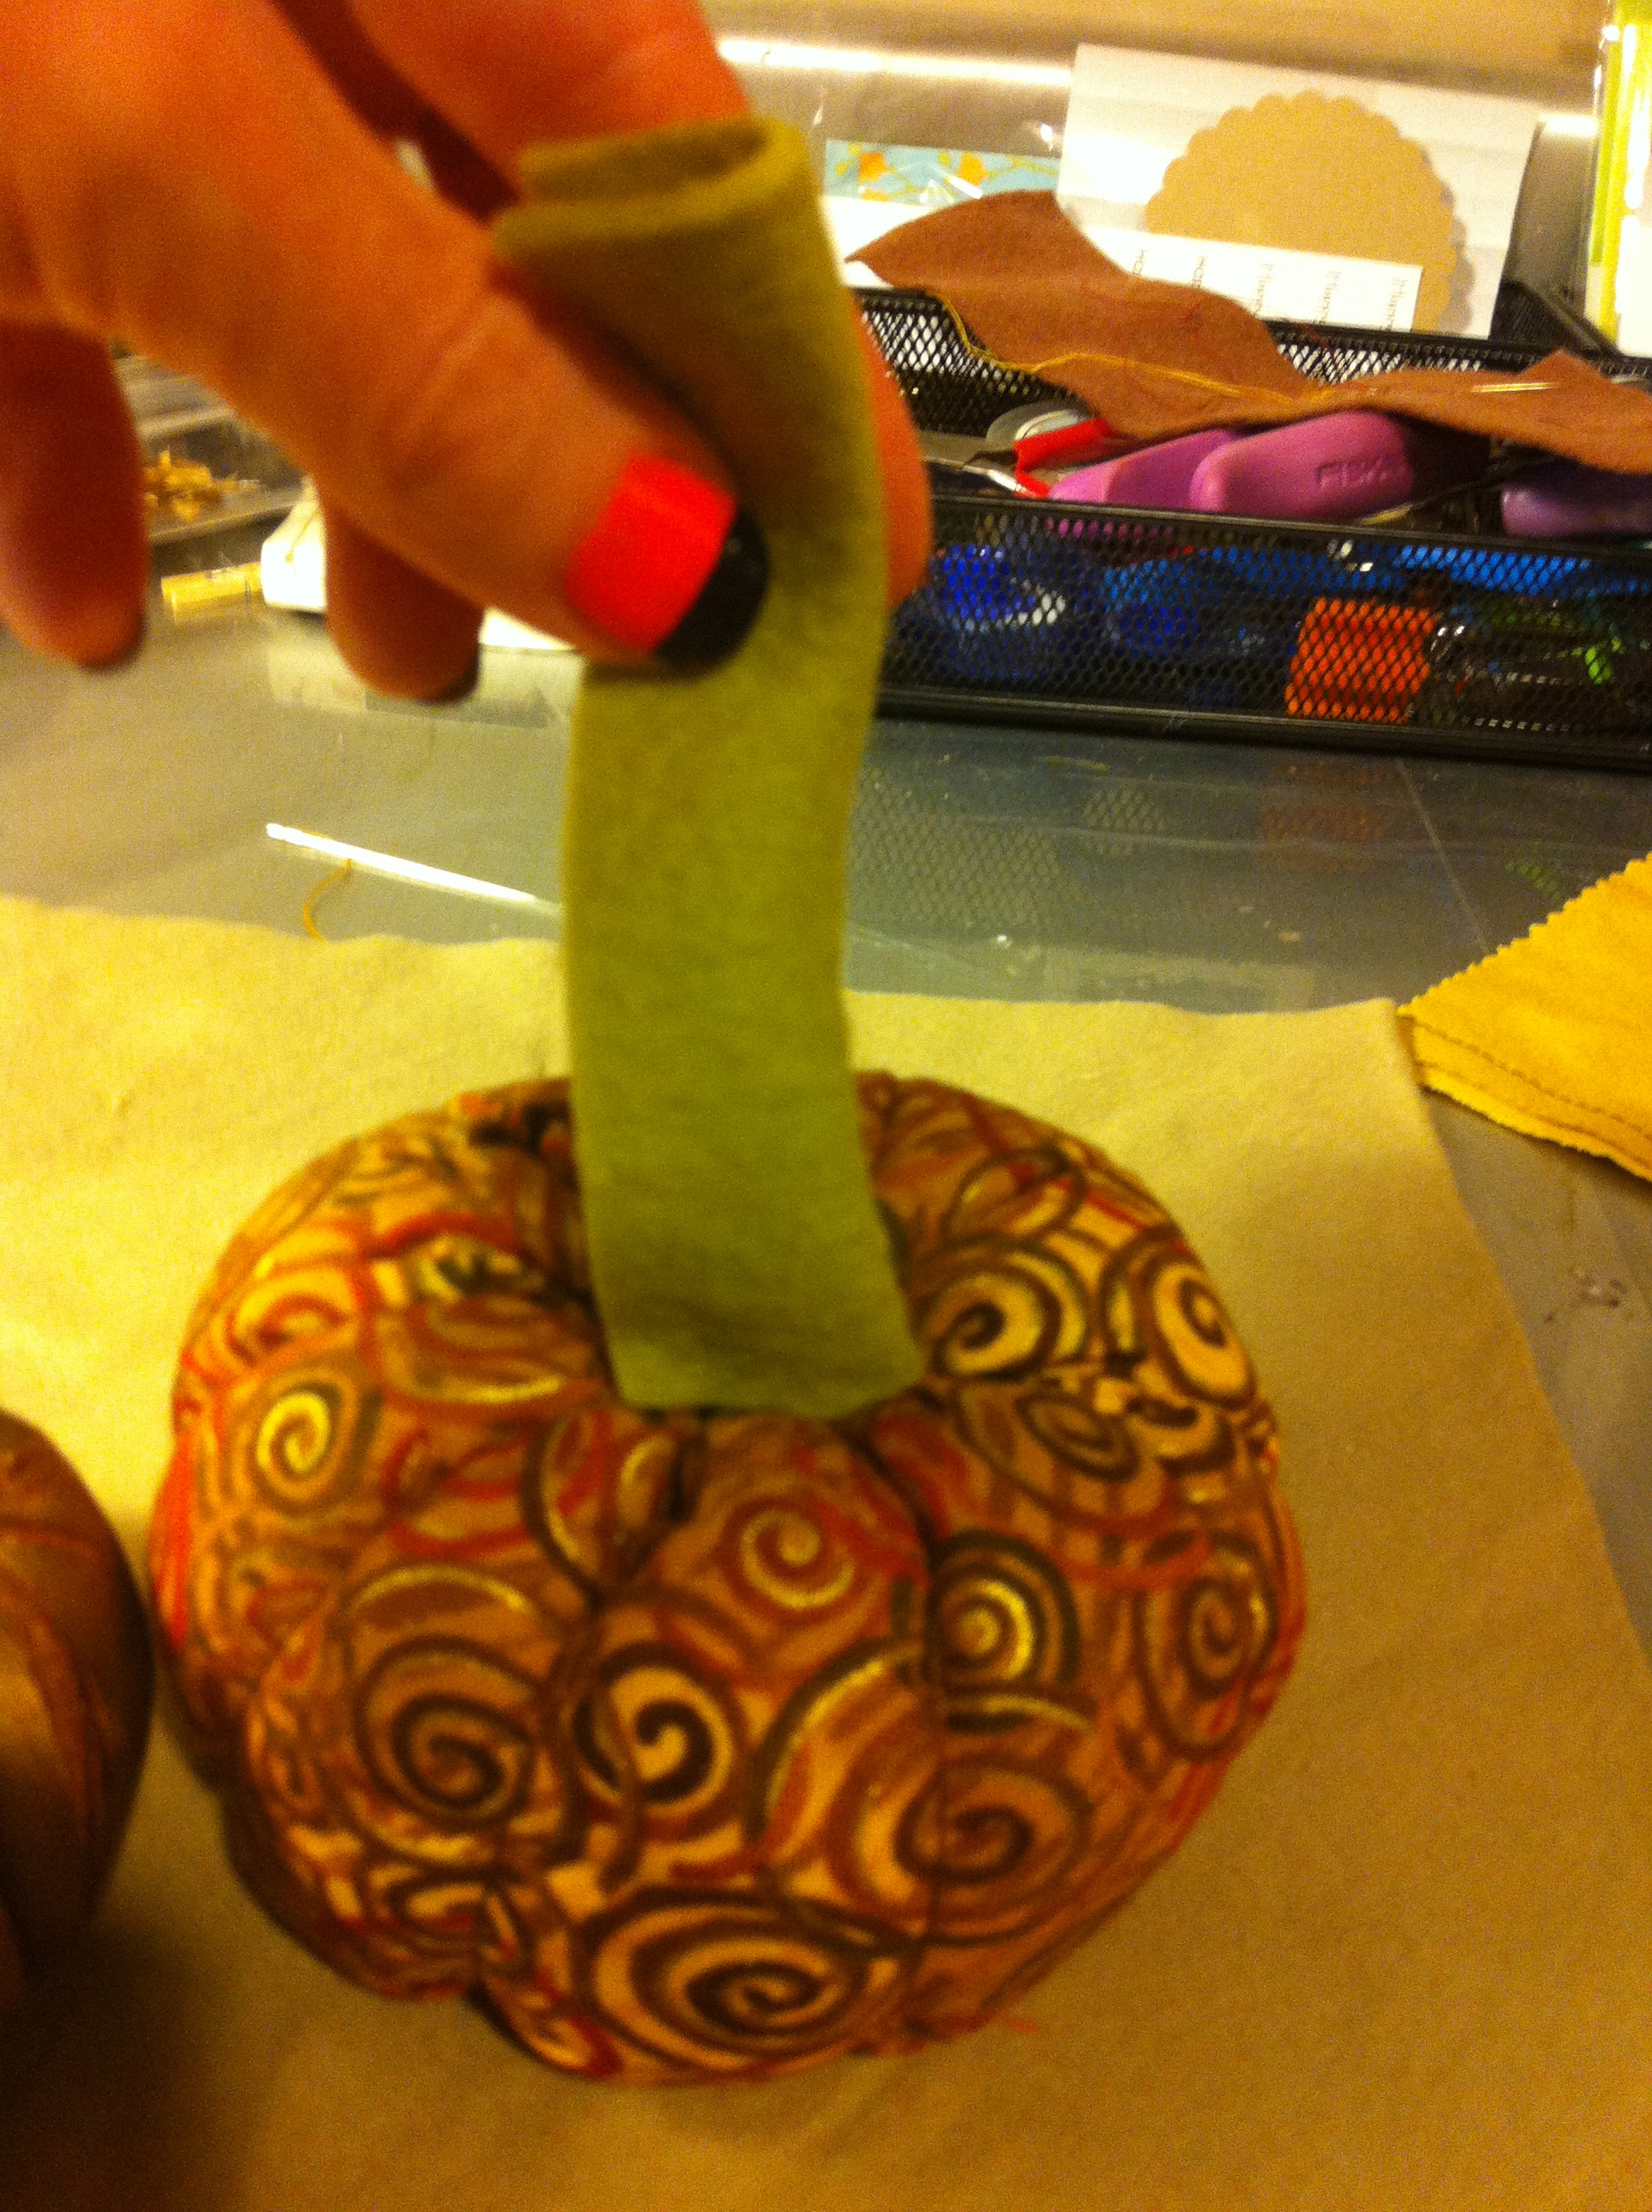
(By the way, if you're wondering about my lurid orange-and-black nails, it's because I'd worked the school harvest fair that day, at the "Monster Manicure" booth)

Cut your rectangles.  The basic rule of thumb is that the rectangle should be twice as long as it is high. If the height is taller, it will be a tall pumpkin. If the length is longer, you will have a squatter, flatter pumpkin. Whatever size you cut, sew one short seam together. It's good to assembly line this because the rest of the project is hand sewing. You can sew a bunch of seams and then put the machine away.

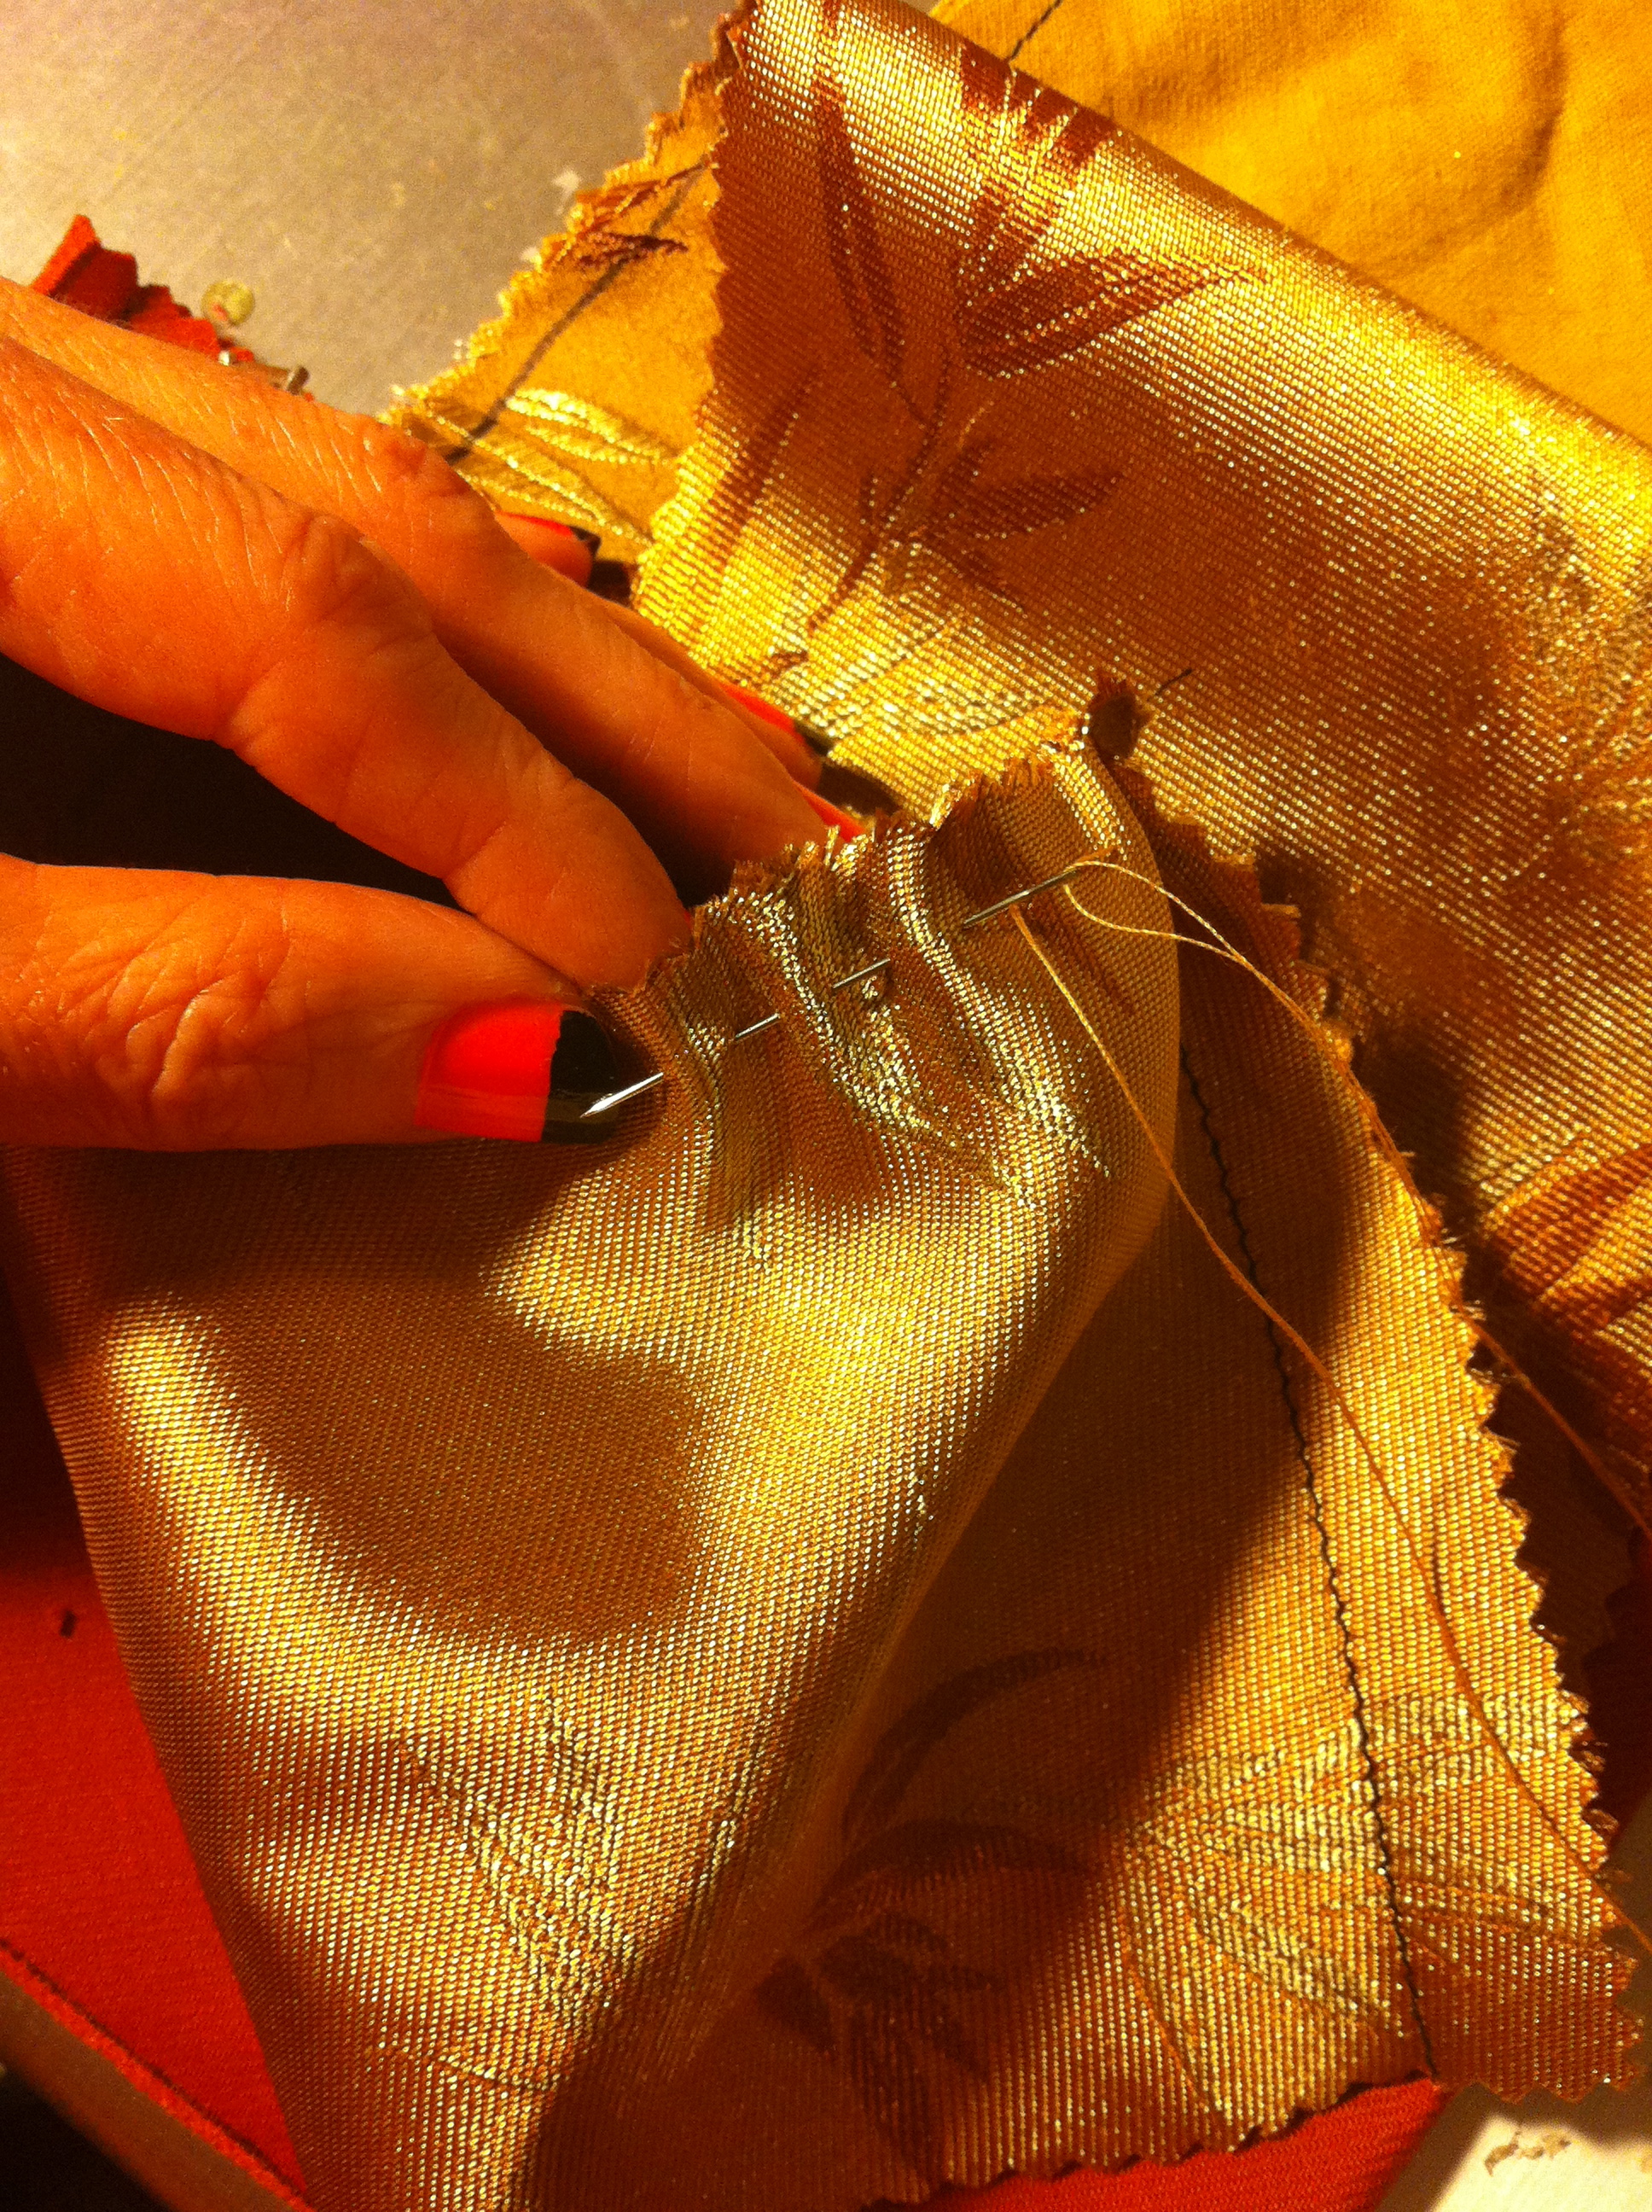
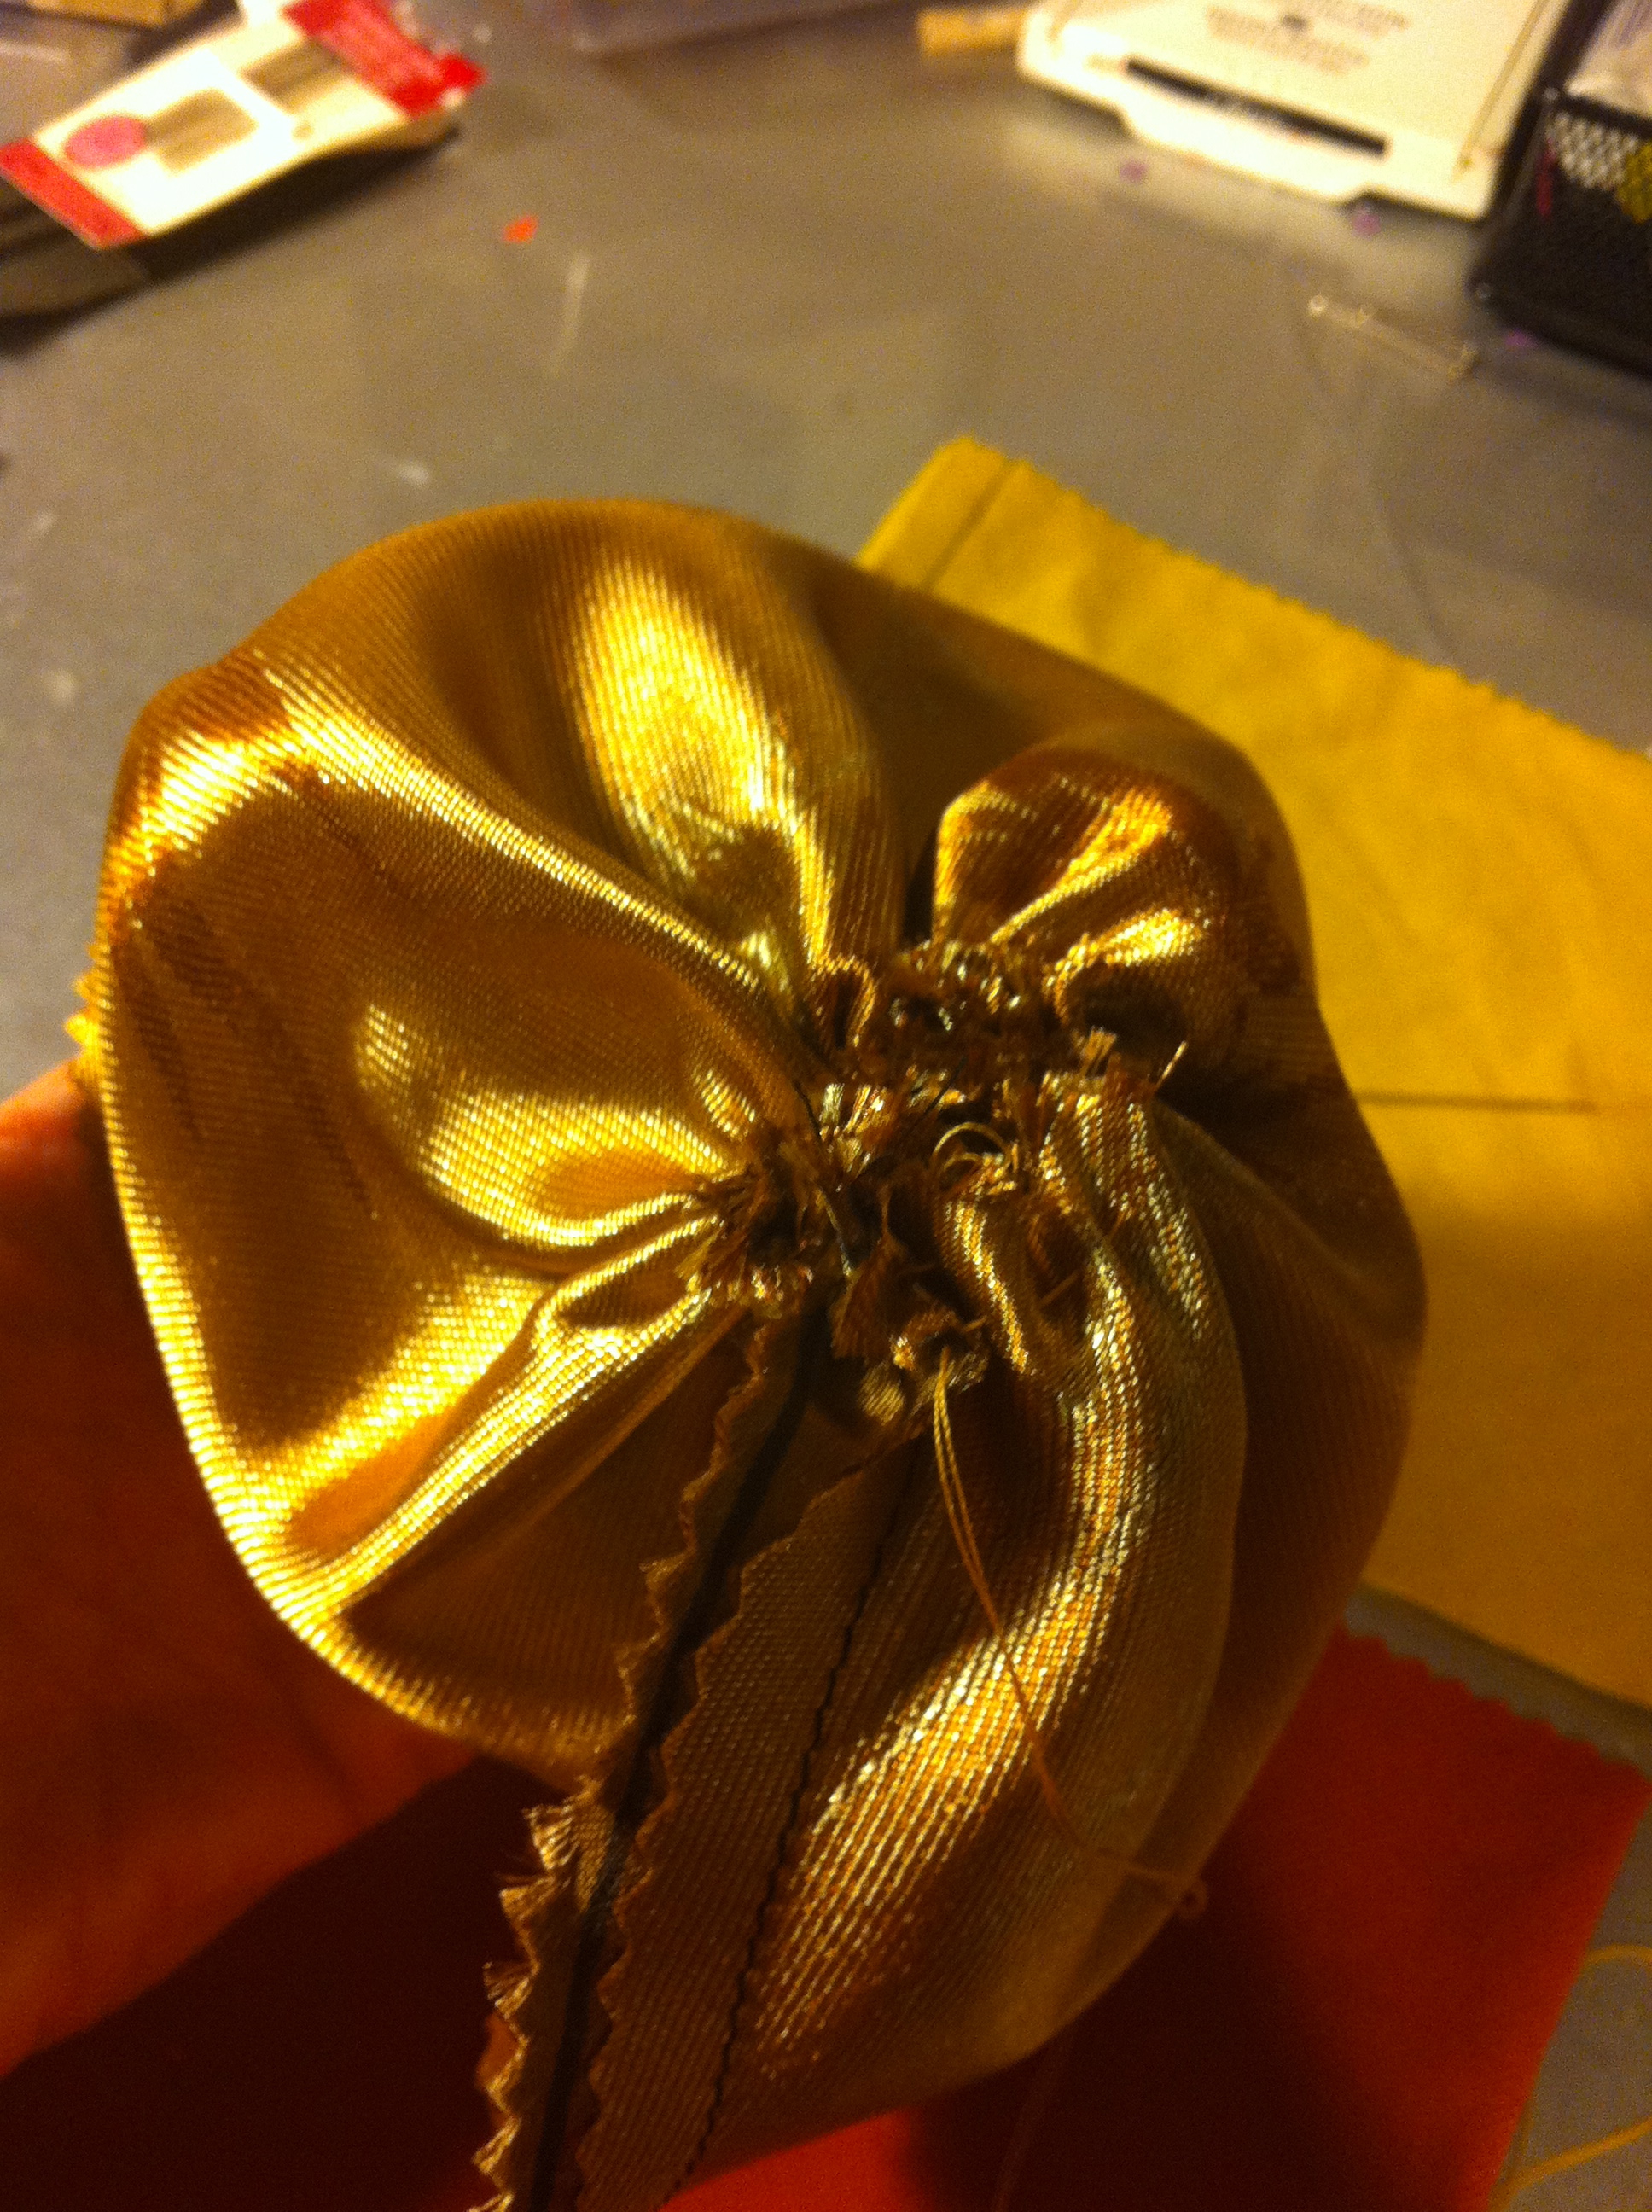
With a regular sewing needle and thread, do a running stitch along one long side, about 1/4" from the edge. Pull the thread to gather the edges tight and then do some whip-stitches across the puckers to hold it in place. Turn the pumpkin right side out and stuff generously. Do another running stitch 1/4" from the top edge. Pull tight, get all the stuffing in there, and again, whip stitch across to keep everything tight.

Now you have your stuffed pumpkin.

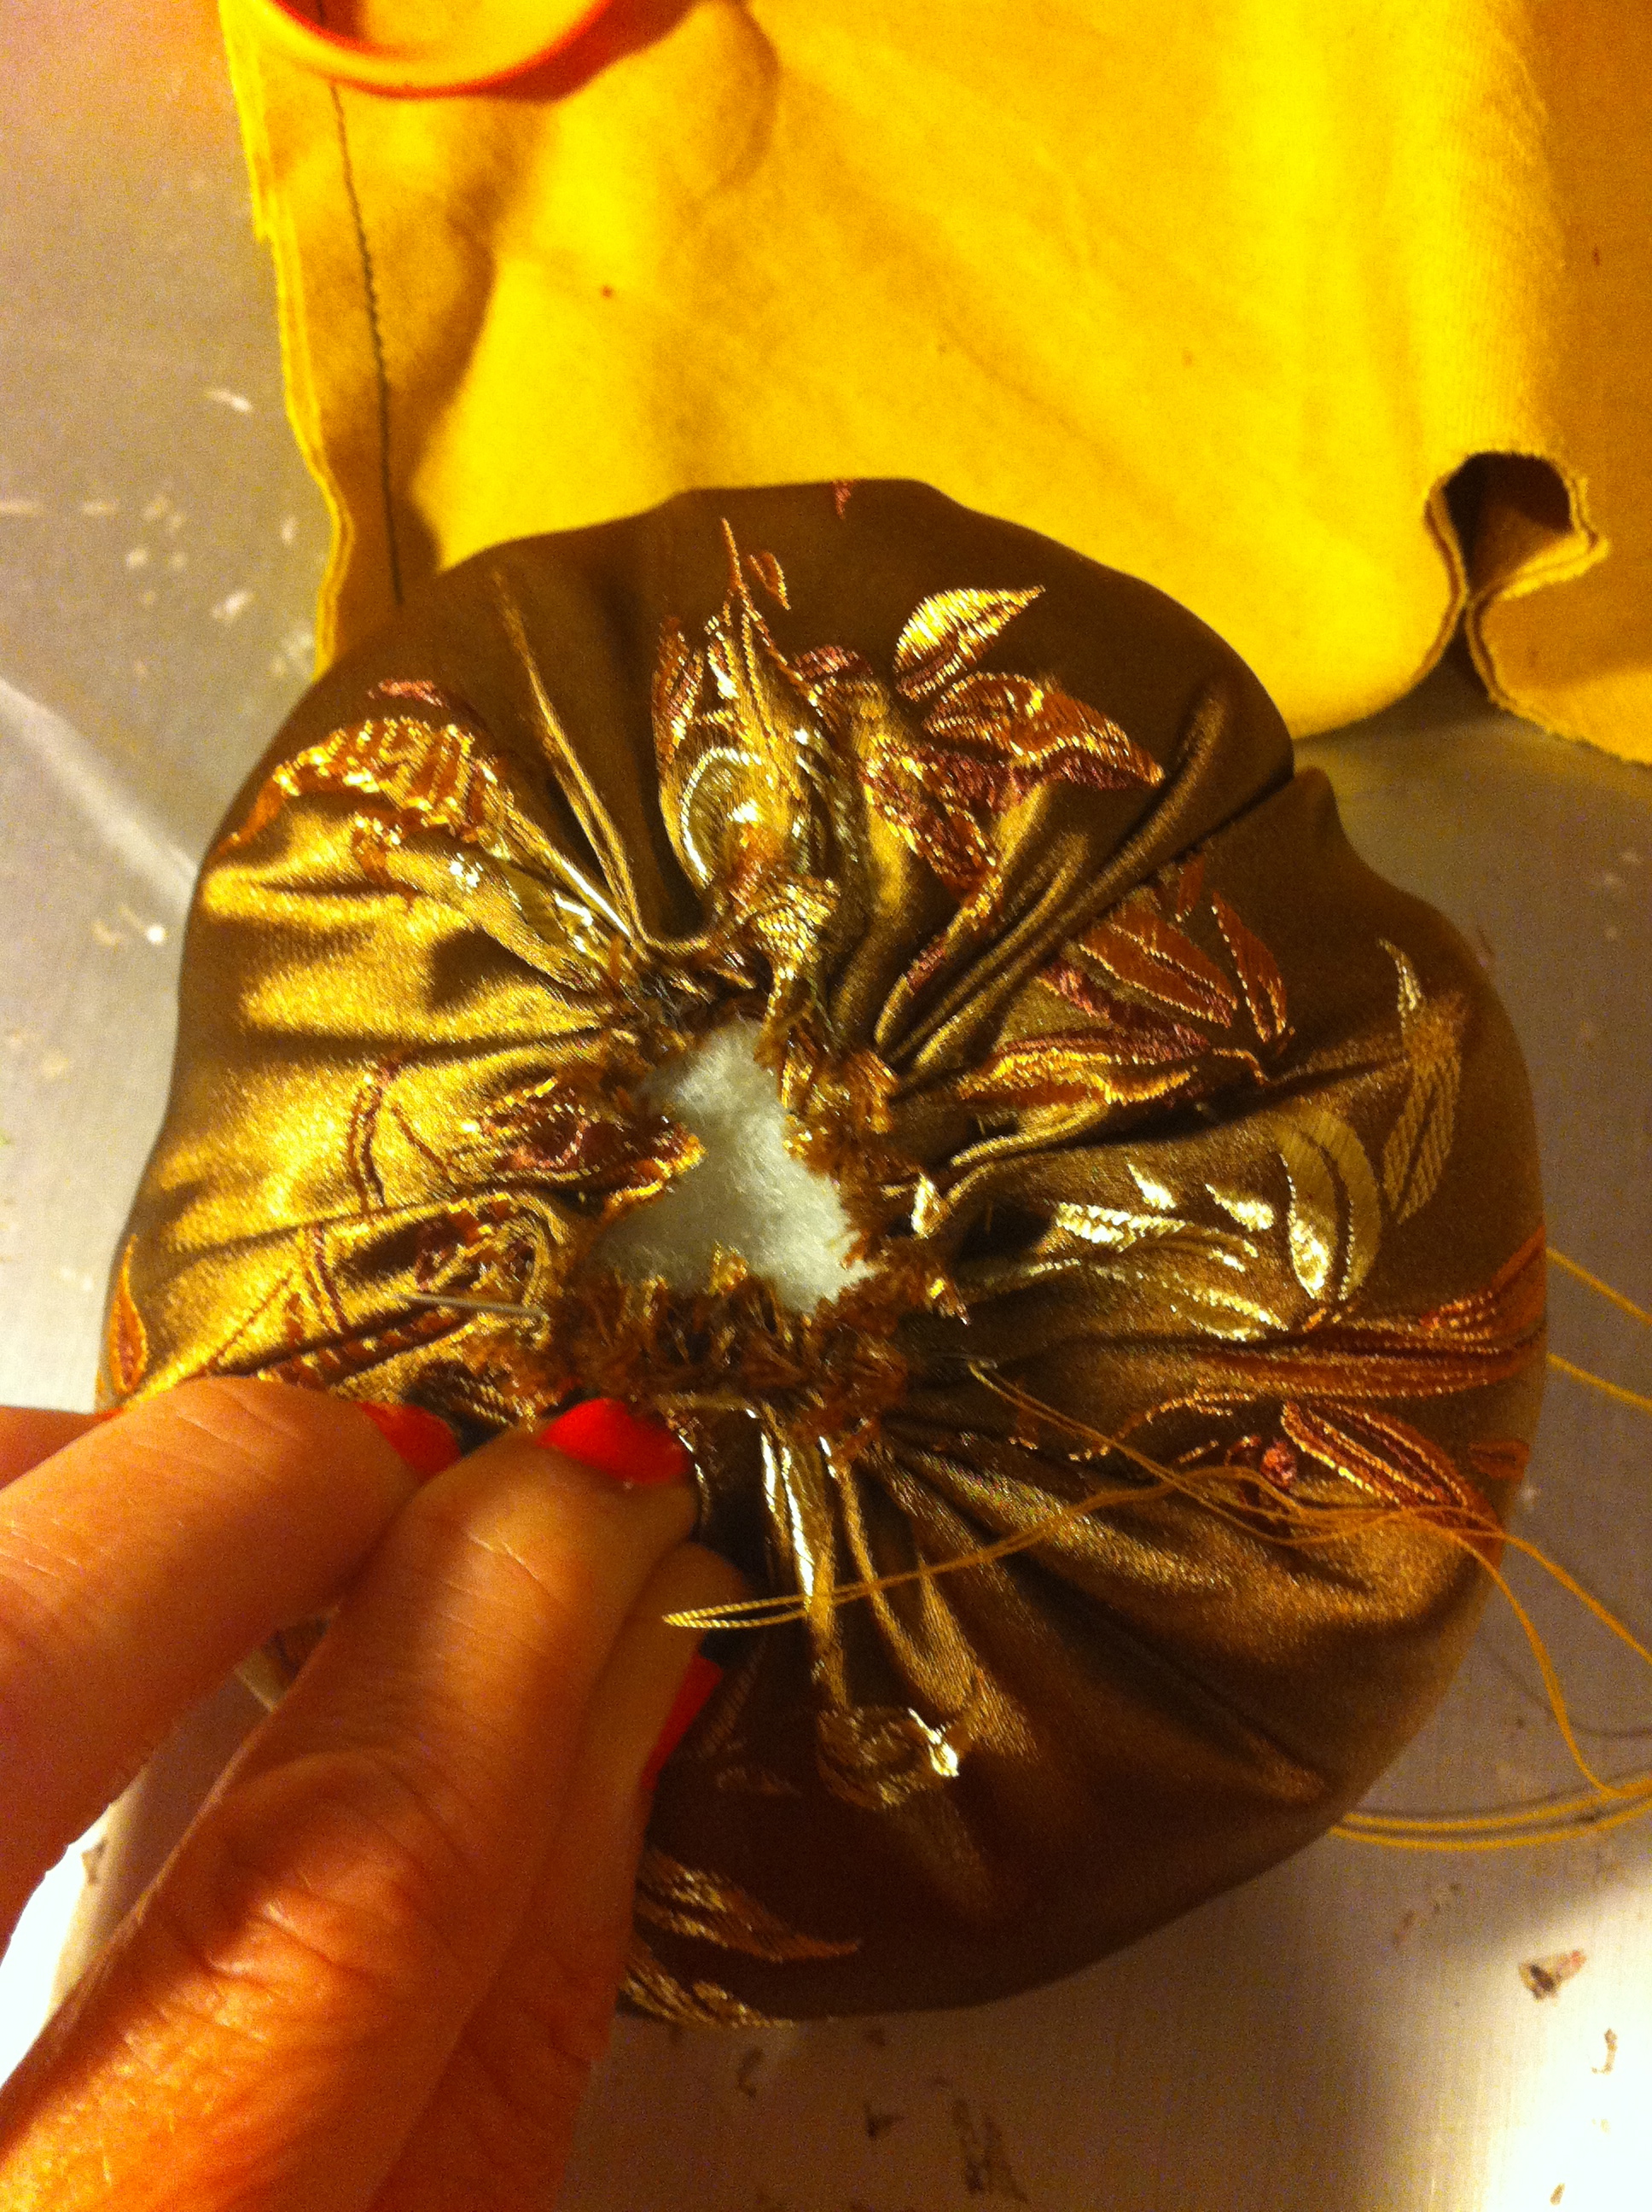
Thread an embroidery needle with a generous amount, maybe two arm lengths. Do a few whip-stitches on the bottom side of the pumpkin to secure the thread—if you merely knot off the end it will pull right through the fabric.

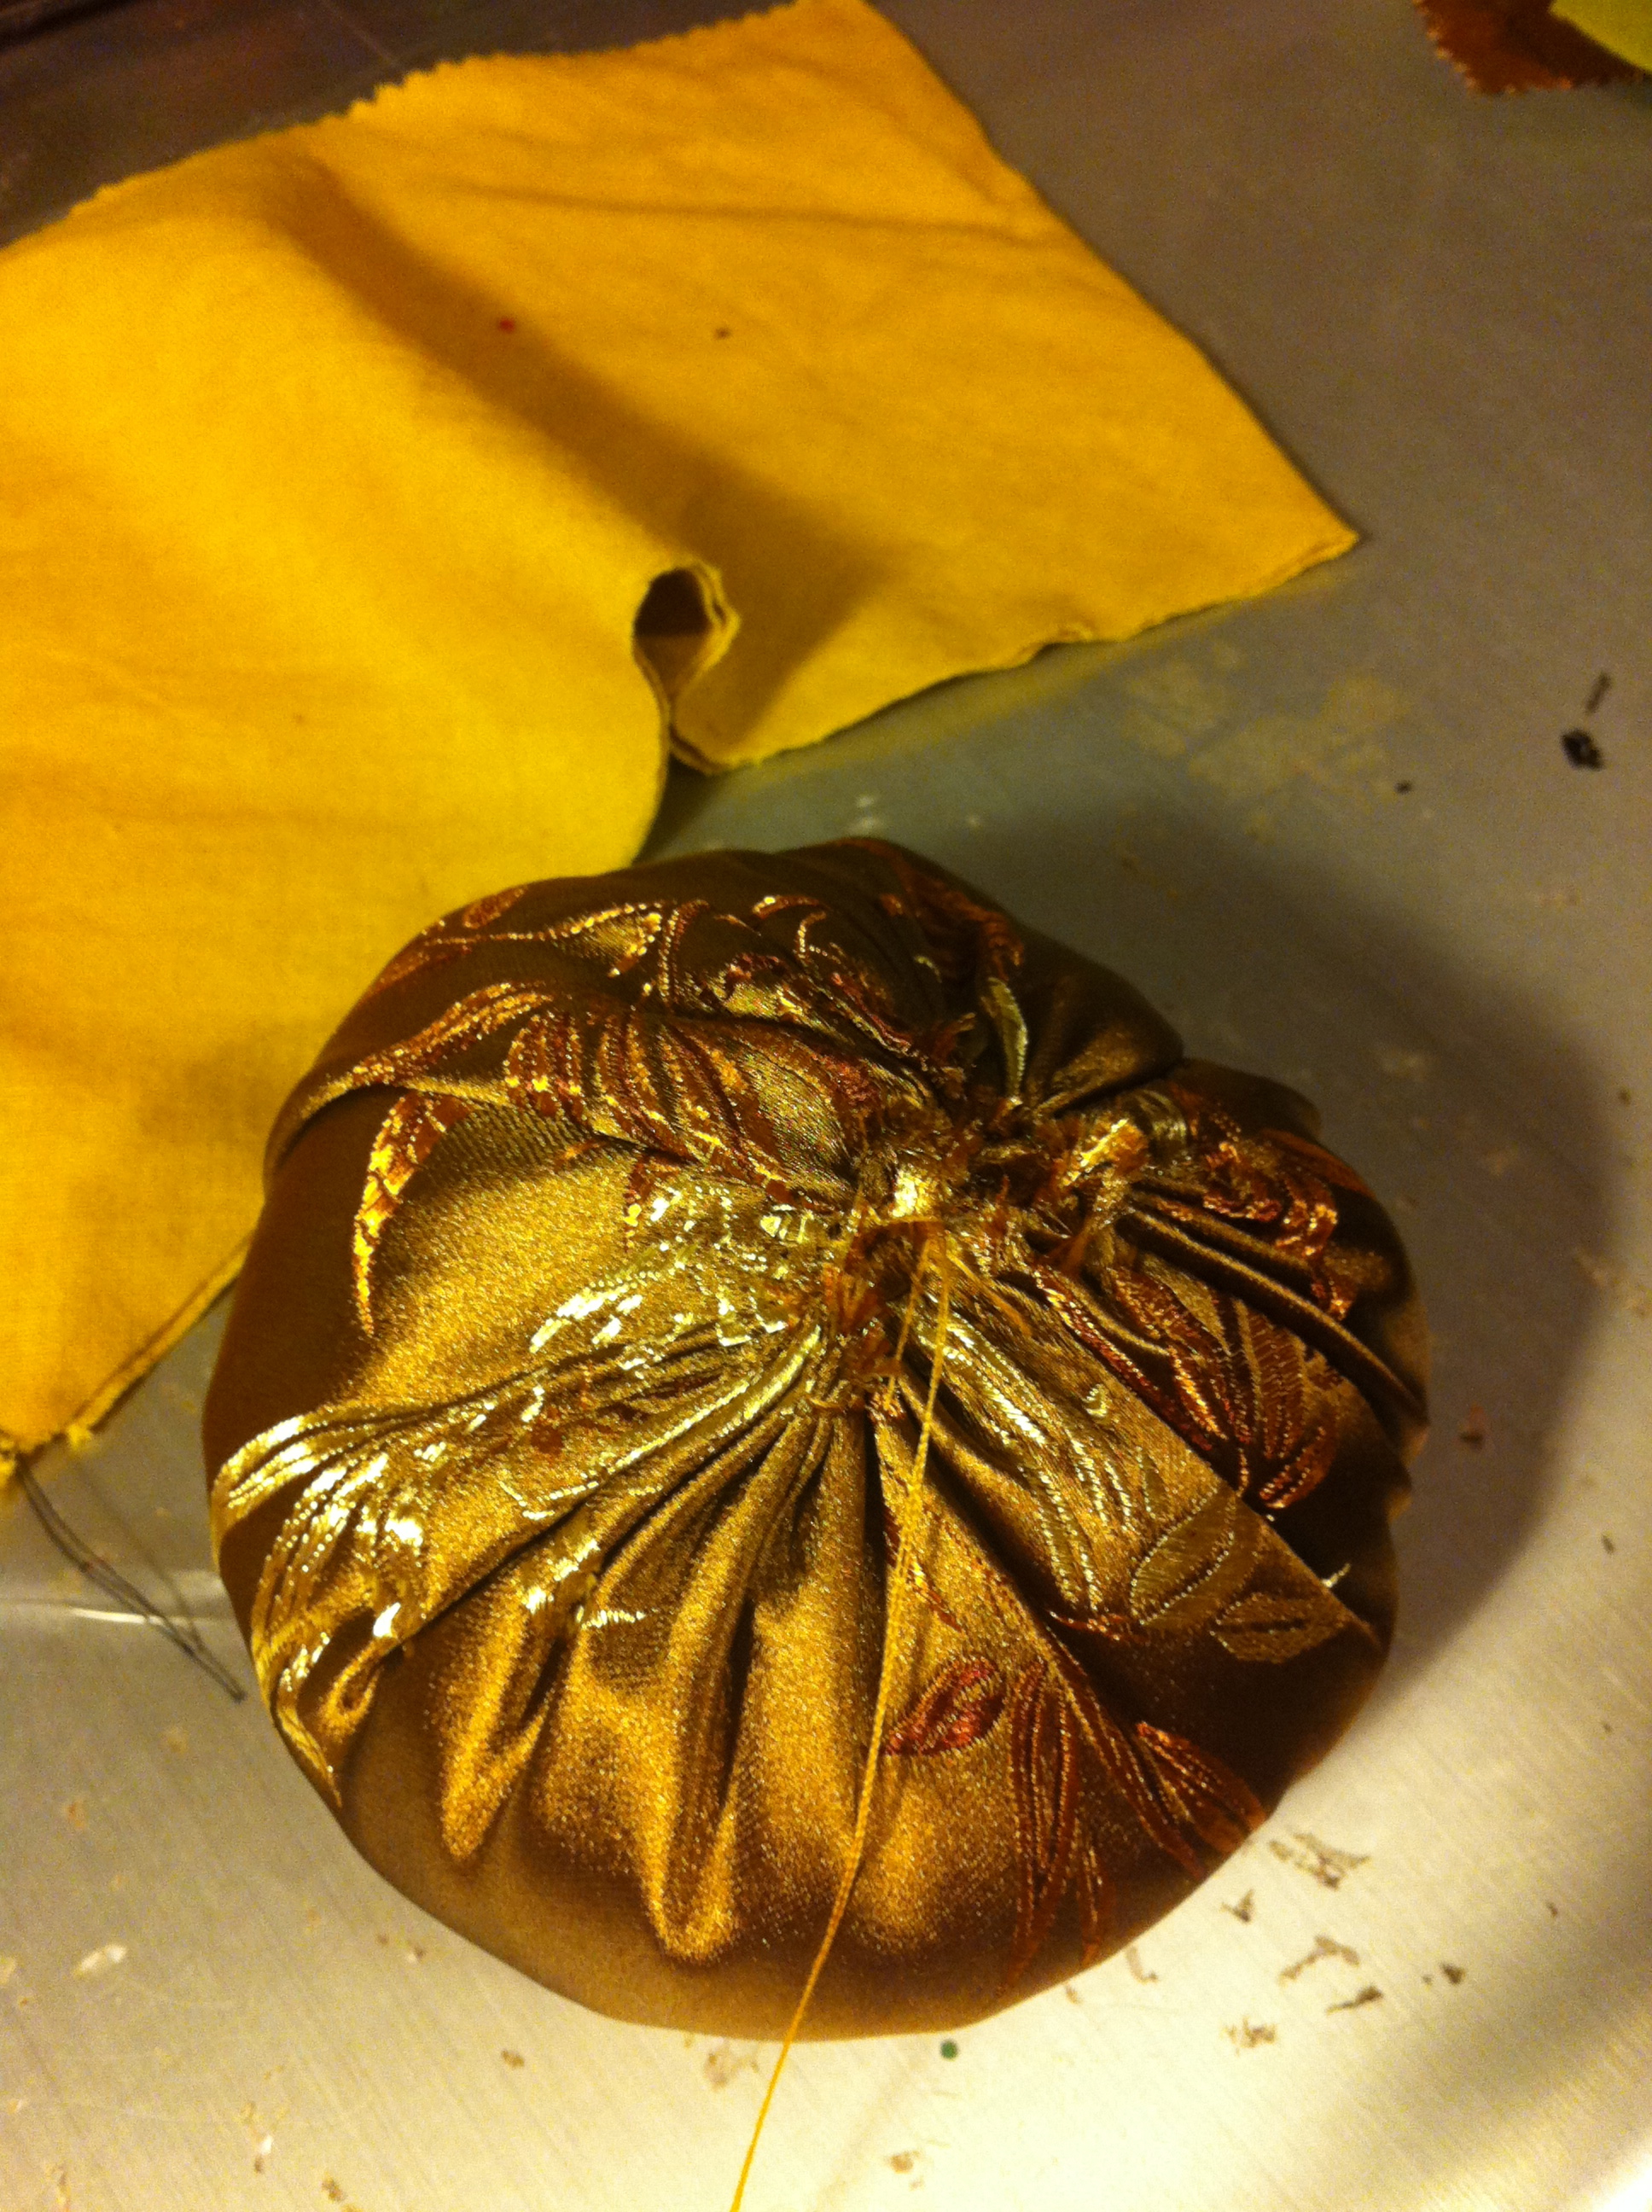
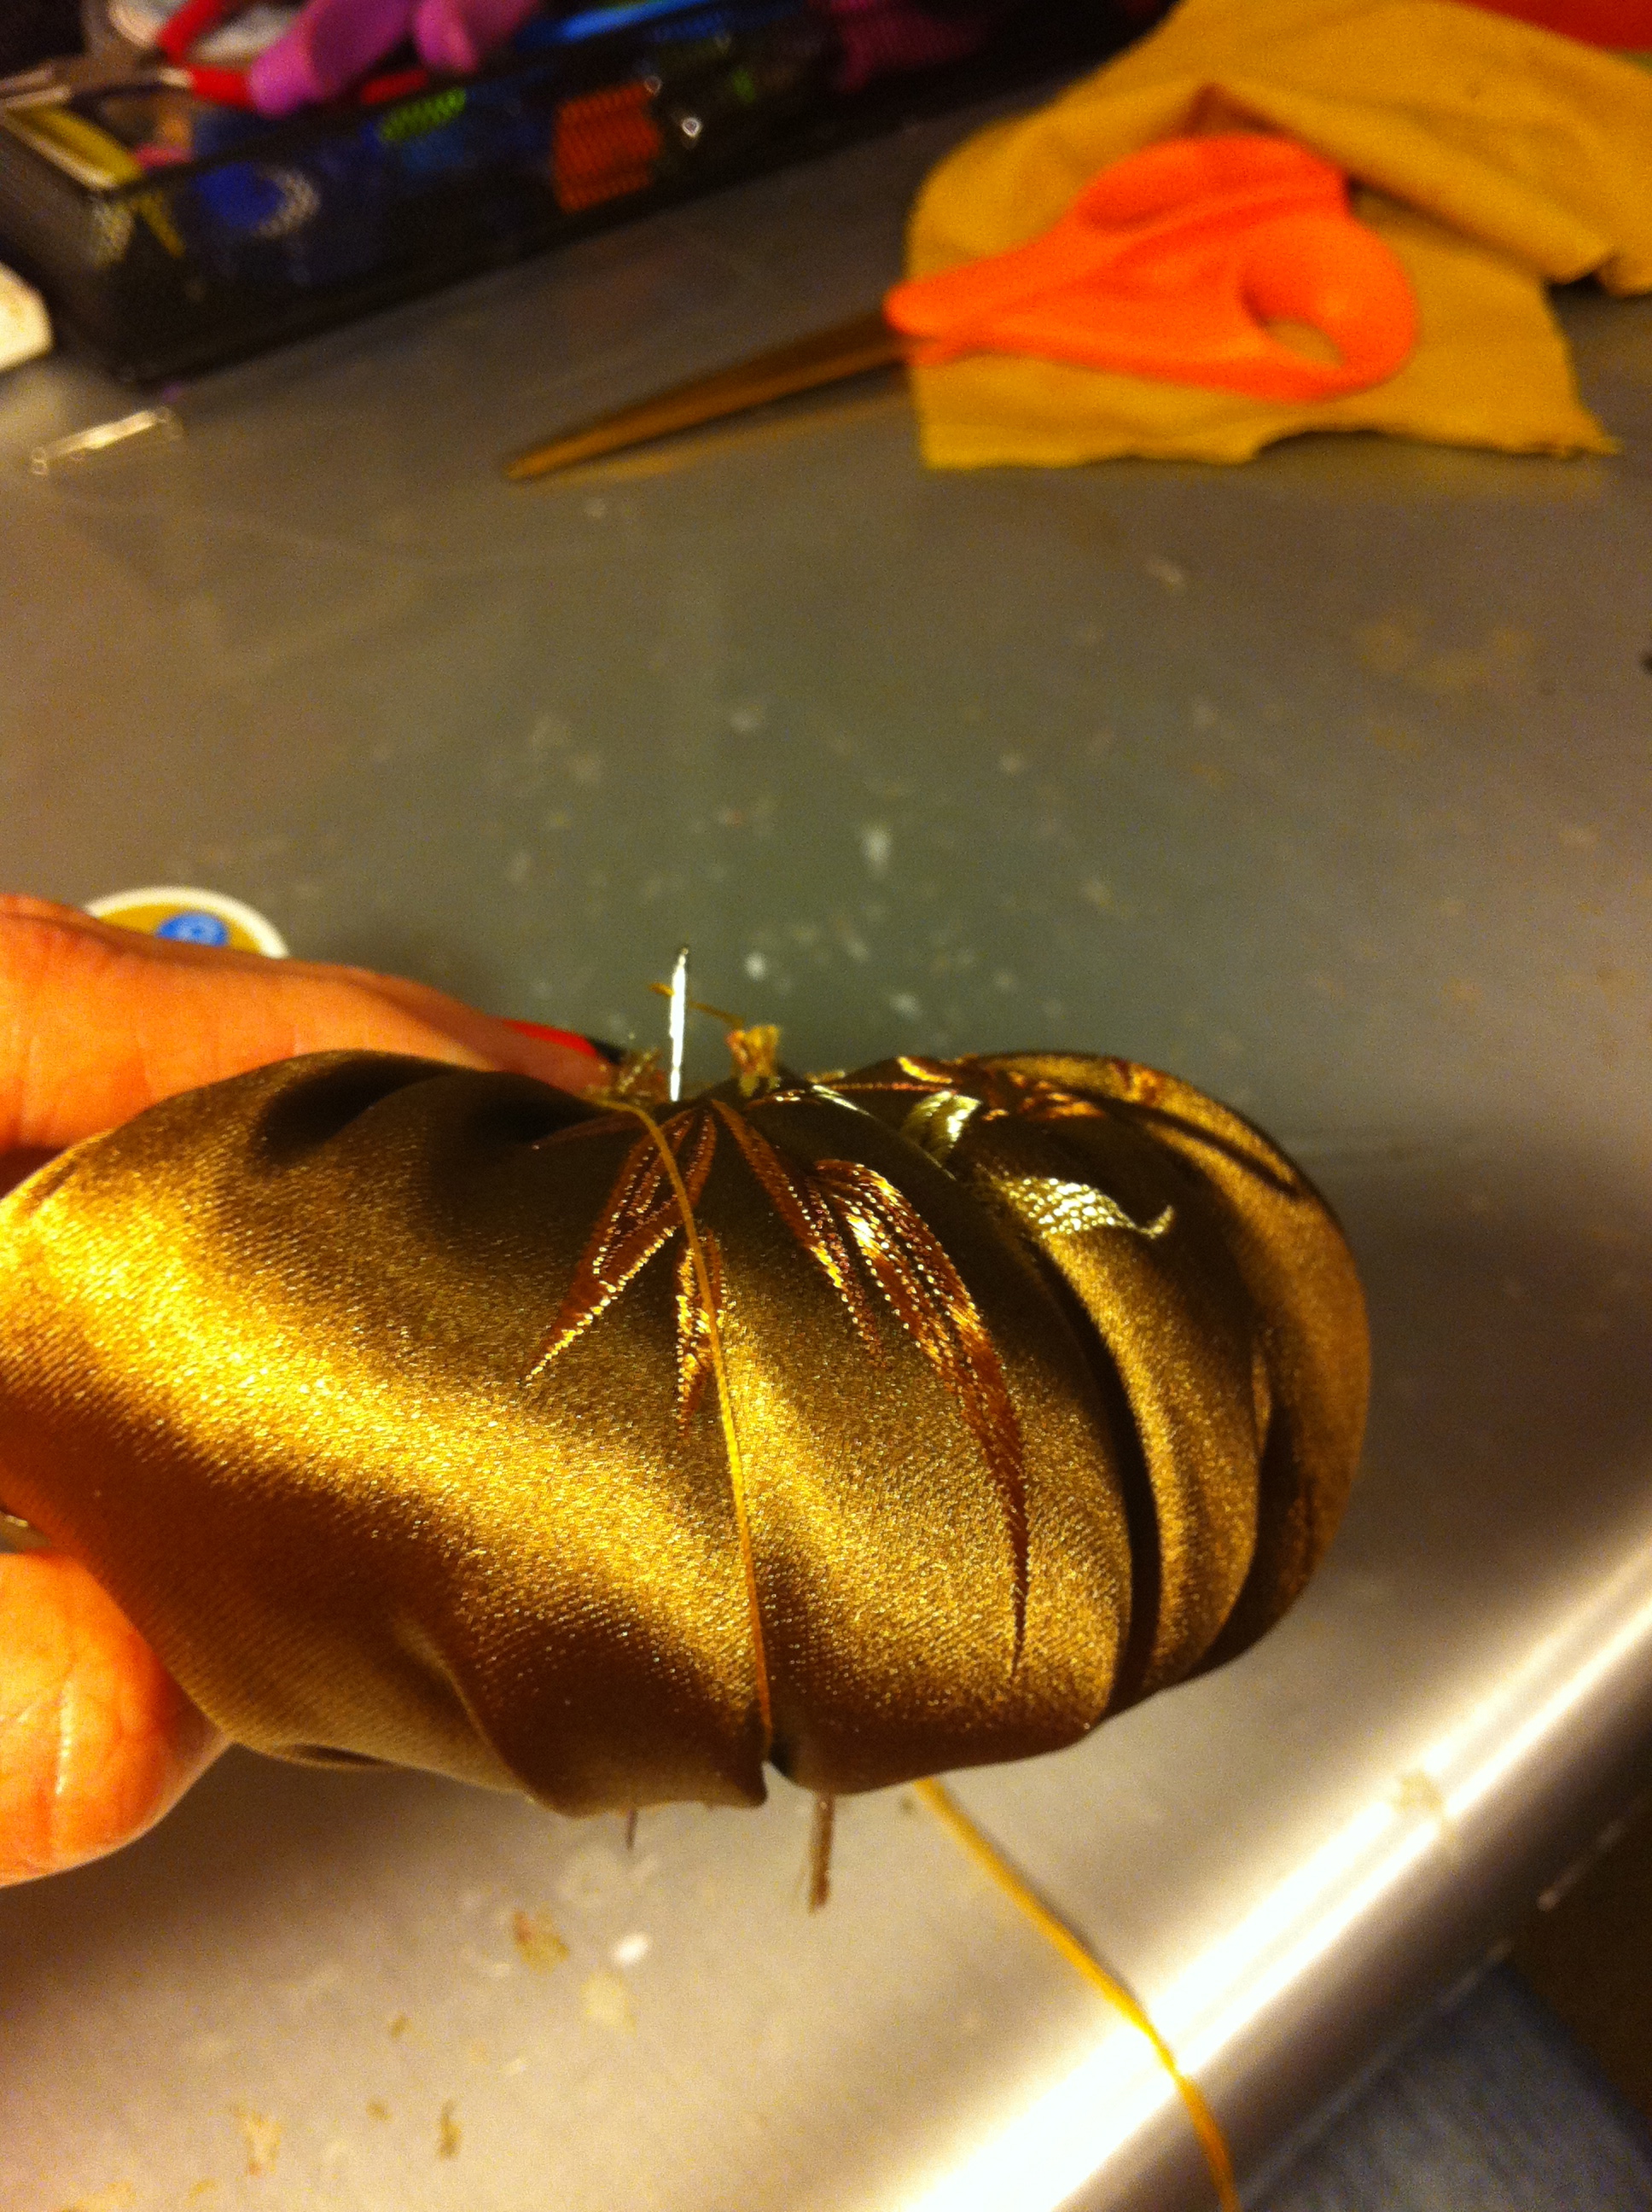
Push the needle through the center bottom of the pumpkin, straight up through the top. Wrap the thread around the side—you can follow the wrinkles in the fabric that are already occurring as a guide, and then push the needle in through the bottom again. Up through the top, and pull tight, making the thread sink into the stuffing. Wrap around the side, in through the bottom, up top and pull tight. Repeat until the pumpkin looks the way you want it to. Whip-stitch and knot off like crazy at one end of the pumpkin.

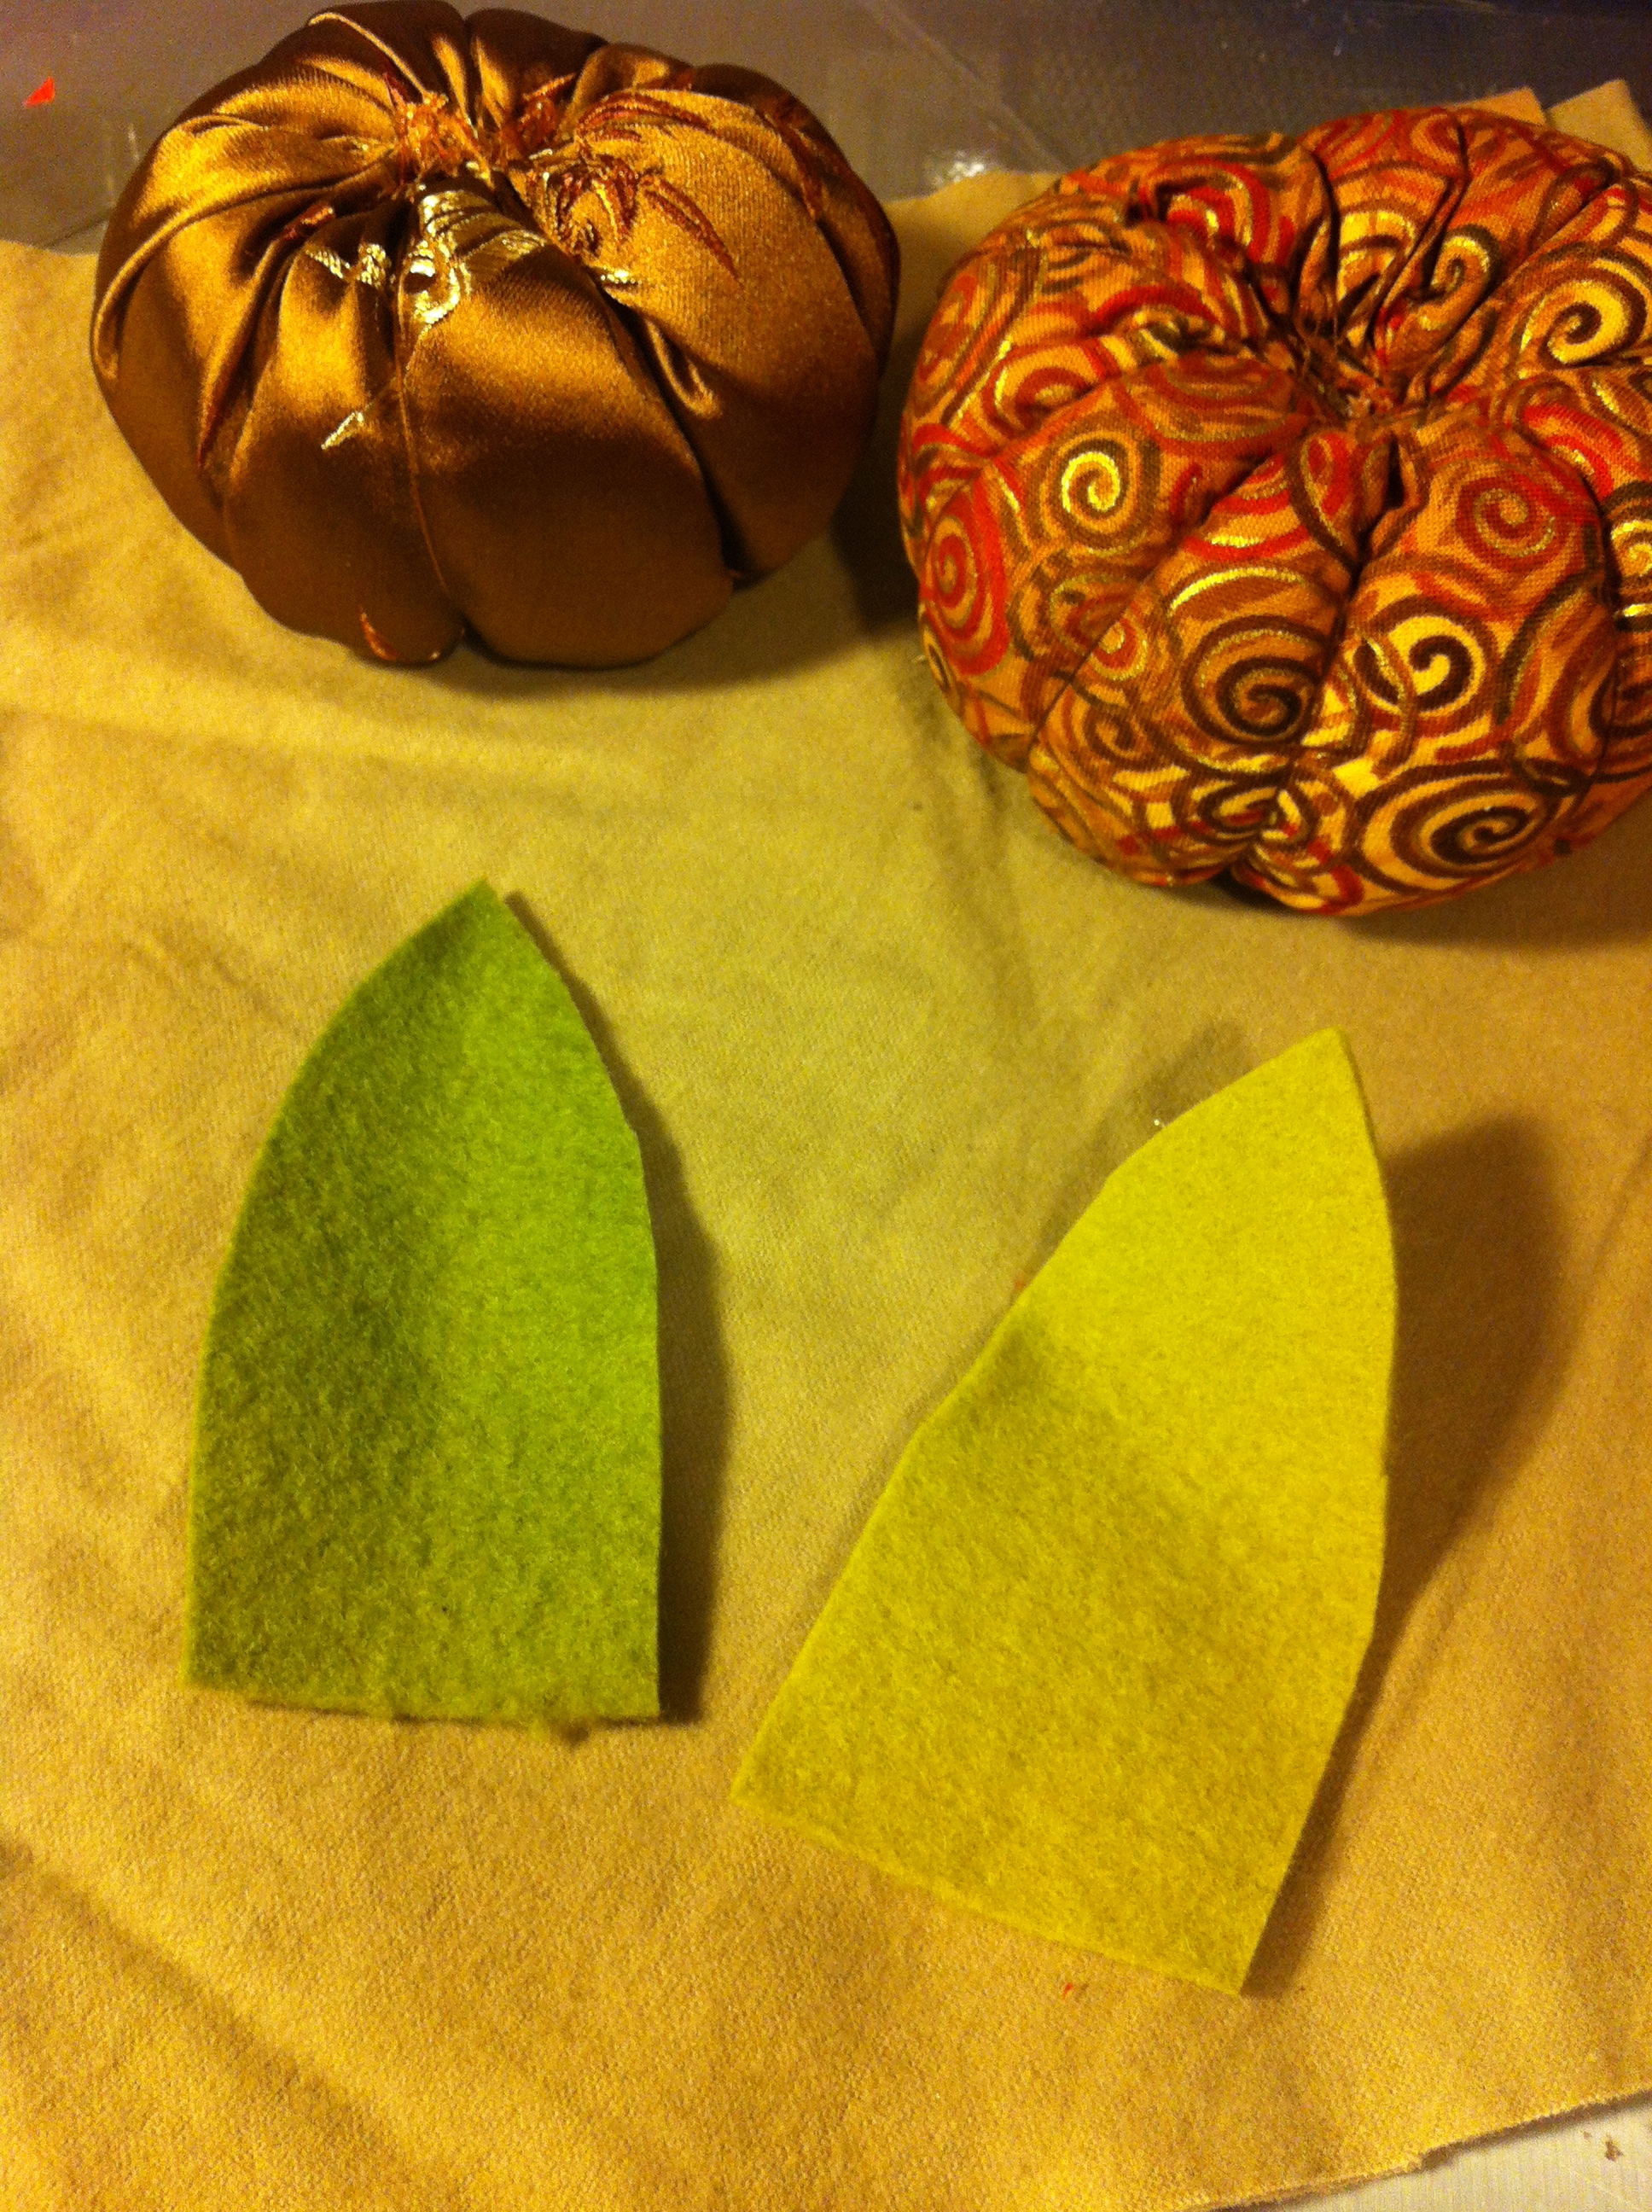
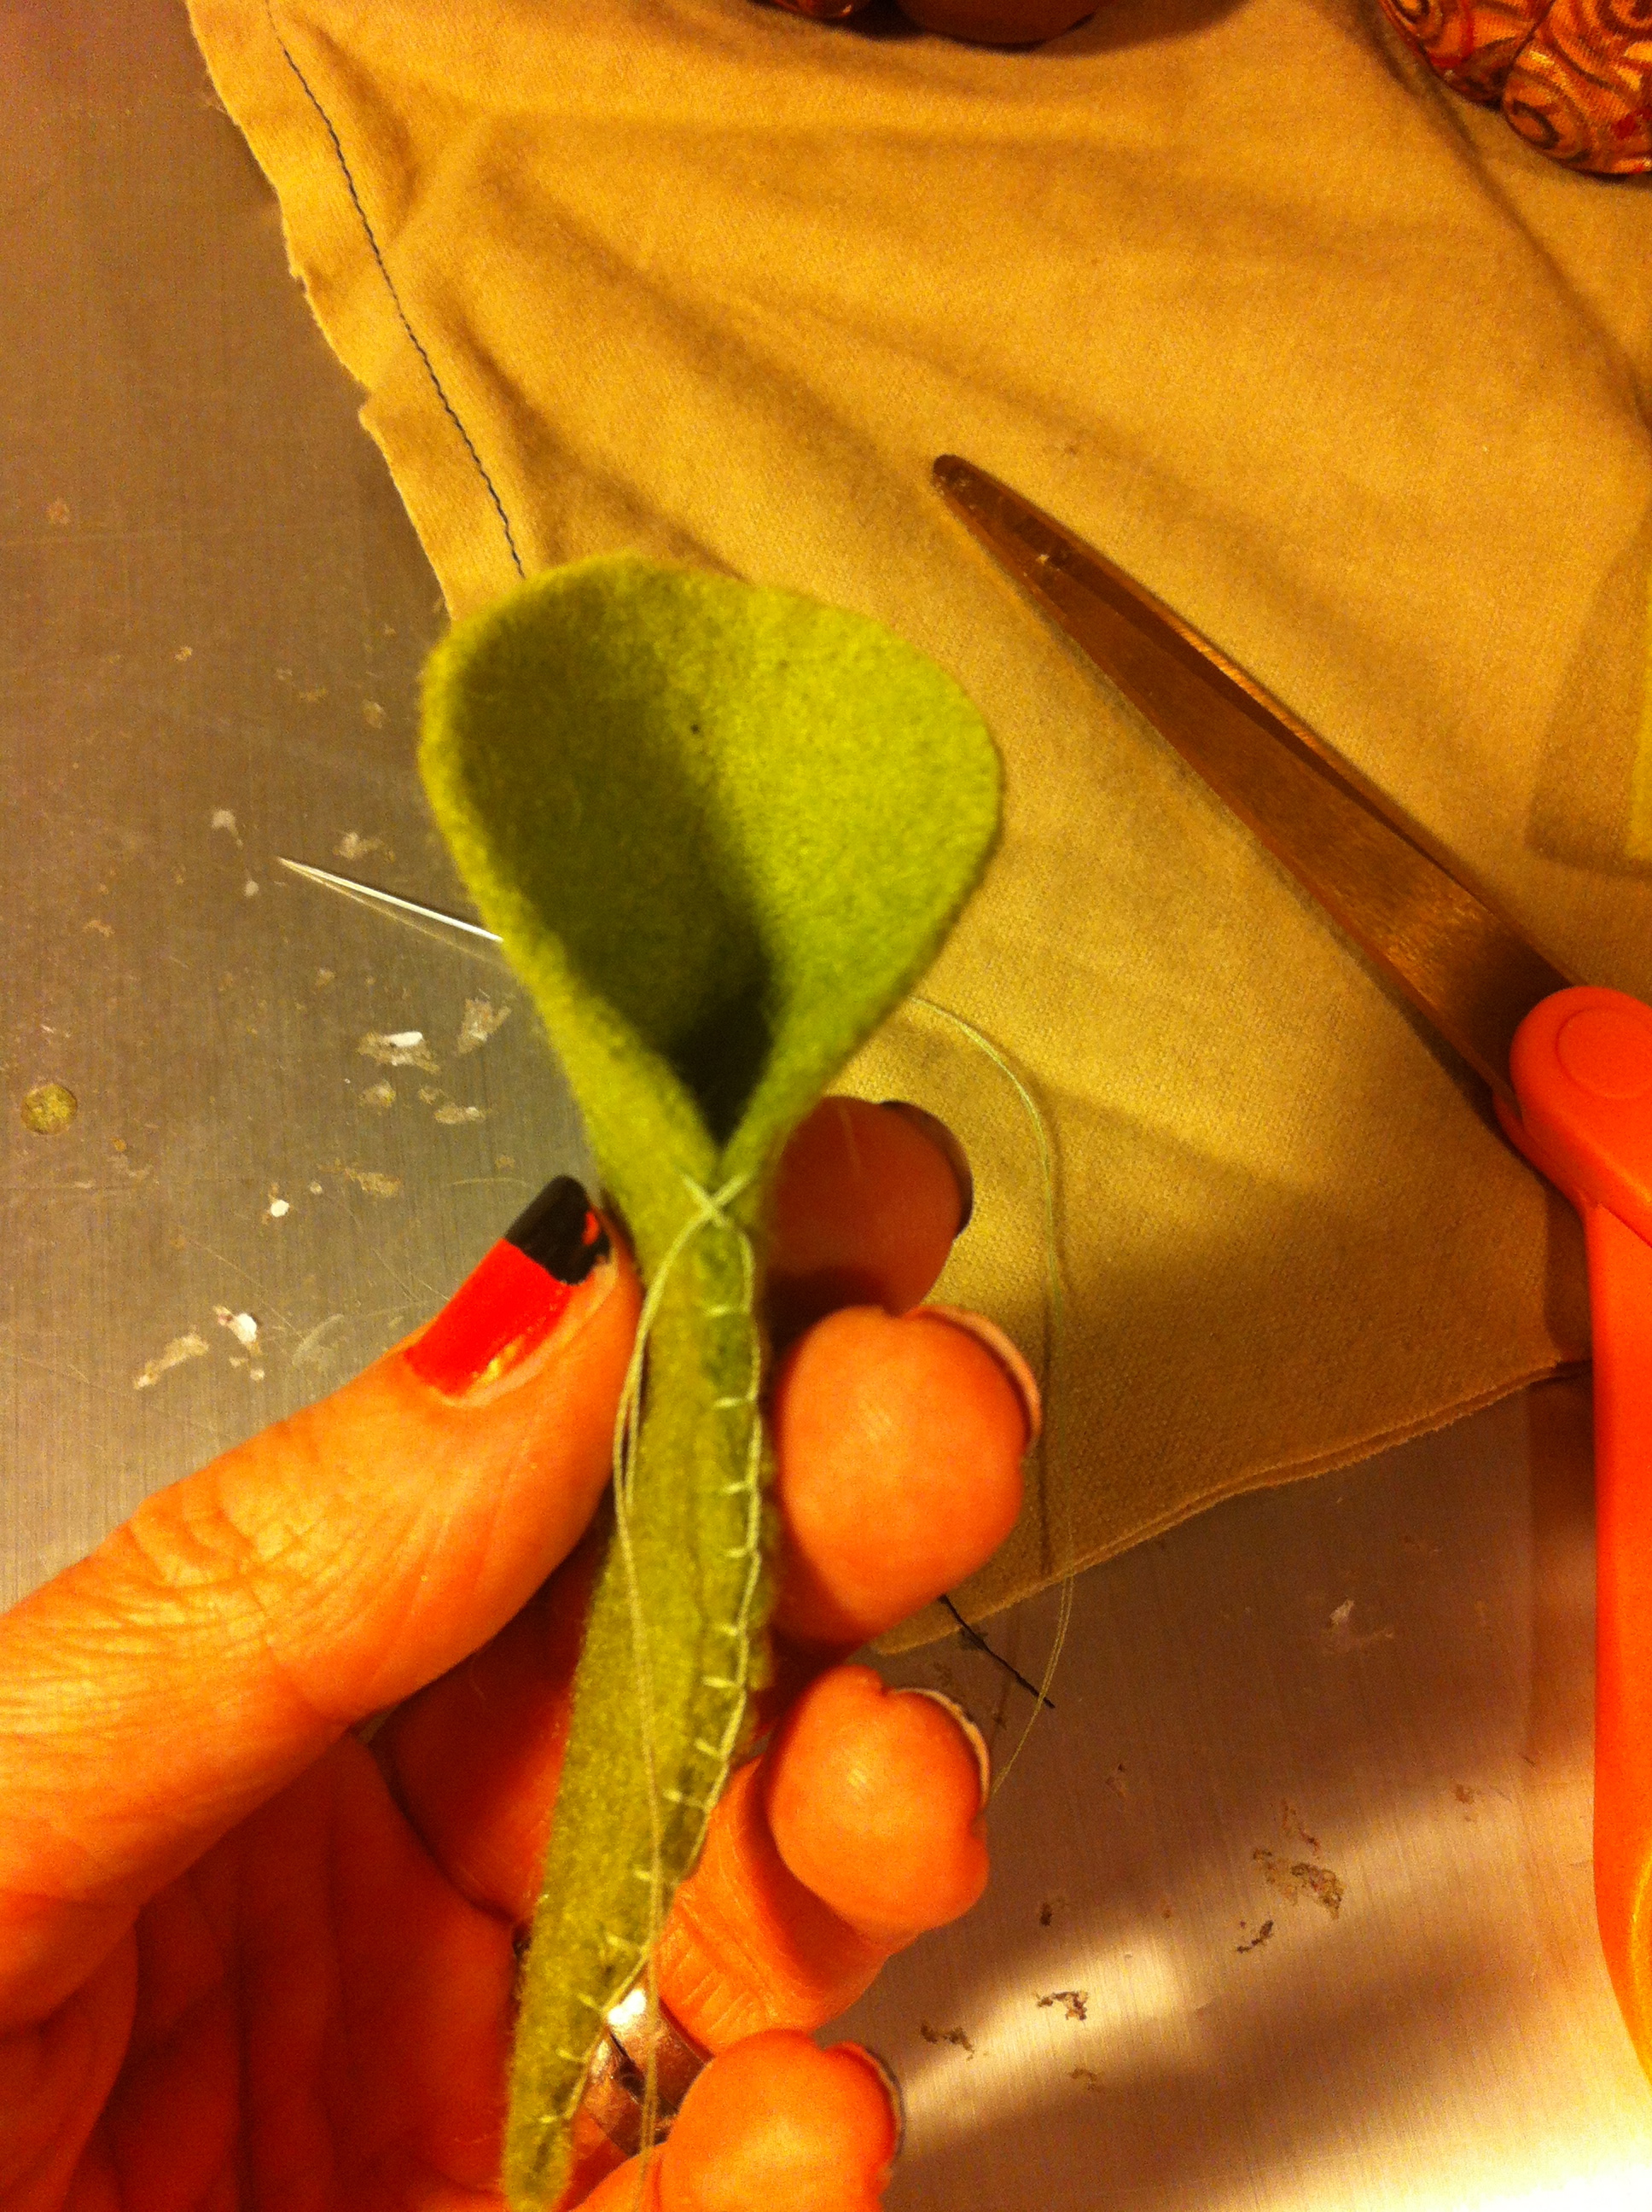
For the stem, I start with a rectangle of felt about 2" x 3". I fold it in half lengthwise and then hold it up to the pumpkin to visualize how much I want to cut off. Cut a sort of rounded triangle, so it looks like a stained glass window when unfolded:

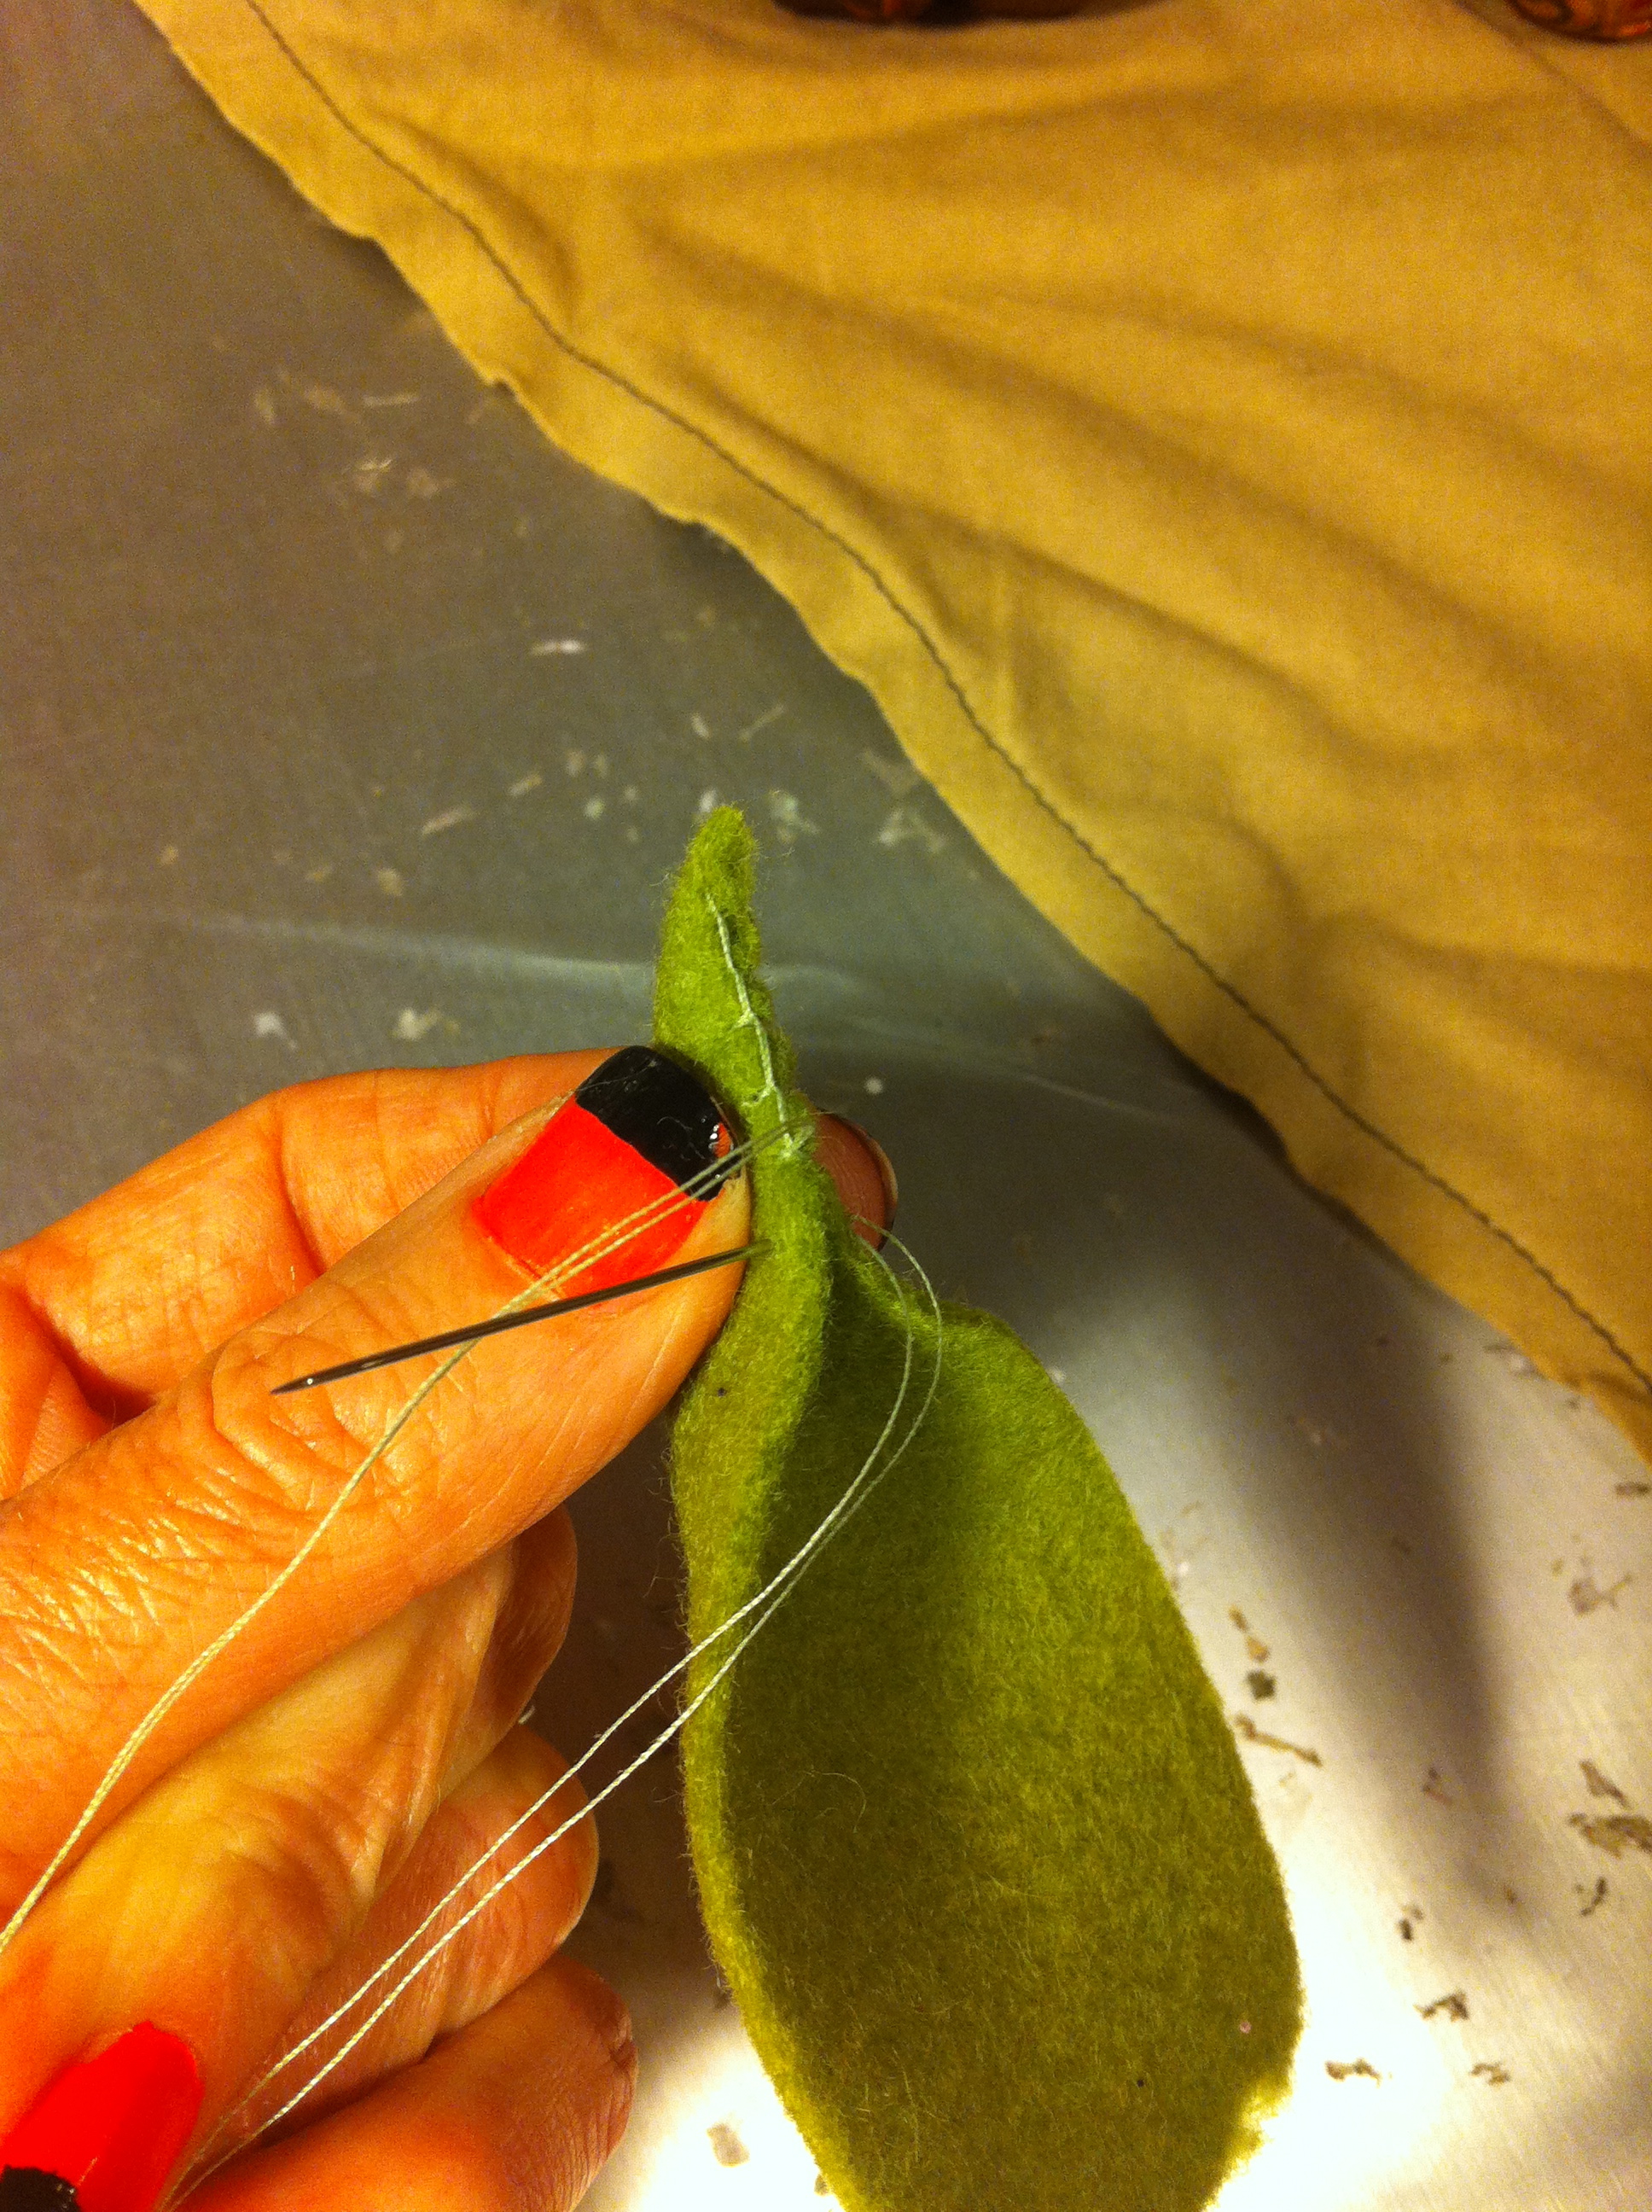
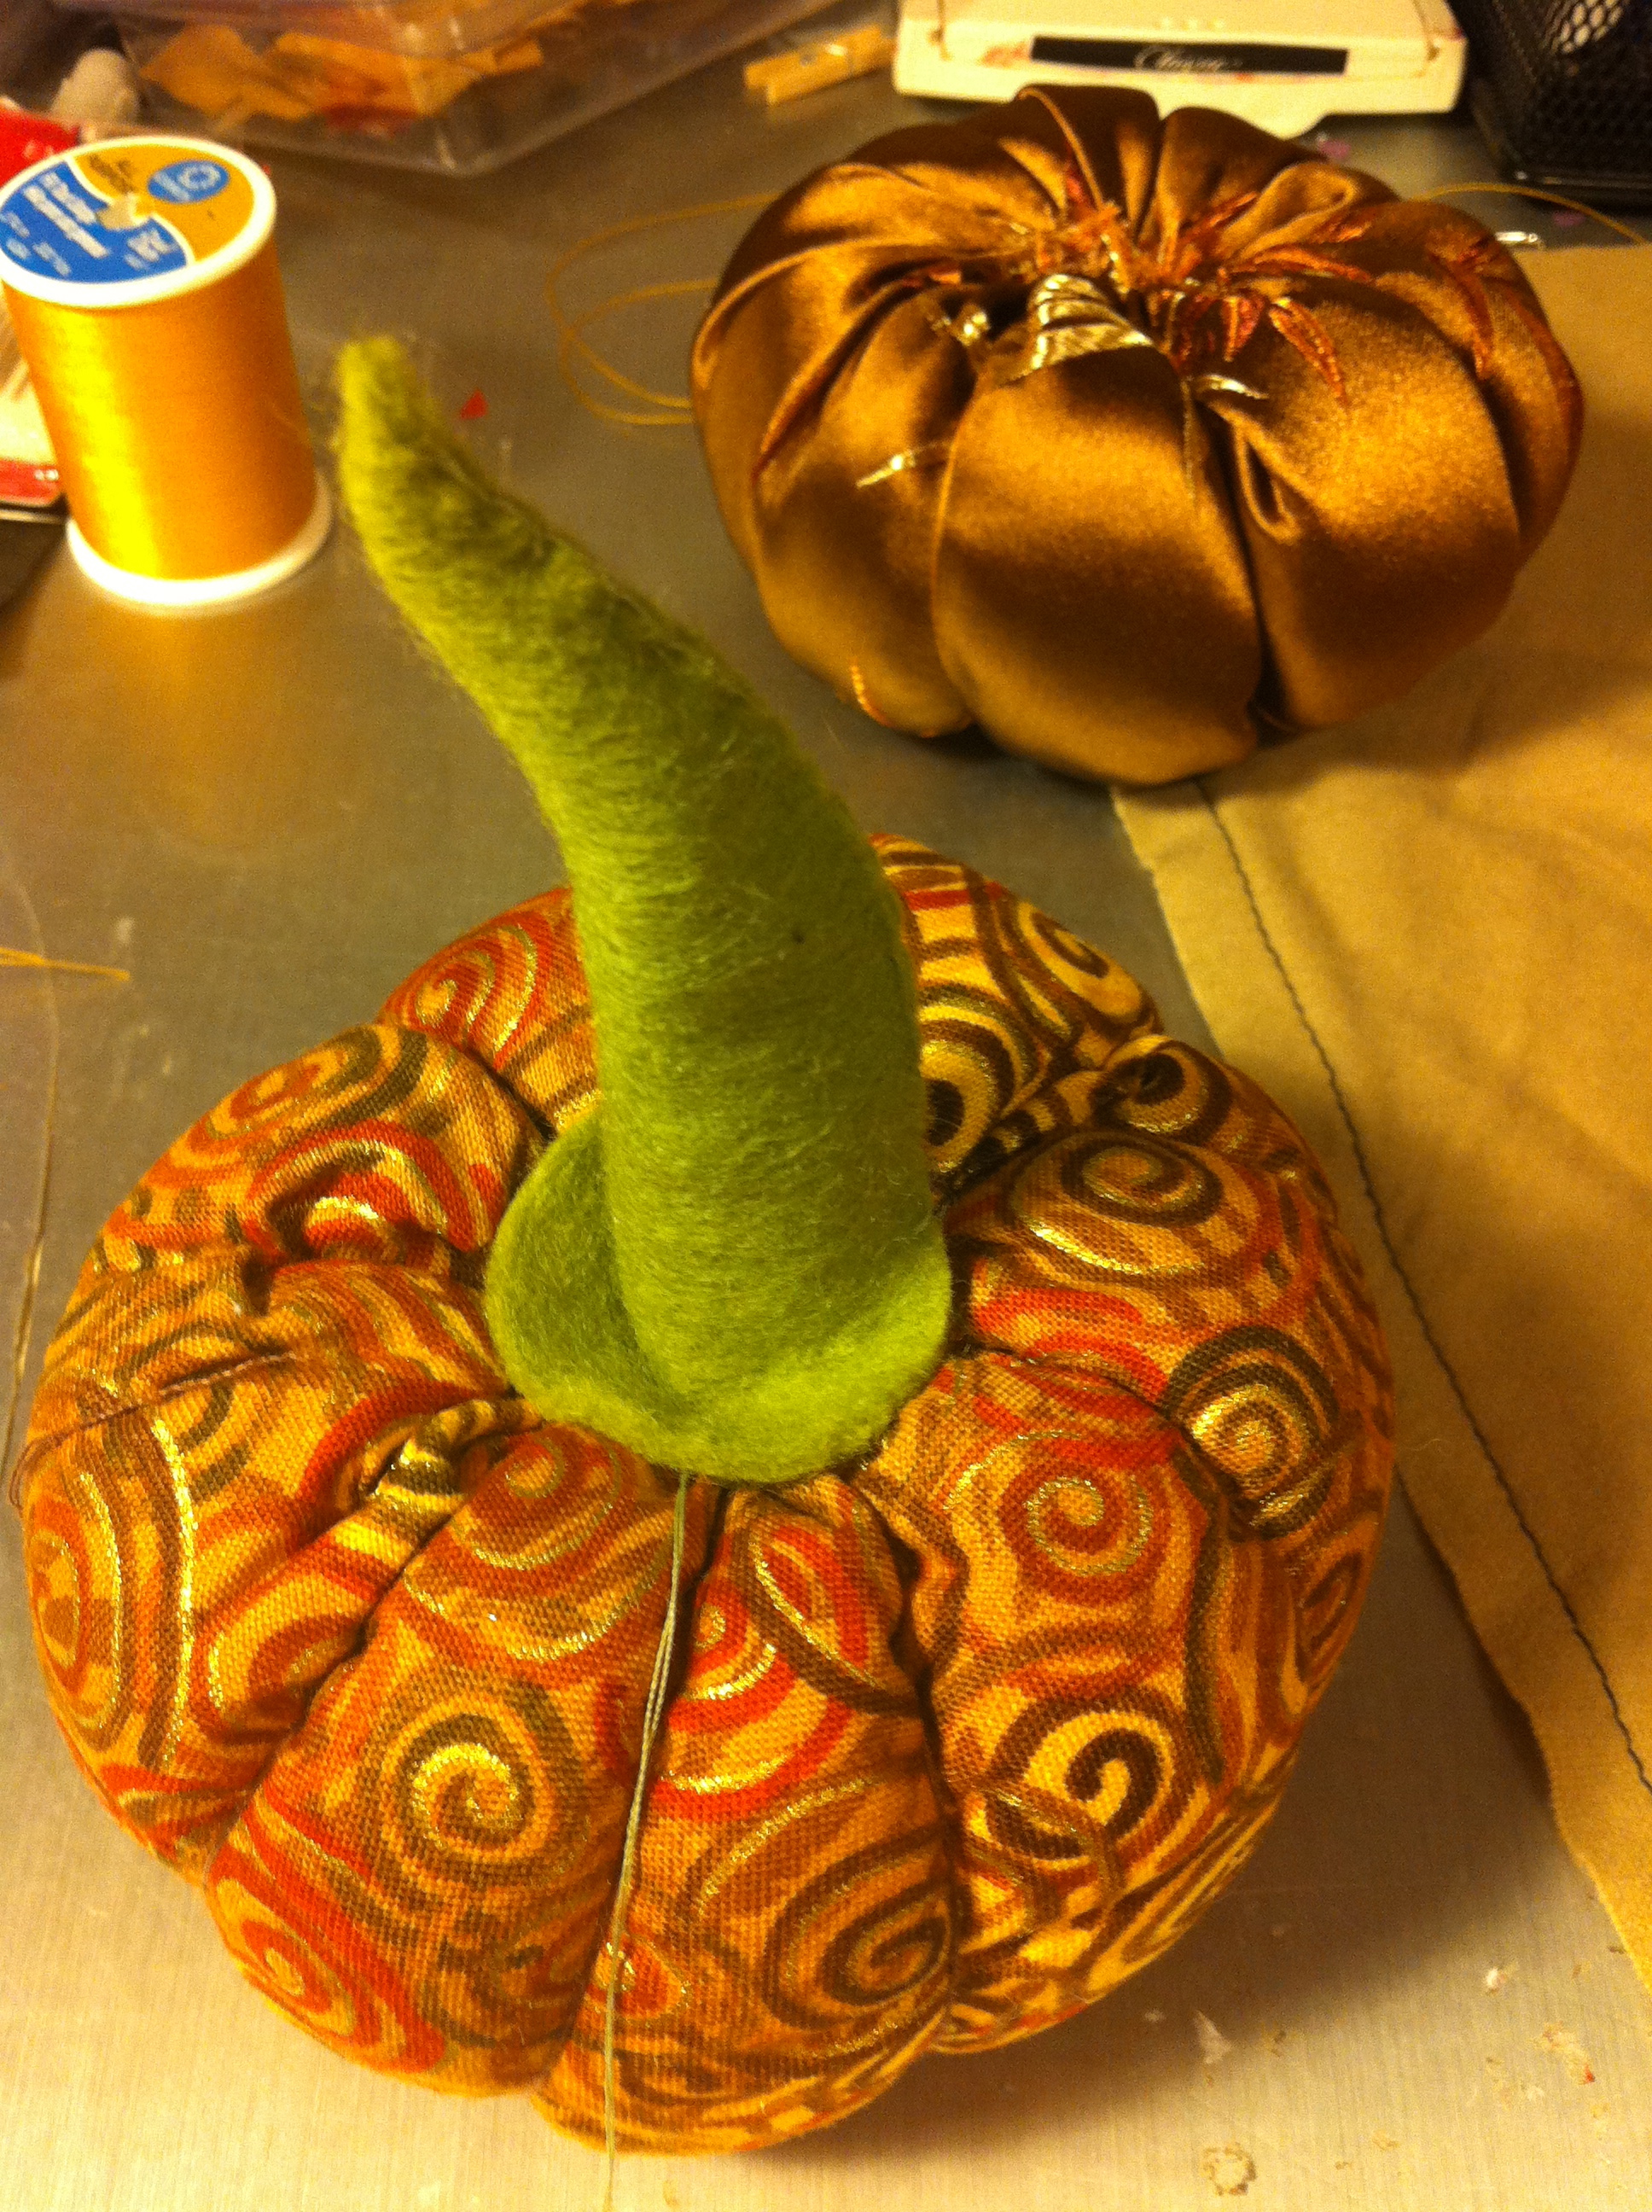
With scissors, round off the bottom corners of the stem. Thread a needle with green thread, hold the stem edges together, and start blanket-stitching down to close the seam. Sew to about 1/2" of the bottom and stuff lightly, leaving the 1/2" of bottom stem free. This unstuffed part gets spread out on the top of the pumpkin, hiding all your sloppy whip-stitchery, and you blanket-stitch around it, securing it to the top of the pumpkin.

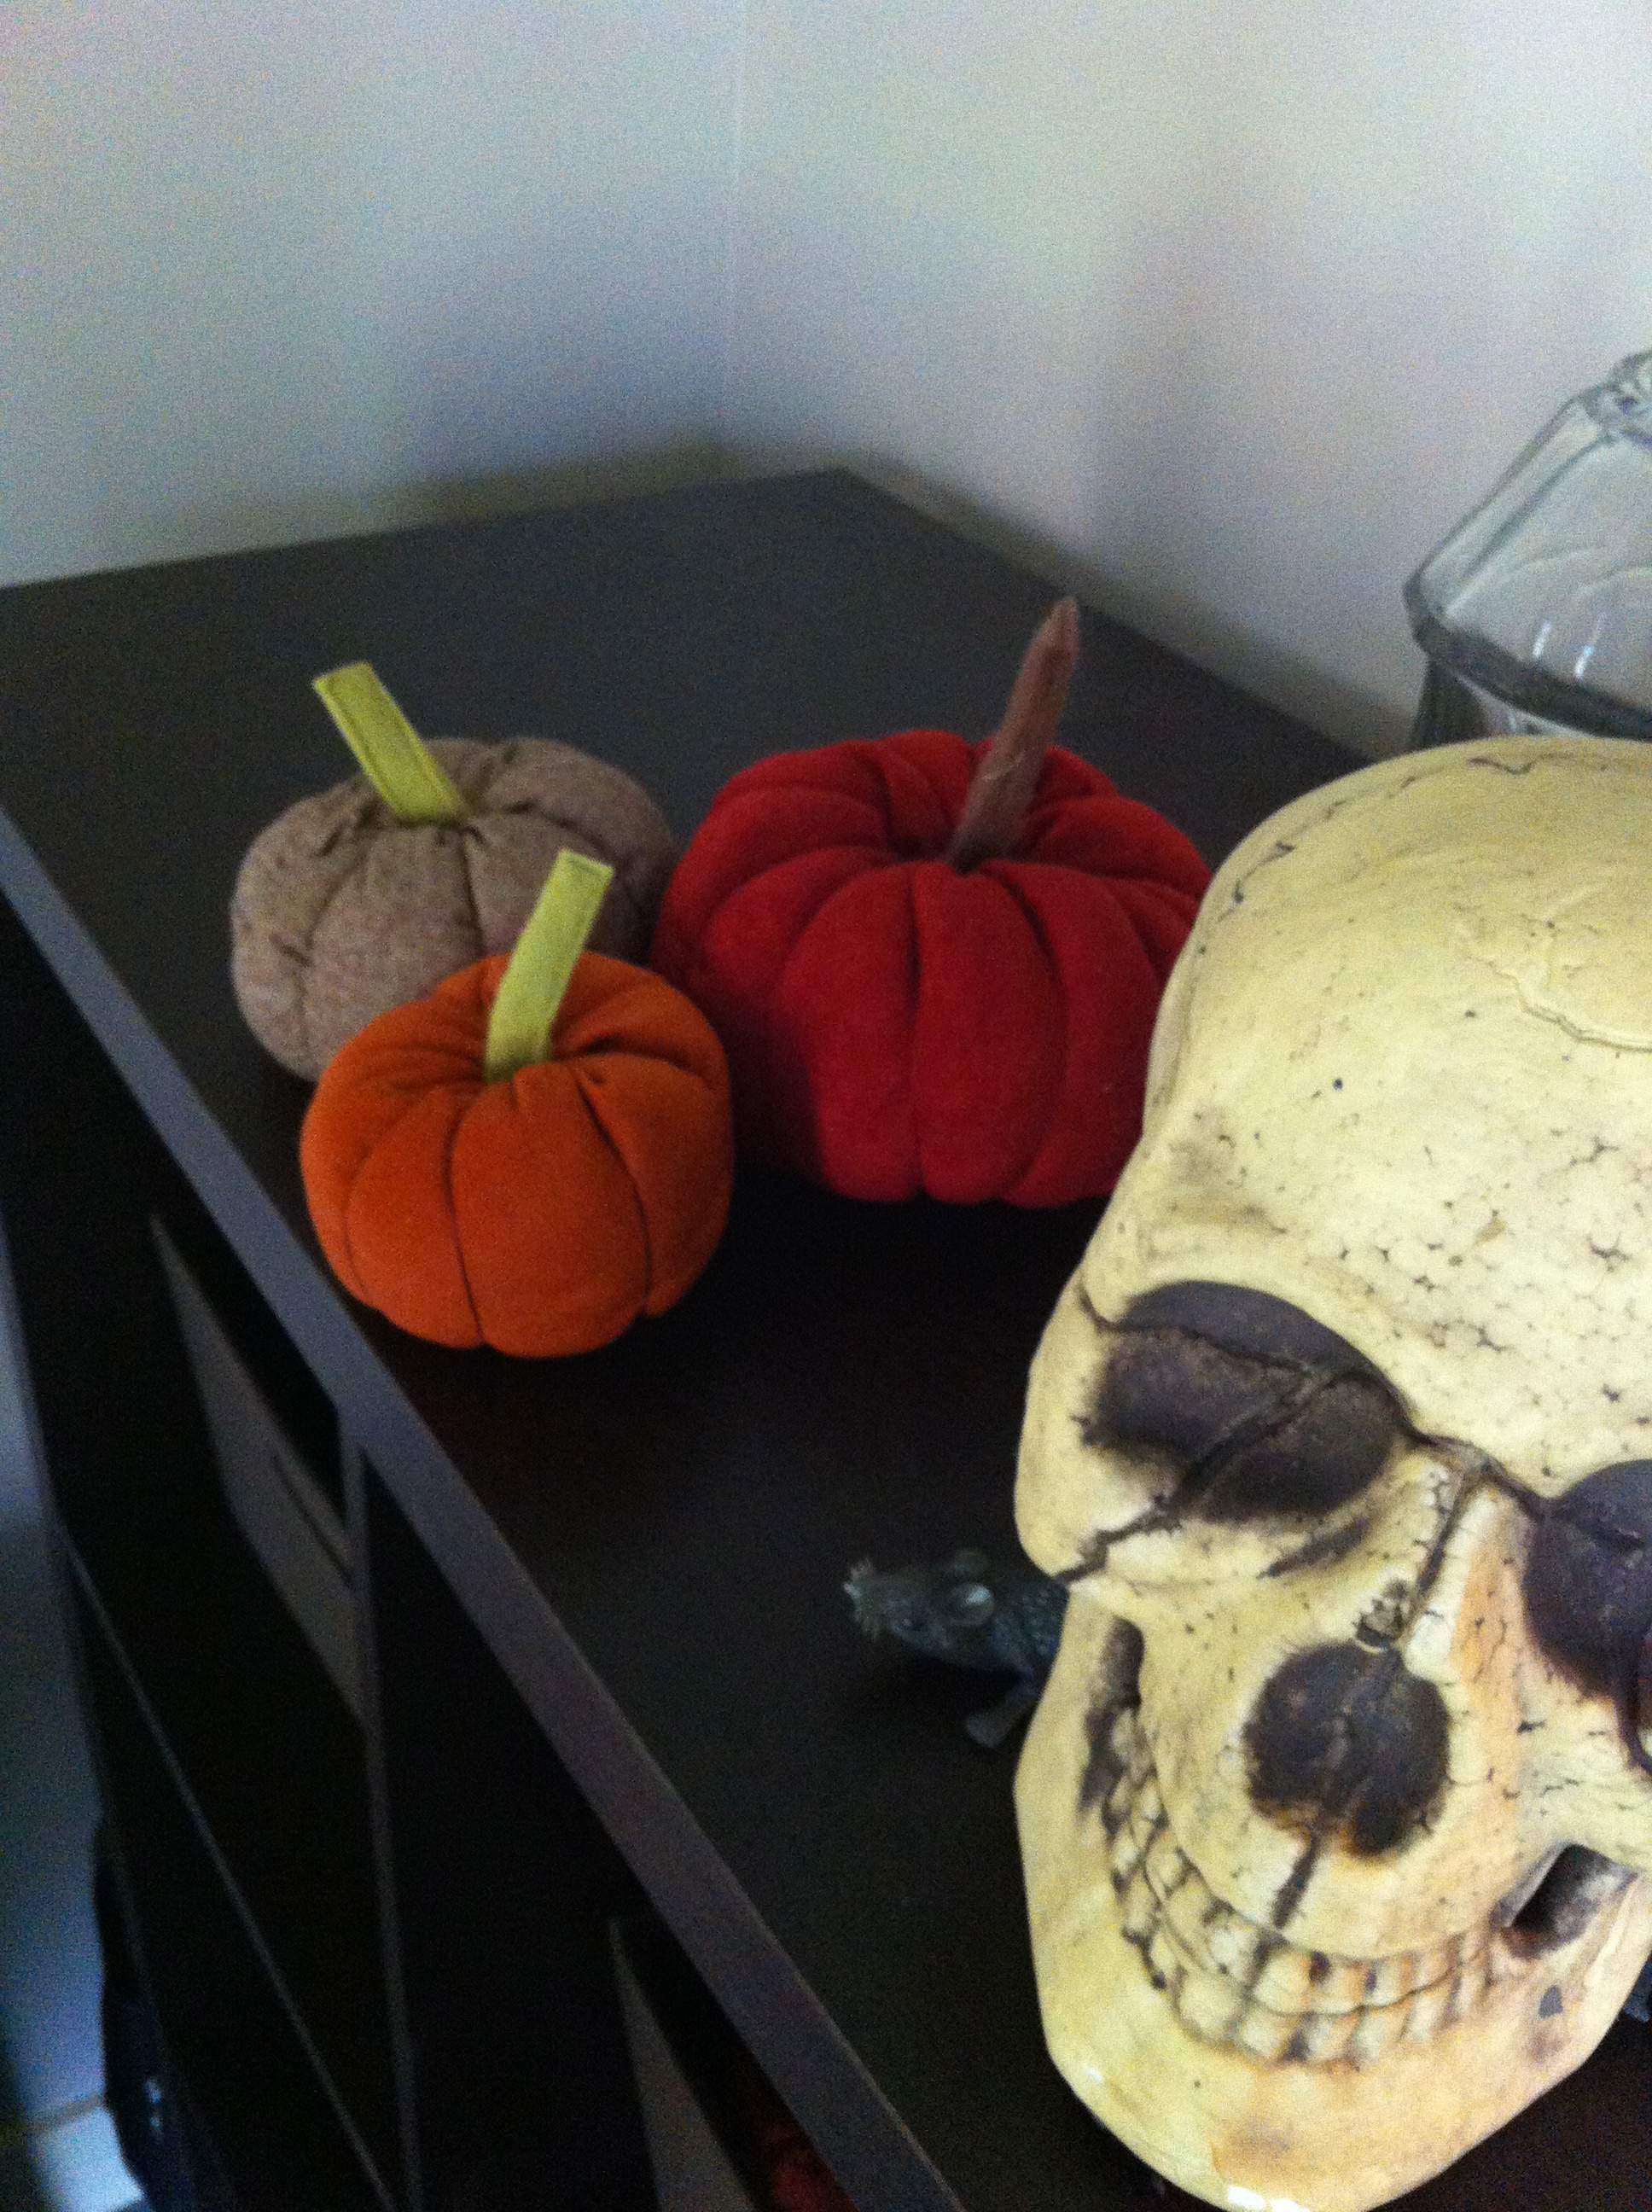
Smoosh up the pumpkin, twist and fiddle with the stem until it looks the way you want it to. Awesome. These are so much fun. Quick, easy-to-make, and unlike those infernal paper ornaments, these are totally non-addicting. There is no need to make thirty of them. But you could. And I did.