Pizza Dough

I will never use frozen pizza dough again. (Not if I can help it, I mean)

My Kitchen Aid mixer came with a dough hook, they usually do, and usually the hook ends up living in the drawer or a bin downstairs because what the heck are you supposed to do with it? Duh, make dough, right, but who does that?

Well my friend Danny Krack did, in his Kitchen Aid, and posted about it on Facebook, and I thought well wait a minute, I have a Kitchen Aid, I have a dough hook. I can do this. I searched out a couple recipes and gave it a whirl.

(Forehead smack) I'm an idiot. Frozen dough has been pissing me off all these years and finally I figure out that making pizza dough is stupidly easy and results in a much better homemade pizza.

Easy. Stupid easy. Watch

Stupid Easy Pizza Dough

  • 1 1/4 oz package active dry yeast (and I can't believe I found some in my cabinets, and it expired in like 2009 so I can't believe it actually worked!)
  • 1 tsp sugar
  • 1 cup warm water
  • 2 tsp kosher salt
  • 1 tbsp olive oil
  • 4 cups flour (could be more, just keep the flour nearby)
IMG_4647
IMG_4647

Put the warm water in the mixing bowl.  Add the yeast and sugar and let sit until foamy.  I got really anxious here because I was using such old yeast. But sure enough, it foamed up. I love when things work.

Fit the hook onto the mixer, add a cup of flour, lower the hook and mix. Keep adding flour a cup at a time, along with the salt and the olive oil. It will be a mess first, but then the dough will start to come together. Scrape down the sides with a spatula when you need to. The goal is to have it pull cleanly away from the bowl. In the end, I probably used closer to 5 cups flour.

By the way, you could also add some dried or fresh herbs to the dough for an extra-special pizza.

Empty the dough into an oiled mixing bowl (I just sprayed mine with Pam).  Cover with a dish towel and leave it to rise. How long? I don't know, I started this in the mixer around 1:00 and left it be until at least 4:00. It's supposed to double in bulk but I have to be honest, I can't say mine rose that much. Then again, I was using very old yeast.

Sprinkle flour on a cutting board. Dump the dough out and dust more flour on top.  Punch the dough down and knead it, just a little. You don't want to handle it too too much. Divide it into two pieces and form each piece into a ball, making it as smooth as possible by tucking all the "ends" underneath. Leave the two balls on the cutting board and cover with the towel again. Let rise another hour or so.

And then you are ready to make pizza!  Preheat your oven to 450. Stretch the dough out on an oiled baking tray (or a pizza stone if you have one). Add your sauce and cheese and herbs and whatnot, go to town. Bake for 10-15 minutes depending on your oven and your preferred doneness. I found 10 minutes too short, and 15 too long. 12 minutes was the magic number.

Slice, serve, and watch the opening ceremony of the Olympics.

Doing this brought back a lot of memories. Dough was life at the Alfred Sub Shop & Pizzeria. The downstairs dough room housed an industrial mixer, three huge refrigerators, and a thousand hotel-size baking trays. The dough was divided into small, medium and large portions, laid out on the well-oiled-and-floured trays and slid into racks within the refrigerators. During a typical eight hour shift on Friday or Saturday night, you'd lug up a dozen or more trays up the stairs, offloading the dough into drawers built into the side of the pizza table. The empty trays would be stacked by the sink along with all the other pots, pans, bowls and detritus of an evening's work, until someone could break free long enough to wash the Herculean load, then you'd bring the trays back downstairs and bring more dough up.

It was the pizza workers' job to make the 5-gallon buckets of sauce, according to a recipe contrived by the owner's mother and from which you did not deviate by so much as a quarter teaspoon. But a woman named Crystal made the dough, sometimes with her mother's help, but usually just herself, starting at four in the morning.  

If you were making your way home from an epic party, or engaging in some form of the Walk of Shame, you'd see light shining in the basement windows of the sub shop and you knew Crystal was at it. And if you were in a bad way, that light was a honing beacon to a safe place, a warm cave of flour, water and yeast. Not bread, but close enough. You could cut through the parking lot of Key Bank and tap on the back door, the workers' entrance, giving it a push to see if it was open. It usually was, and poking your head in you could hear the whine of the mixers, or the scrape of metal against metal, overlaid with a dim hum of music from a well-floured boom box that lived down there.  
"Crystal?" you would call, with an undertone of "Mom?"

"Down here," she'd call back, and, like your mother, never sounding surprised. You could go down and sit on a flour sack, sometimes there would be tea or she had a box of doughnuts or something. She wouldn't let you help; she was very particular about the dough. She wasn't a big talker but she liked company. So you could talk or not. If you talked she listened. If you wanted to have a cry or just sit without doing anything, until the rhythmic, rotating dance of the beaters hypnotized you into a state where you thought maybe you could sleep, that was fine with her.  t was nice down there in the dough room.  t was a good place to hide.
The things Crystal must have heard while she was making dough.
I wonder where she is...

Orange Couscous Supreme

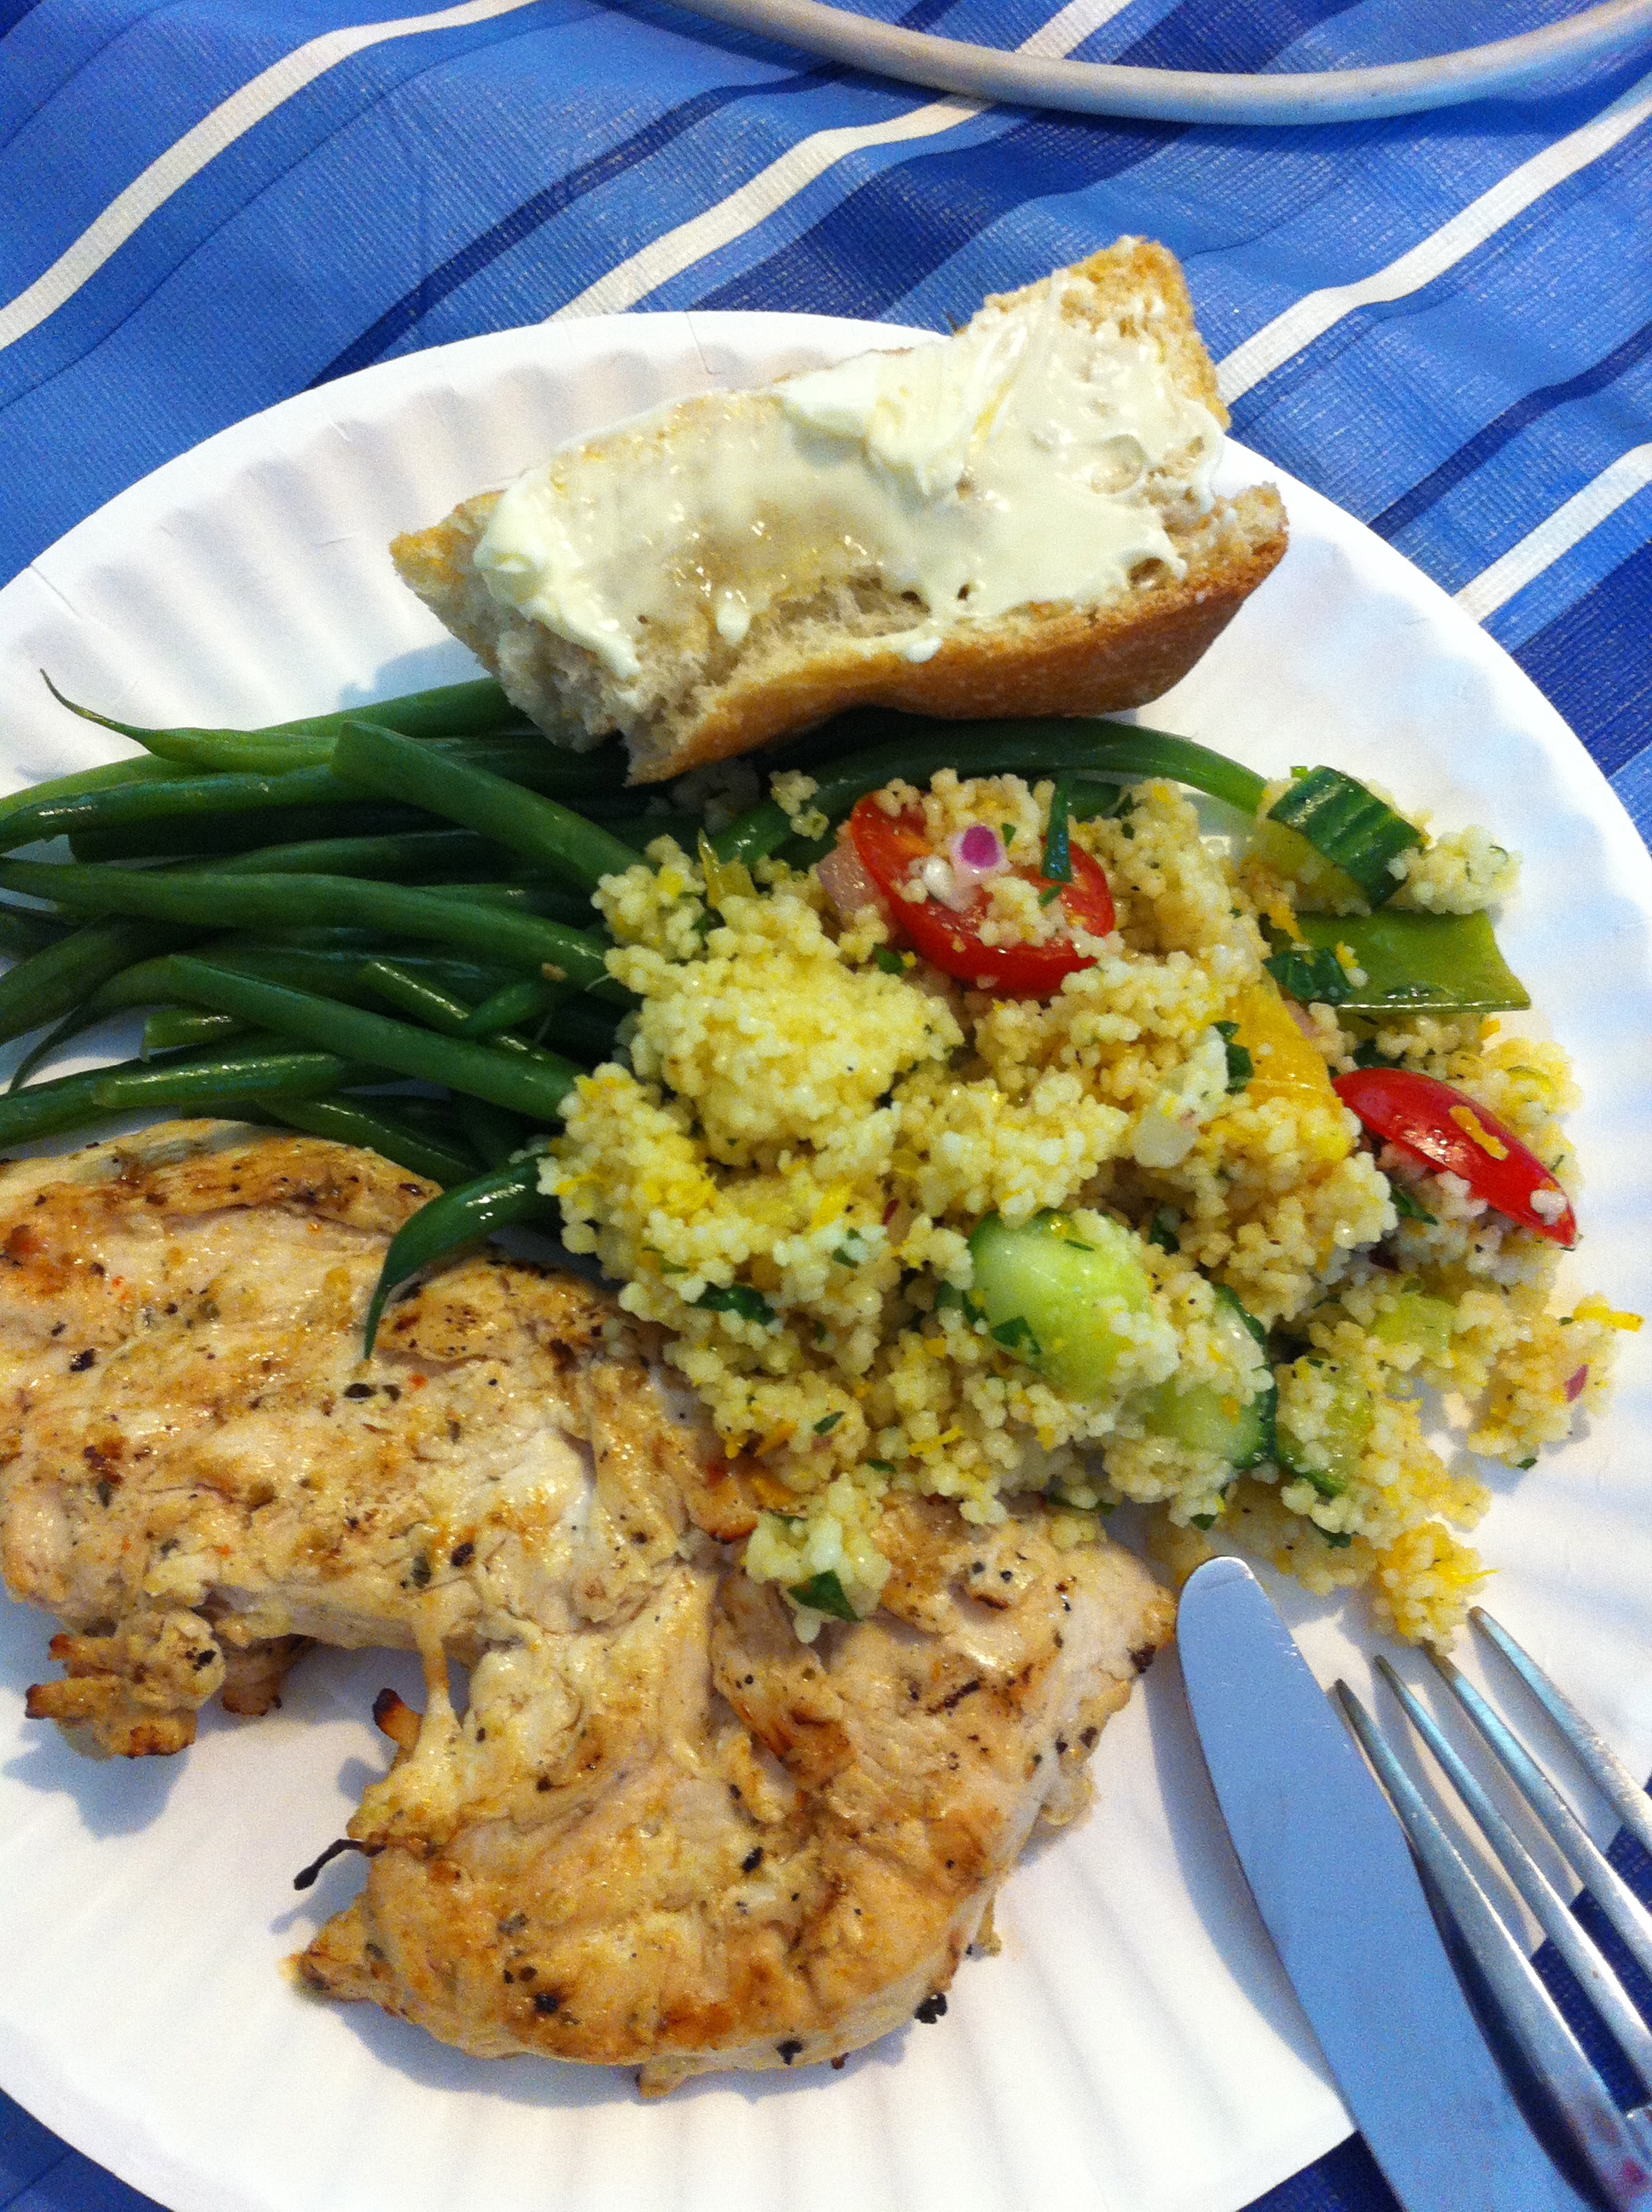
Trawling the leftovers from my local library's annual Book Sale ("Free!" said the sign, "Help Yourselves!") I found Kim Sunée's Trail of Crumbs: Hunger, Love and the Search for Home.    I took it down to Lavallette with me and I really, really wanted to love this book.  It started out very promising, with sumptuous descriptions of the cuisines of New Orleans, Stockholm and France.  But halfway through, I was becoming annoyed with Keem.  Three-quarters through I wanted to smack her.  By the end I was just skimming from recipe to recipe.  The food was amazing but frankly I couldn't stomach any more of her search for home. Anyway, one recipe that immediately jumped out at me was an orange couscous salad.  It sounded perfect beach house fare.  It was mine and Jeeps' night to cook dinner for 14: we had chicken breasts marinating in Ken's Steakhouse dressing, and shrimp marinating separately for kebabs.  My brother-in-law was out crabbing and undoubtedly would be bringing in a catch.


I thought the couscous salad would go great with the mixed grill so I ran out to the local A & P to gather ingredients and whipped it up.  It was a little labor-intensive but all-in-all a great success.  Even my brother-in-law, who is no fan of couscous, liked it a lot.  And he wasn't just being nice.

I doubled the recipe given below, skipped some things and added others.  It's one of those dishes that you make by the recipe once and then improvise ever after.  And you'll notice that I brought my cutting board and knives down to Lavallette which is quite possibly the smartest thing I've done.  Ever.

And before we begin, a short tangent on sectioning oranges, which was harder than it sounds.  I knew the basic technique of cutting a slice off the top and bottom to stabilize the orange, then cutting the peel and pith off lengthwise, then cutting between the sections to get your supremes, as the French say.  But this method resulted in the orange falling apart, miserably small chunks of orange clinging to large shreds of membrane, and a growing fear of slicing into my hand.  My brother-in-law had already taken a trip to the ER after a mishap cleaning his crabbing knife, so I resorted to the grapefruit method of cutting the orange across horizontally, then cutting out the half-sections with my paring knife (also brought from home because my pants are smart).  This worked out much better.

Orange Couscous and the Supremes Salad

  • 1 cup water
  • 1 10-oz box plain couscous
  • 1/4 cup extra virgin olive oil
  • 1 tsp salt
  • 1/2 tsp pepper
  • 1/2 small red onion, thinly sliced
  • 2 oranges
  • 2 tbsps chopped flat-leaf parsley
  • 2 tbsps chopped mint leaves (I skipped, I'm not a fan of mint so I doubled up on parsley)
  • 1 cucumber, peeled, seeded and chopped
  • 1 cup golden raisins, currants or chopped dates (I skipped)
  • 1 cup snow peas, roughly chopped (my own addition)
  • 1/2 pint cherry tomatoes, halved (my own addition)

Bring water to a boil.  Put couscous, onion and snow peas in a large serving bowl and add water, stir, cover with plastic and let steam 5 minutes.  Fluff with fork.  Stir in olive oil, salt and pepper.  Set aside and let cool.

Zest both oranges and juice one of them.  Remove peel and pith of second orange and cut into sections.


Add zest and chopped orange to couscous.  Stir in parsley (and/or mint), tomatoes, cucumber, and the fruit if you're using it.  Cover and chill in refrigerator 1 hour and up to 2 days.  Taste before serving and add more salt, pepper, olive oil, juice if needed.


Small, Snobby Miracles...

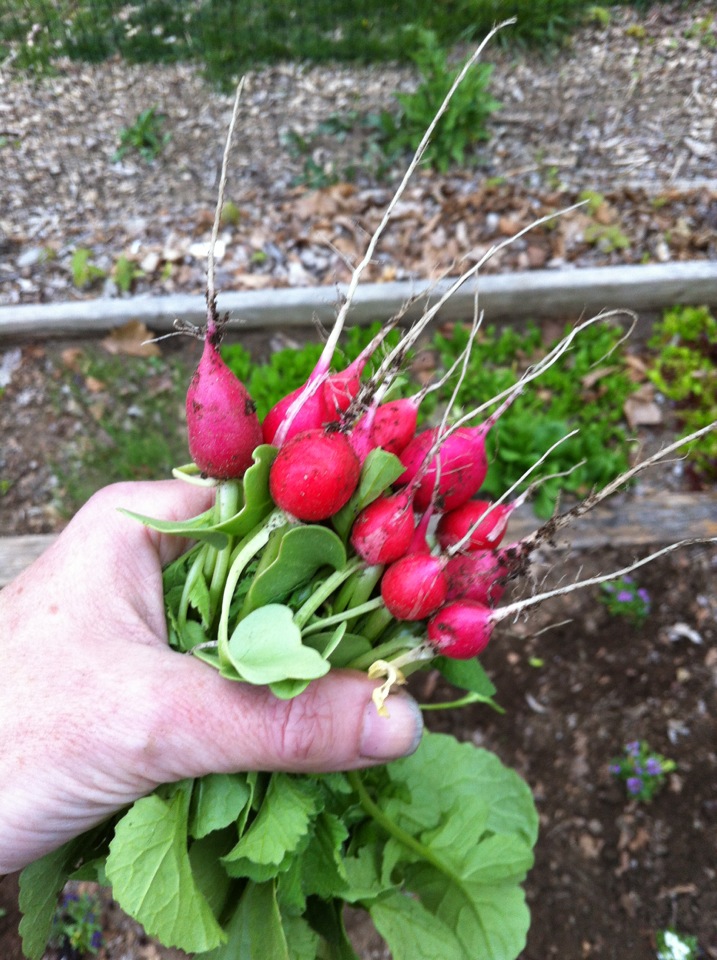
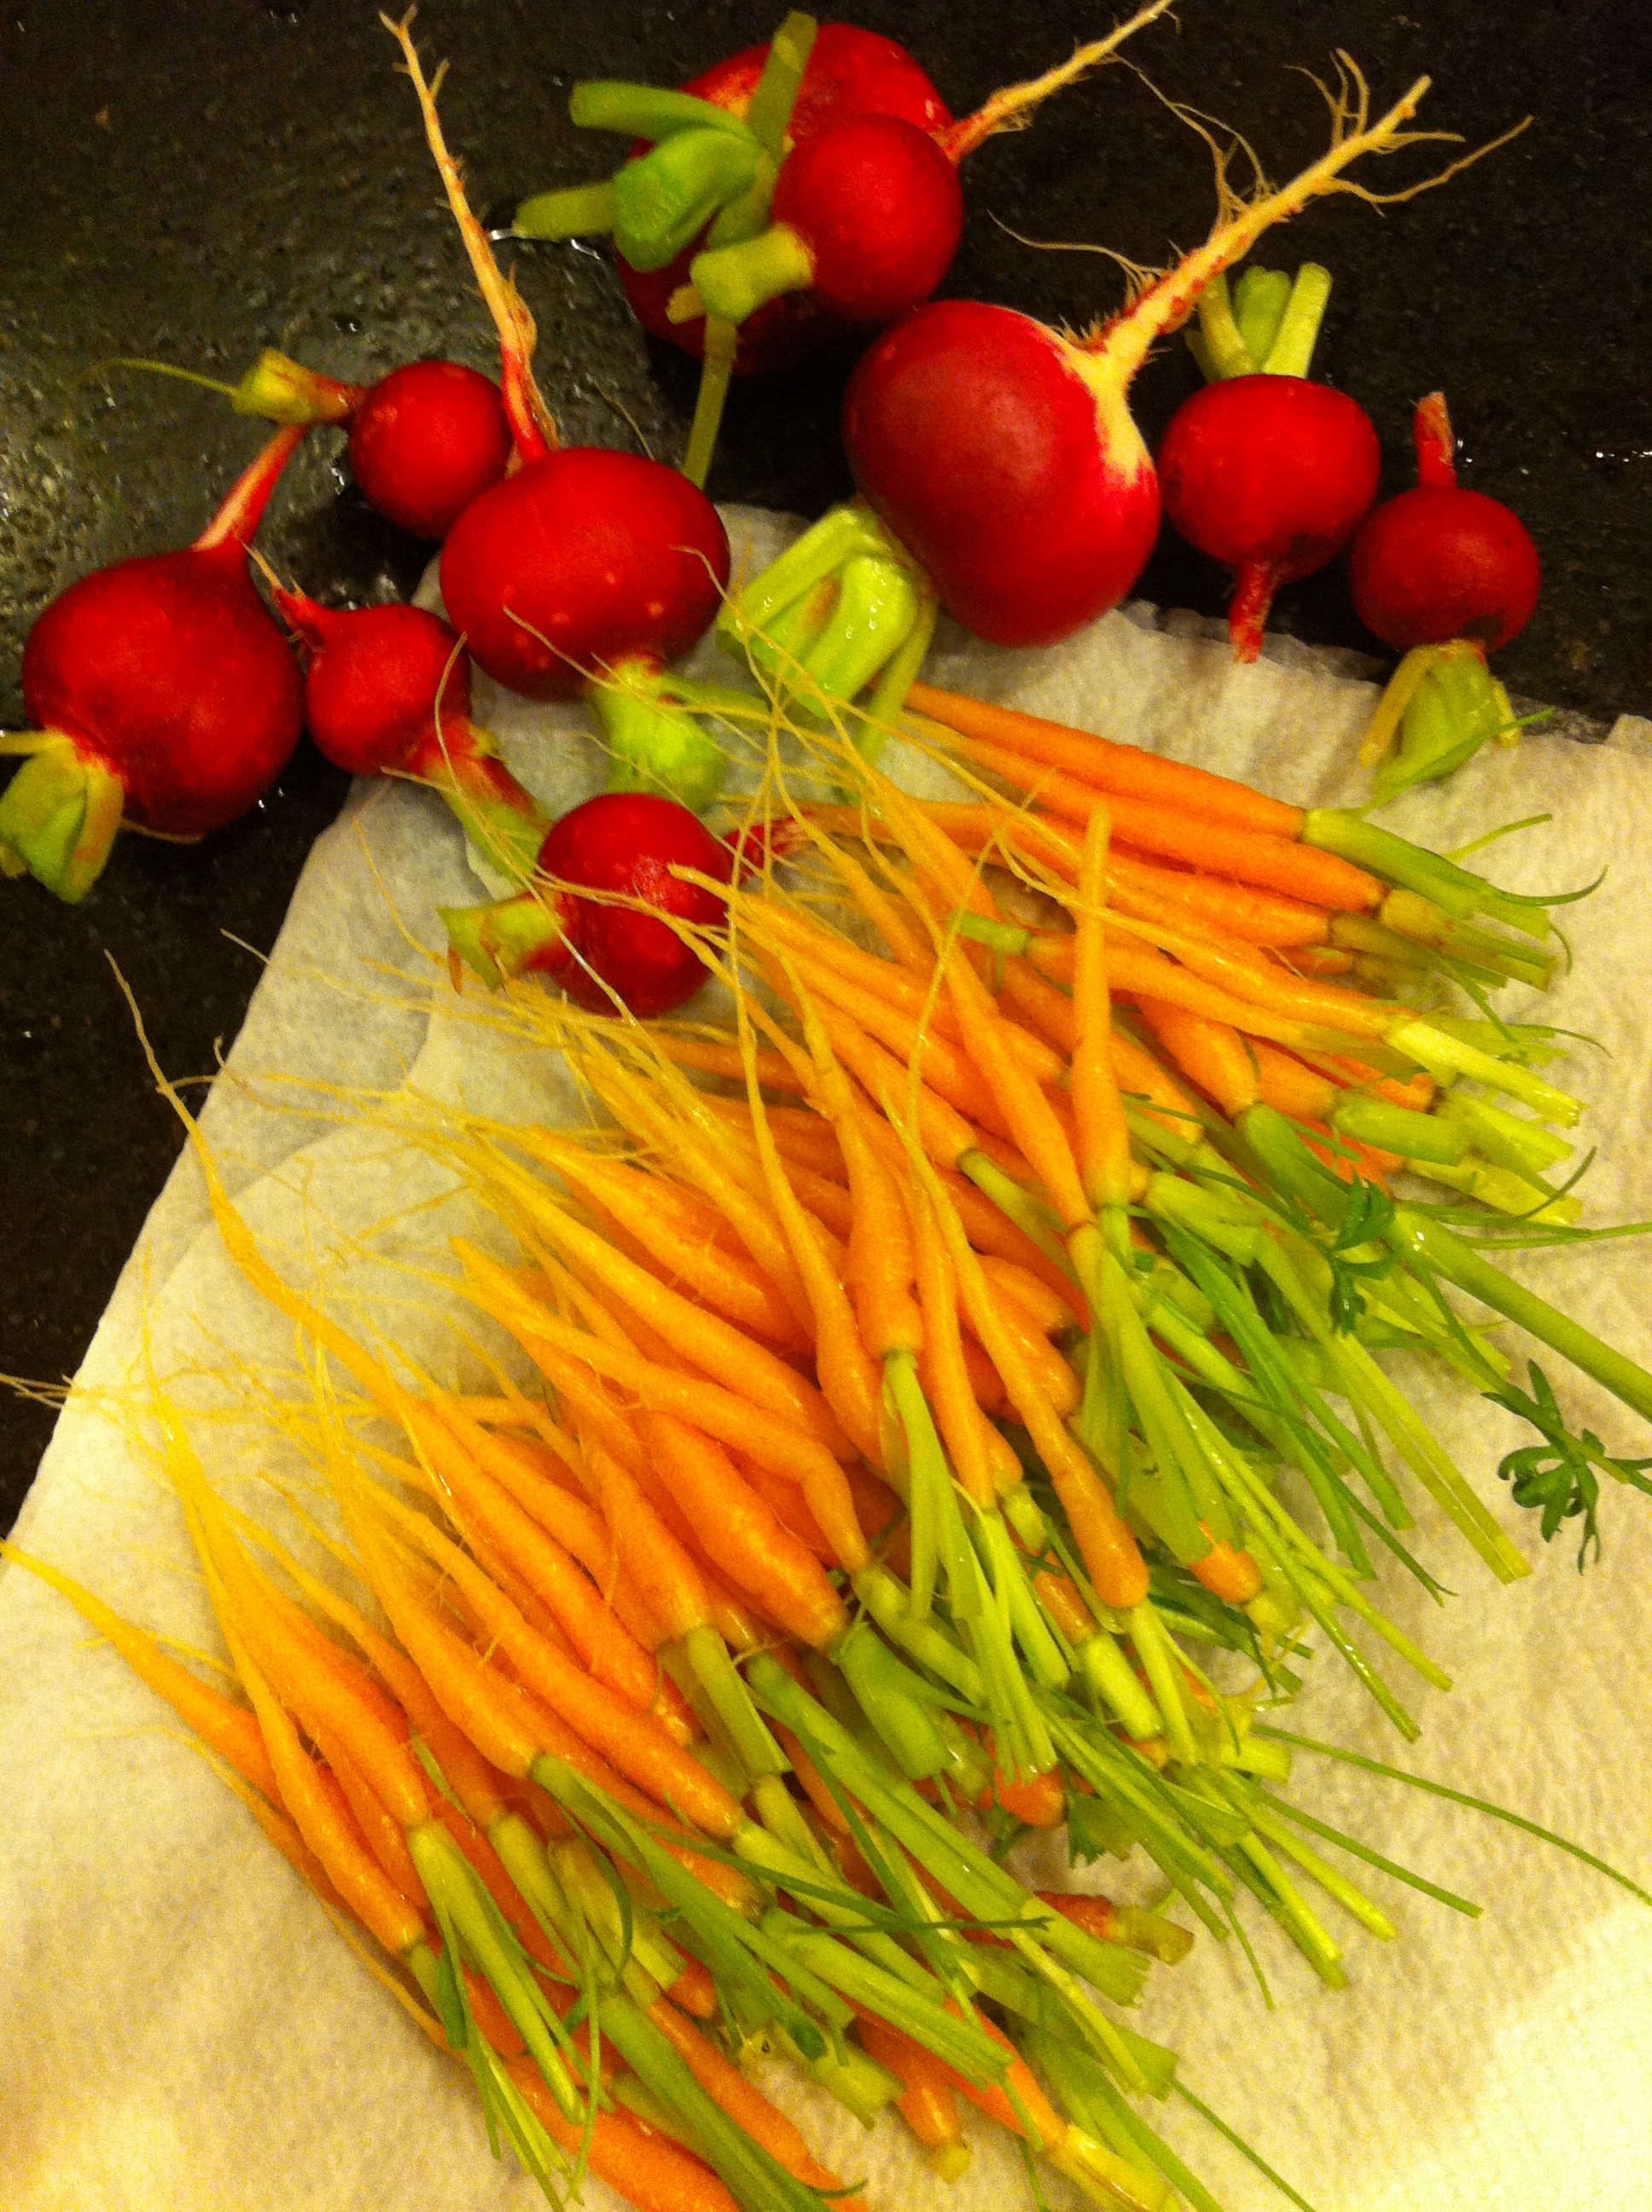
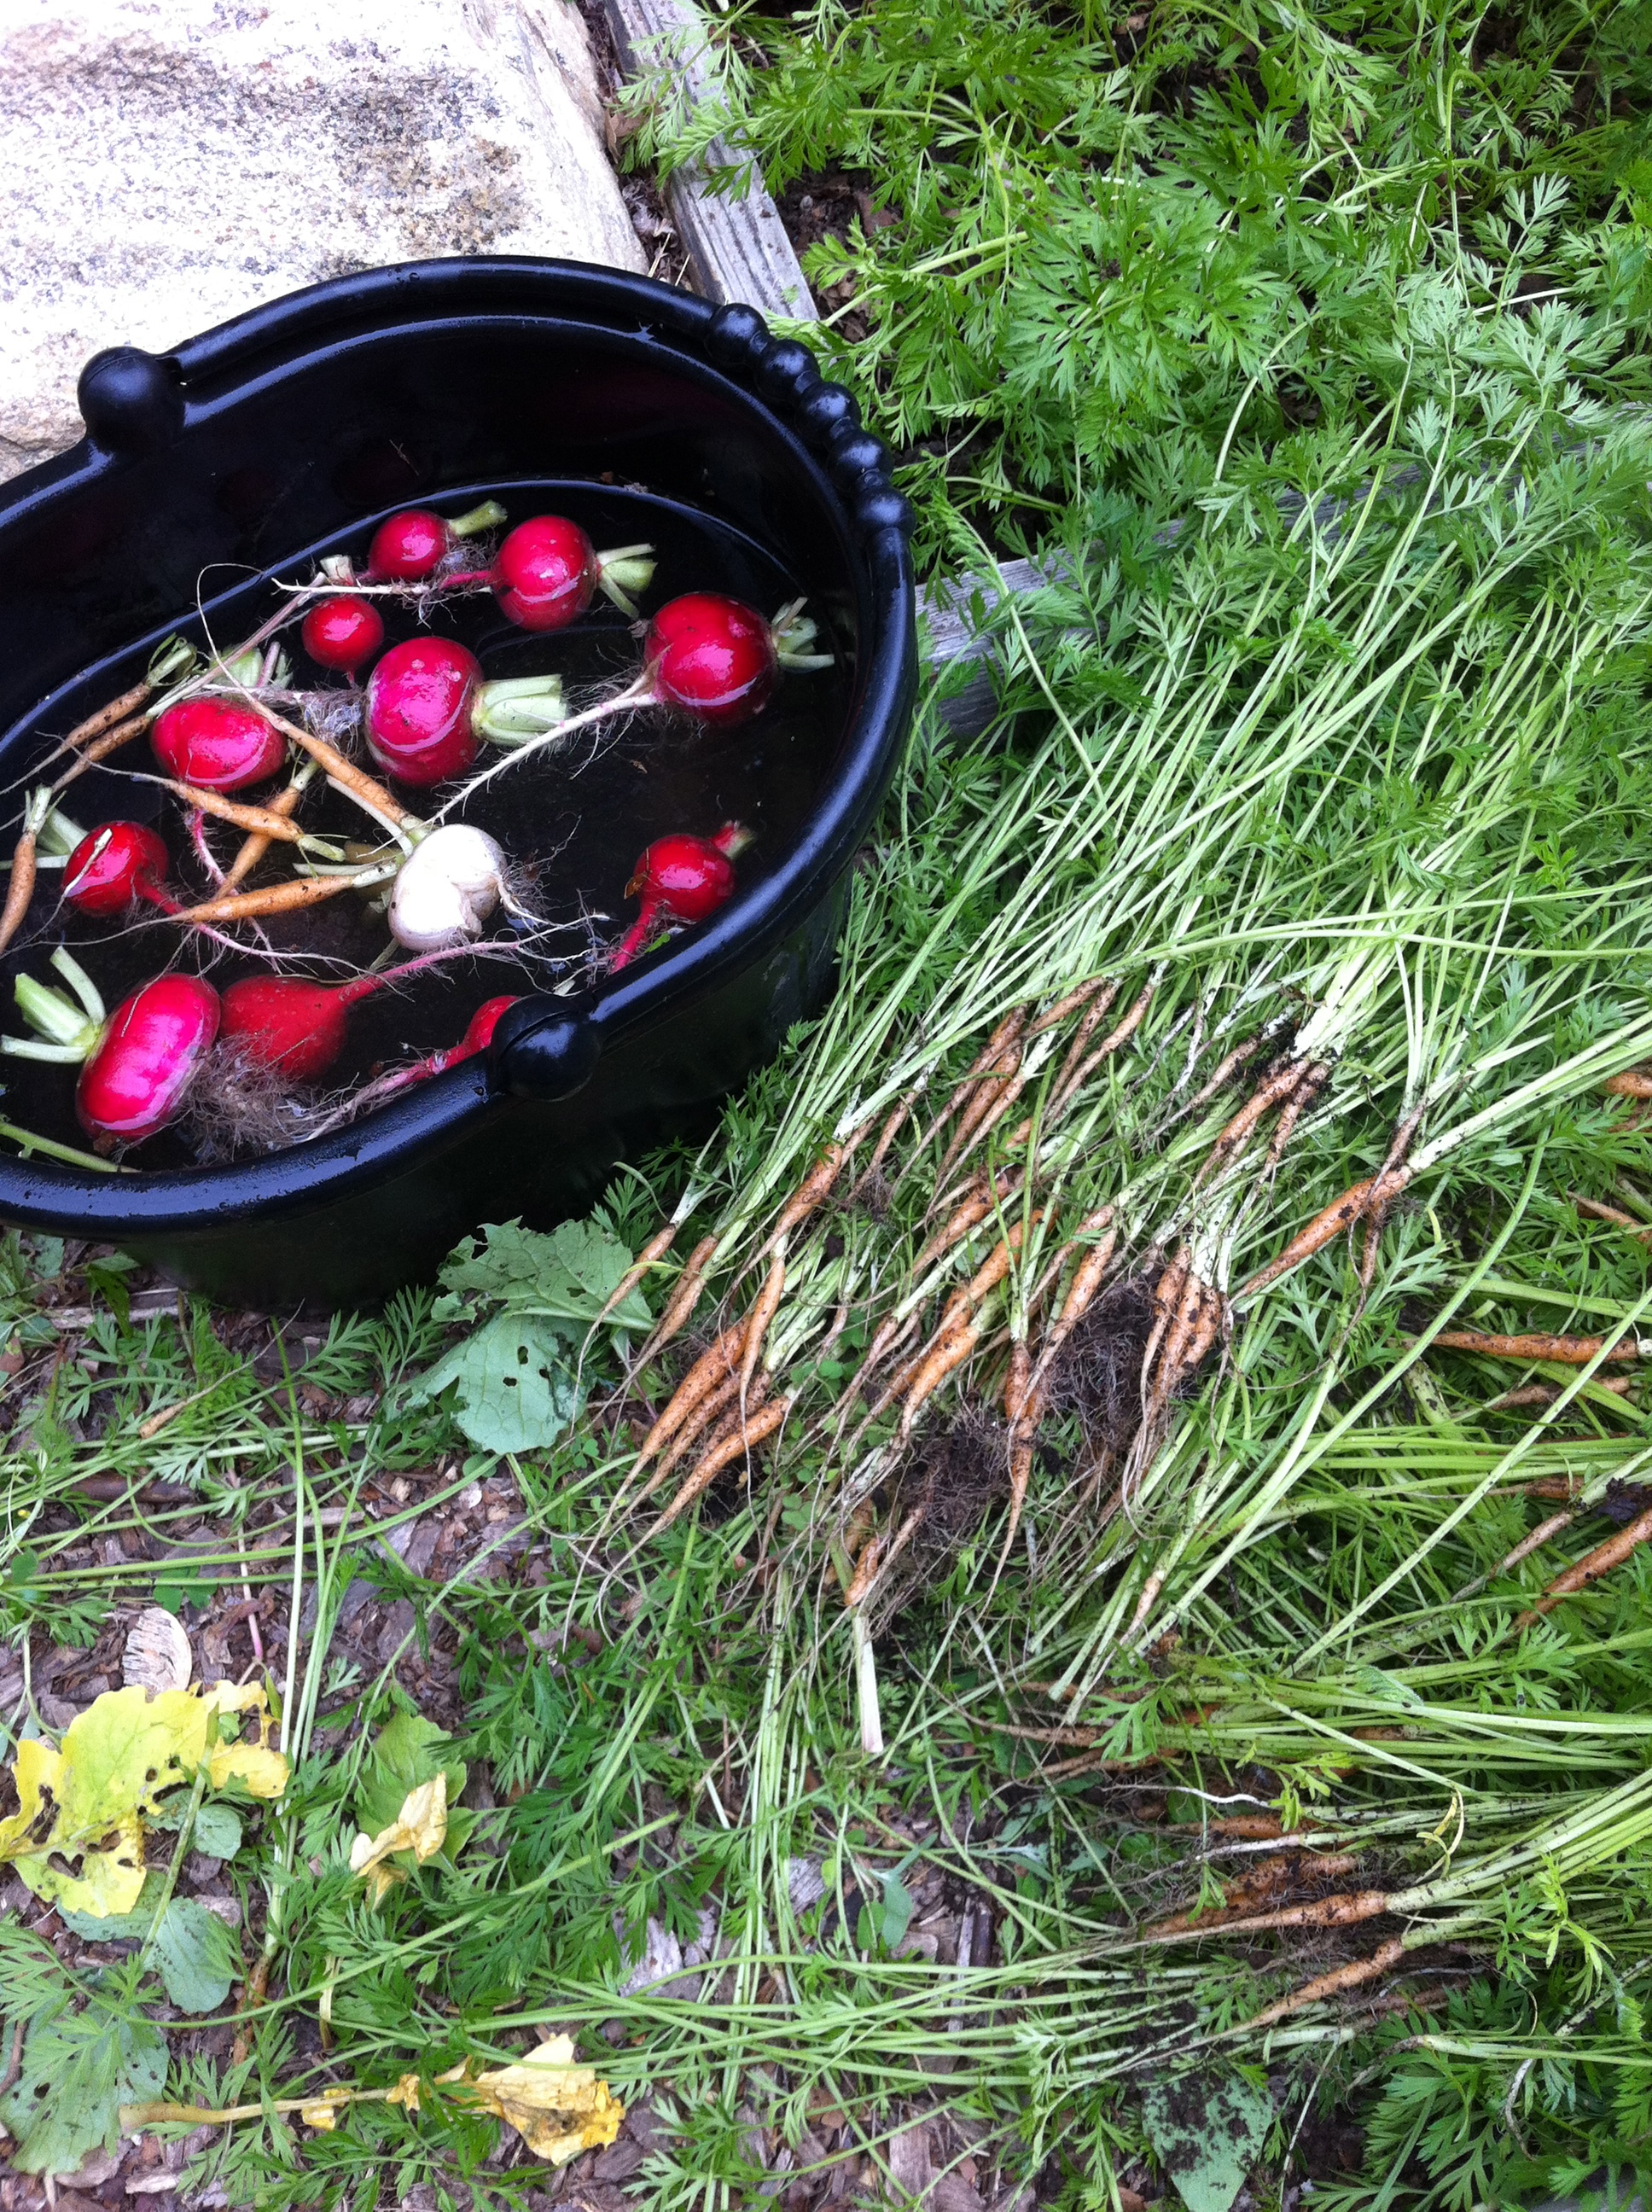
It's that time of year when small miracles come out of the garden. It's that time of year when I'm a total snob in the grocery store, self-righteously pushing my cart past the greens, carrots and peas because (sniff) I have my own thank you very much.

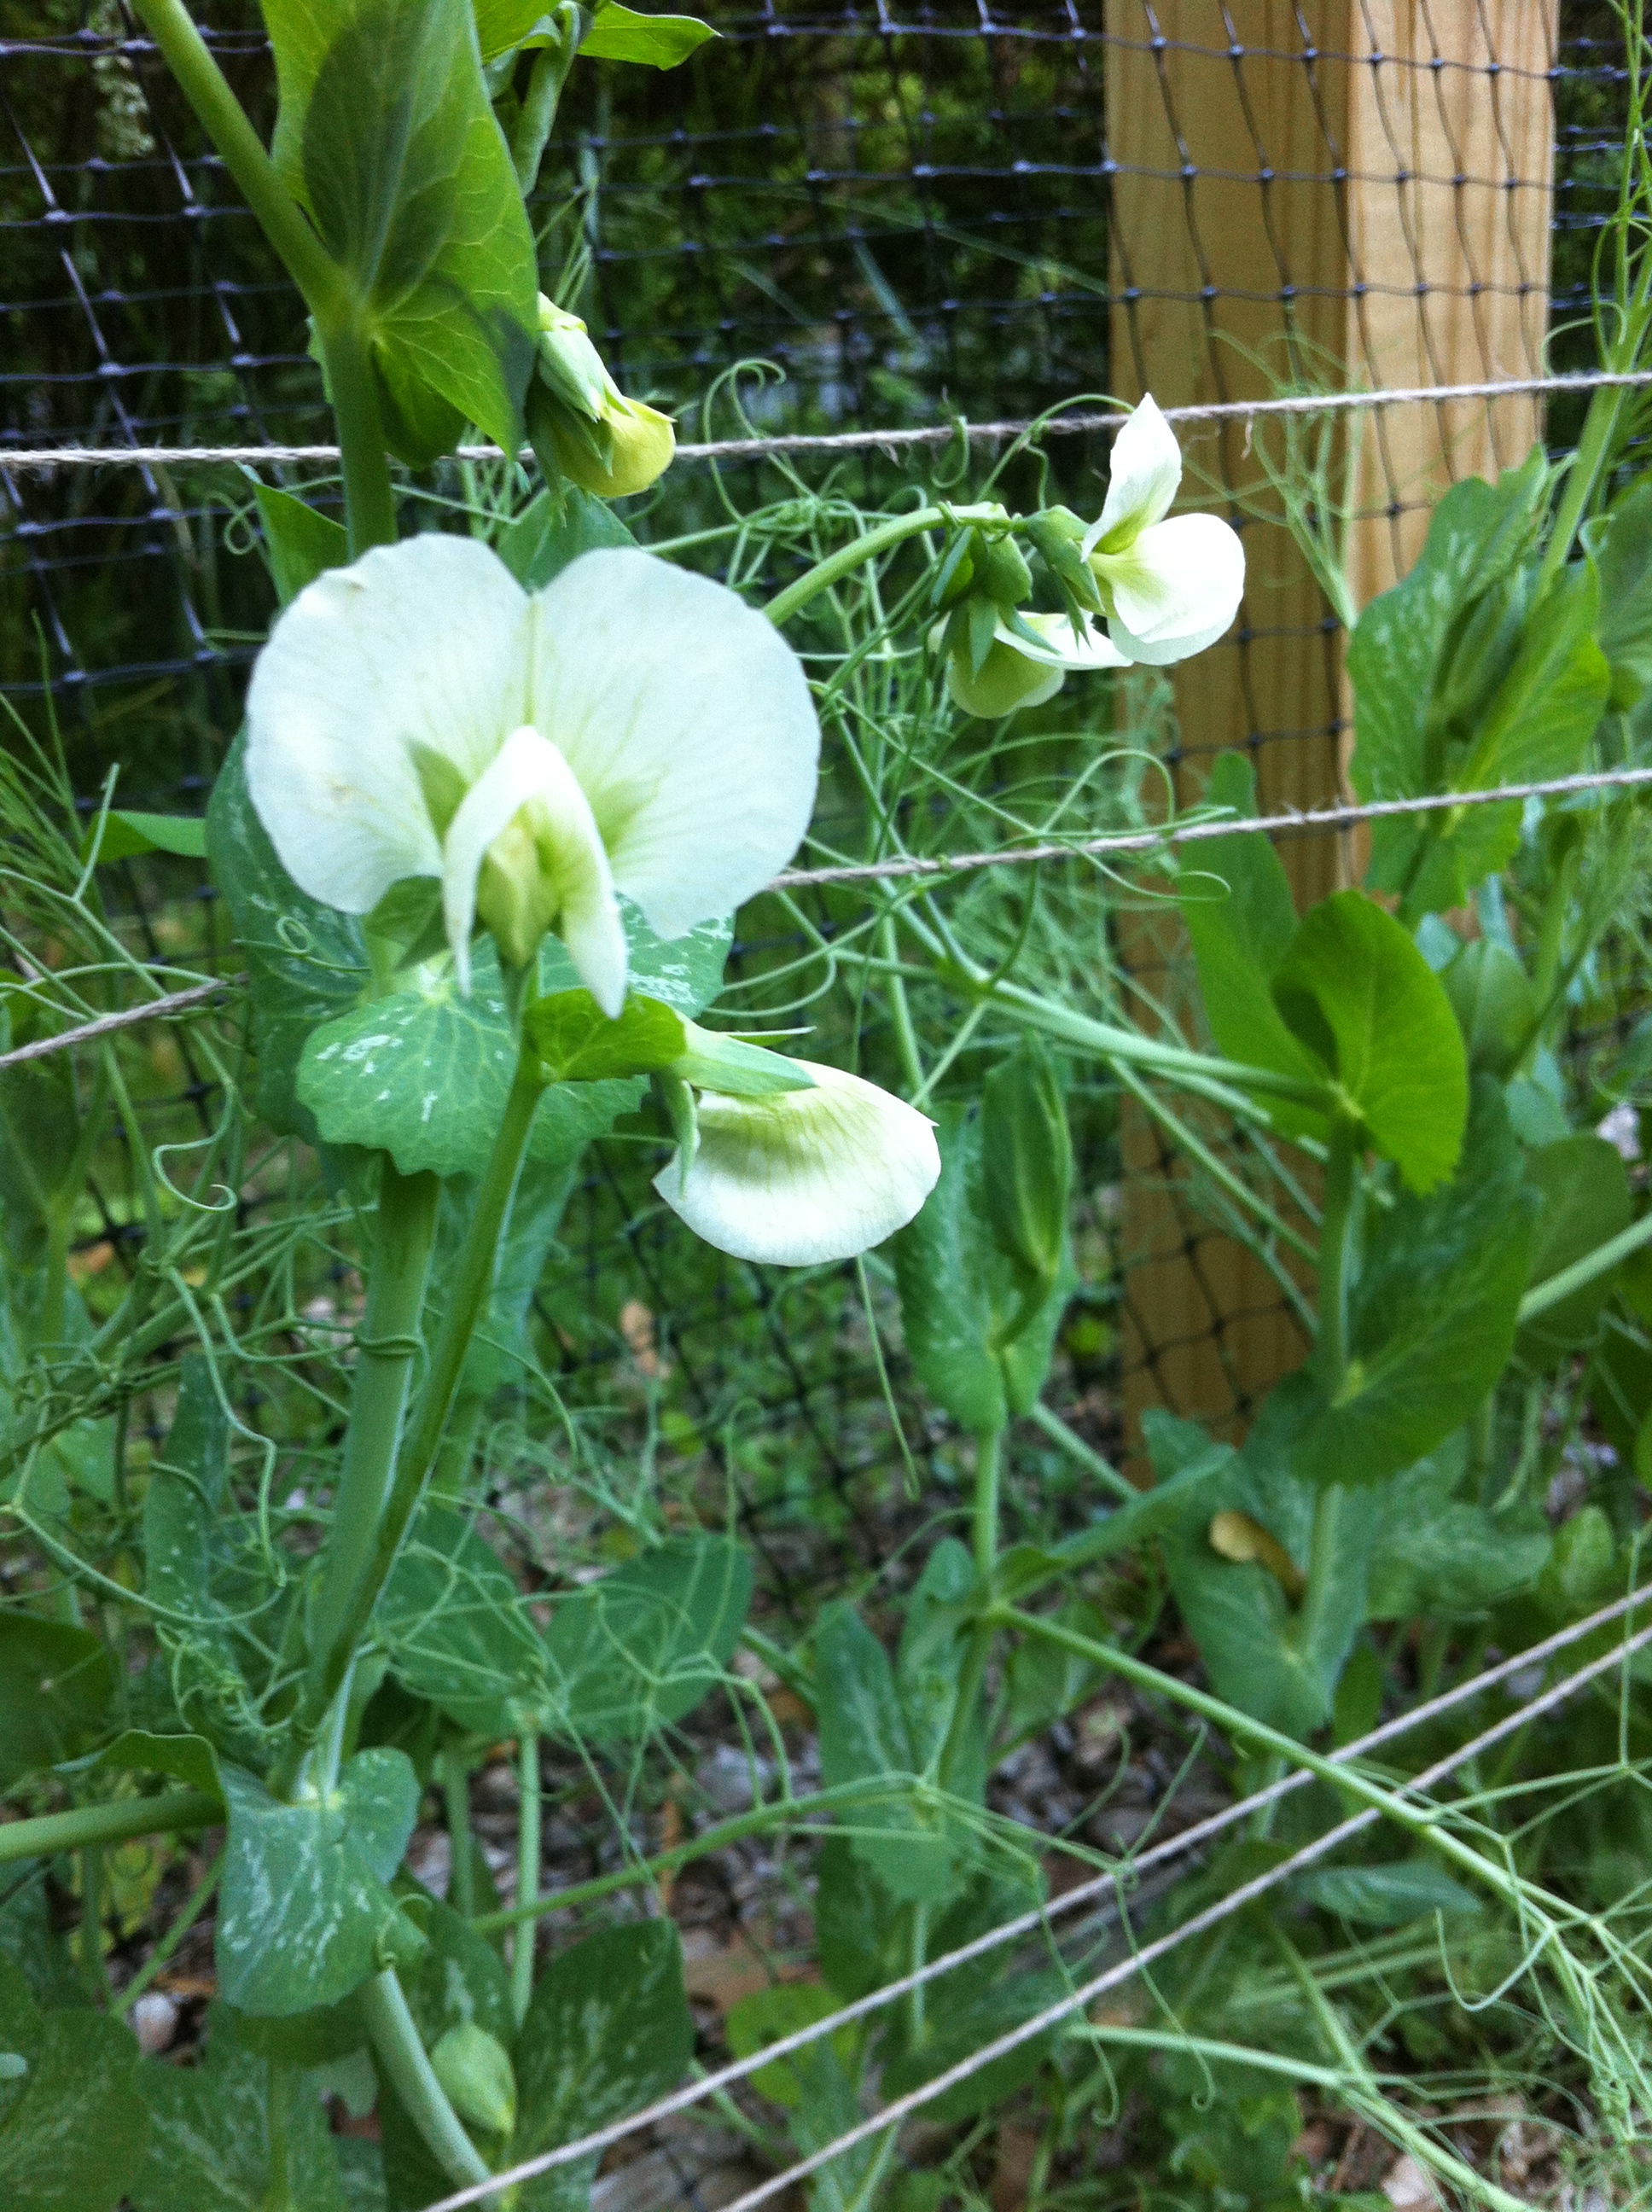
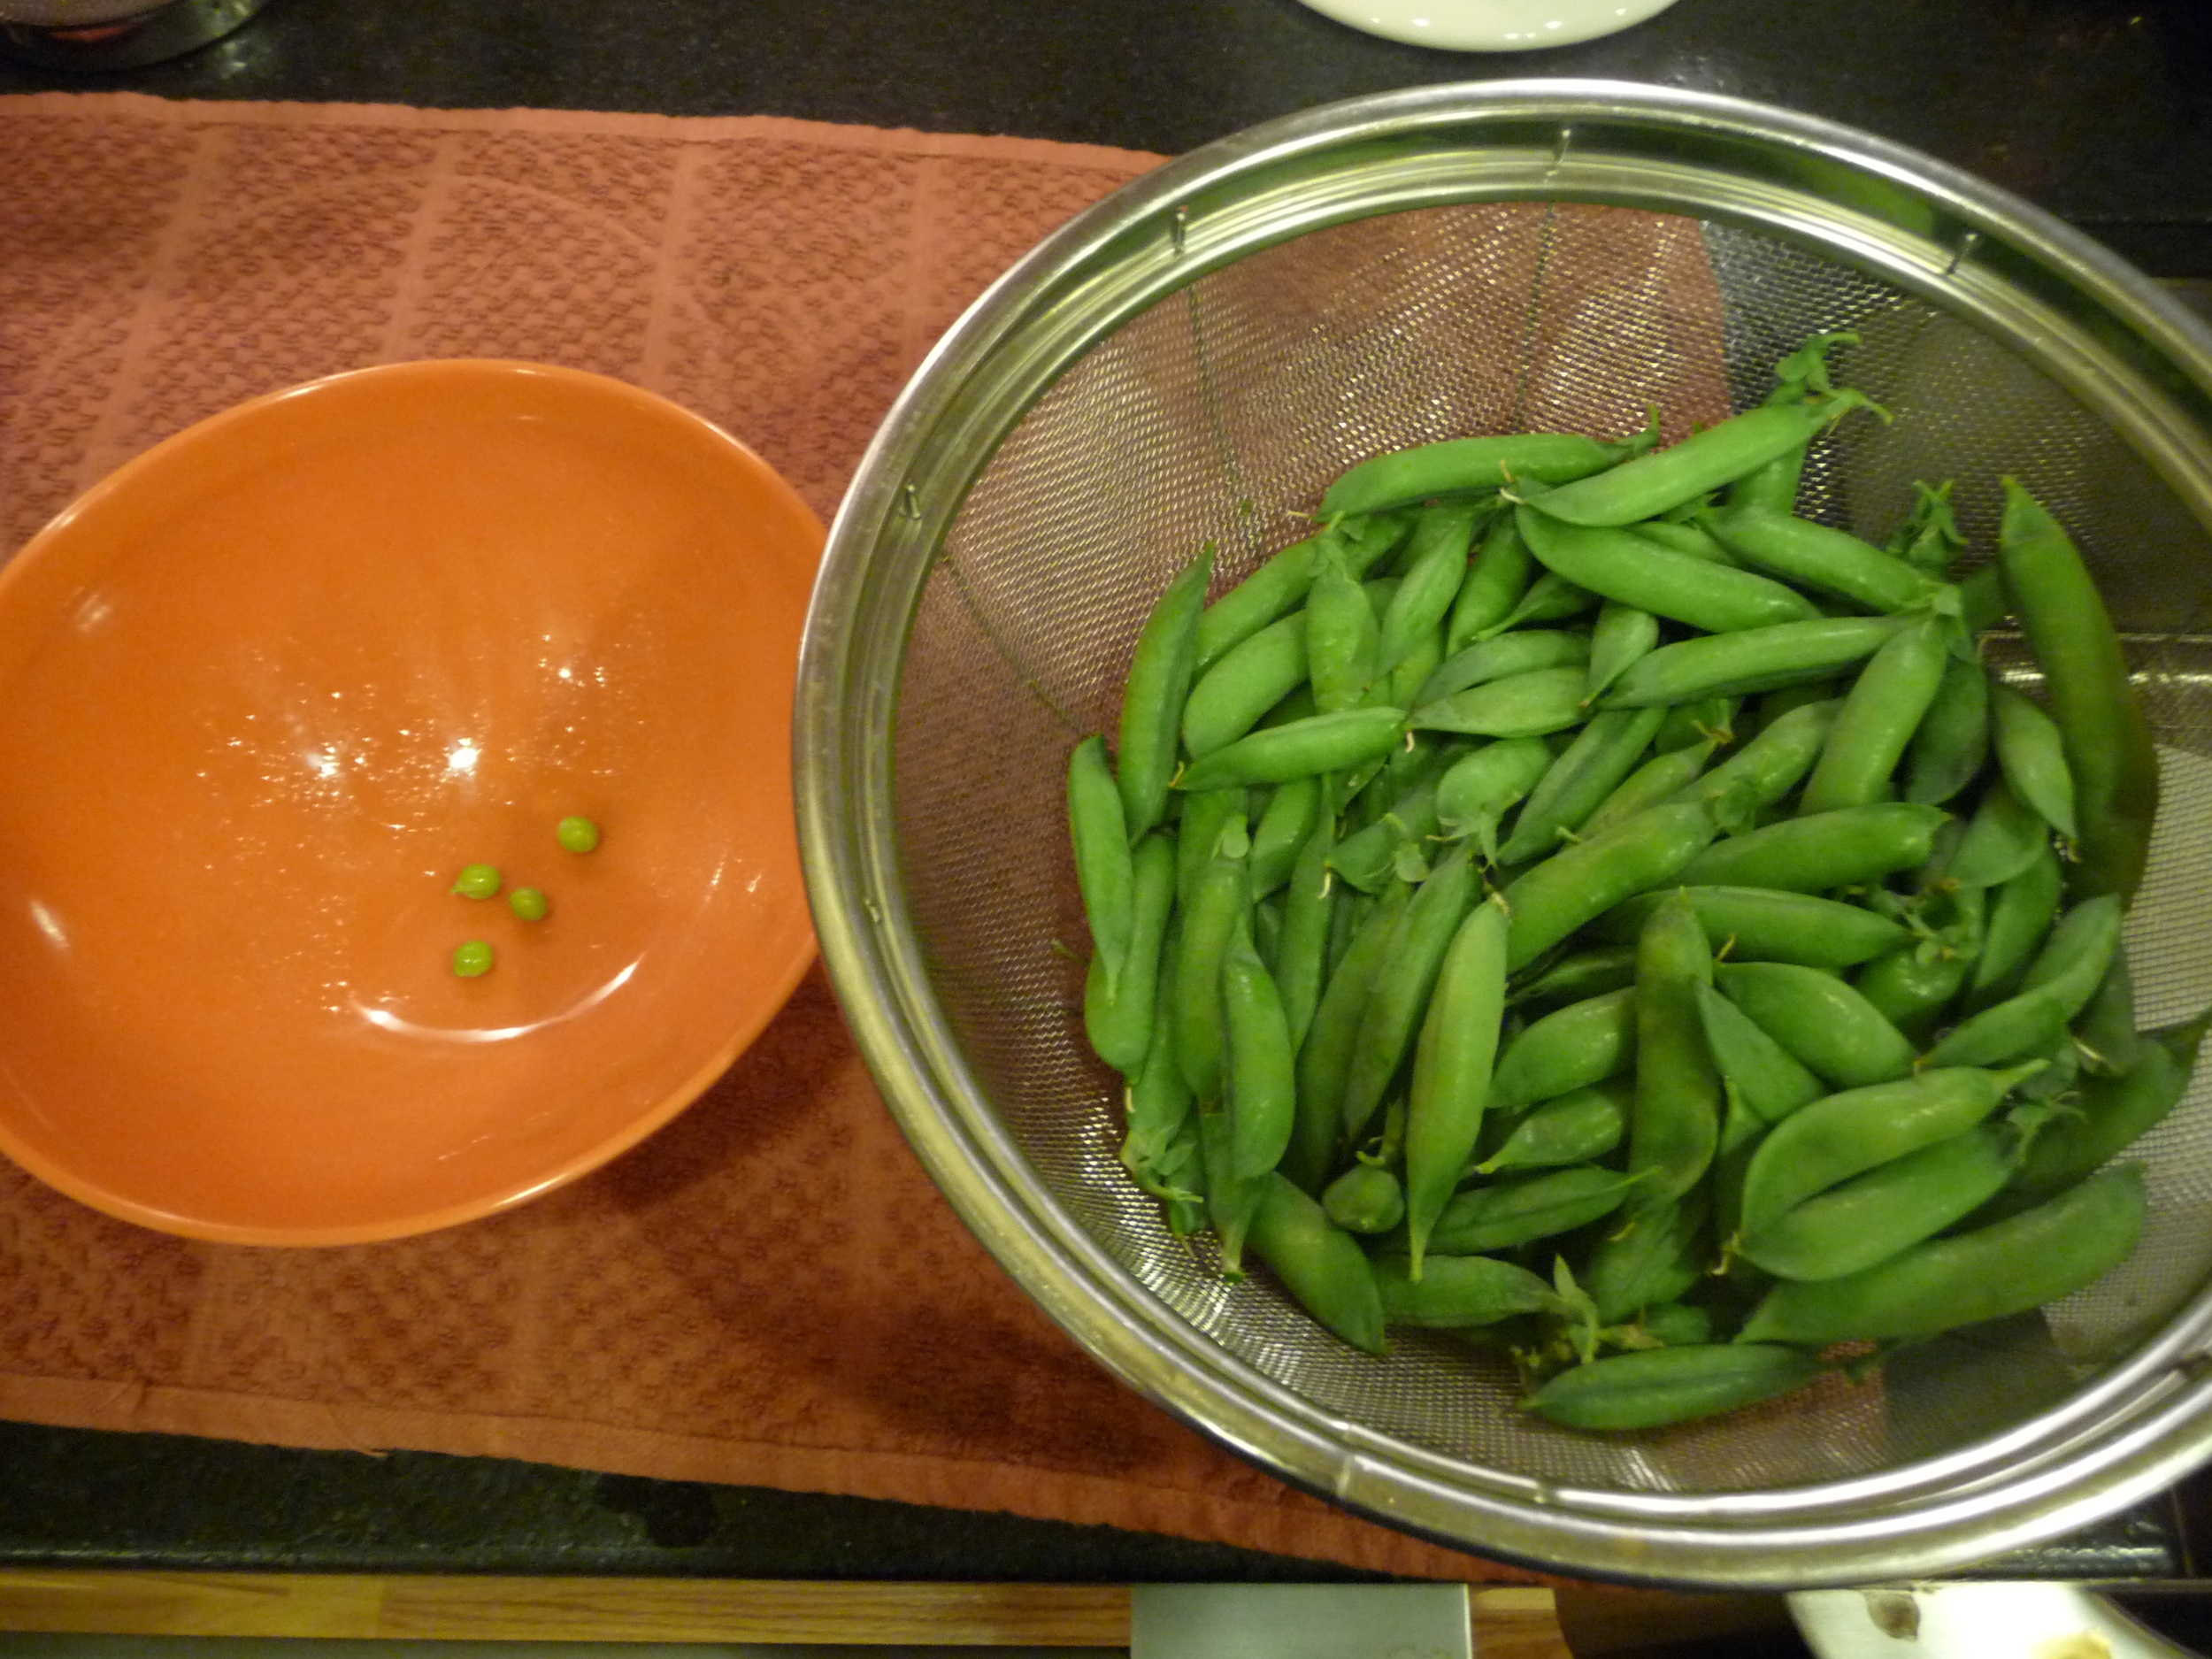
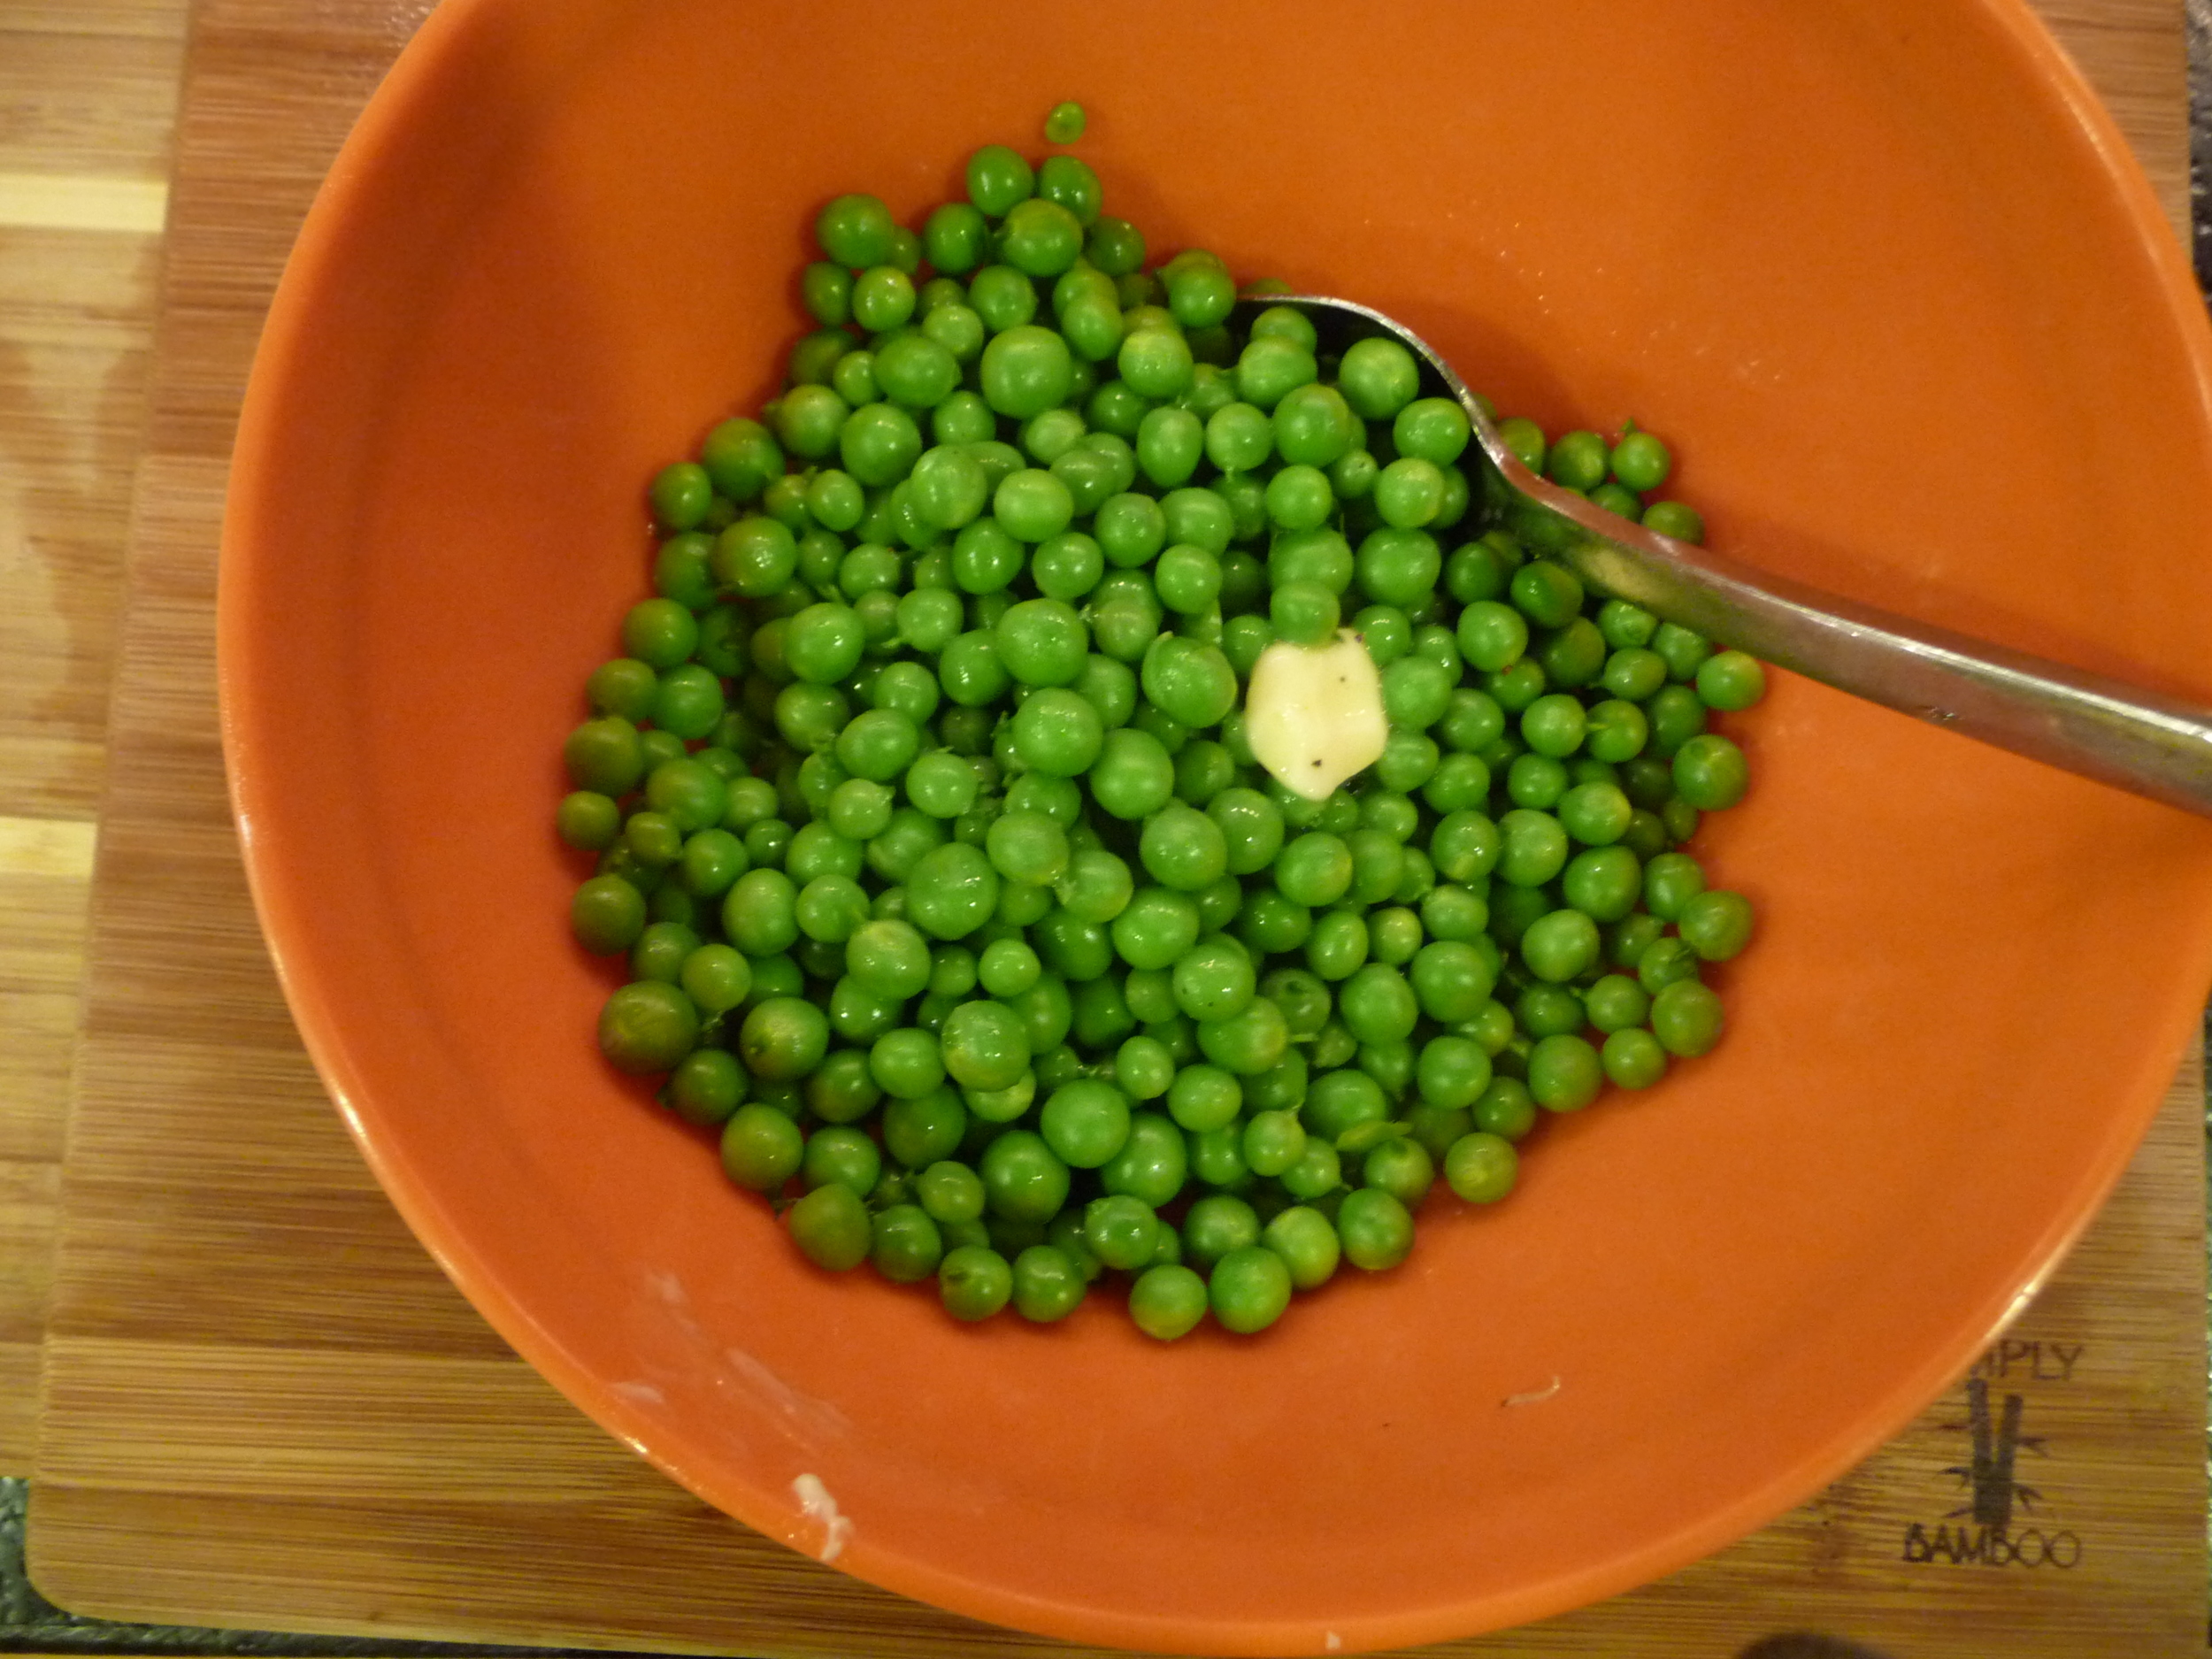
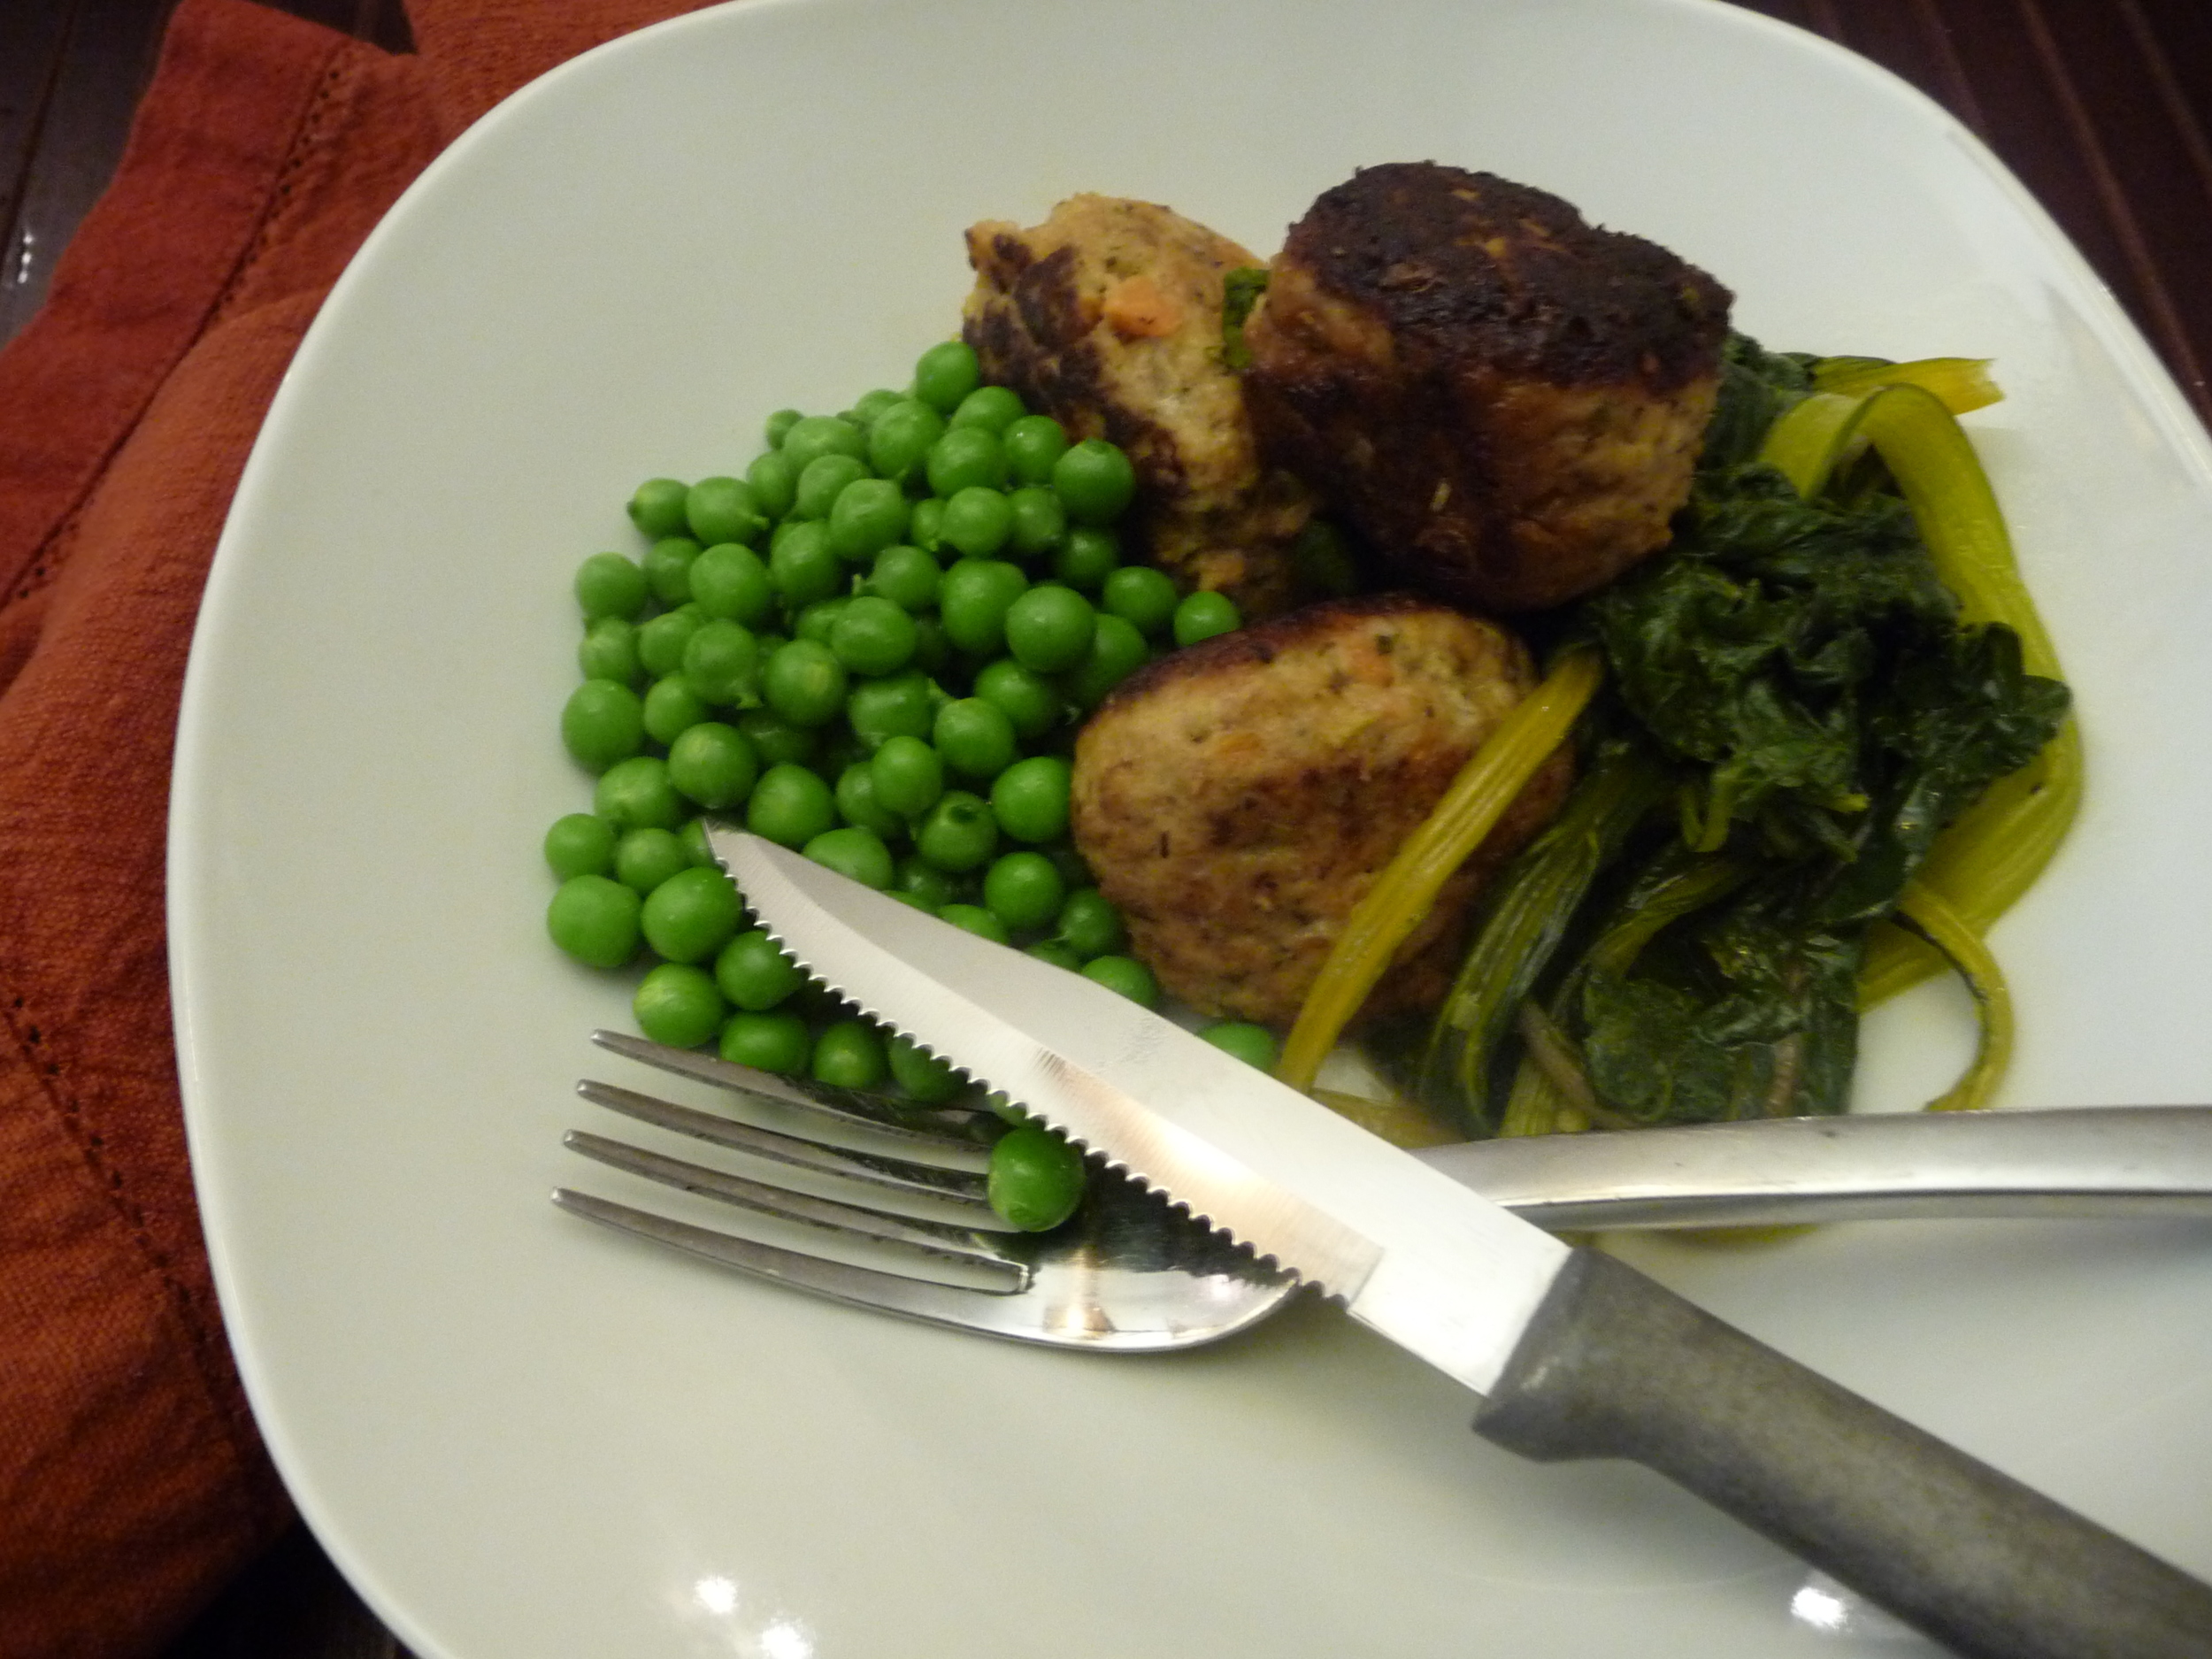
I gave peas a chance and as usual I'm glad I did. There's nothing like them. True, it's a lot of work for a small yield, but shelling peas is almost as satisfying as eating them. As for eating, I've been observing and I noticed that as a side dish, you really don't consume more than a serving spoon of peas at a dinner sitting. A little is enough. And when you picked them twenty minutes ago, blanched them for 30 seconds and served them with a pat of butter and a little salt and pepper, it's plenty.

Now you know what else is awesome? Swiss chard. I've never grown it before and frankly, where the hell have I been? I picked yellow and pink because hey, if vegetables come in yellow and pink, you should grow them. And it is a snap. Sow. Grow. Pick. Wash. Chop or don't chop. Saute in a bunch of garlic cloves, olive oil, butter, salt and pepper until wilted. Add a little chicken broth, cover and braise. Flush proudly when your husband drinks the pot liquor and demands, "Grow more."

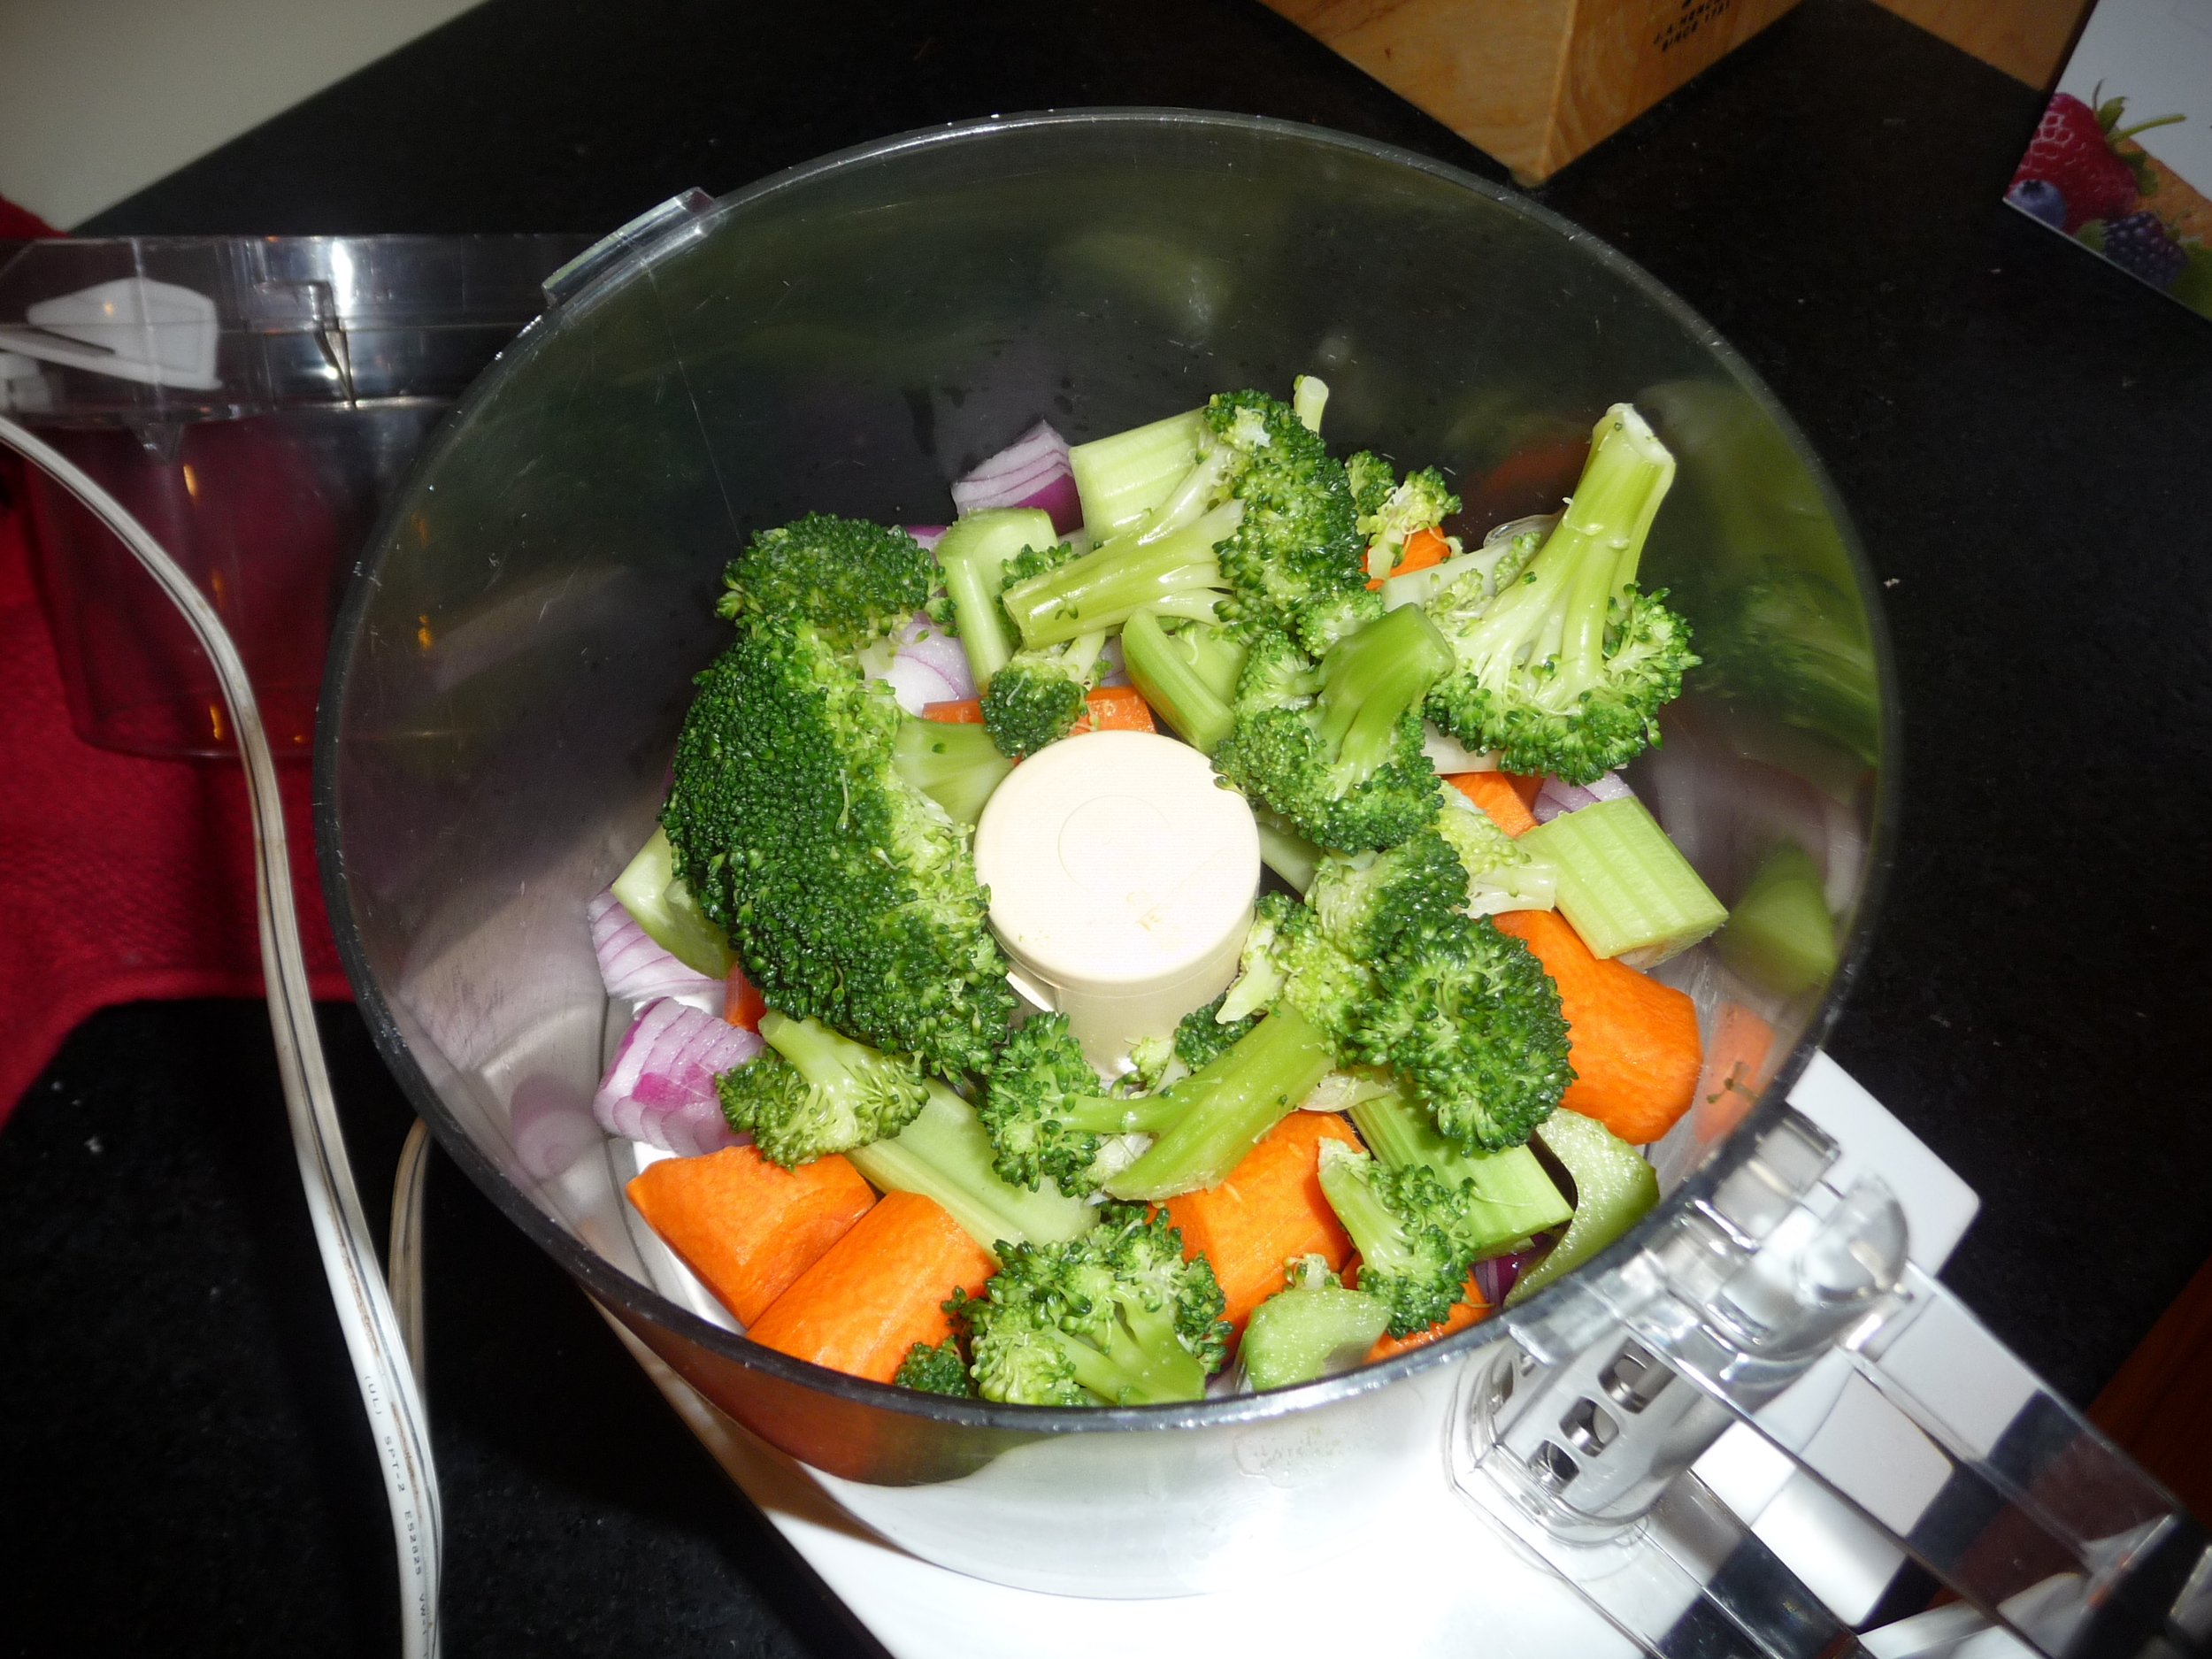
Oh, by the way, these turkey-veggie meatballs are a knock-off the famous Martha Stewart meat loaf recipe. It's a great way to get rid of any leftover steamed broccoli or cauliflower, or both.  Carrots, celery, onion, garlic—just throw it all in there.

It's the most wonderful time of the year.

You Vant a Vaffle?

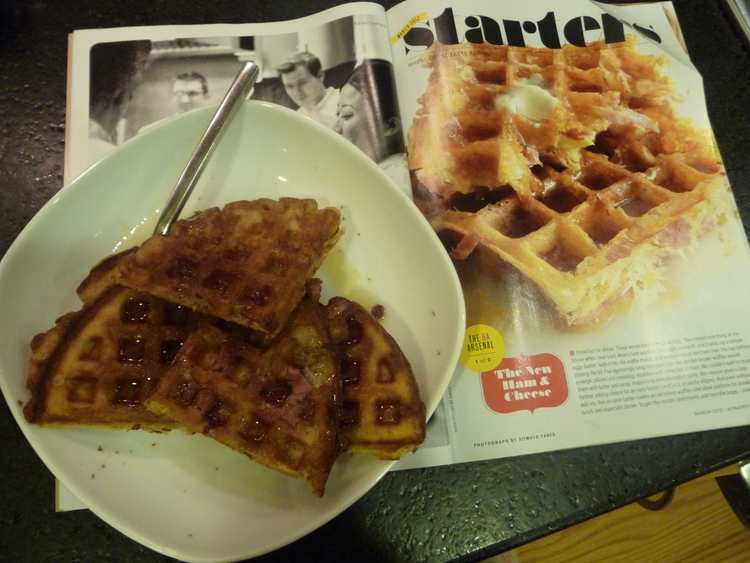
I saw this recipe for ham and cheese waffles while I was reading the March issue of Bon Appetit on the way home from Florida. 

I immediately thought of my friend Francie, who introduced me to the concept of waffles and beer for dinner. This was going to take it to the next level. I simply had to make and blog these. For Francie.

Problem is (was) that I don't personally own a waffle iron and since I've lived happily without for so long, I couldn't justify buying one simply to make one recipe. So I had to dog-ear and shelve the idea until my mother got home from Florida last month, and then ask to borrow her waffle iron. Then she had to find it and she had to get it to me, blah blah blah...

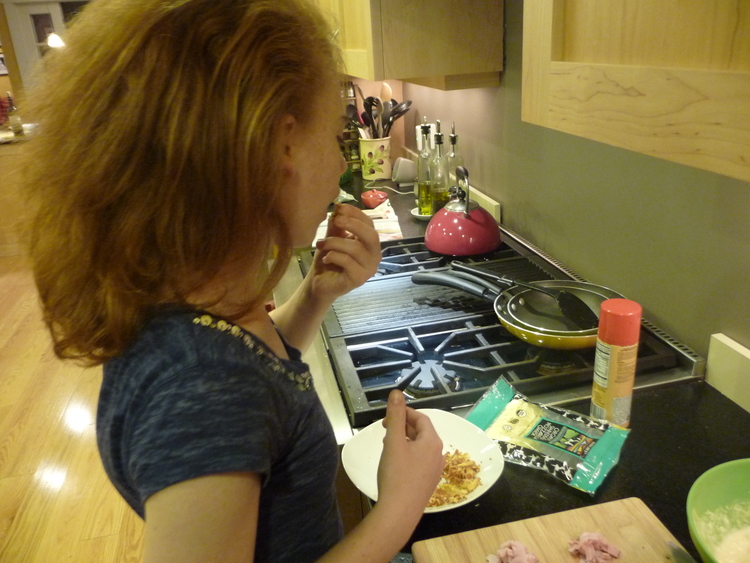
Finally all the stars aligned last night. Jeeps was in the city. Redman was content with a scrambled egg. Panda and I were going to make these waffles for ourselves.

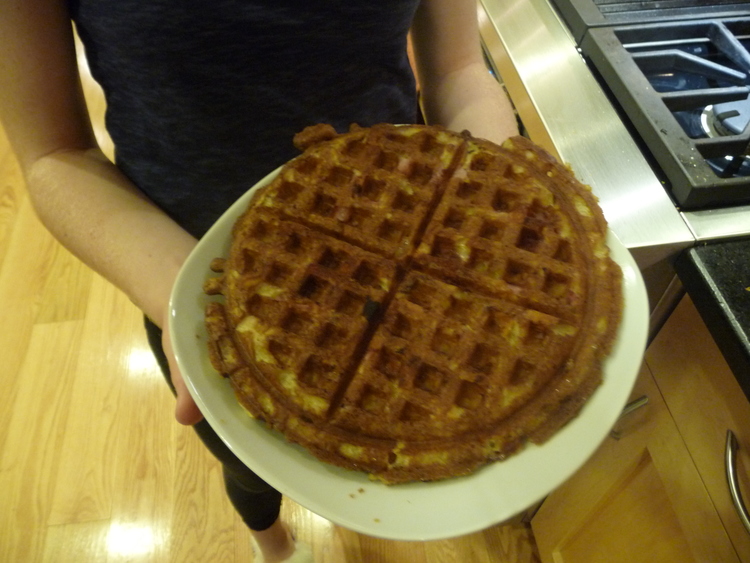
I halved the recipe, as always when trying something new. And I'll skip to the happy ending: I wish I had made the whole recipe because they were AWESOME. As the magazine piece put it, "pillowy and steaming, studded with crisp bits of ham...cheese for an oozy factor and lacy, crunchy edges..." 

Oh very yes and yesser. I will be keeping Mom's waffle iron for the summer.

Yet the road to the prize was fraught with danger. Read on...

Francie's Ham and Cheese Waffles

  • 1 3/4 cups flour
  • 1 tbsp sugar
  • 2 tsp baking powder
  • 1 tsp baking soda
  • 1 tsp kosher salt
  • 3 eggs, separated
  • 1 cup (2 sticks) melted butter
  • 1 cup buttermilk (I used milk with a little greek yogurt stirred in)
  • 3/4 cup soda water (I assume they mean seltzer water, which I didn't have, so I used regular water and couldn't tell that anything was amiss with the resulting waffles)
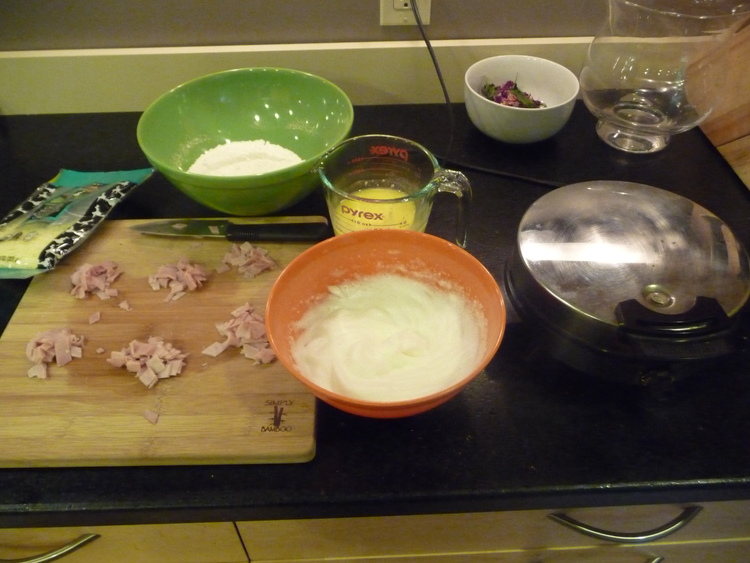
  • 3-4 slices of ham, diced
  • Shredded sharp cheddar cheese (I only had mozzarella on hand)

Preheat your oven to the lowest setting and place a plate on the rack. This is just your holding tank to keep the made waffles warm. If people are just going to be eating them as they come off the iron, don't bother.

Heat waffle iron until very hot

Whisk together flour, sugar, baking powder, baking soda and salt in a large bowl

Beat the egg whites in a separate bowl until soft peaks form

Whisk the egg yolks, melted butter, butter milk and soda water in a third bowl. Whisk this into the flour mixture and then fold in the egg whites.

Coat waffle iron with Pam. Pour batter onto iron, spreading it to edges.

Sprinkle a rounded tablespoon of ham, and a rounded tablespoon of cheese over batter. Close lid and cook until golden brown and cooked through.

Now I know you're excited, but please, don't peek. I repeat:

DO NOT PEEK AT THE WAFFLE WHILE IT IS COOKING!!

You peeked, didn't you? Oh, stop crying. Just accept blame, unplug the iron, let it cool down, clean it up and try again. Your daughter will eat all the edible scraps you pick out anyway.  It's going to be fine.

Try again. This time, close the lid and leave it.

There you go.  See how nice?

Serve with butter and maple syrup.

And beer.

Die.

Panda's Pot Pourri

Another from the Department of I've Been Wanting to Do This for Years. Panda, as I may have mentioned, has a rather keen sense of smell. There cannot be enough perfume, body spray, hand lotion and so forth for her to sniff out. Give this kid a gift card to Bath & Body Works and she's in Heaven.

Lavender is high on her list of favorite scents, and I planted quite a lot of it this year. With the roses in full swing, I thought we could try making some pot pourri.

The technique of drying flowers runs the gamut from hanging them upside down and air-drying, to using the dehydration setting of one's oven, if one's oven has such a setting. Mine does (smug smile). But in high-80's heat with humidity, I don't relish running the oven if I don't have to. Can you dry flowers in the microwave?

Quick consult of the Oracle of Google. Yes, you can.

Come, child, into the garden so that we may collect items of sweet scent.  Here's what we came back with:

Clockwise from top: rosebuds (Zepherine Drouhin, as they have the most scent) to keep as buds; lavender; lemon verbena leaves; carnations; roses to dry as petals only, and hiding behind them is a pile of geranium leaves.

Put some paper towels on a plate.  Working in batches, spread the petals in a single layer. Microwave a minute, to a minute and a half. Just keep checking on them, you'll know when it's right. Repeat with all the petals and leaves. We even nuked the rosebuds a couple minutes, but we left the lavender buds and leaves as they were.

Get a small, clean jar with a lid (I emptied out one of my button jars), and start building layers: some petals, some leaves, some lavender, a bud. Petals, leaves, lavender, buds. Until all is used. For fun we added one clove and one cardamom pod. You could also add pieces of cinnamon stick, a vanilla bean, or a drop or two of essential oil. Store the jar in a dark place with the lid just resting on, and every day open the jar and give the contents a shake until completely dry. Then use as desired. Panda wants to fill little bags and put them in her drawers.

Make sure you photograph the jar of pot pourri with a bouquet of roses and a lemon, because that's what all the cool people do.

Radish Cranberry Slaw

My cousin sent me this slaw recipe from Eating Richly and it's really dynamite. I halved the recipe just to see how it would go over, and there was nothing left. The author recommends it with pulled pork sandwiches, and I think it would be great with fish tacos. The only changes I made were using parsley instead of cilantro, and using equal parts mayonnaise and honey-mustard dressing because the dressing alone was too intense for the kids.

Radish-Cranberry Slaw (from Eating Richly)

  • 1 green cabbage thinly chopped
  • 1 cup dried cranberries
  • 1/4 cup cilantro leave, chopped
  • 6 small to medium radishes sliced into matchsticks
  • 1/2-1 cup honey mustard (from a bottle or homemade)
  • salt and pepper

Mix all ingredients well adding salt and pepper to taste.  Let sit 20 minutes before serving.

Summer Vegetable Ragout

I've been in a cooking slump. Work has been crazy, school is insane, the garden is demanding, the kids' activities have us running all over. Between work, yardwork and homework, Panda's class and rehearsals, my class and rehearsals, Redman's games and practices, I'm in no mood to make dinner. Let's just order Chinese Food. 

But suddenly, Panda's two recitals were finished, and last week was her last ballet class in Ridgefield. And suddenly I have Monday, Tuesday and Thursday nights free. Welcome back, Kotter! I can actually plan a dinner. I can plan a week of dinners and there will be people here to eat them! We can eat on the deck! I can put flowers on the table on the deck while we eat the dinner I planned!

Life is great.

So all my cookbooks are stacked up next to my bed again and I'm getting reacquainted with some old friends. Diving back into one of my very favorites, Fast, Fresh & Green, here's a simply awesome recipe for Summer Vegetable Ragout with Zucchini, Green Beans and Corn. This is a lemon-bright, elegant succotash of sorts. I doubled the recipe below, substituted asparagus for green beans because it's what I had around, and I used frozen corn instead of fresh. A little bit of prep time goes into this, but then it's 1-2-3 in the skillet and just totally delicious. Redman really liked it, which surprised me. Then again, he's always surprising me.

Summer Vegetable Ragout

  • 1 tsp fresh lemon juice
  • 1/2 tsp finely grated lemon zest
  • 1/4 tsp Worcestershire sauce
  • 1/4 cup chicken broth
  • 2 tbsp heavy cream (I used half-and-half)
  • 1 tbsp Canola or Olive oil
  • 1 cup fresh corn kernels
  • 3/4 cup sliced baby zucchini (slice baby zucchini straight across; if you don't have baby, use regular, sliced lengthwise in quarters and then straight across)
  • 3/4 cup sliced slender green or yellow wax beans (I used 1/2 bunch of asparagus, cut on the diagnol into 1" pieces)
  • 1 cup medium-diced yellow onion (I used a red onion because I had half a one hanging out in the fridge)
  • 1/2 tsp kosher salt
  • 1/2 tsp finely chopped garlic
  • 1 tbsp chopped fresh herbs (I used parsley, basil, chives, thyme and just a little bit of mint)
  • Freshly ground black pepper

Combine the lemon juice, lemon zest, and Worcestershire sauce in a small bowl. In a liquid measuring cup, combine broth and heavy cream. Set these aside.

Heat oil in skillet over medium-high heat. Add the corn, zucchini, green beans, onion and salt. Cook, stirring frequently, until the bottom of the pan is browned, 4 to 6 minutes. Add the garlic and cook, stirring, just until well combined. Turn the heat to low, add the broth-cream mixture, stir well to scrape up the browned bits from the bottom of the pan, and cover. Simmer until the liquids have reduced to 1 or 2 tbsp, about 4 minutes.

Remove the pan from the stove, and stir in the lemon juice mixture and most of the fresh herbs. Season with pepper and stir again. Transfer to a serving dish and garnish with the remaining herbs.

This and a cranberry-radish slaw, along with two rotisseries chicken, were dinner on the deck.

Black Bean & Quinoa Everything

All the Trader Joe chatter is about these things lately: Quinoa and Black Bean infused Tortilla Chips. I bought a bag to try at home. Gone in sixty seconds. I went back to the store to buy ten bags and they were gone from the shelves. I asked a crew member if there were any in the back and he, and a few more crew members, burst out laughing. "Girl, those chips became like Peppermint Joe-Joes.  People are lining up at the truck for them!"  

As a testimonial to how perfectly freakin' AWESOME the crew is at Trader Joe's, one of them took my cell phone number and promised to text me when the next shipment came in. And she actually did:

Hm, usually my love has a better effect than that. Anyway, I hurried over and scored six bags and there was this great communal love-fest in the snack aisle with a bunch of us loading up our carts and discussing the best way to serve these chips. People confessed to eating an entire bag solo before dinner. One guy insisted we try them with TJ's corn relish, and I myself converted a few people to trying them with the peach salsa. Then a nearby Crew member went in for the kill:

"Have you tried our Tri-Color Quinoa yet?"

We turned as one, eyebrows raised. Pardon?

"The Tri-Color Quinoa. Over in the pasta aisle. There's a recipe on the back of the package for Black Bean & Quinoa fritters that sounds like it would be great with the peach salsa, too."

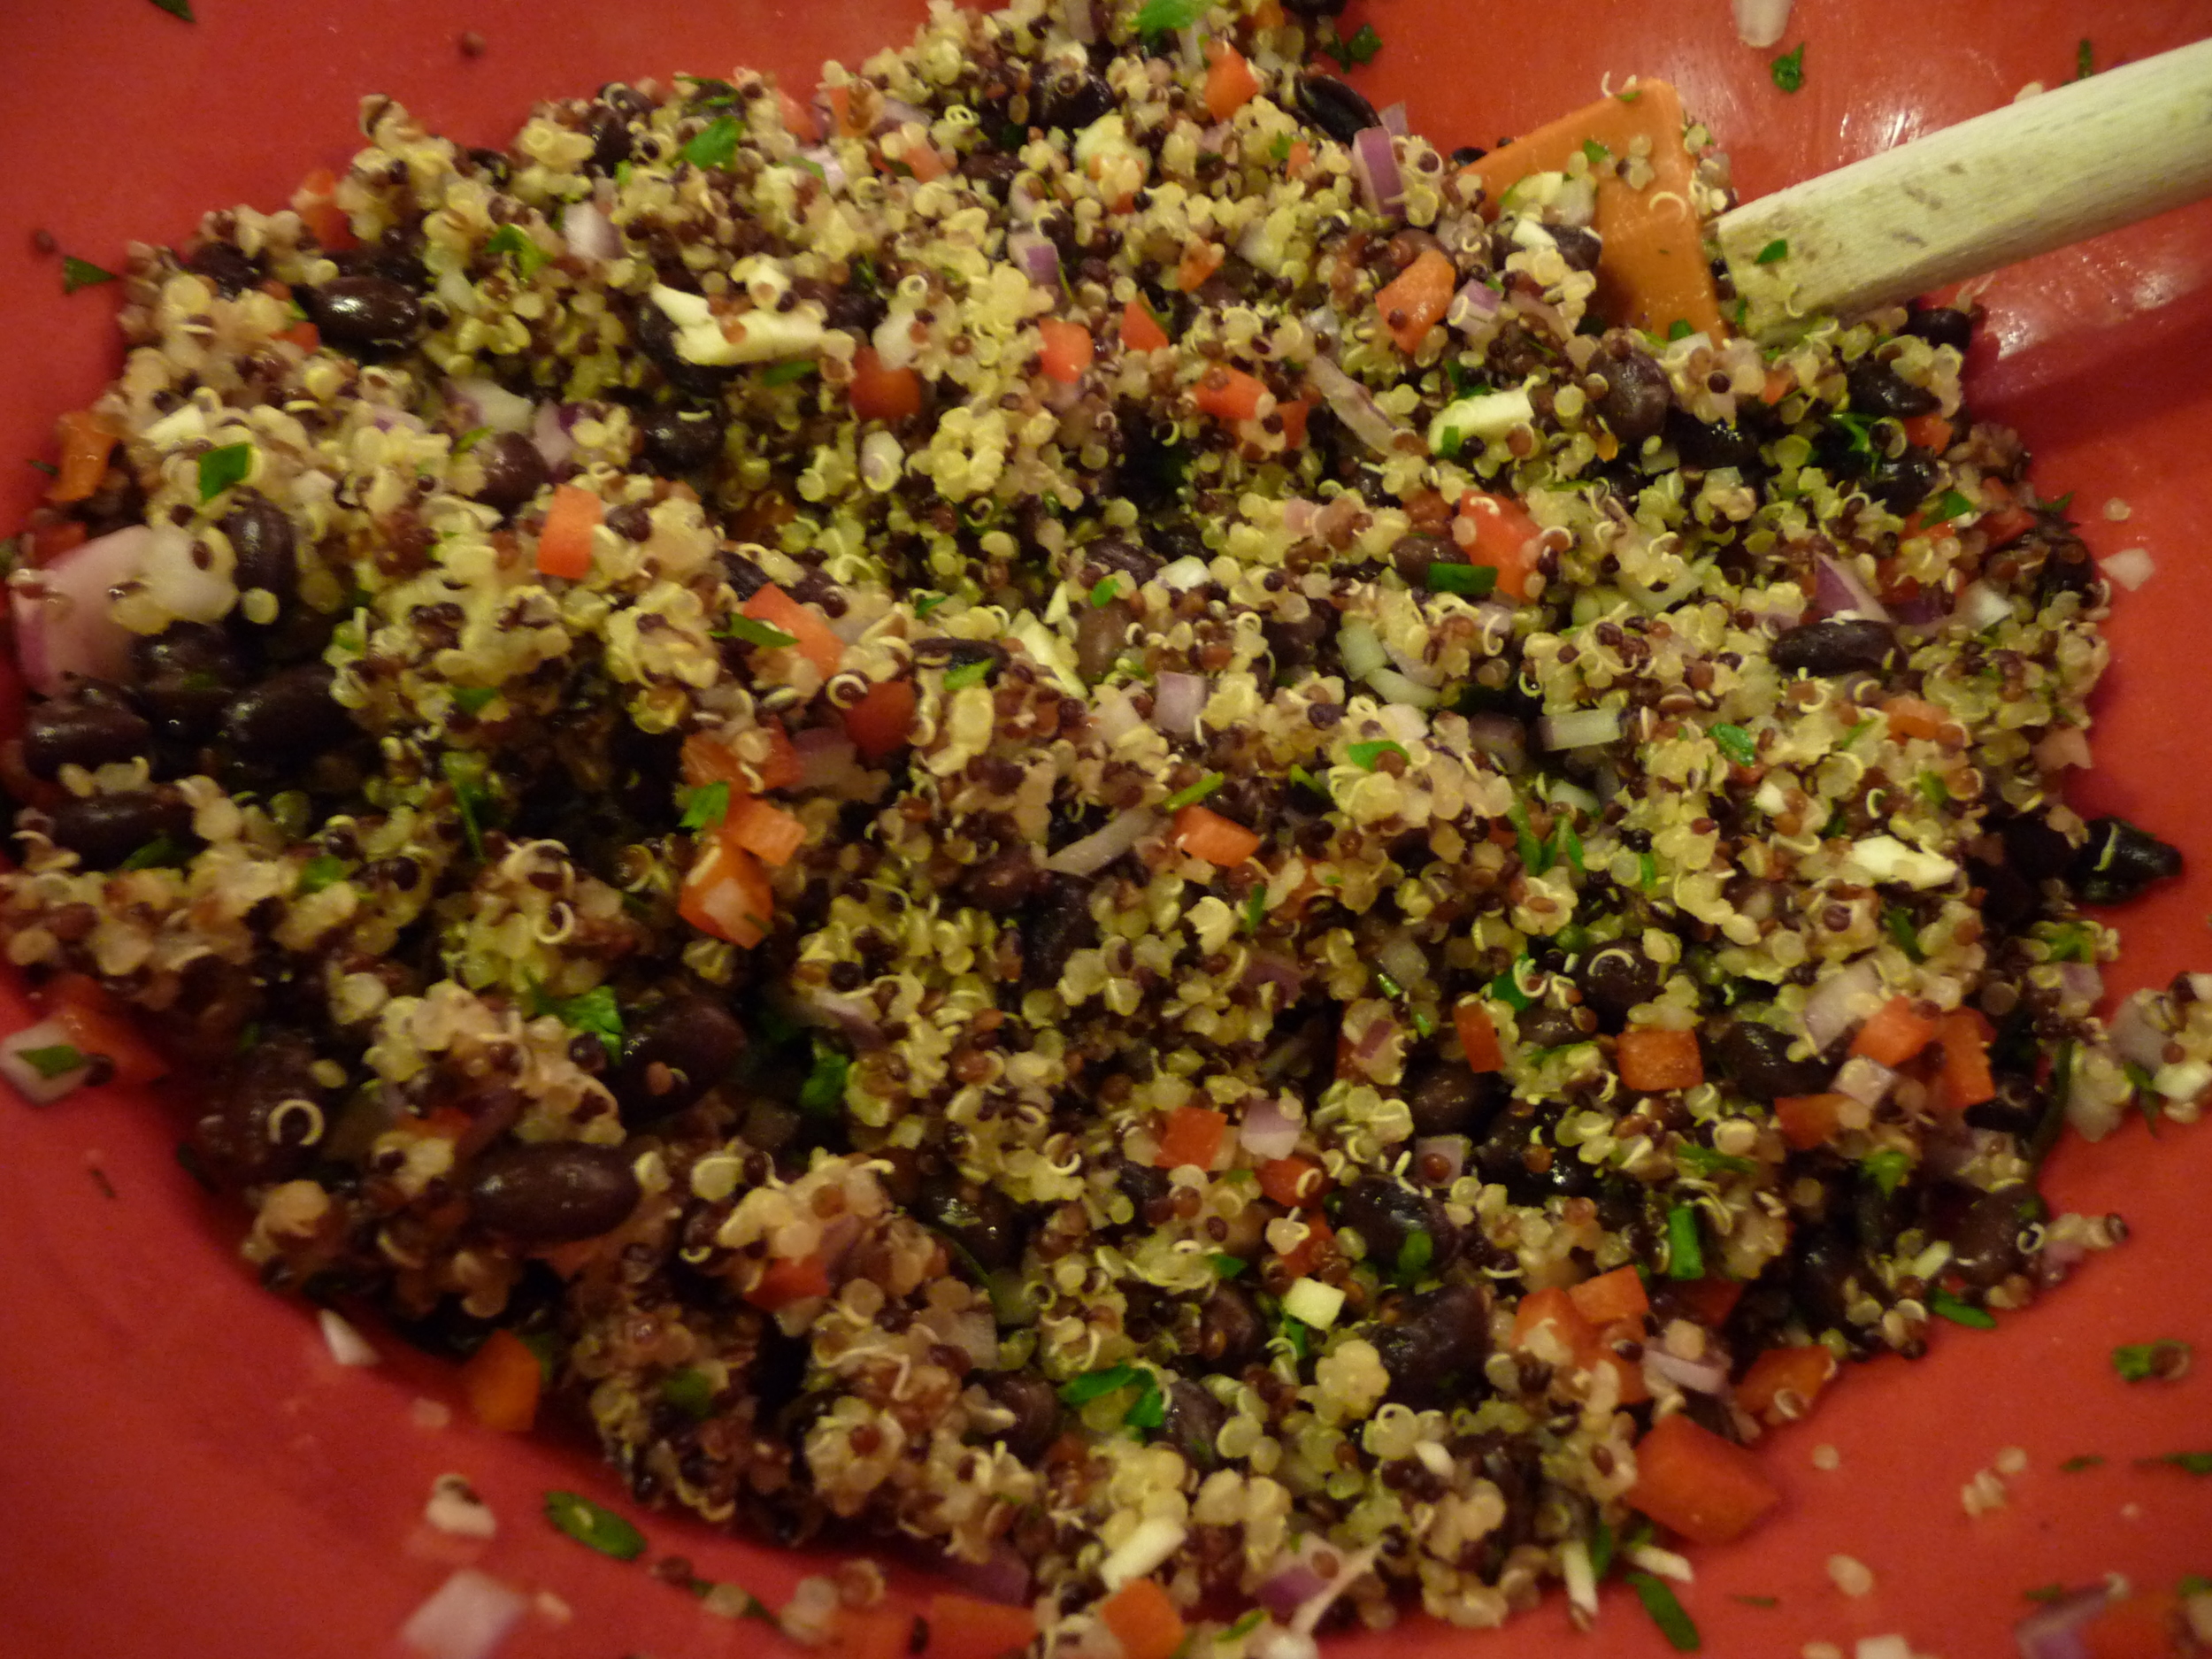
I was gone. I love black bean fritters to begin with, and this sounded really good. I ended up not following the recipe to the letter because I was too lazy to get out the food processor. I'll leave it up to you to try their way. Here's my way.

Black Bean & Quinoa Fritters (My Way)

  •  1 red bell pepper, diced small
  • 1/2 red onion, diced small
  • 2 cloves garlic, minced
  • 1 can black beans, drained
  • 1/2 cup chopped fresh cilantro or parsley
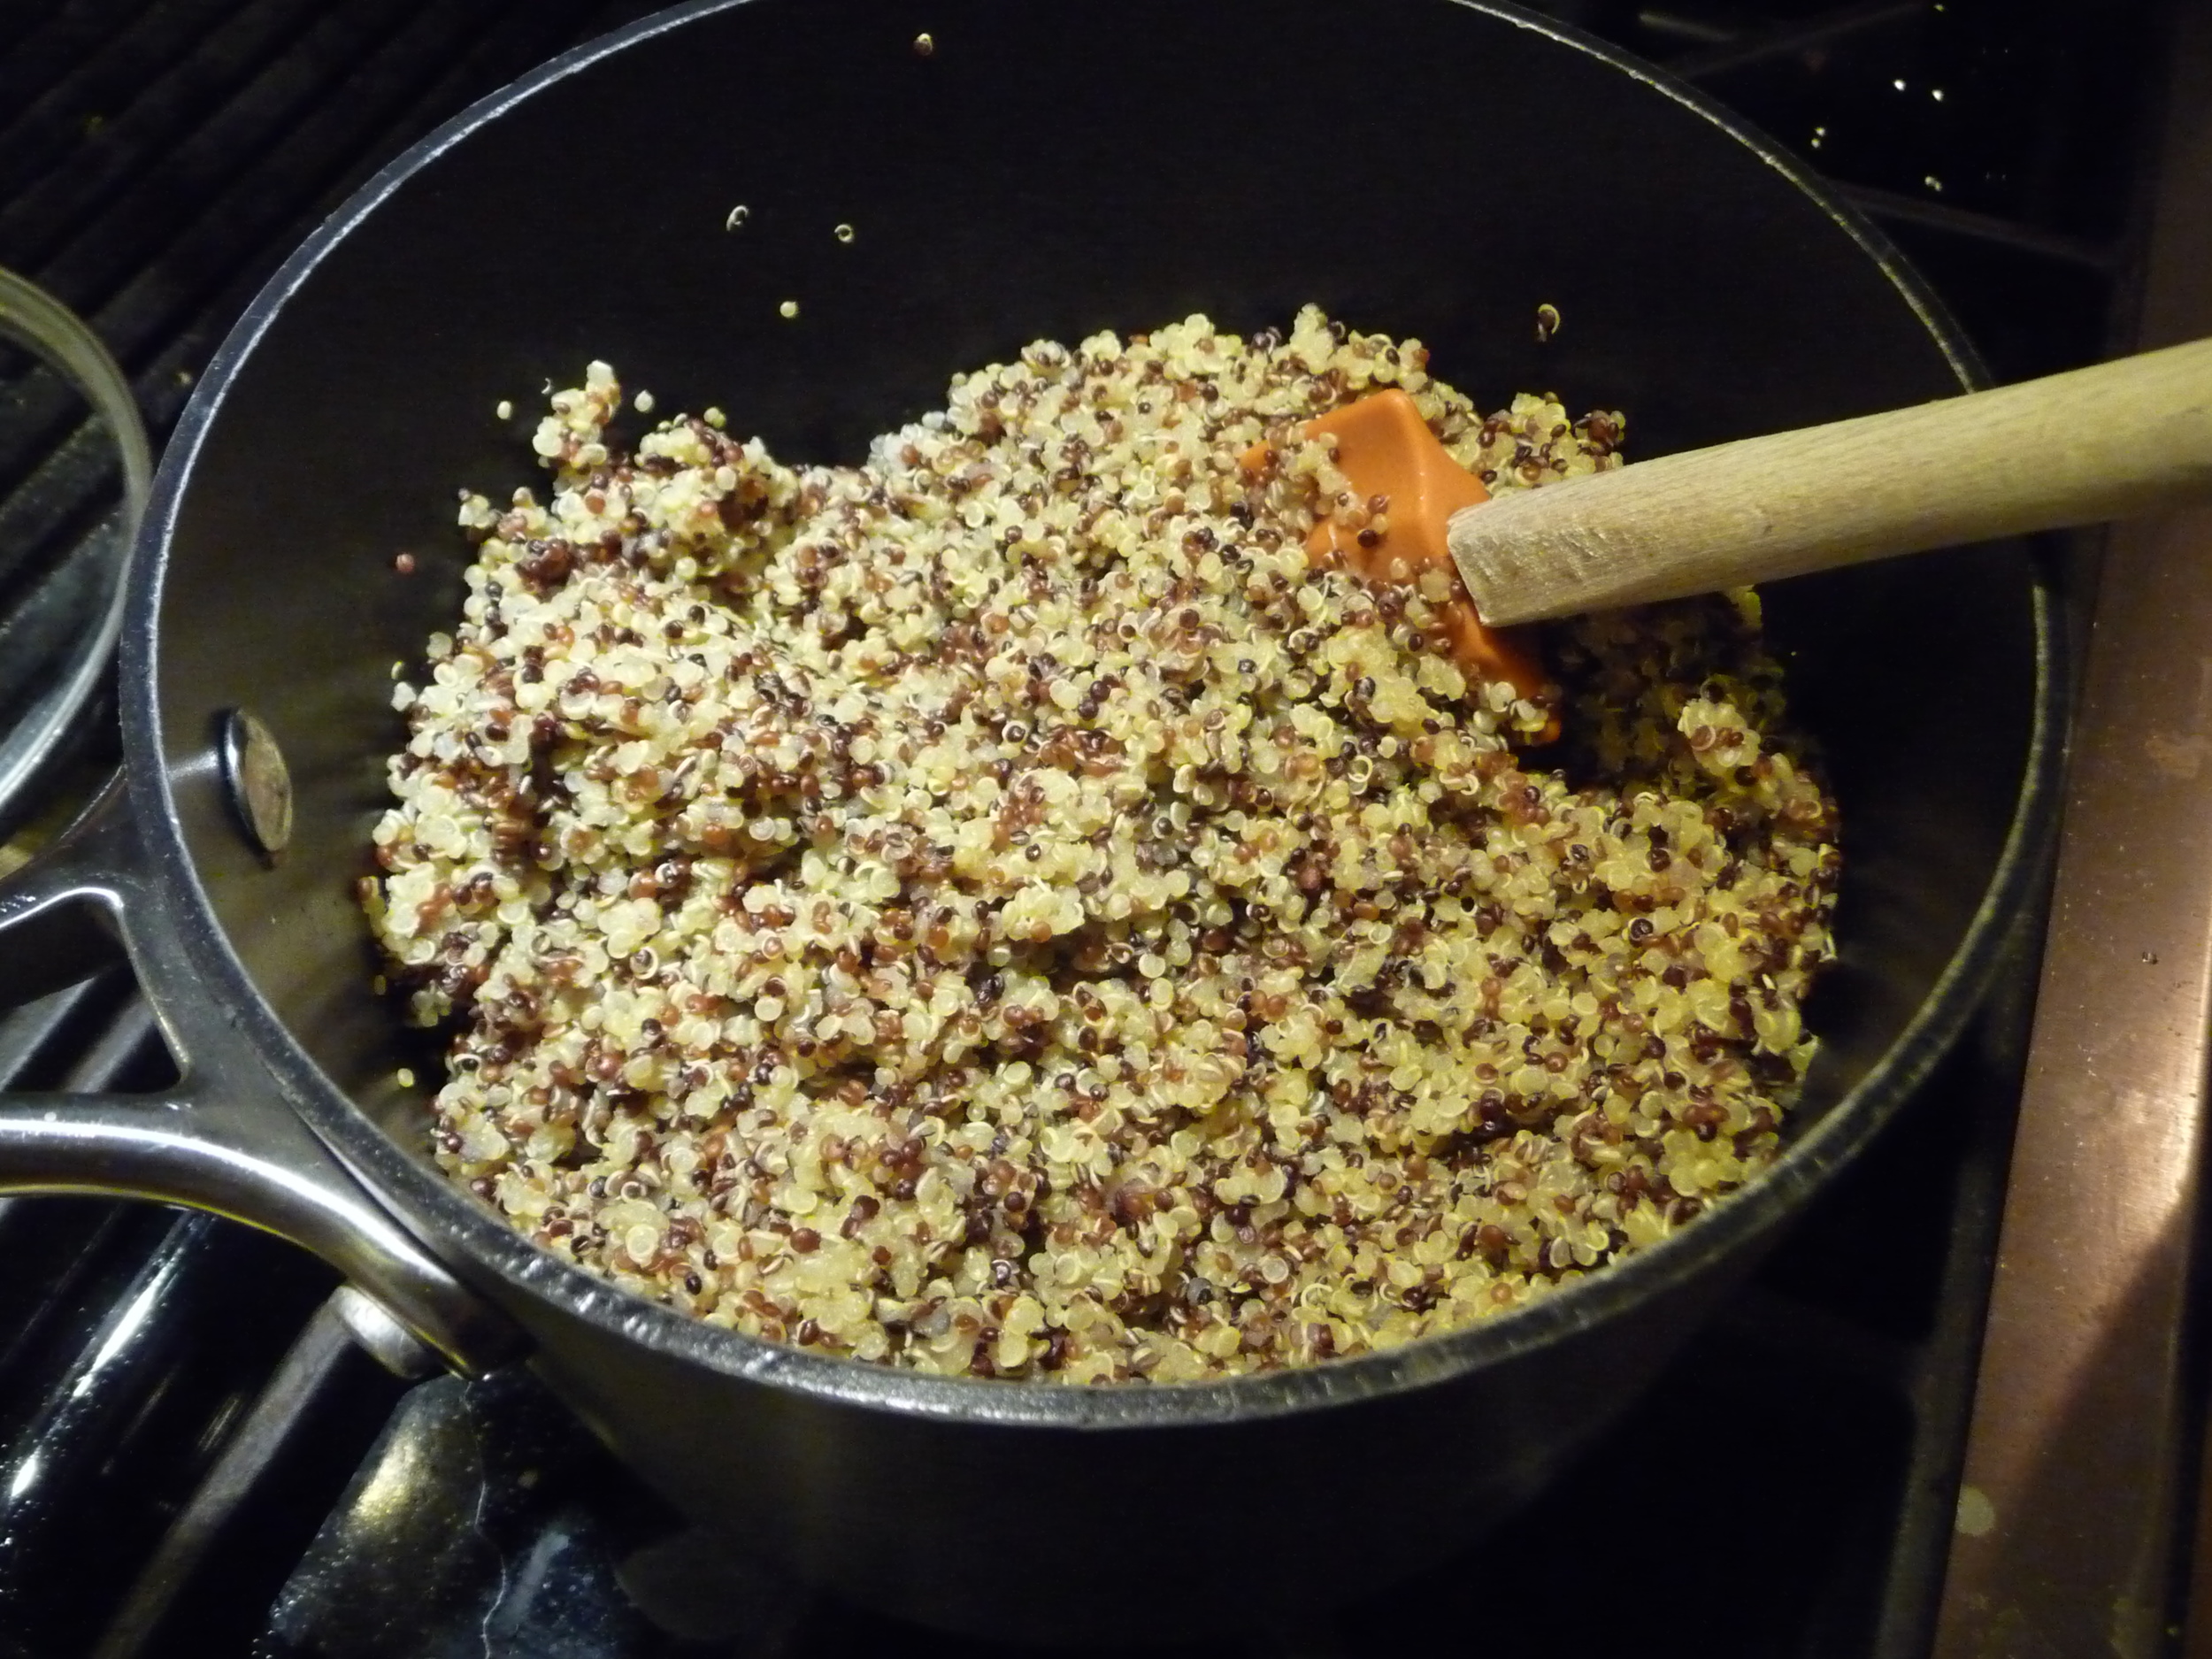
  • 3 cups quinoa, cooked in chicken broth (I got confused here. Did they mean measure out 3 cups quinoa and then cook it in classic 2-to-1 ratio, in this case 6 cups of broth? Or to prepare enough quinoa in chicken broth to yield 3 cups? I went with the latter and cooked 2 cups quinoa in 4 cups broth and the yield was enough with some left over)
  • 2-3 eggs (start with 2, you may need to add another to get the ingredients to bond and the fritters to hold their shape)

Combine all ingredients in a large bowl. Actually, if you combine all without the egg, you could stop here, add a vinaigrette and end up with a very nice salad.

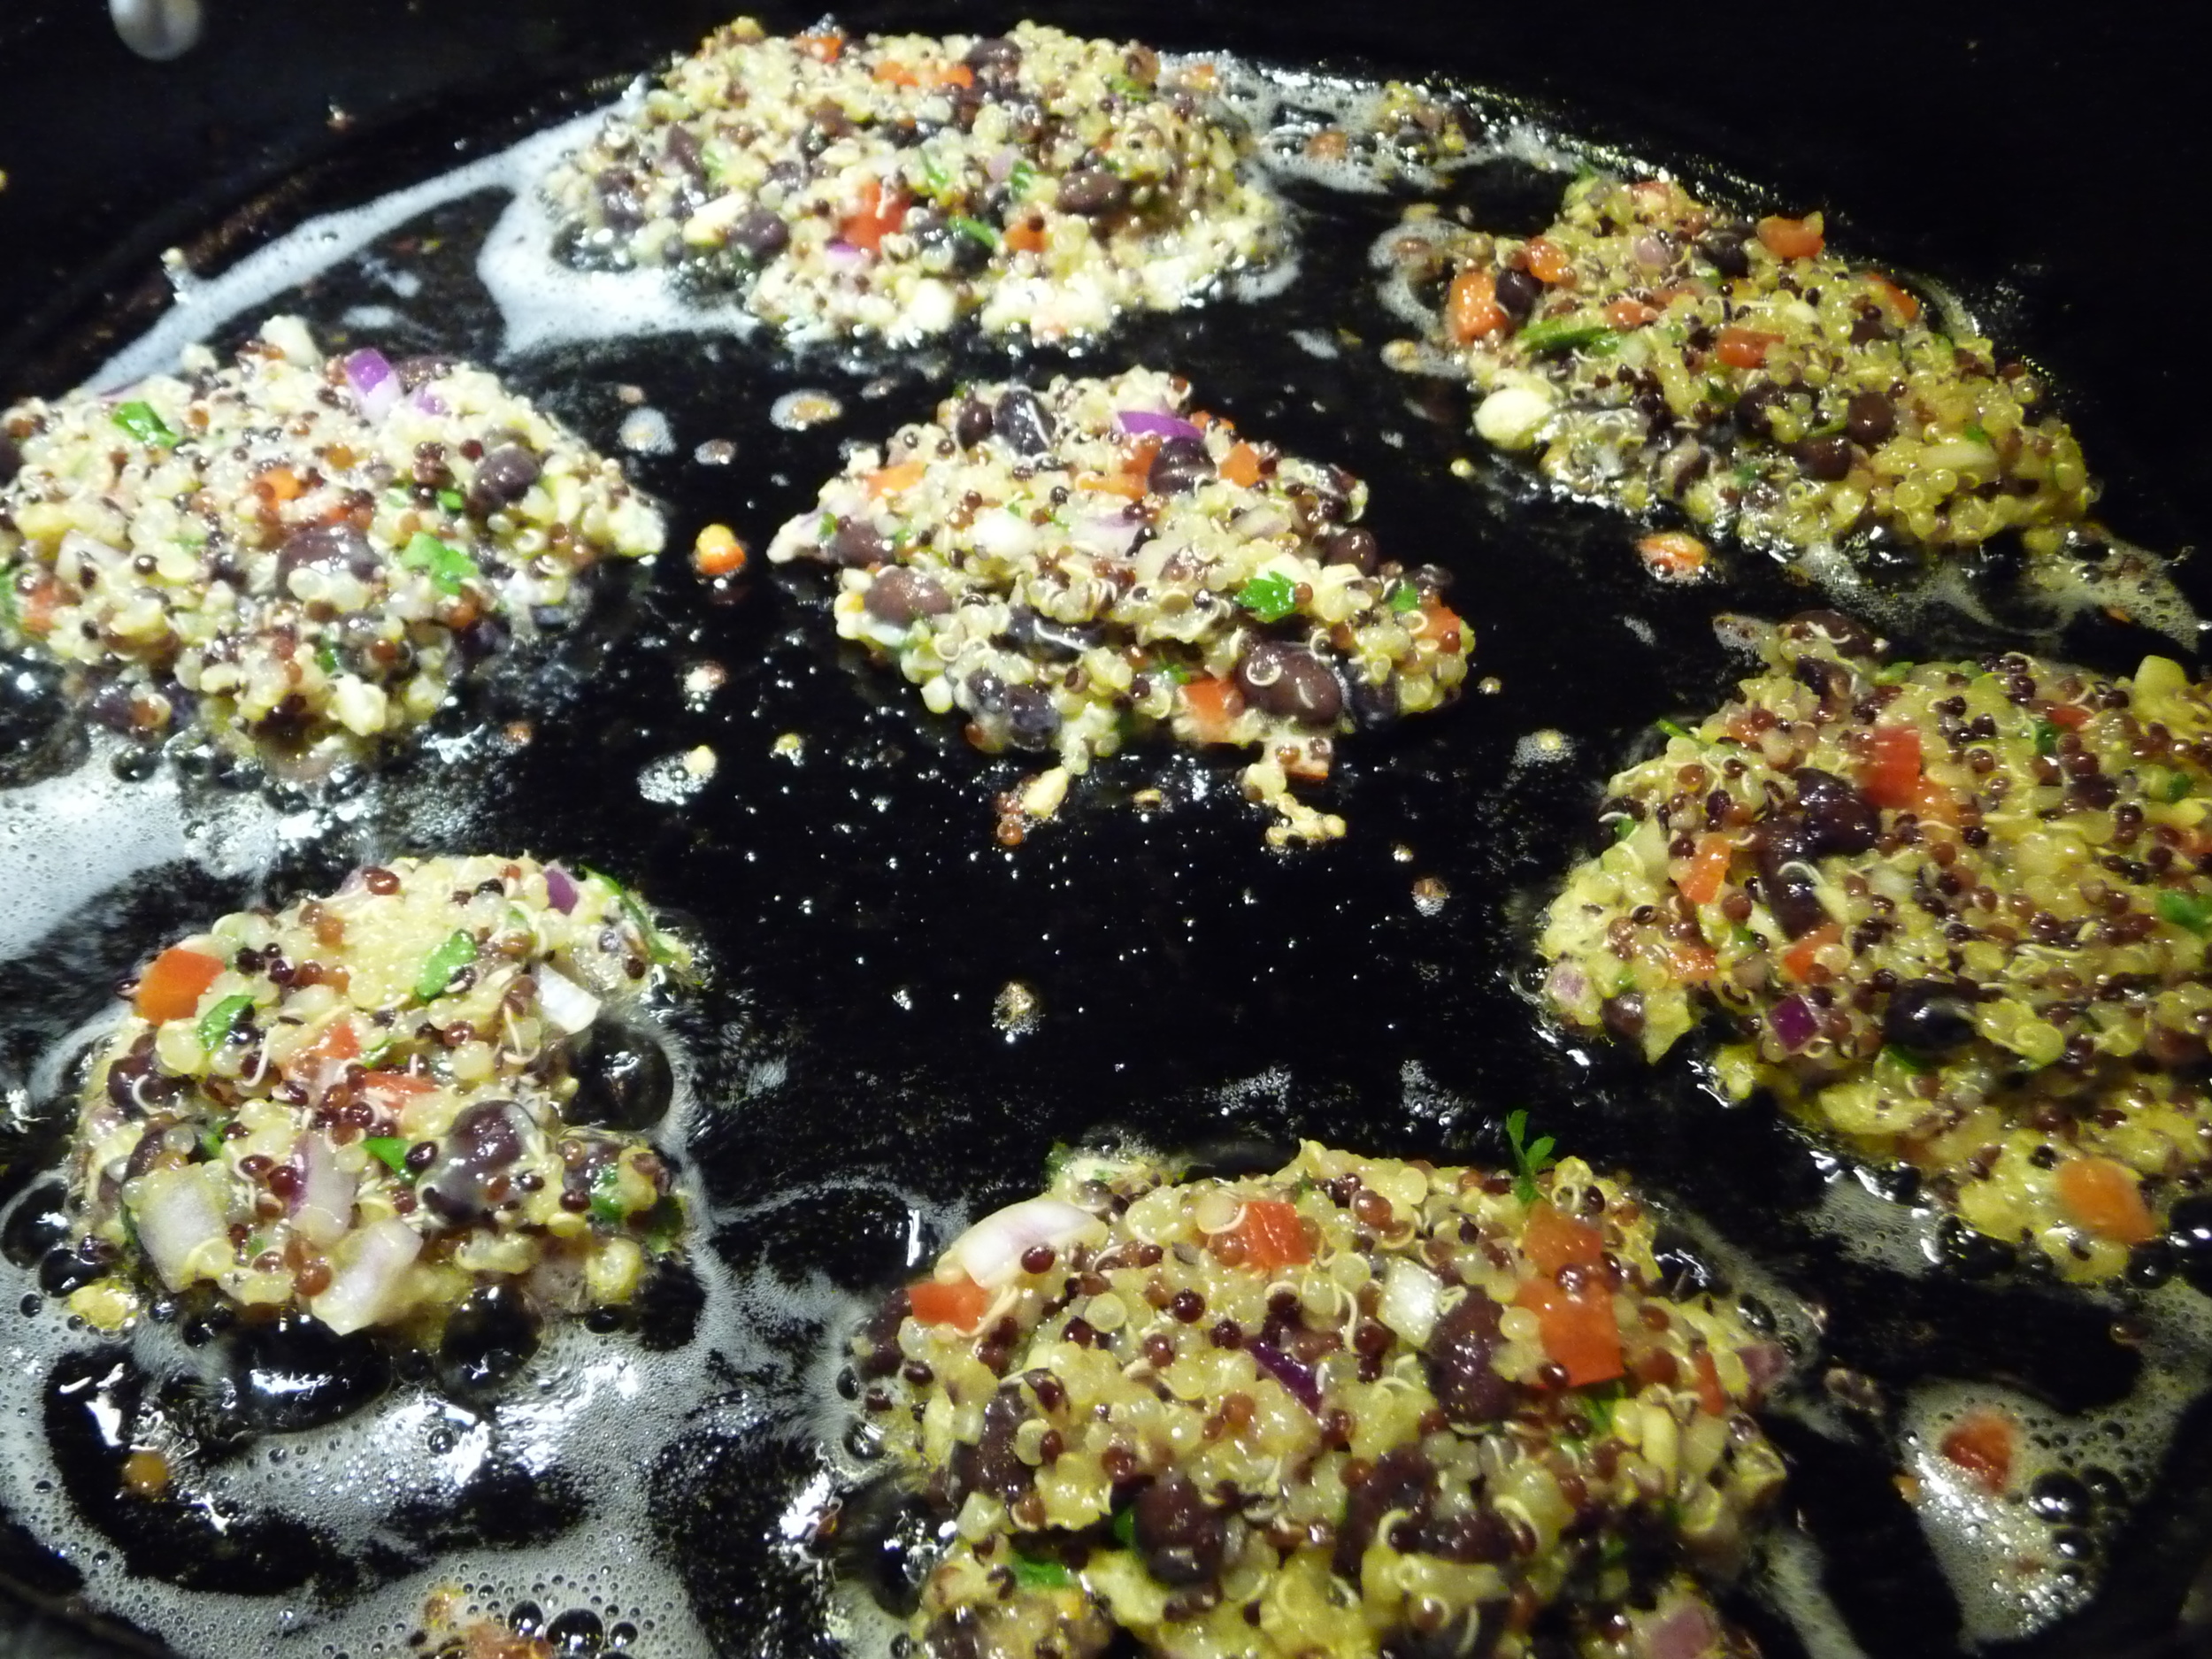
But add the egg, mix it all up. Heat olive oil in a heavy skillet over medium-high heat. Scoop up a generous tablespoon of quinoa, drop gently into the oil and gently flatten into a patty. My first batch fell apart and I needed to add the third egg.

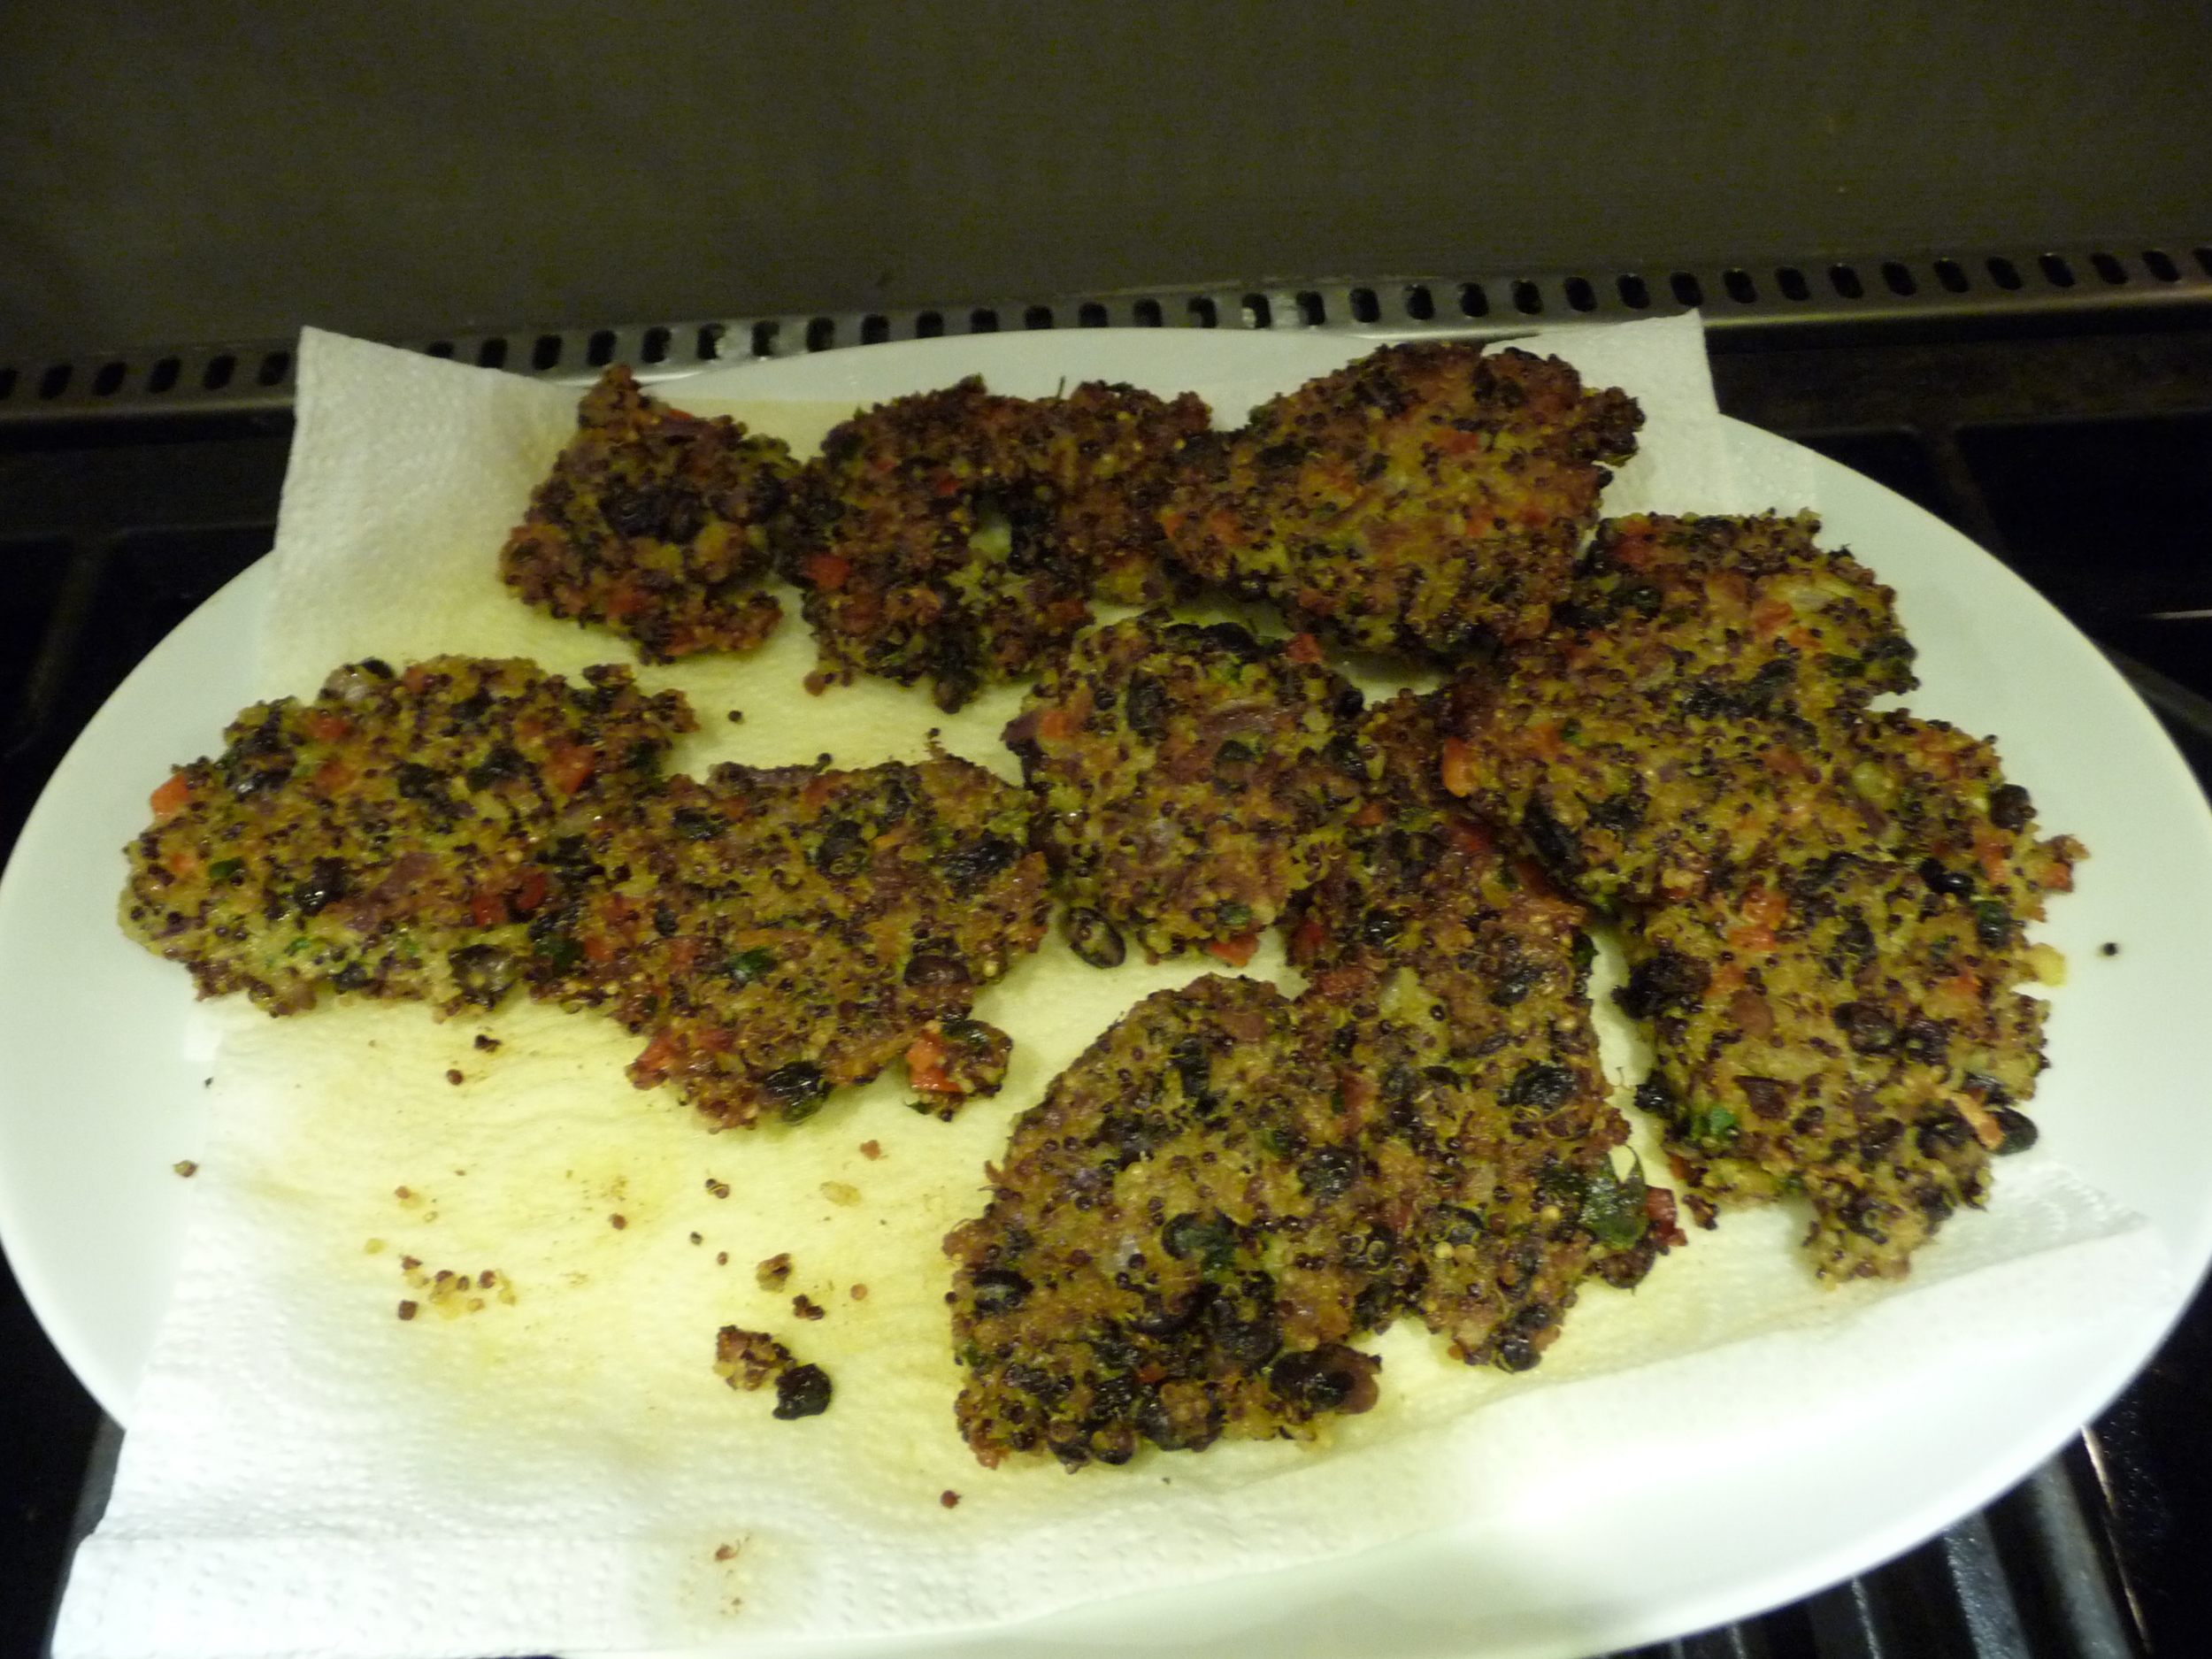
Fry until brown on both sides and drain on paper towels.

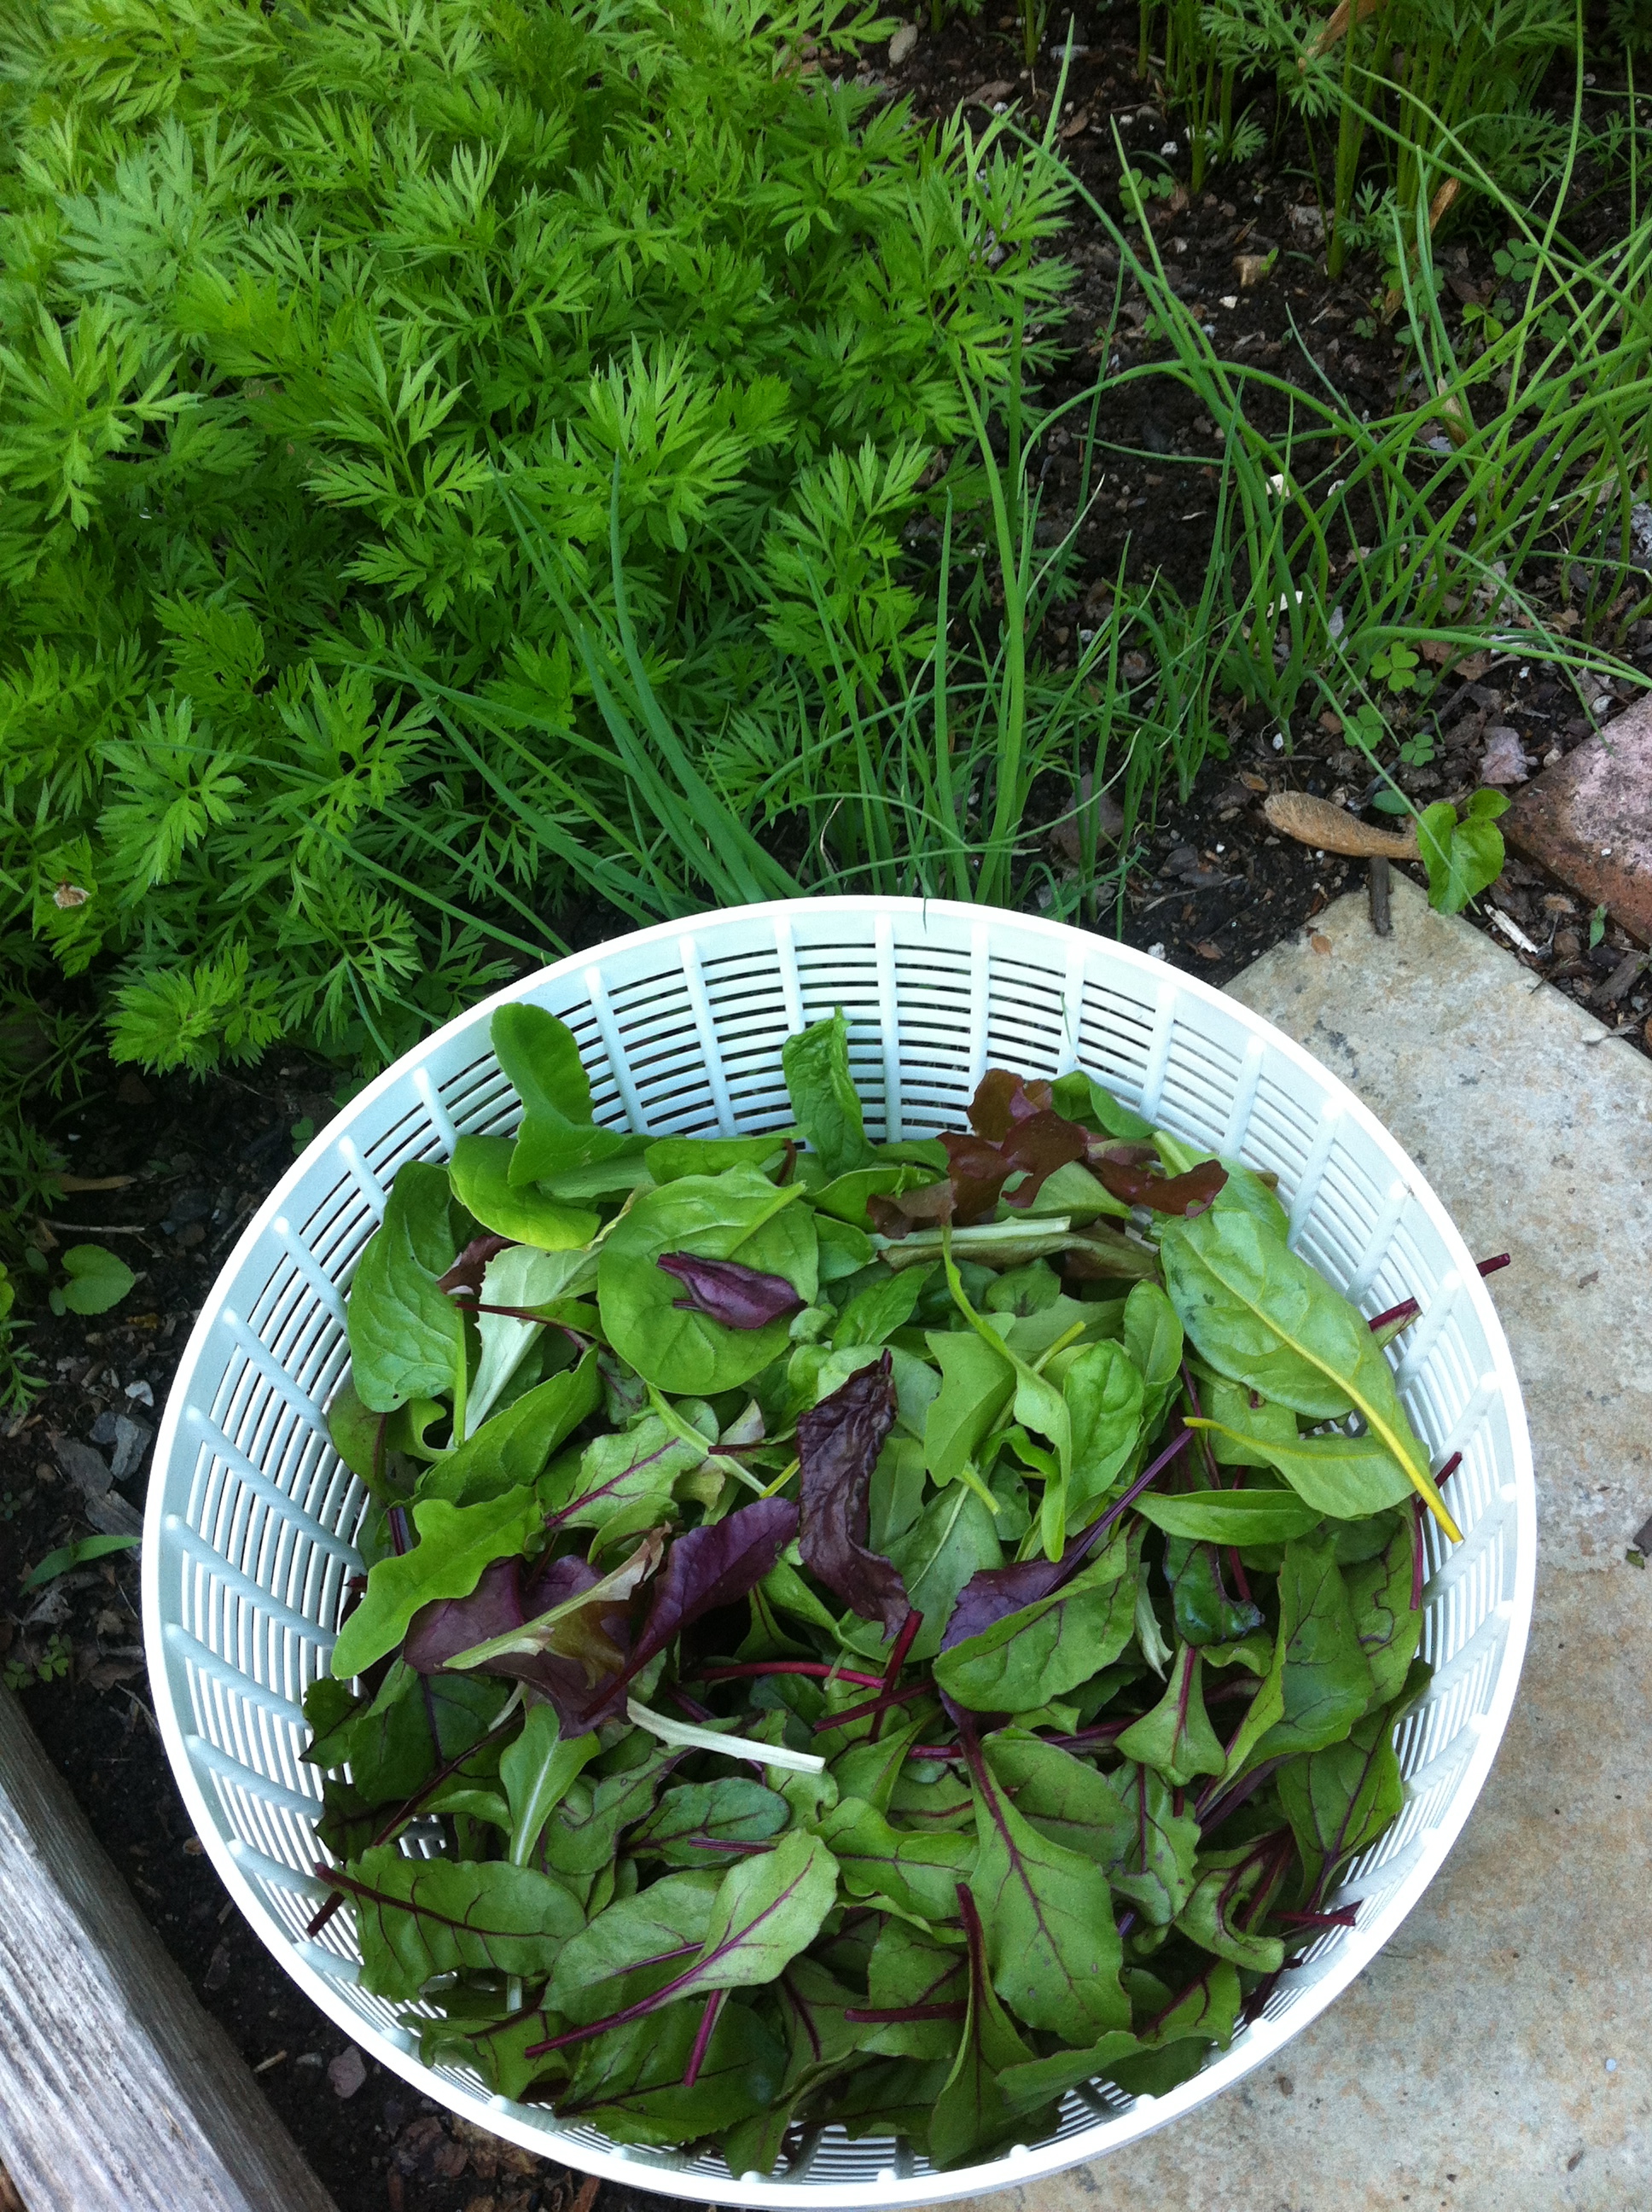
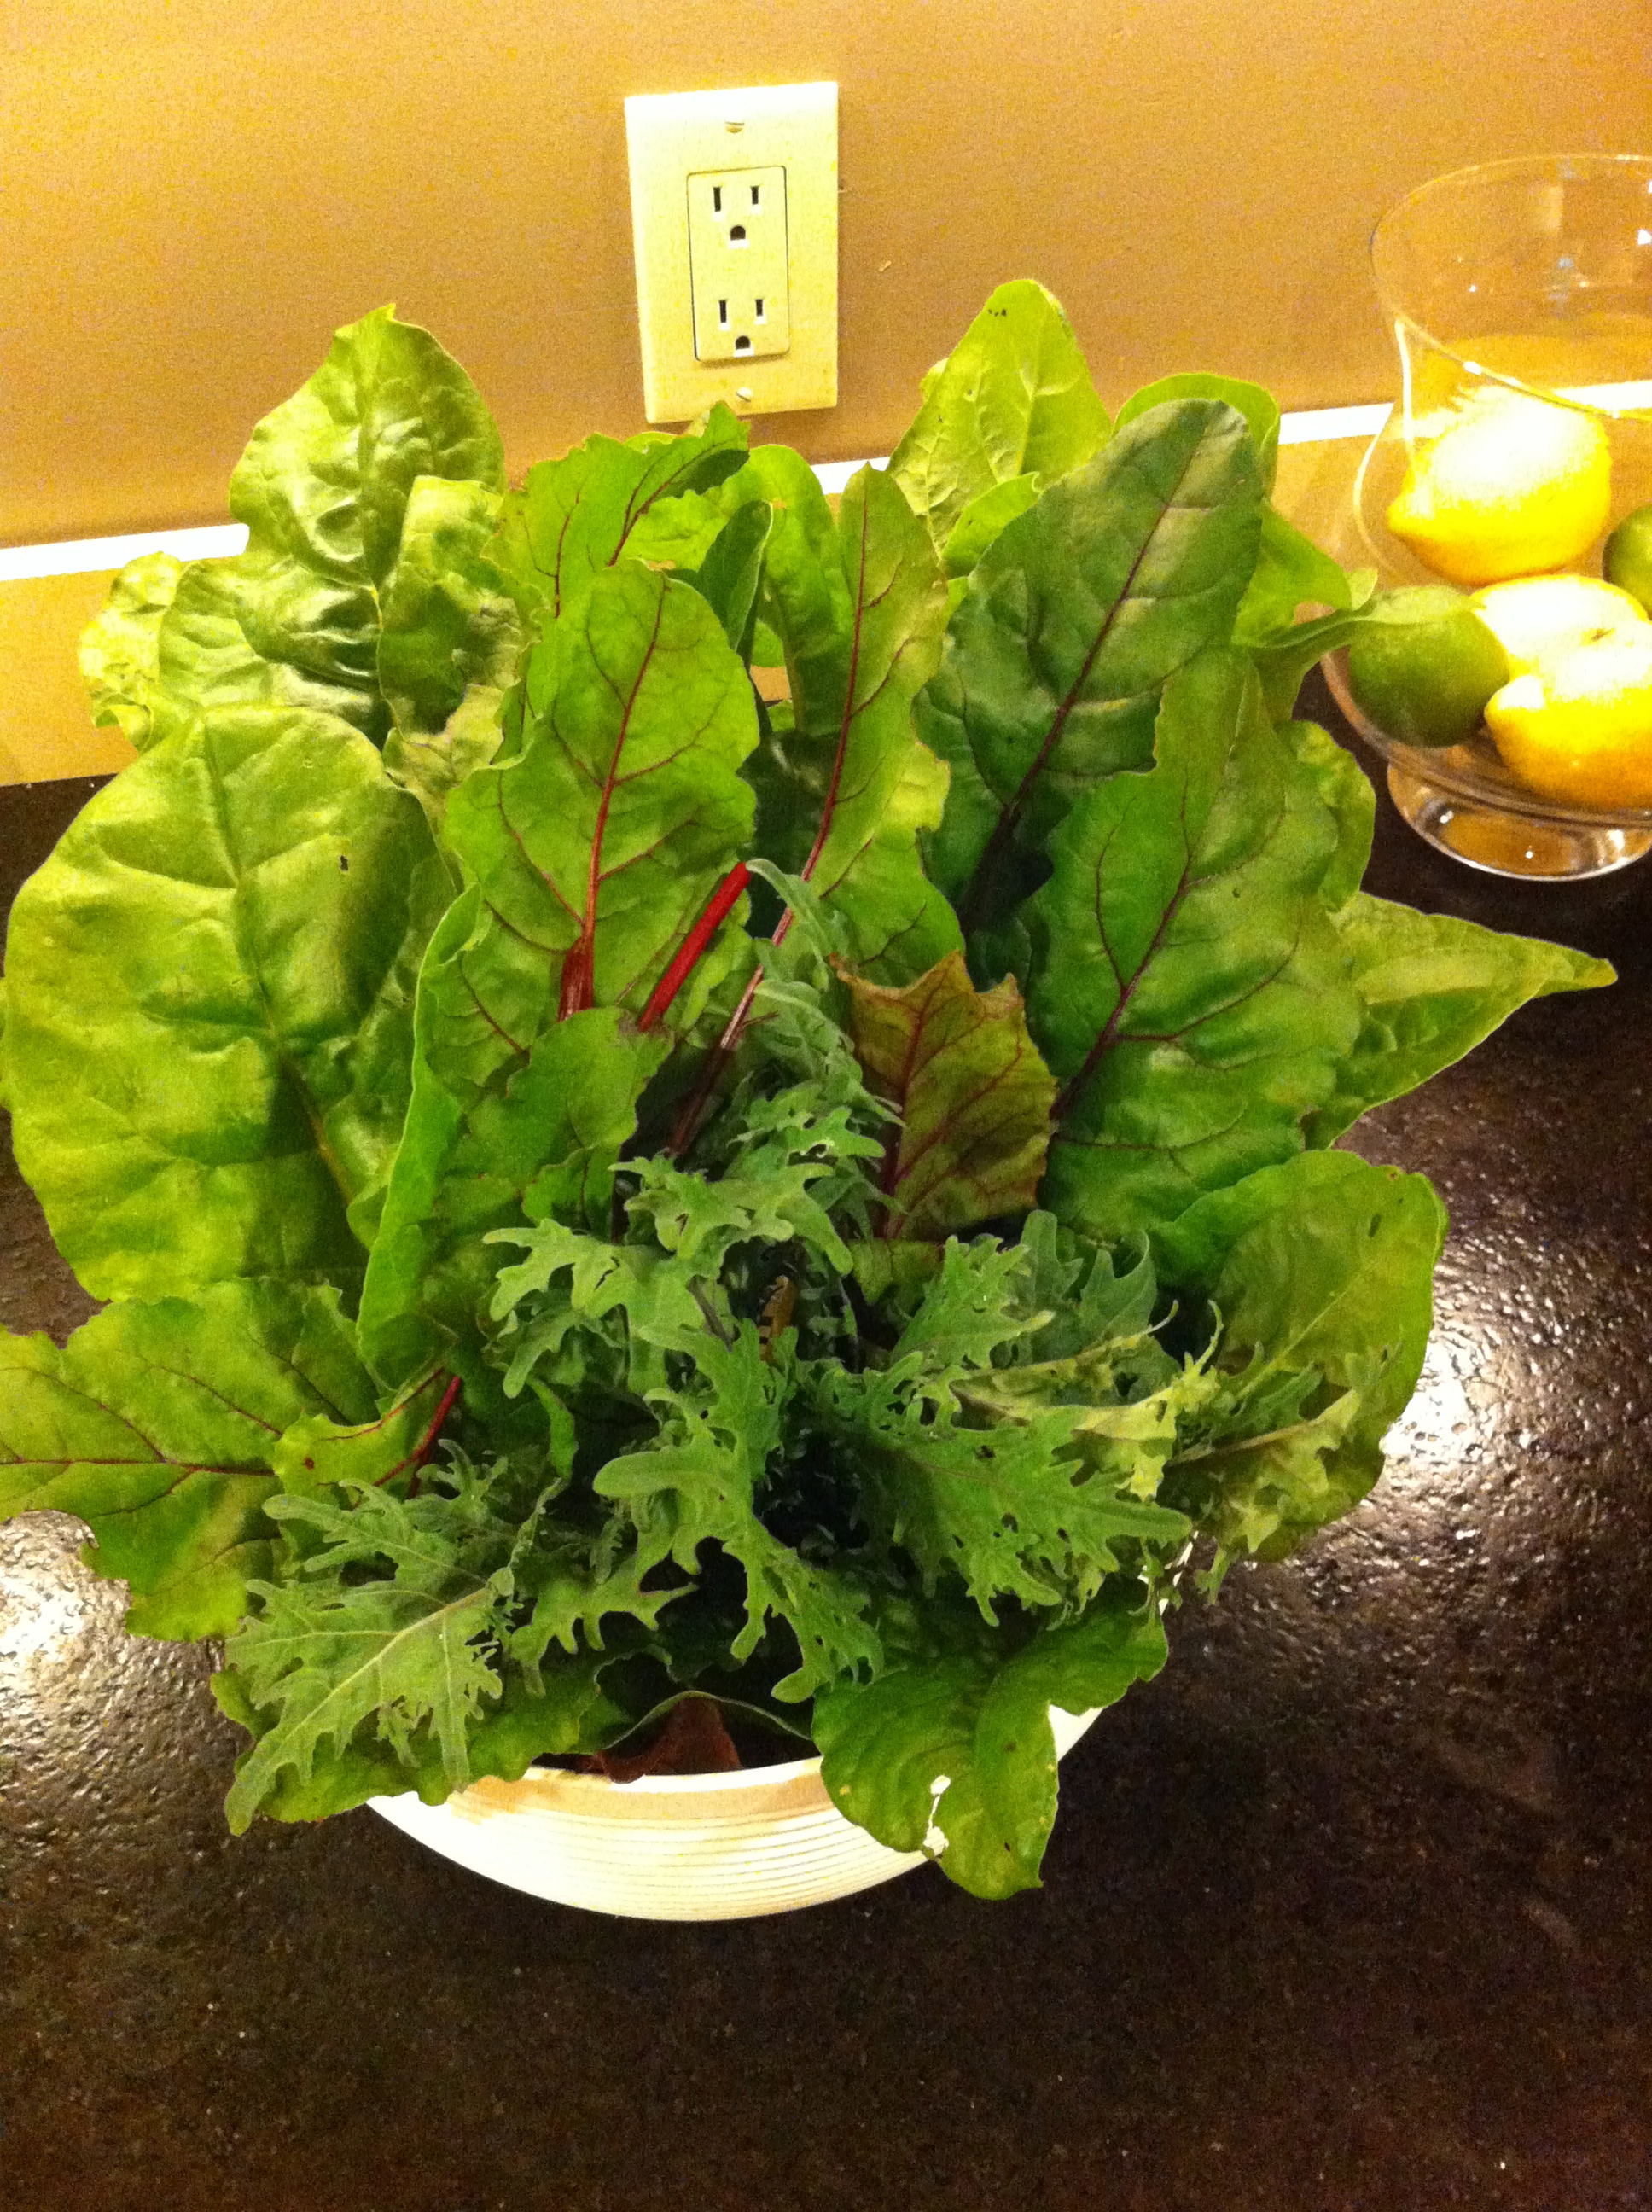
To go along with these babies, I had a salad spinner basket full of greens from the garden: yellow swiss chard, beet tops, and leaves from Purple Peacock Broccoli, which is a cross between broccoli and kale so the leaves are edible. To prep the greens, I had something from the Department of I've Been Meaning to Do This for Years but Never Got Around to It:  flavored olive oil.  

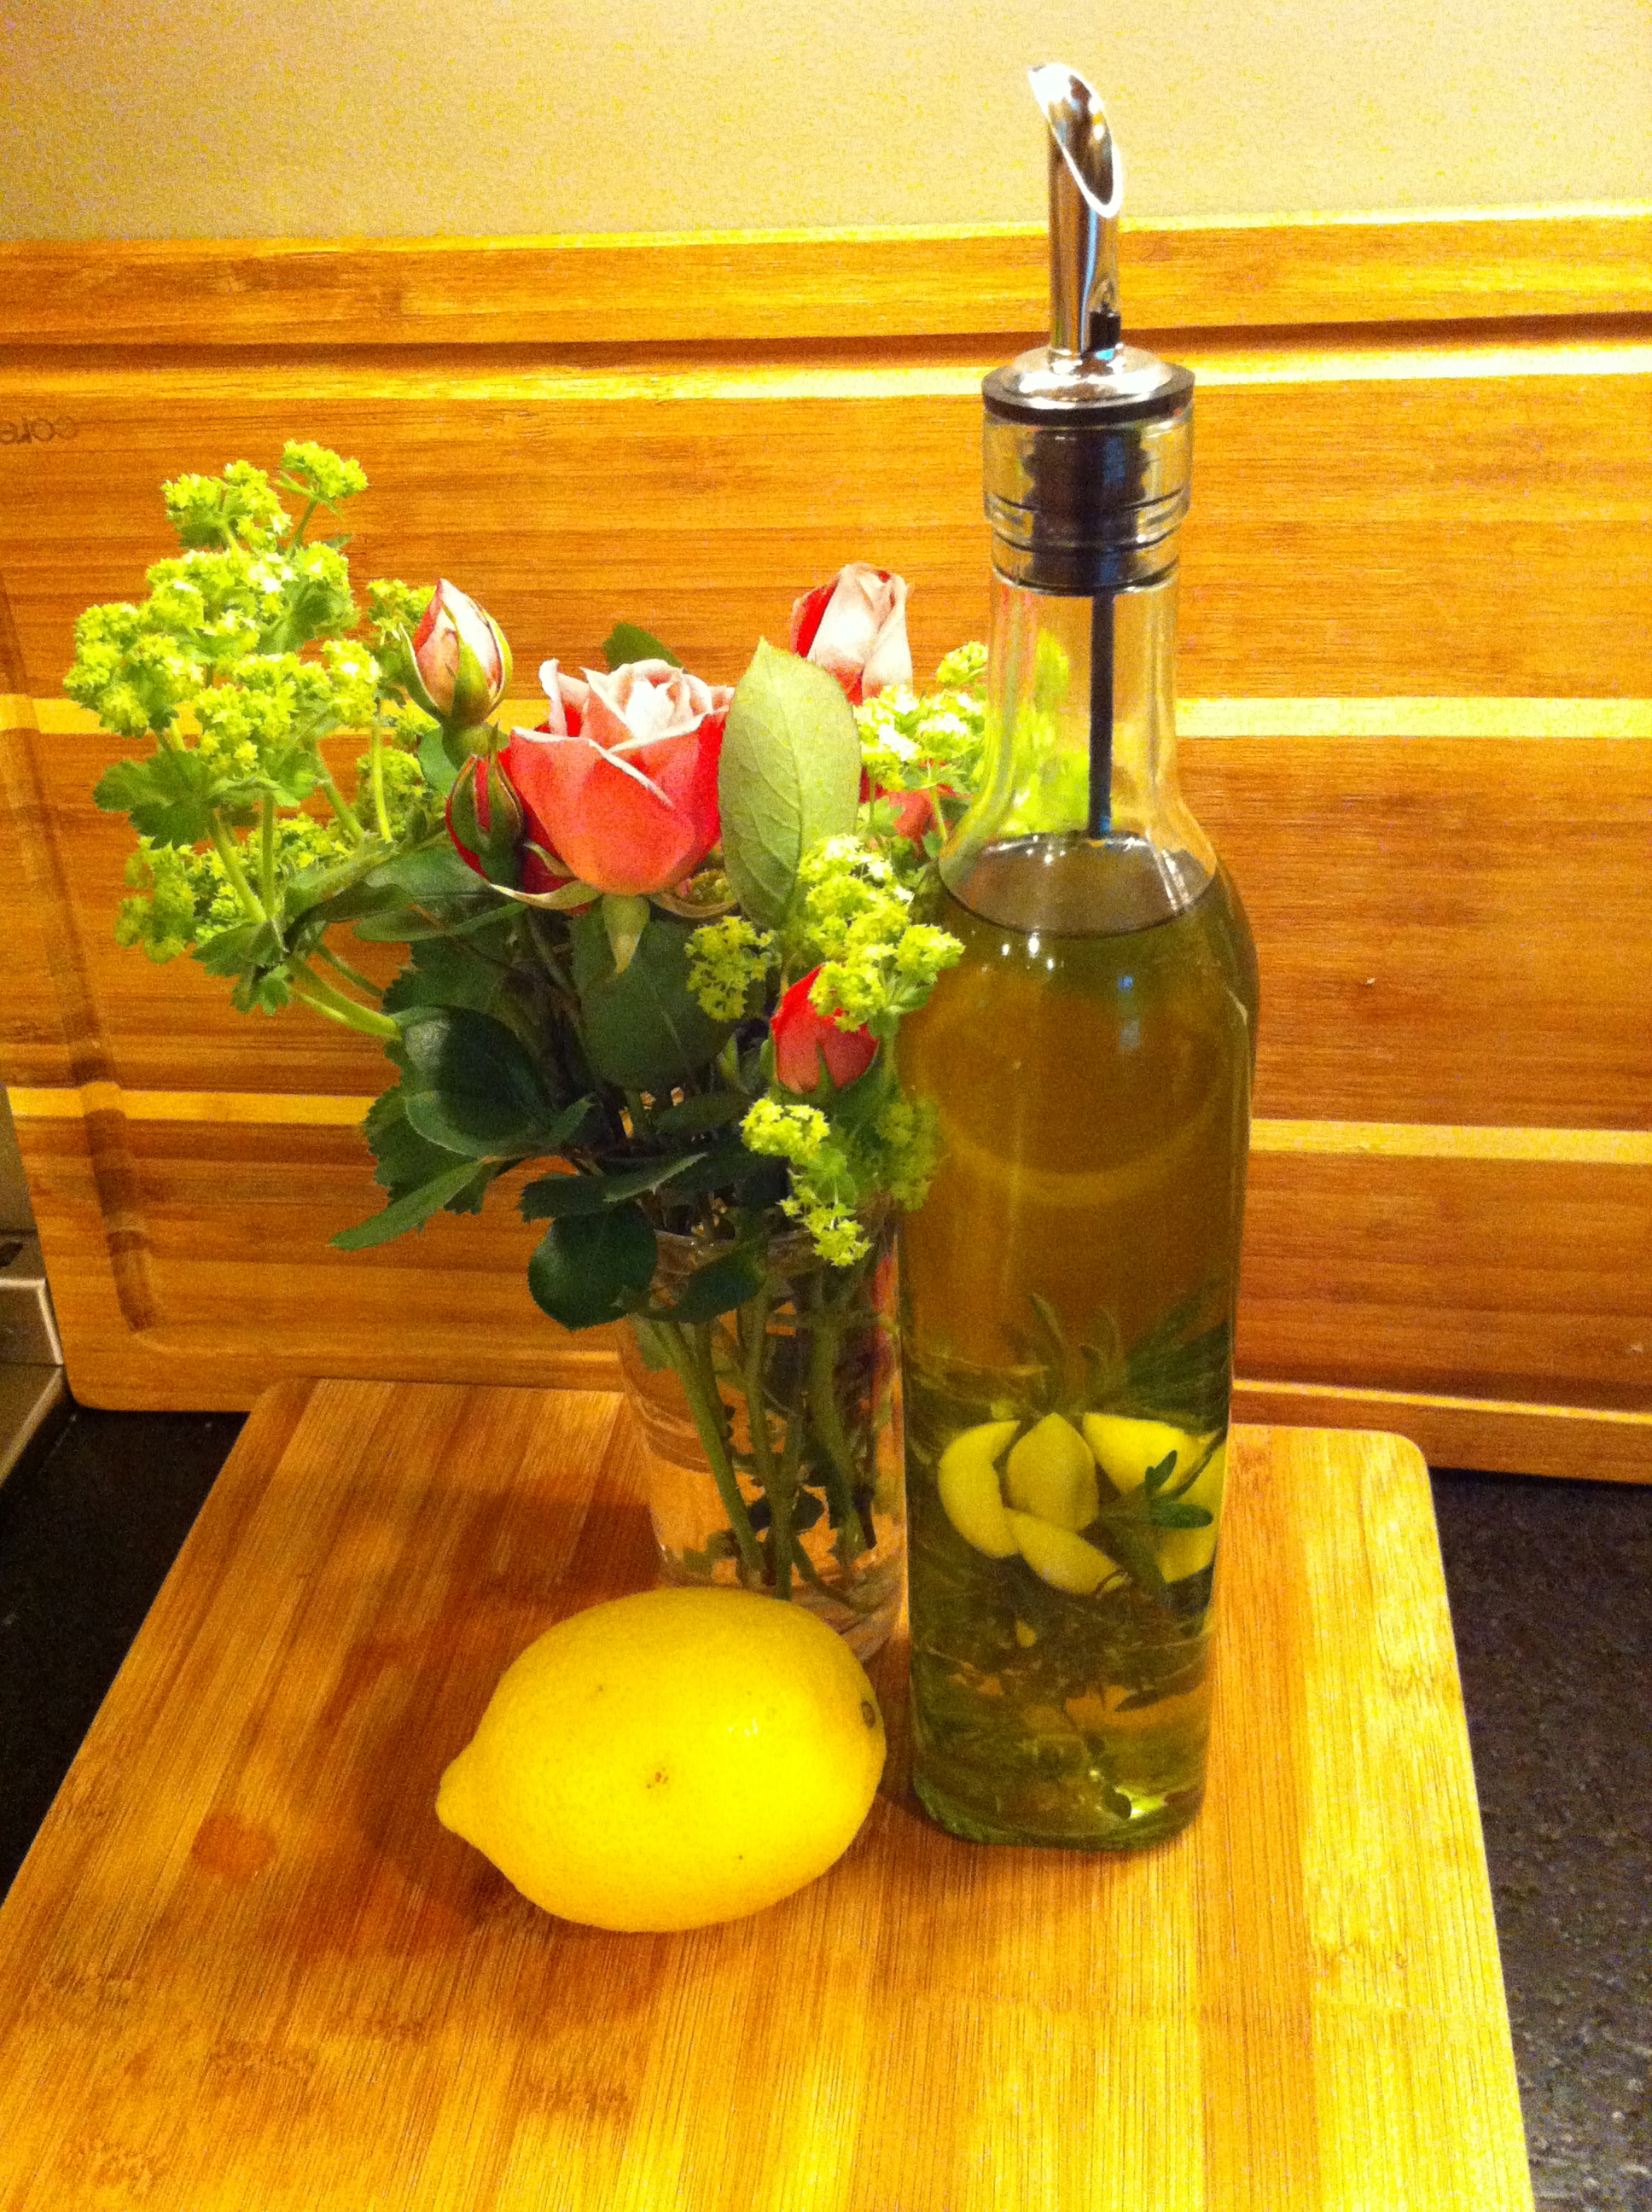
I don't know what's taken me so long, it's not like this is a time-consuming, labor-intensive chore. I guess it was just being in Homegoods and finding a couple of glass bottles for olive oil on clearance and deciding one of them would be exclusively for herb-infused oil. And there's nothing to this at all: wash and dry sprigs of thyme, rosemary, oregano, whatever you want, and cram them into the bottle. Peel and smash a few cloves of garlic, slice them lengthwise so you can get them through the neck of the bottle too. Add a pinch of red pepper flakes. Then funnel in your olive oil. Stop up the bottle, let it sit a few days. Next thing you know you're using it to sauté everything, dunking bread in it, drizzling it over pasta. When the oil runs out, just pour more in. And be sure you arrange it on a cutting board with a bouquet of just-picked roses and a lemon, because that's what all the cool people do.

So here's the Money Shot of sautéed greens and quinoa-black bean fritters. Amazing how that entire basket of greens cooked down to a wilted lump. But fabulous cooked down in the infused oil and then braised with a little added chicken broth. Top the fritters with a spoonful of peach salsa and you are in business.

Serve.

Die.