Christmas Crafts: Peppermint Stripe Soap

Don't run away. You can do this.

Get back here! You can SO DO THIS. It will cost you about $20, take two evenings tops, and in the end you will have awesome homemade gifts to give to teachers, babysitters, friends and aunts.

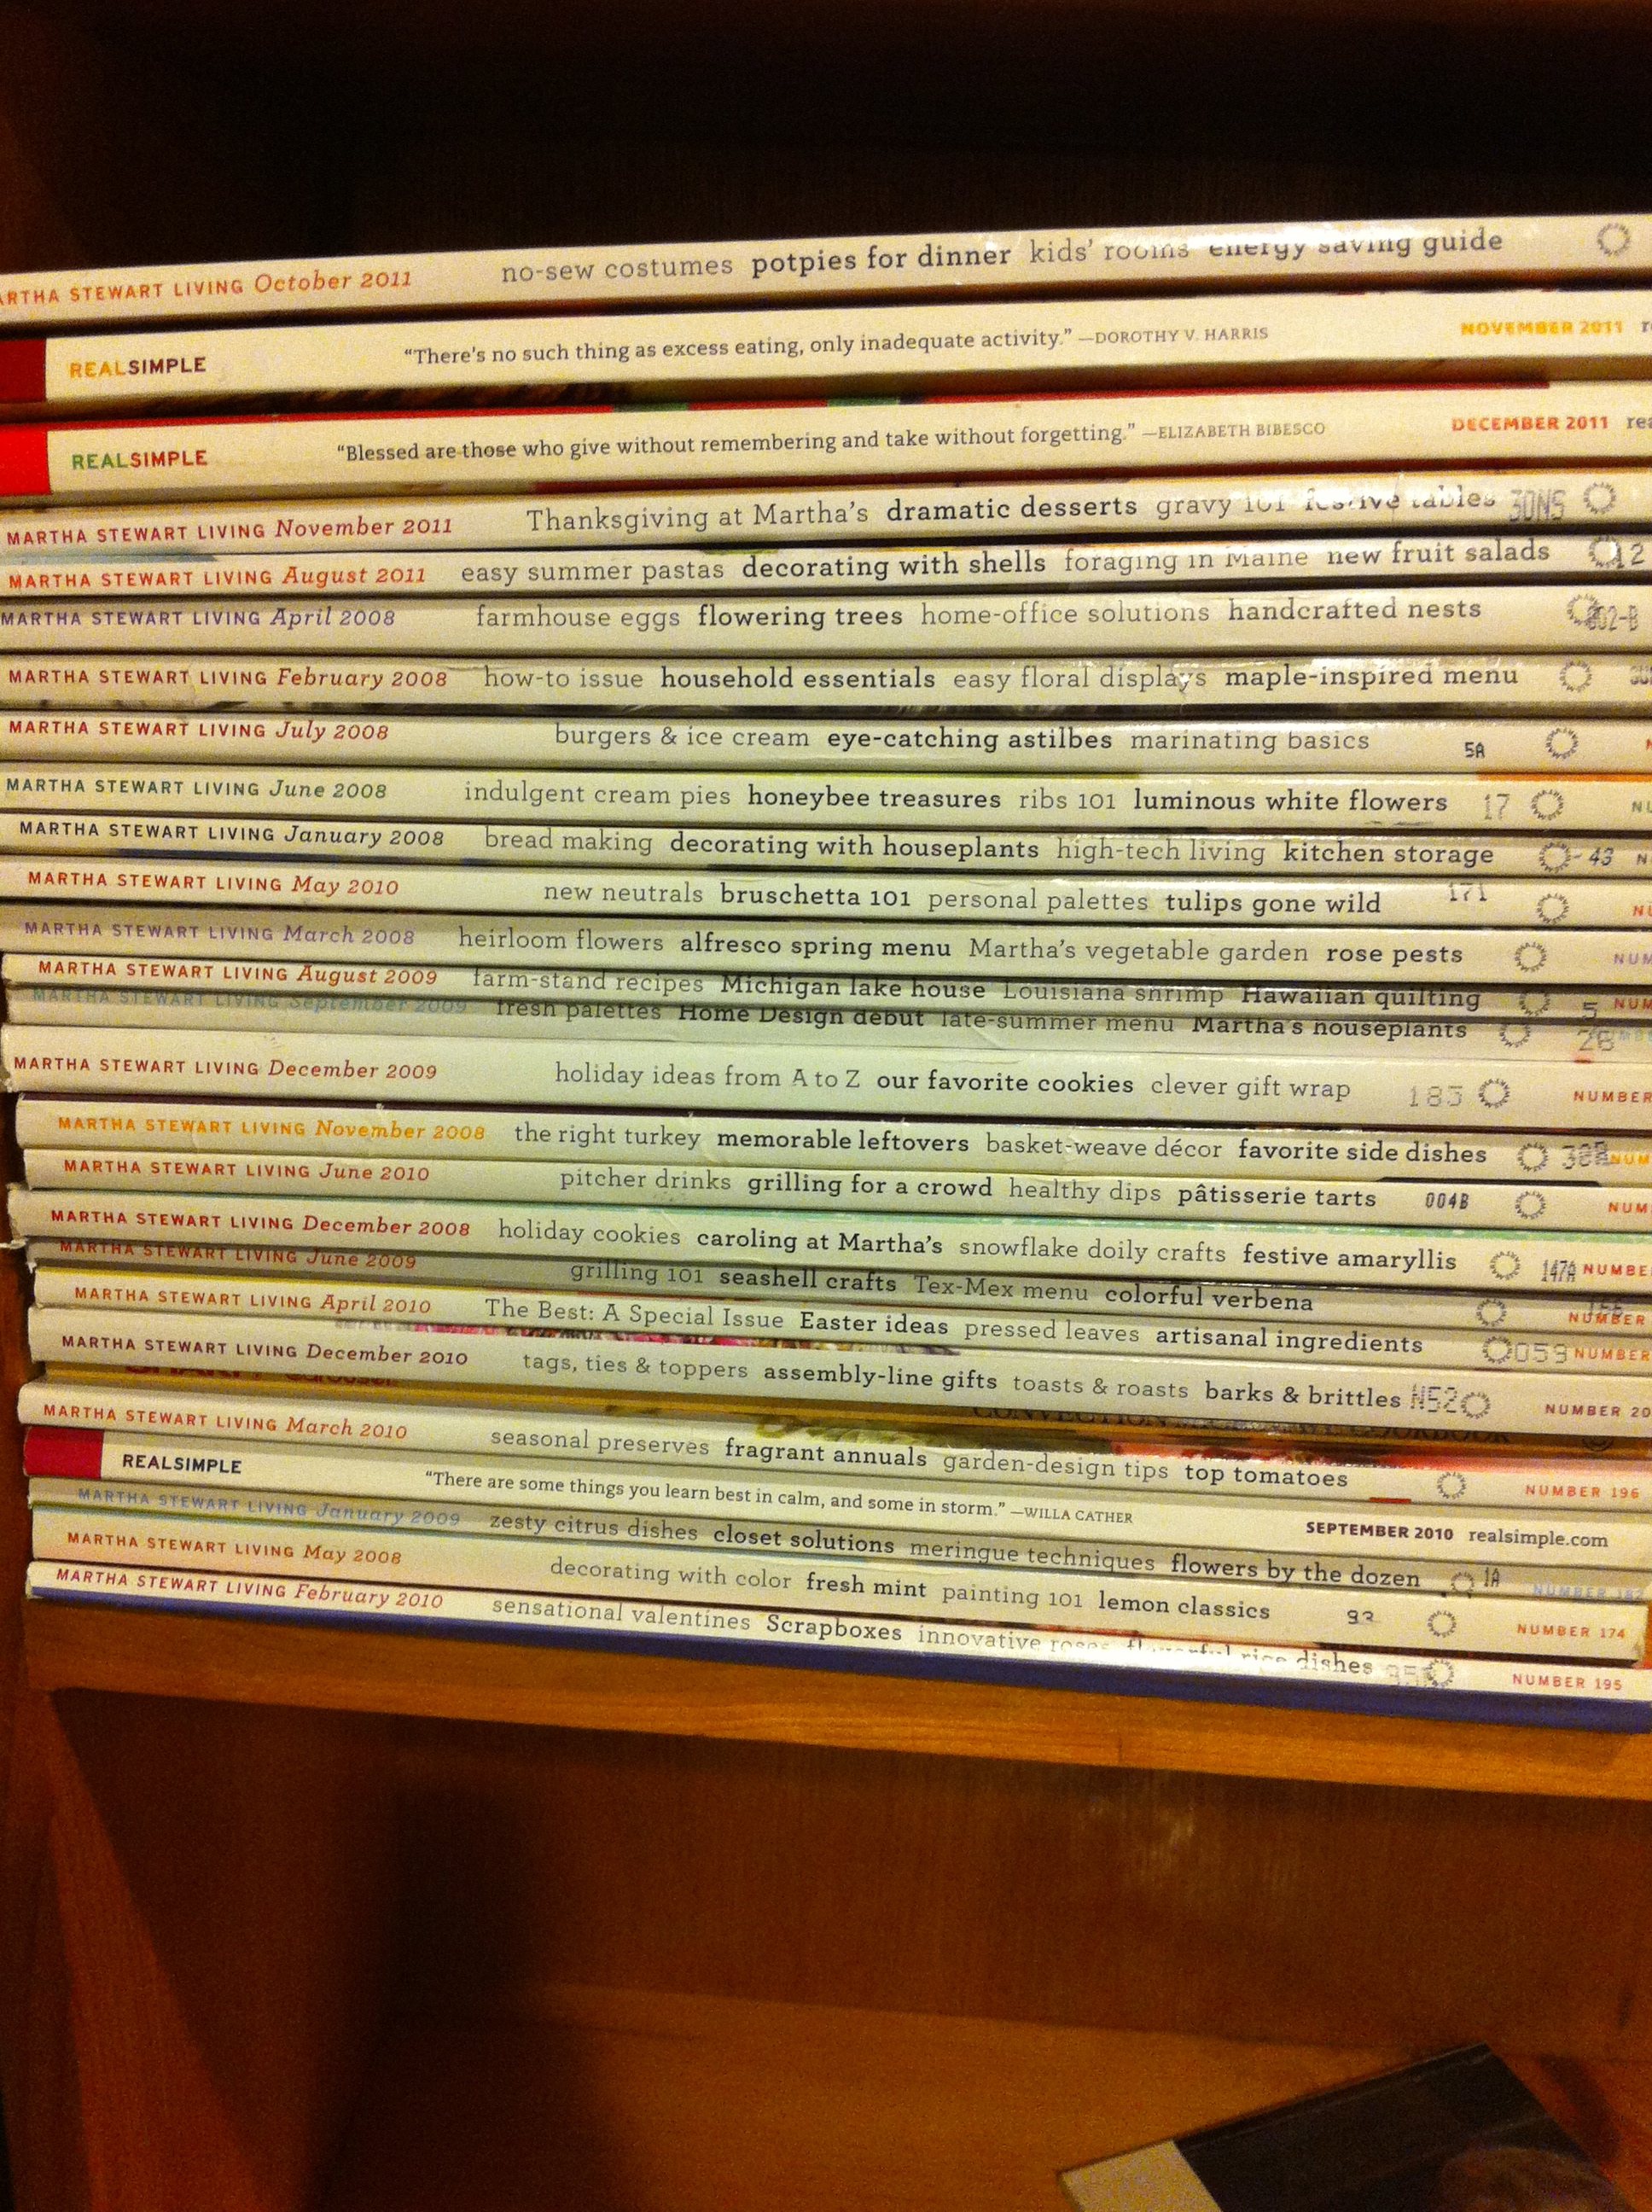
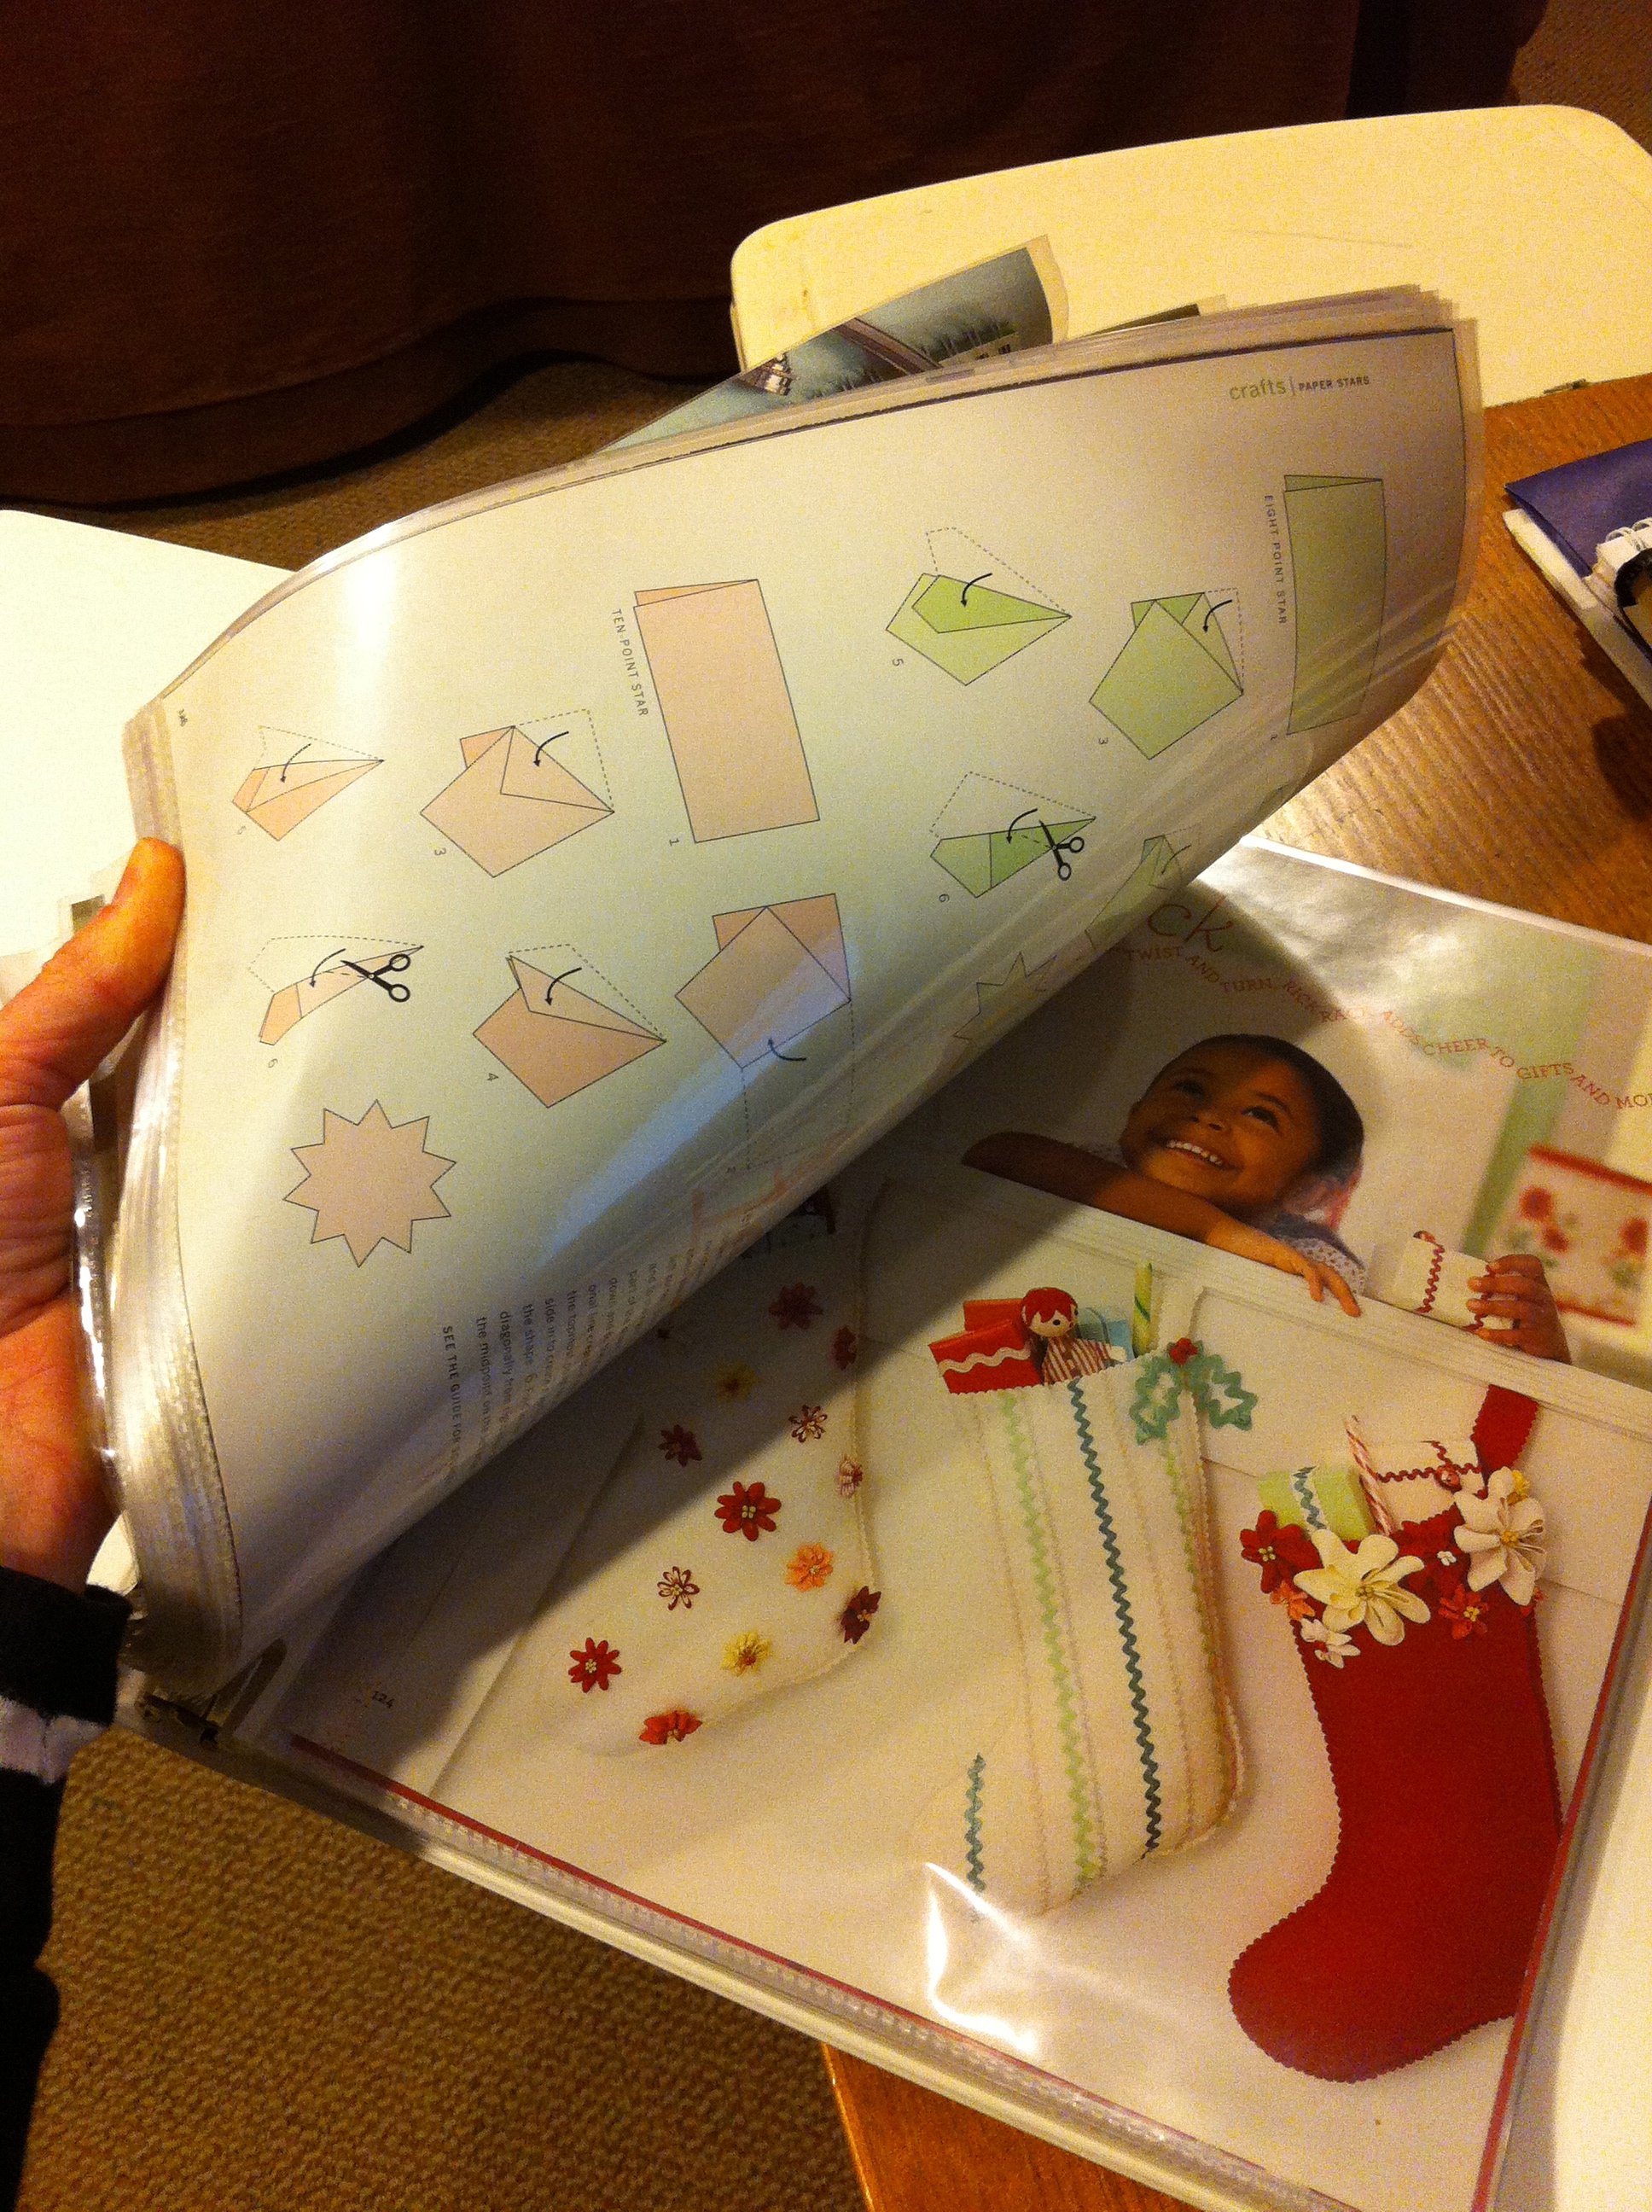
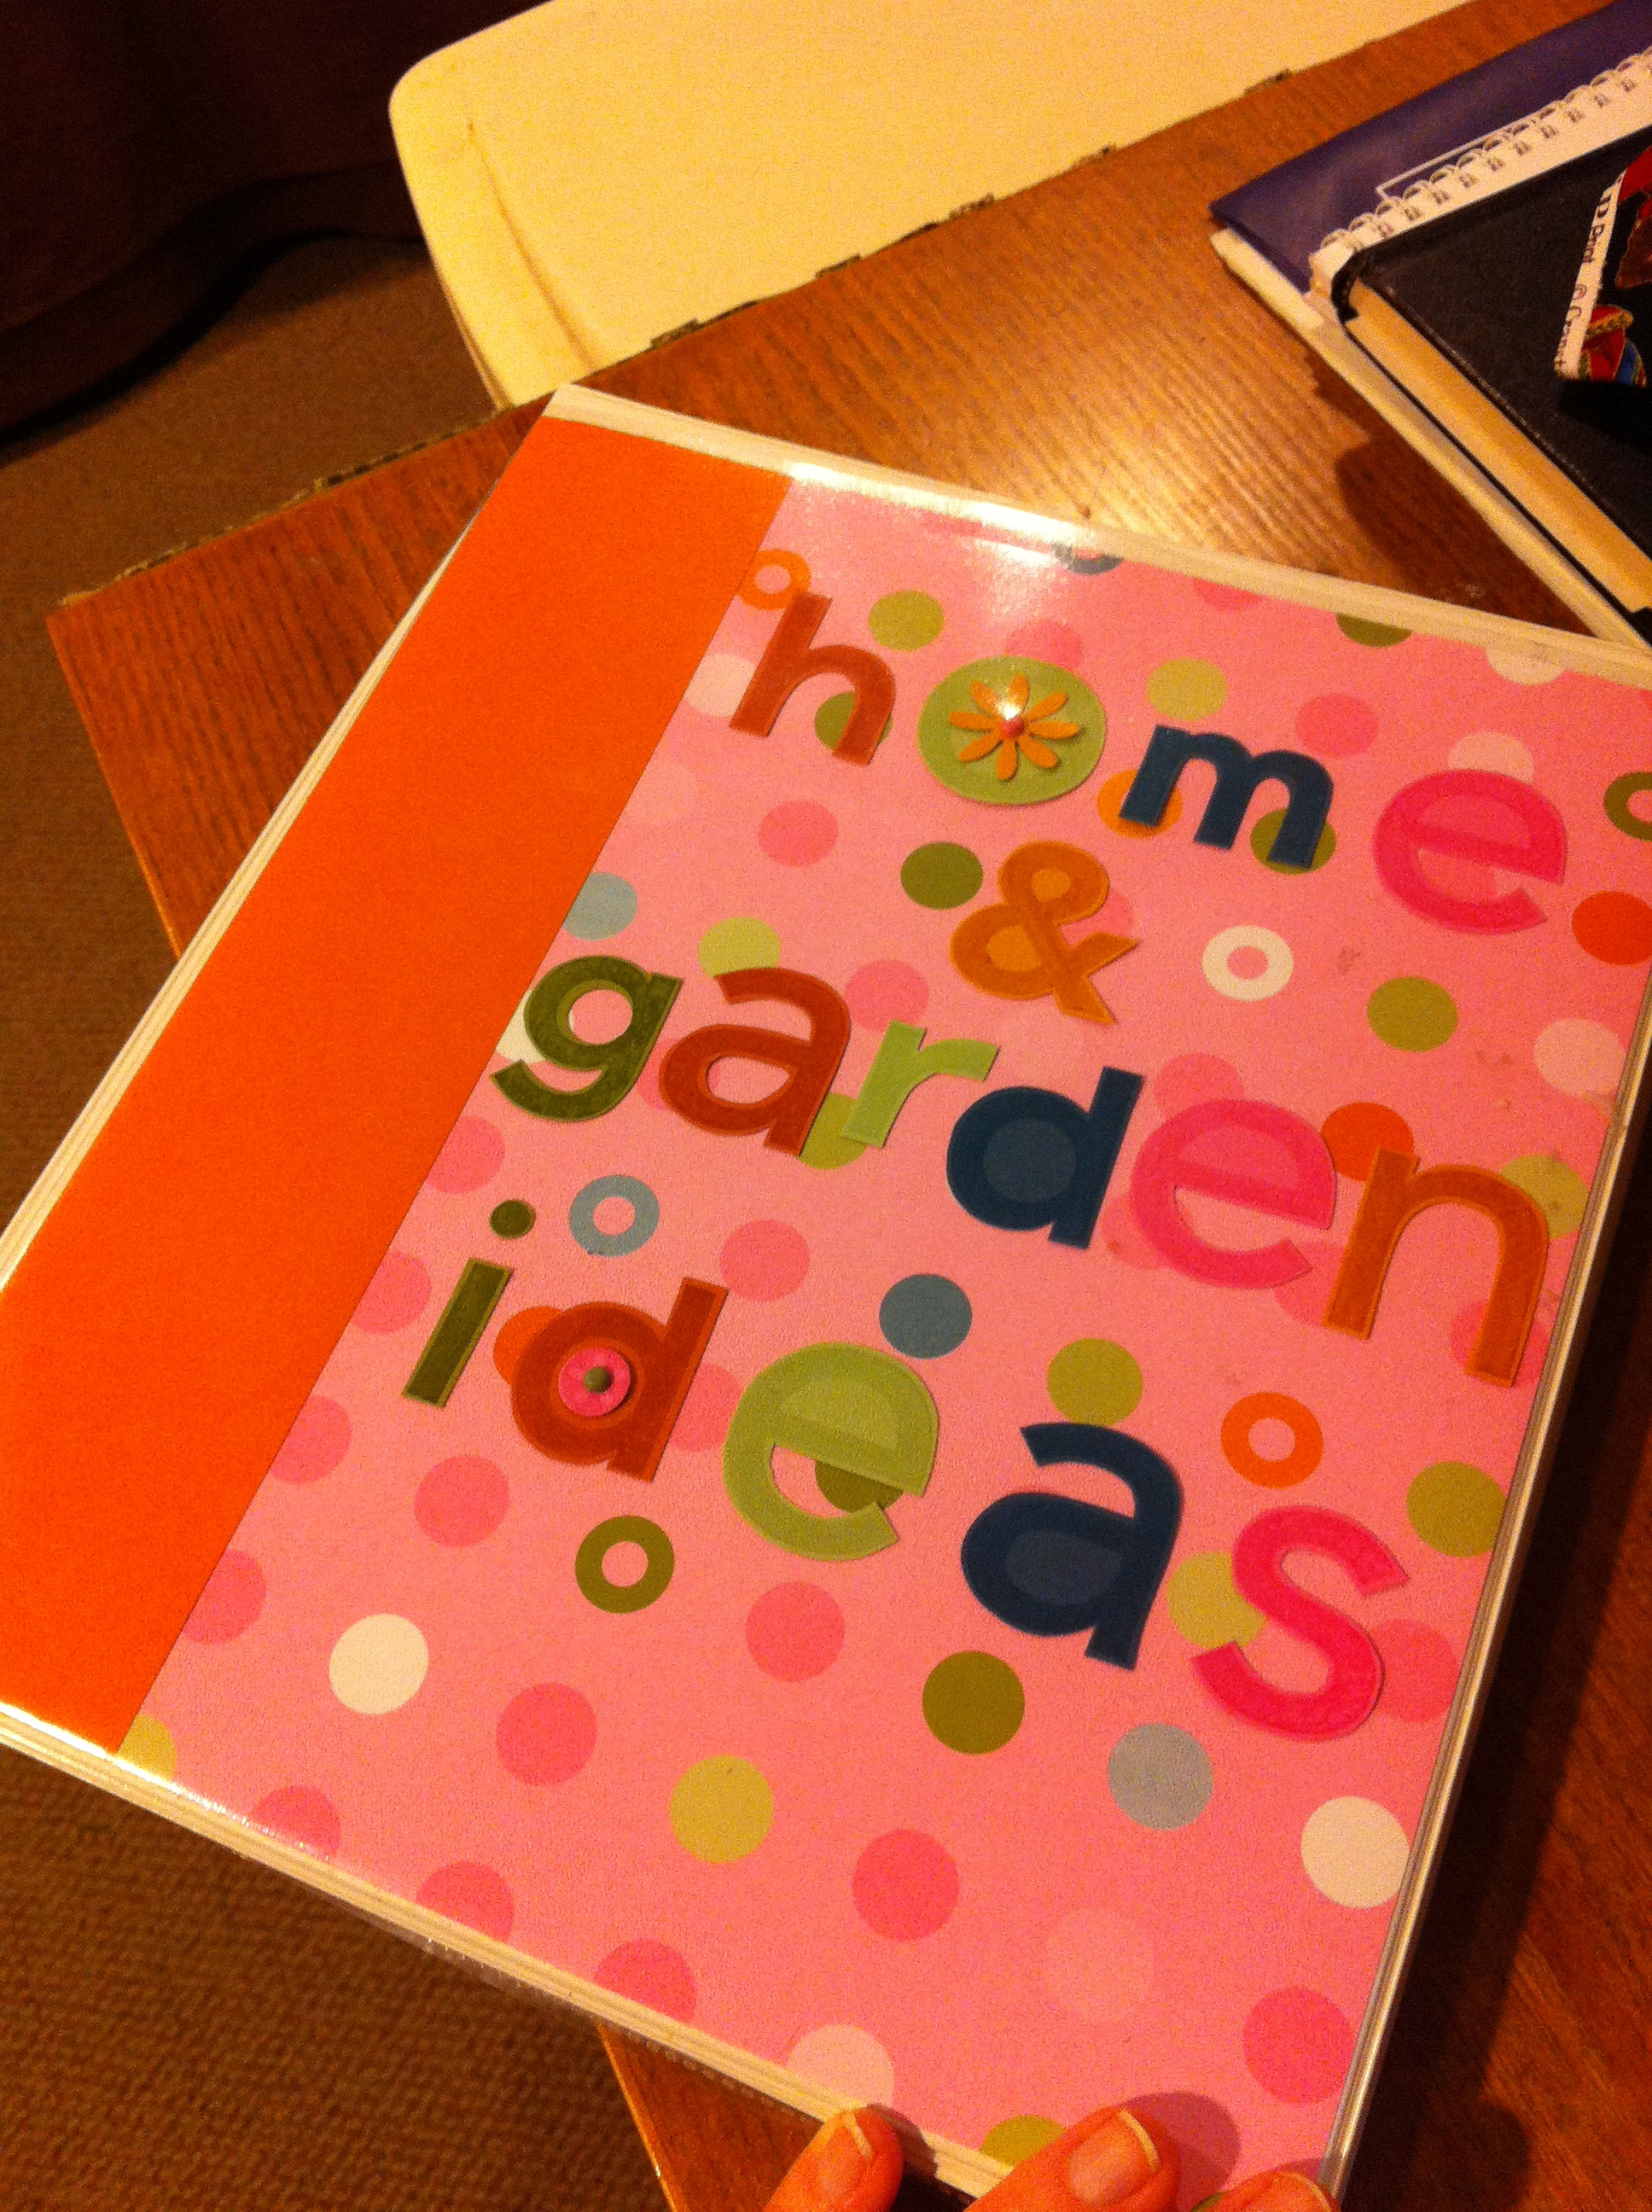
I know, you have two questions: when do I have time? (I won't answer that) and how do I come up with these things? (I will answer that!) This particular idea came from The Binder. It holds all the cool ideas I find in mags like Martha Stewart Living and Real Simple, most of which I'll never end up doing, but it's nice to know they're there. 

One of the things I've actually done is this peppermint stripe soap. Panda gave them as teacher gifts one year, and this year it's Redman's turn to make them.

The materials are readily available at any craft store: head toward the section for candlemaking, the soap stuff is usually right next door. You will need:

  • A pack of white glycerine soap
  • A pack of clear glycerine soap
  • Peppermint soap fragrance OR peppermint essential oil. Essential oil you will probably need to get at a health food store, but may be worth the extra trip for you because its fragrance is superior to the synthetic soap stuff.
  • Red and white soap coloring. Red food coloring also works. The white is NOT necessary, it's just that the red layers tend to bleed into the white ones, so I like to give the white a little boost.
  • 2 cheap microwave safe measuring cups
  • 2 mini-loaf pans
  • Popsicle sticks or wooden skewers for stirring
  • A spray bottle filled with rubbing alcohol

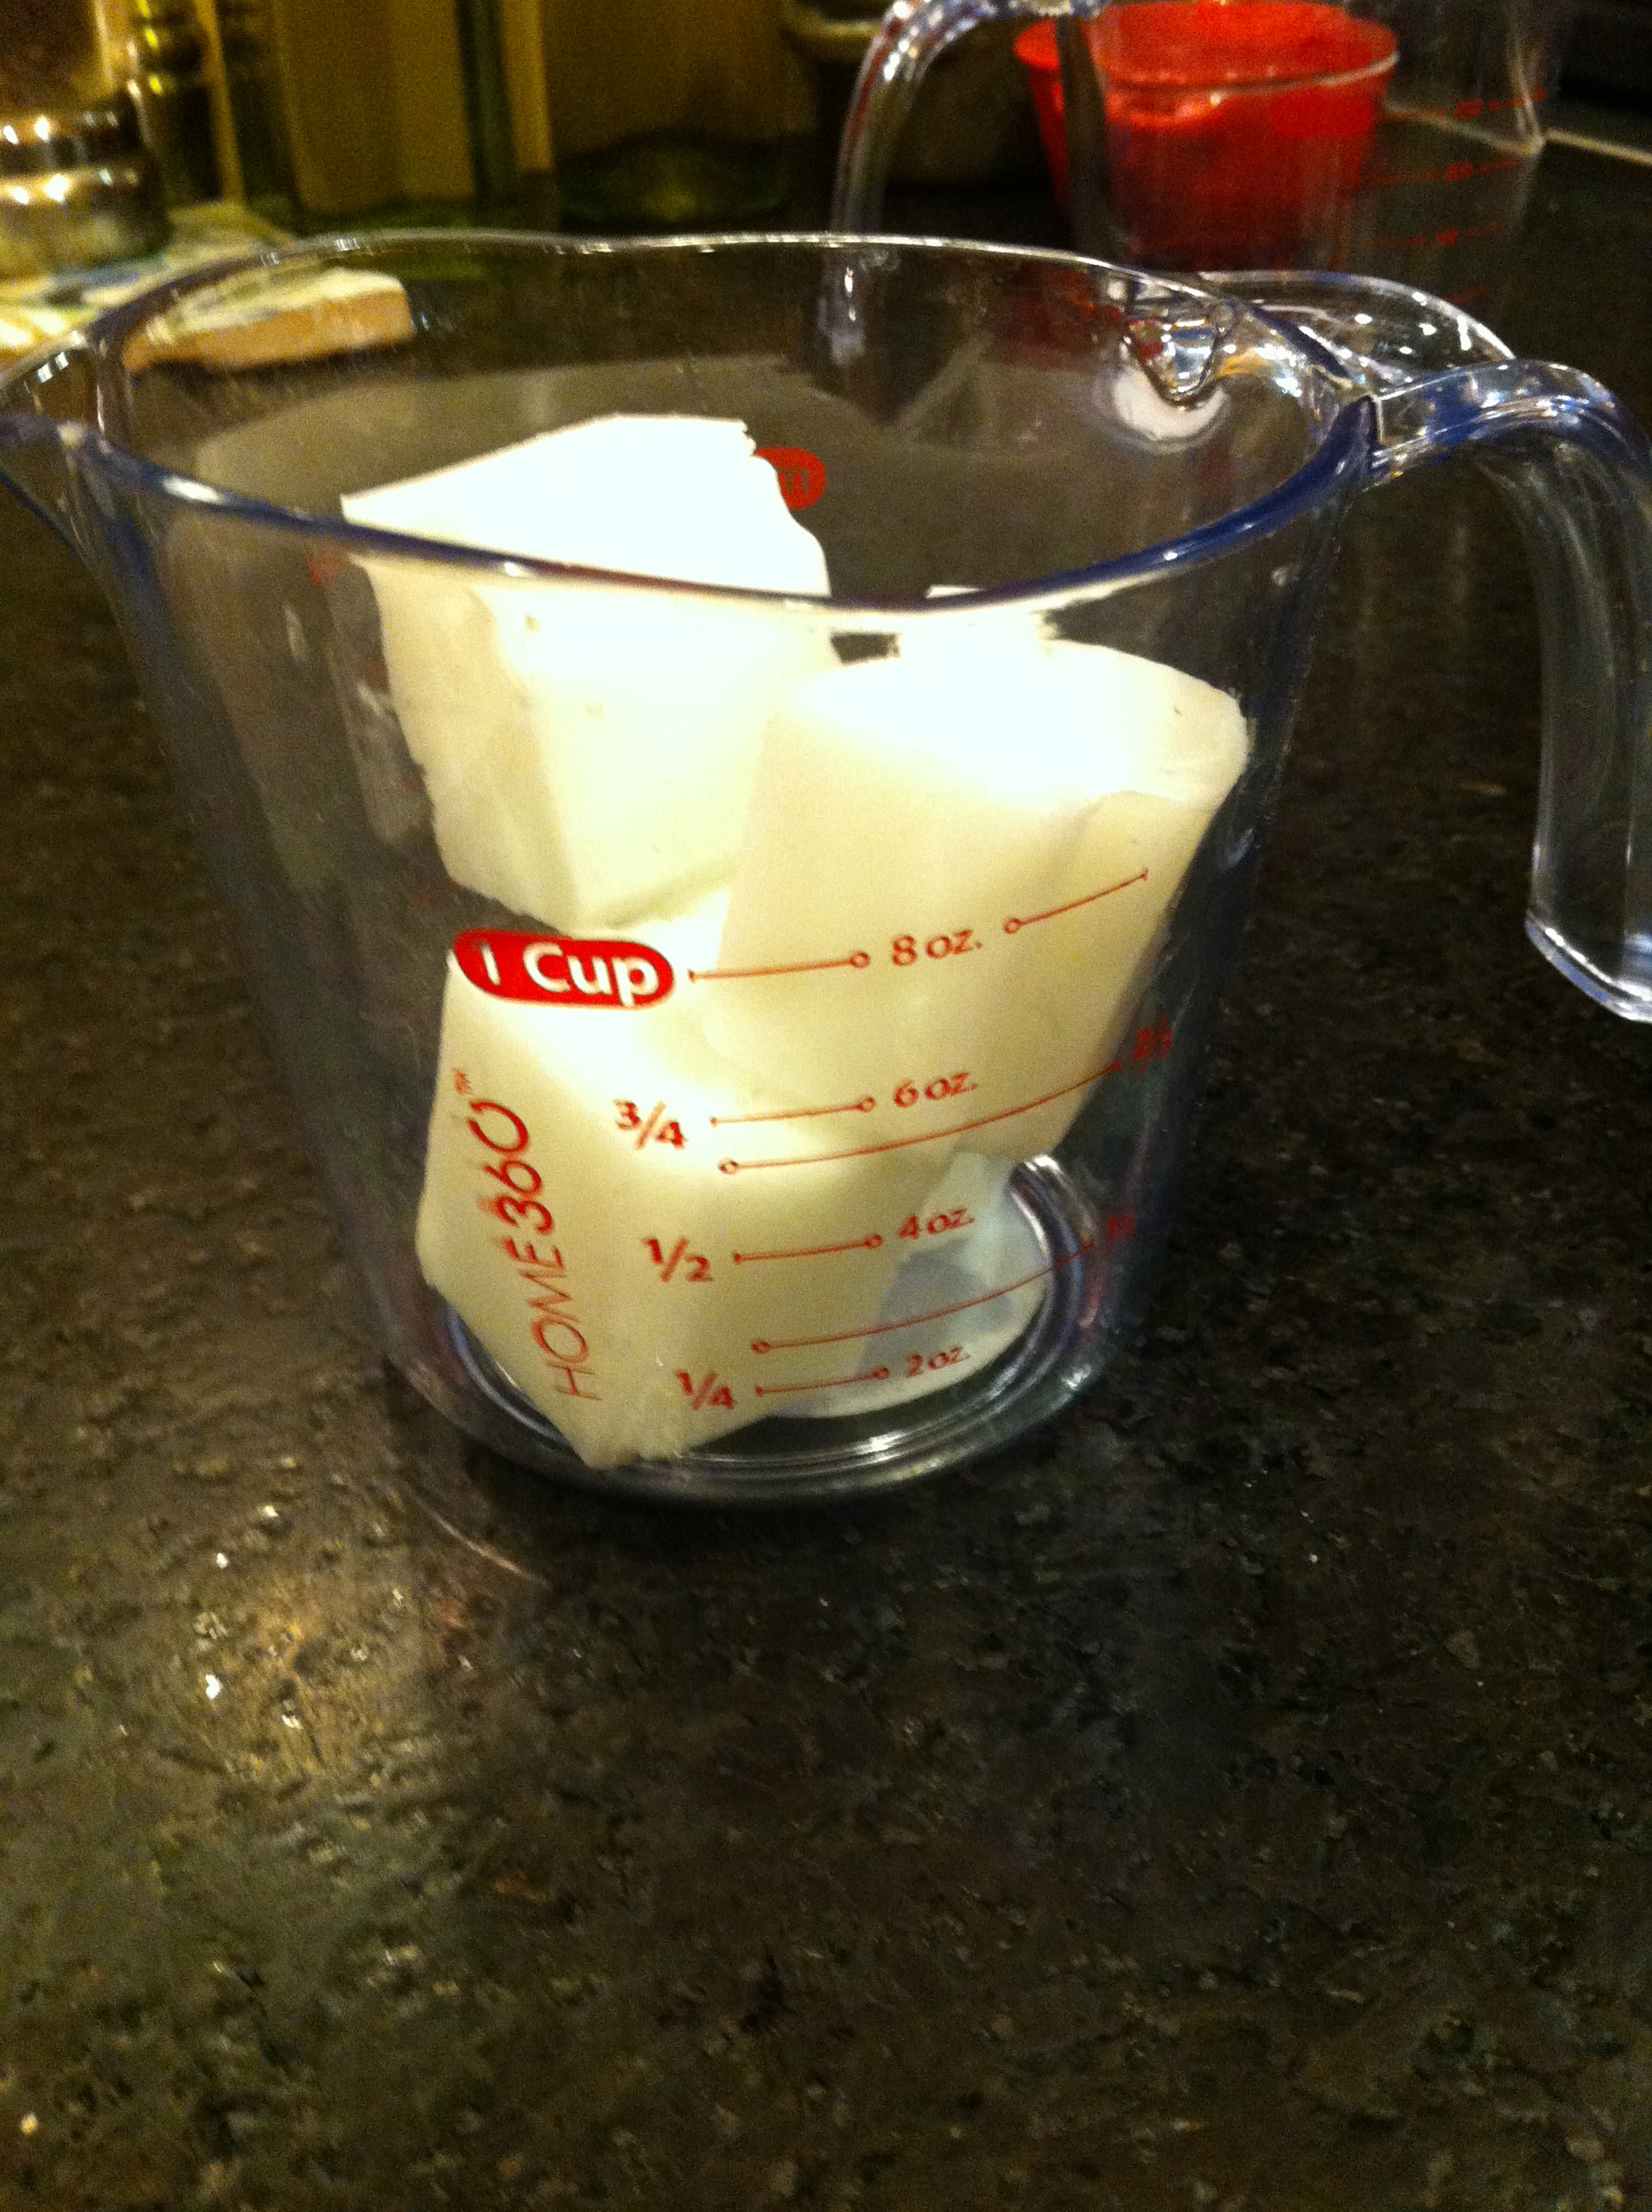
You will need 1/4 cup glycerine for each layer of soap. The glycerine usually comes pre-scored and through trial-and-error we found that 3 squares = 1/4 cup.

Cut 3 squares of white glycerine into smaller pieces, place in measuring cup and microwave at 20 second intervals until completely melted.

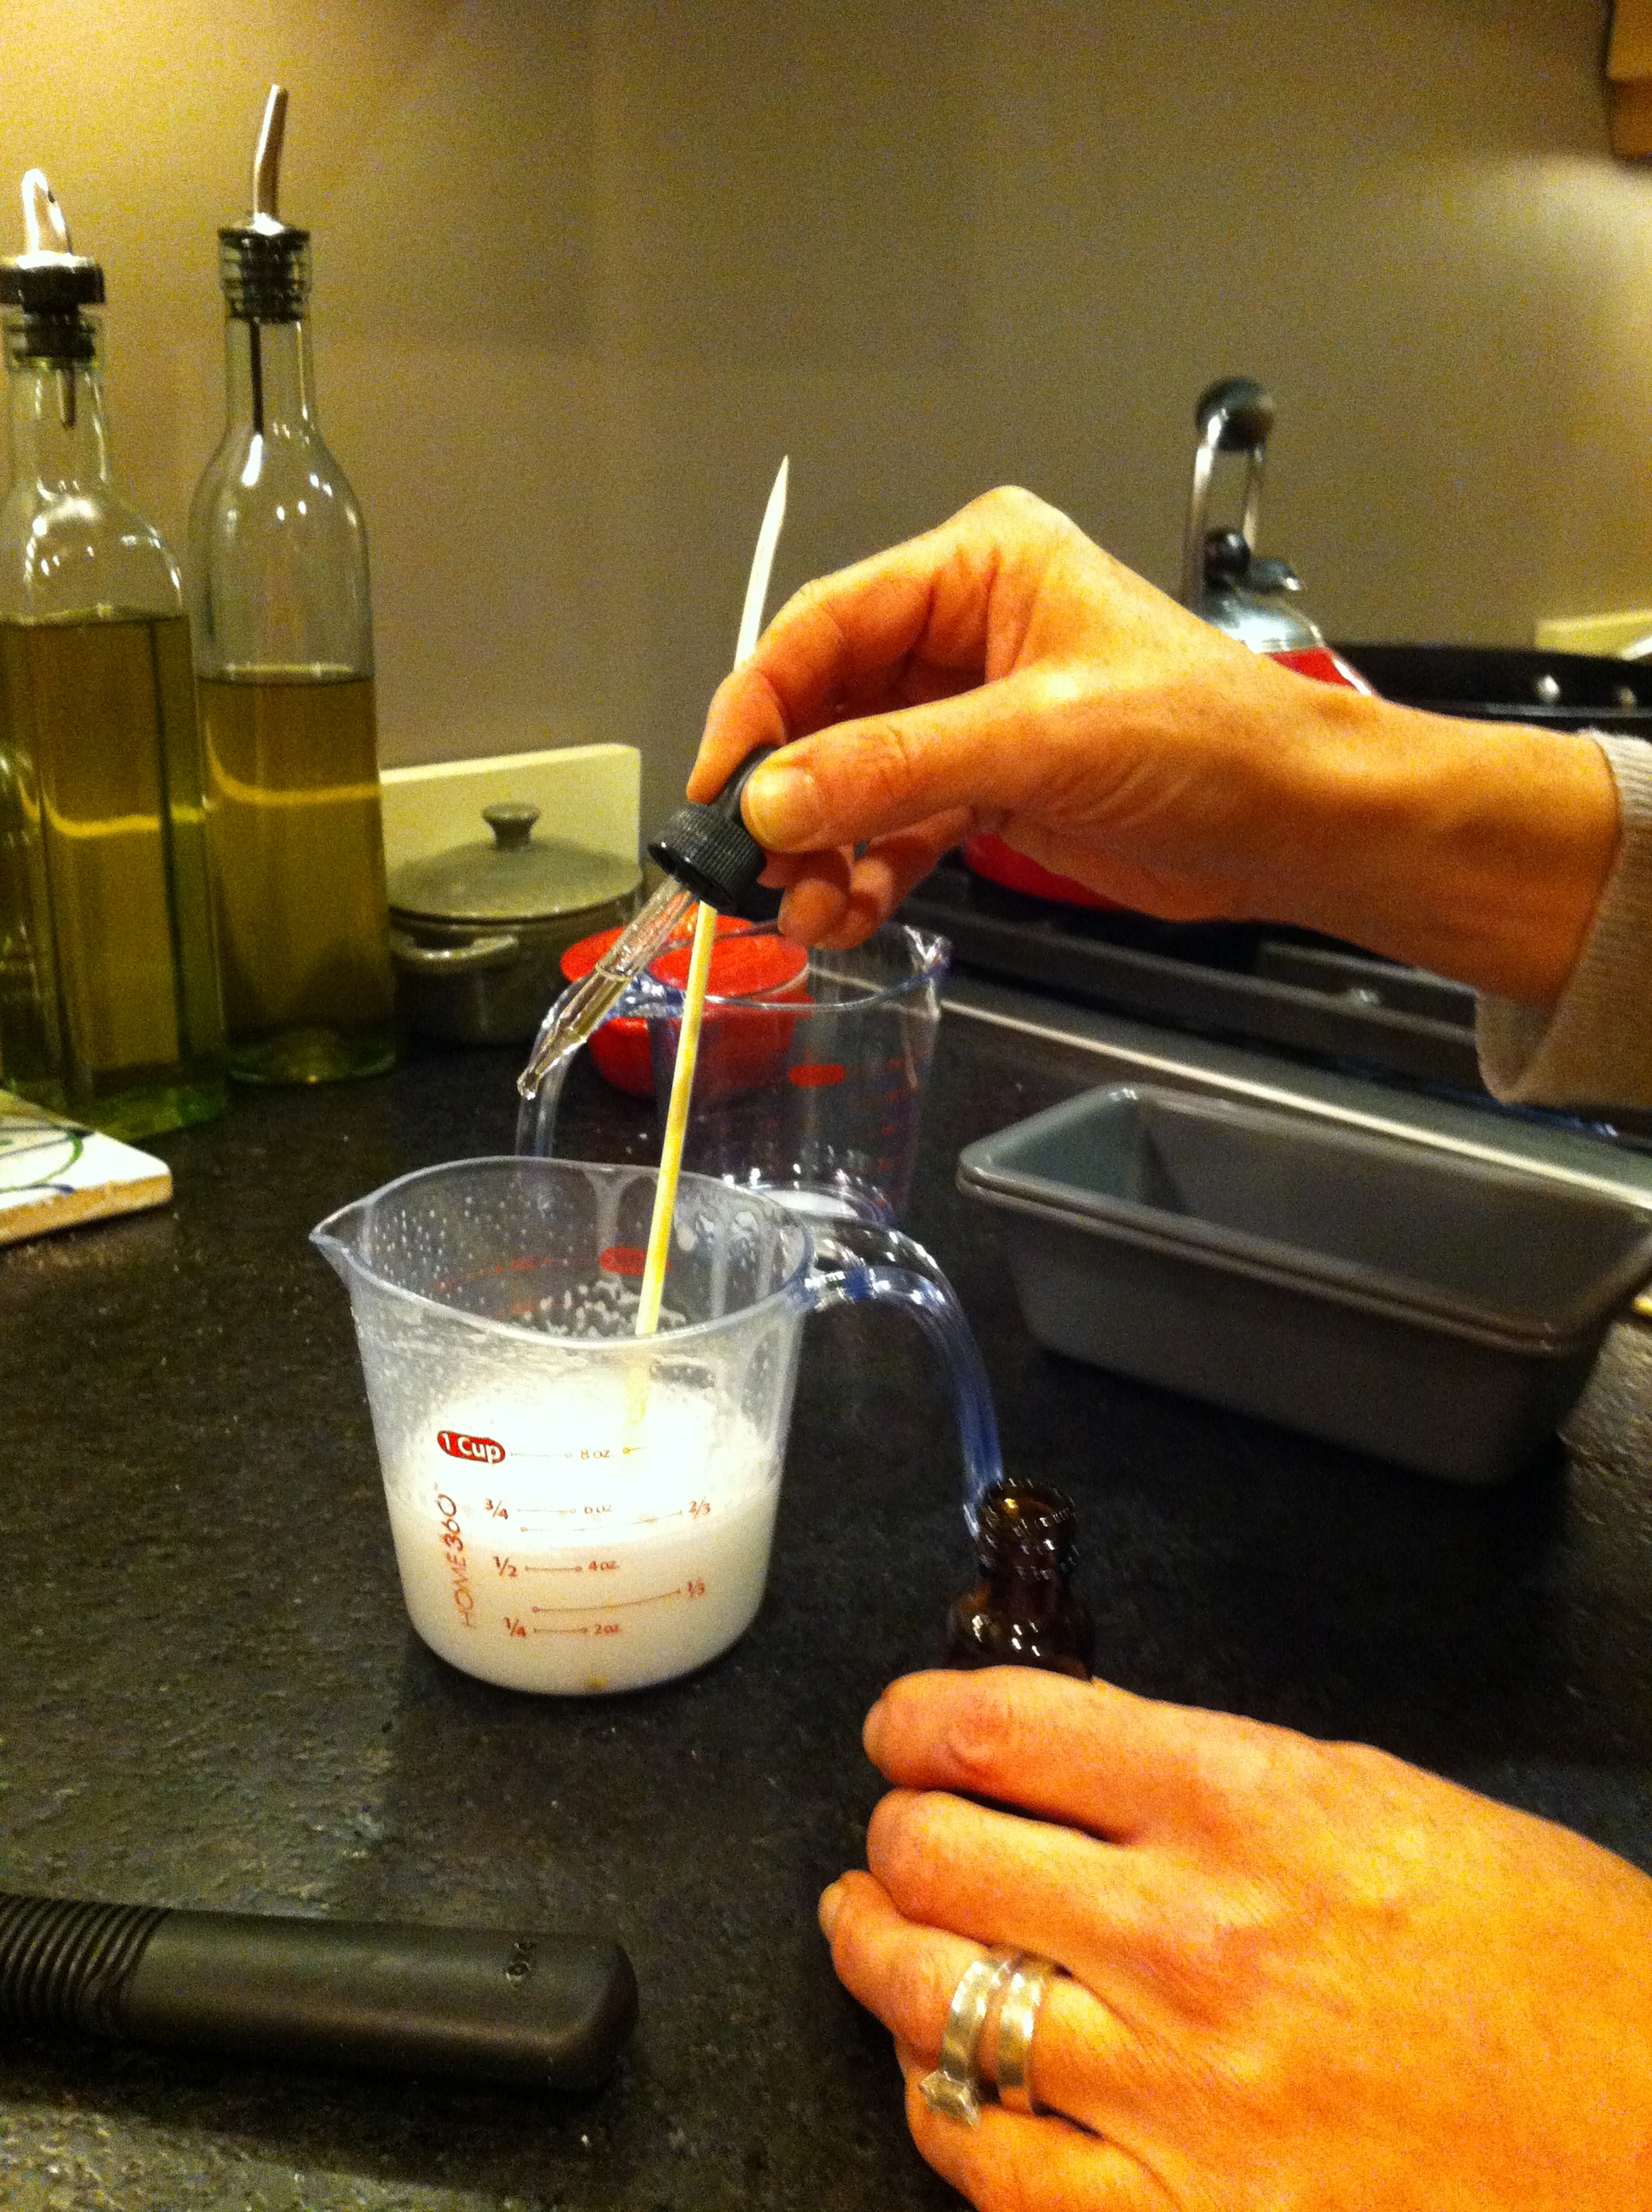
Add about 20 drops of synthetic fragrance to melted glycerine and stir. If using essential oil, add 5 drops at a time until you get the level of scent you want. Remember every white layer will have fragrance added so less is more.

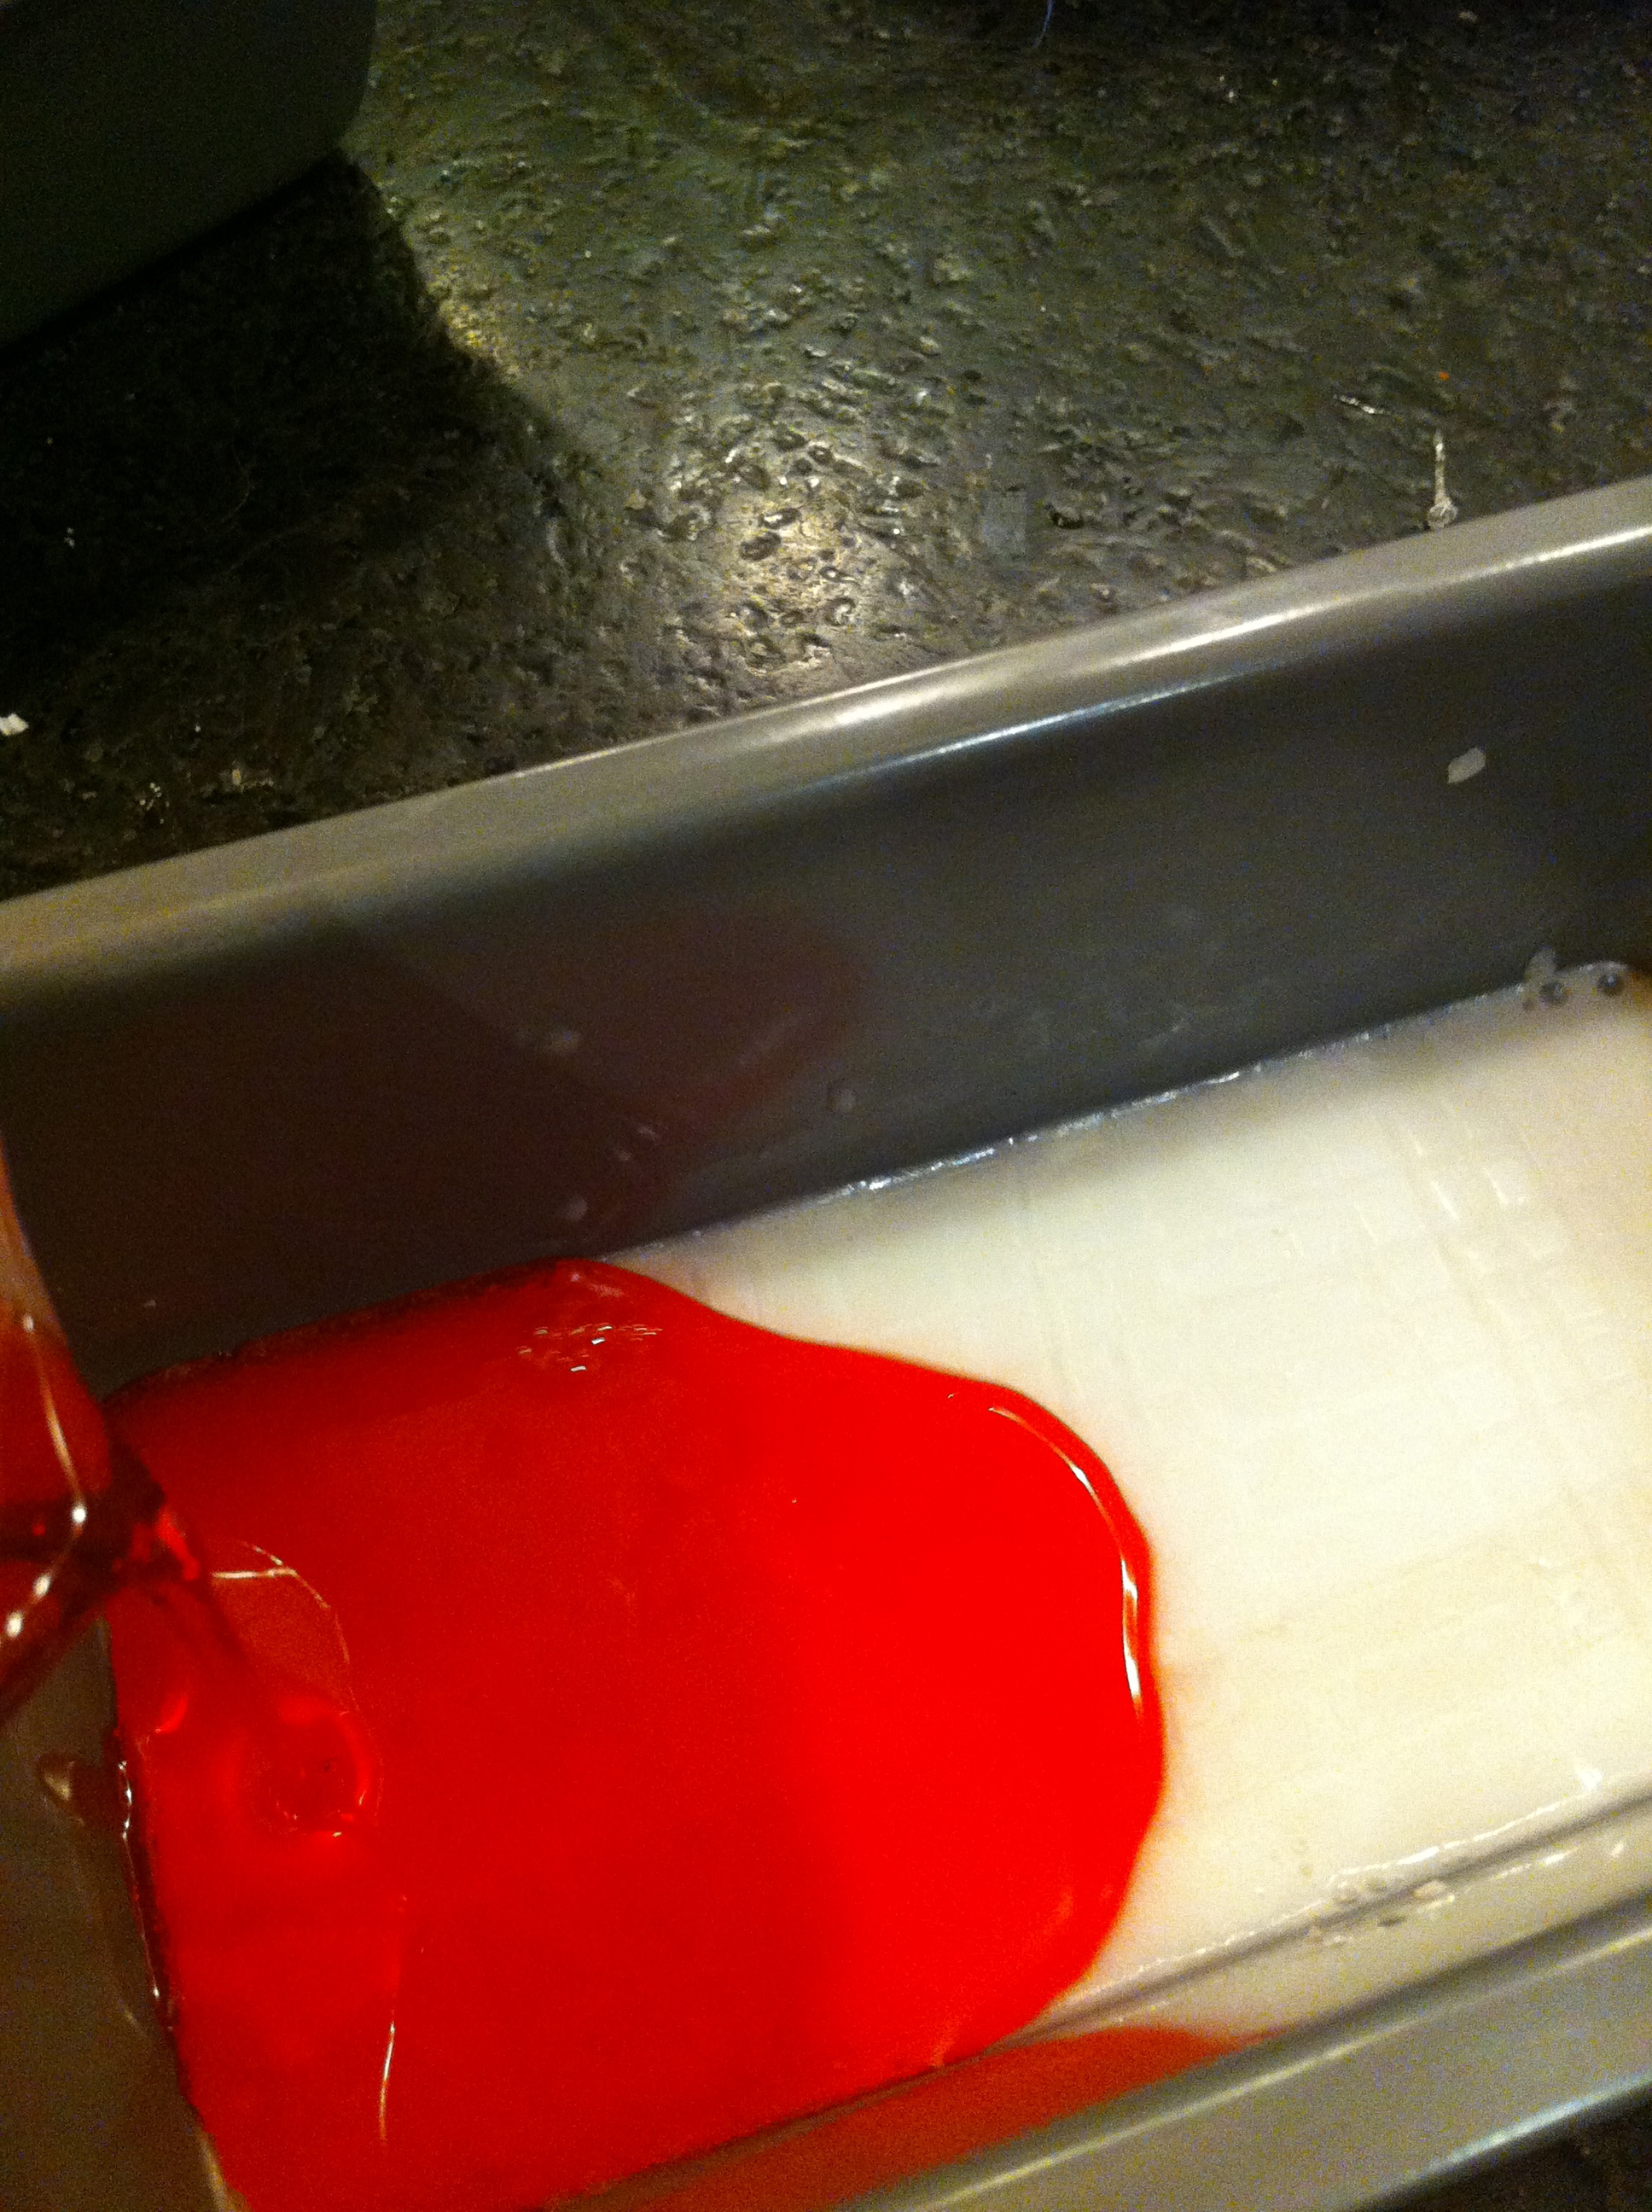
Pour white soap slowly into one loaf pan—the slow pour avoids bubbles. Cut off another 3 squares of white, repeat process to fill other loaf pan. Let pans sit about 15 minutes to set.

Take a fork and score the surface of the white layer, lengthwise and crossways. Pick out all the little scraps of white, then spray the scored surface with rubbing alcohol. This process helps the layers adhere. 

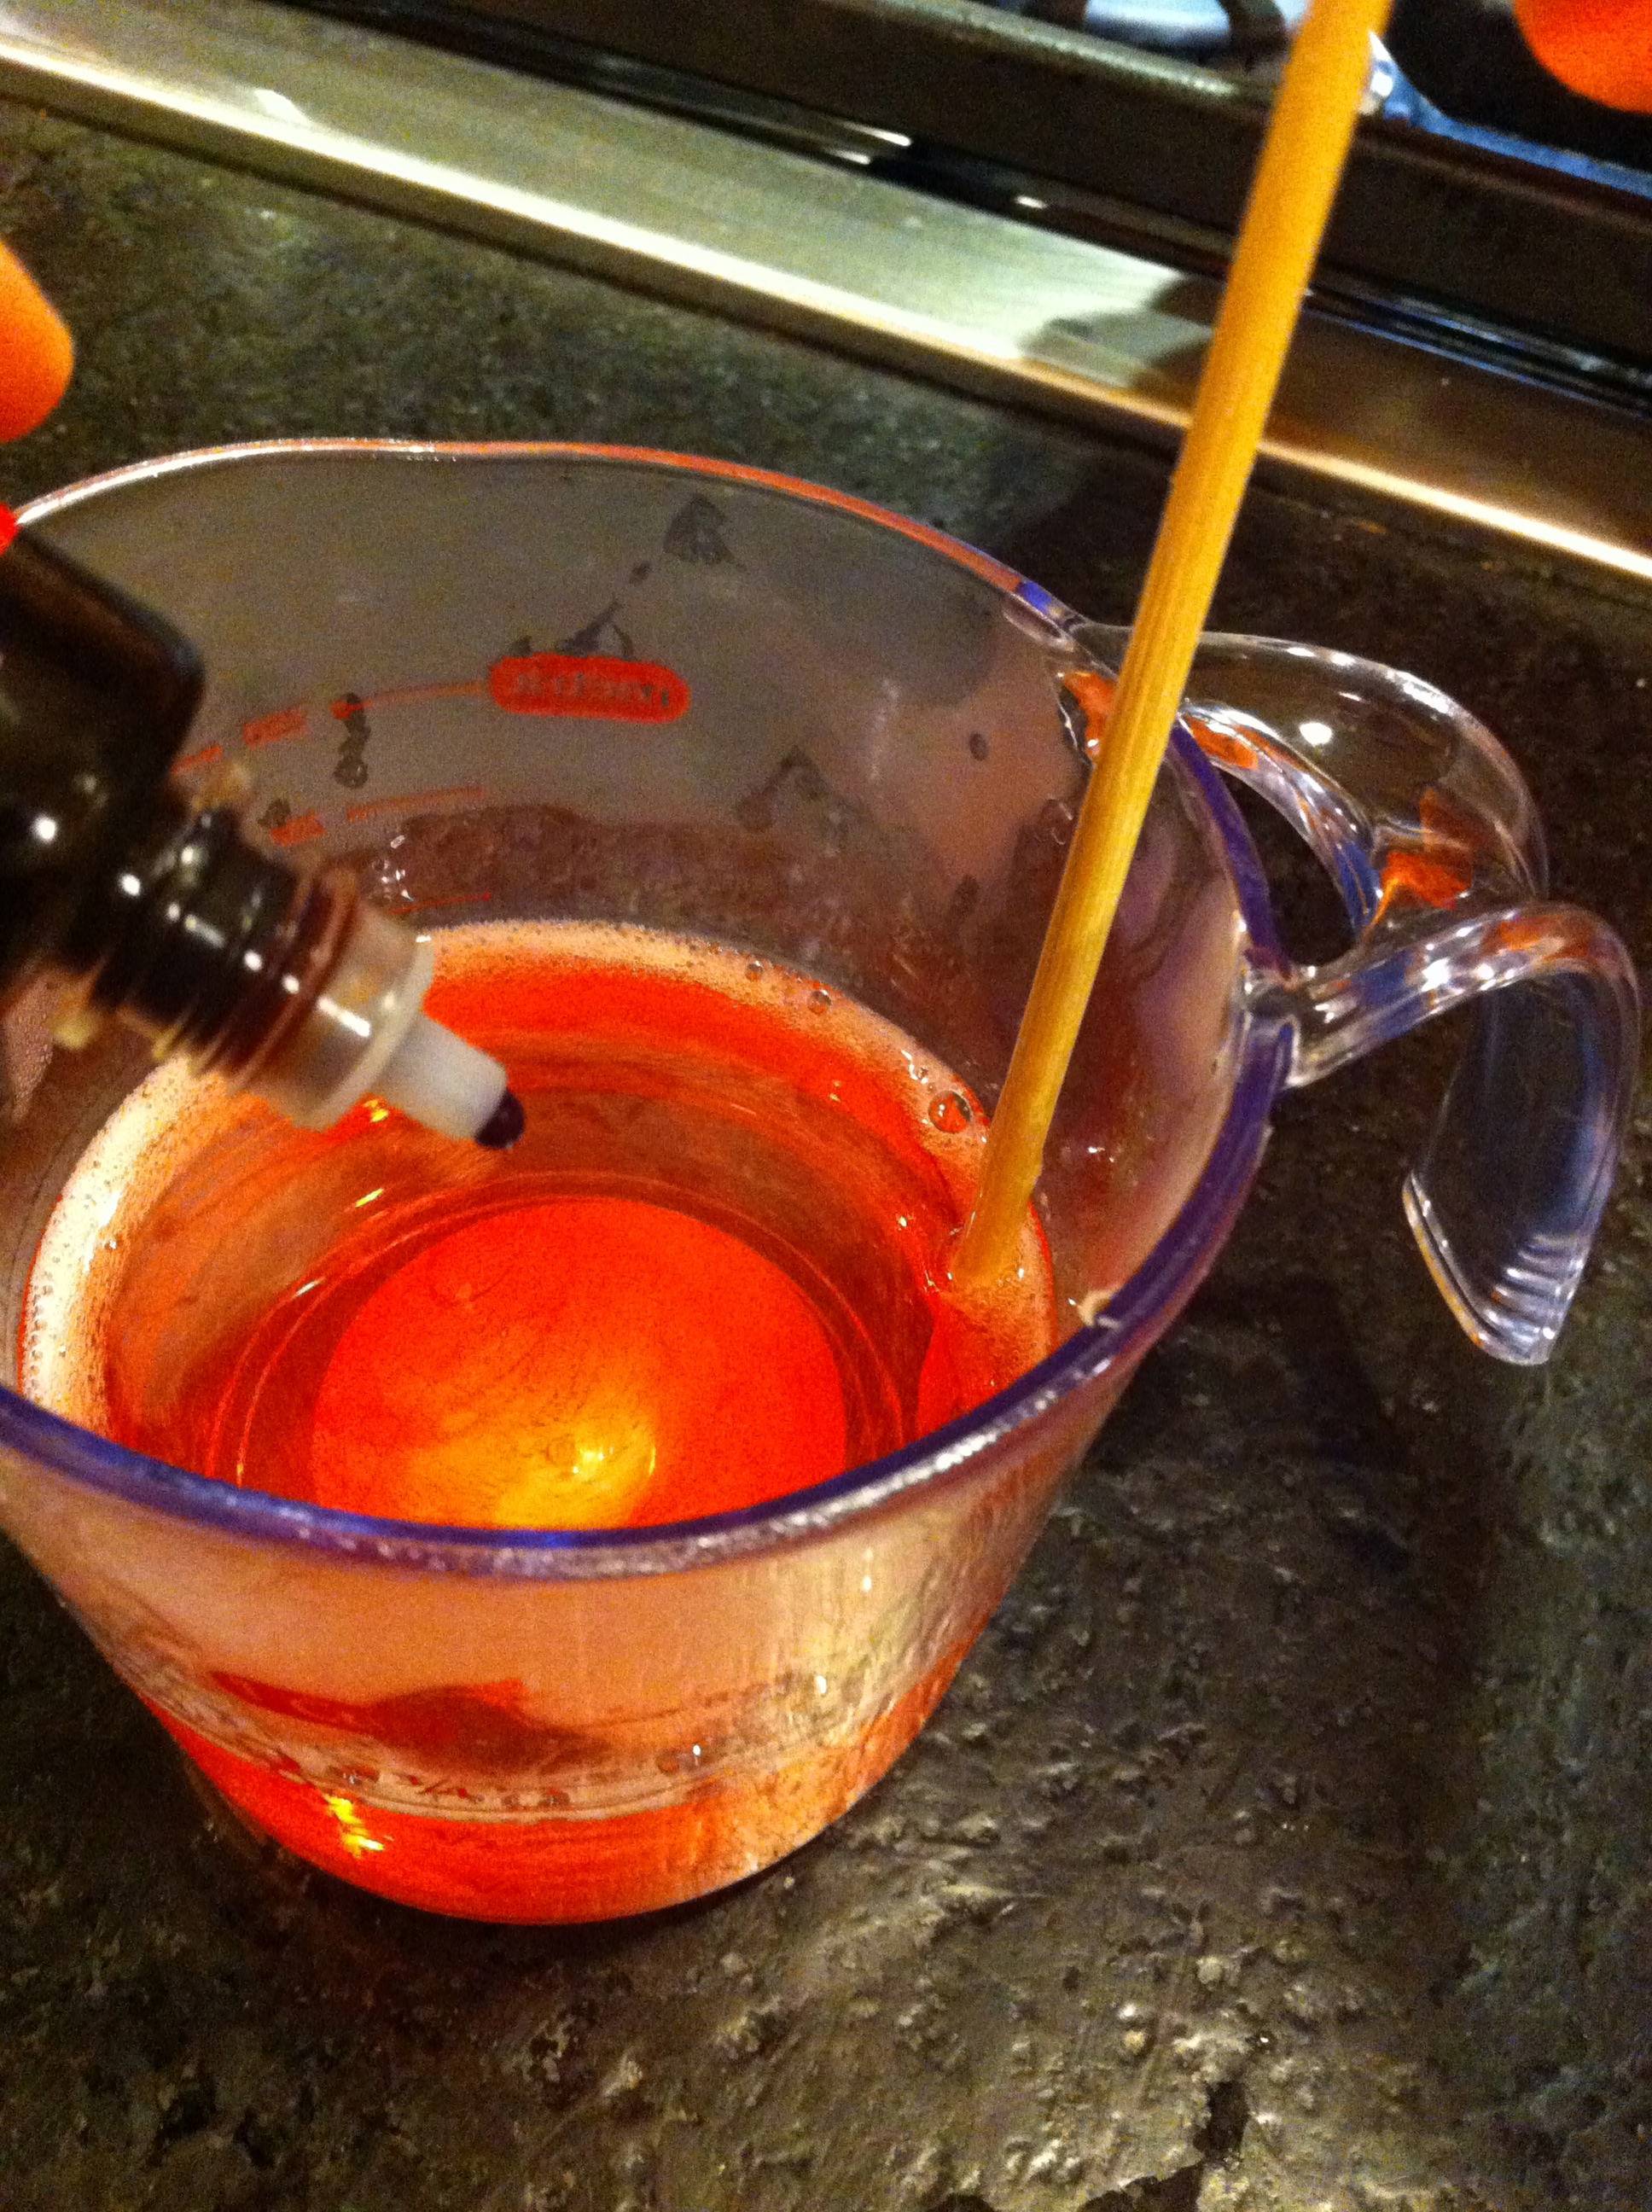
Cut off 3 squares of clear glycerine and melt in microwave. Add red food coloring and stir until it's the shade you want. Pour slowly on top of white layer in one loaf pan. Melt another 3 squares, color, stir and pour into other pan.

Again, let sit for at least 20 minutes. Before adding the next white layer, score with a fork, tap out the shreds and spray with alcohol.

And so repeat, alternating red and white until the pan is filled. Let sit for at least 4 hours, preferably overnight, in a cool place.

The soap will release easily from the pan if you put it in the freezer for 20 minutes. Hold the pan upside down, pull away the sides, press on the bottom with your thumbs, it should come right out. If it doesn't, I don't know you, this conversation never happened.

Let the soaps come back to room temperature. With a sharp knife, cut the soap into slices, slide into cellophane bags. Martha says to tie with bakery string but I don't know where you procure that. Just tie with whatever you have, make some kind of label and be sure to tout the fact that this is a HANDMADE GIFT.

Store soaps in a cool, dry place until ready to bequeath to someone you love.

You rock. How do you think of these things?

Christmas Crafts: Felt Tree Garland

I really do try to keep the Christmas Crafting in check, otherwise I end up with more doodads than I have places to put them. But this year we're moving some Christmas to the TV room downstairs, which goes hand-in-hand with a massive hauling out of old toys and junk, and surgery on our chimney so that maybe, finally, we can build a fire in the fireplace without filling the house with smoke. And suddenly there is a mantelpiece in need of its own little bit of holiday decor. Weird how that happens.

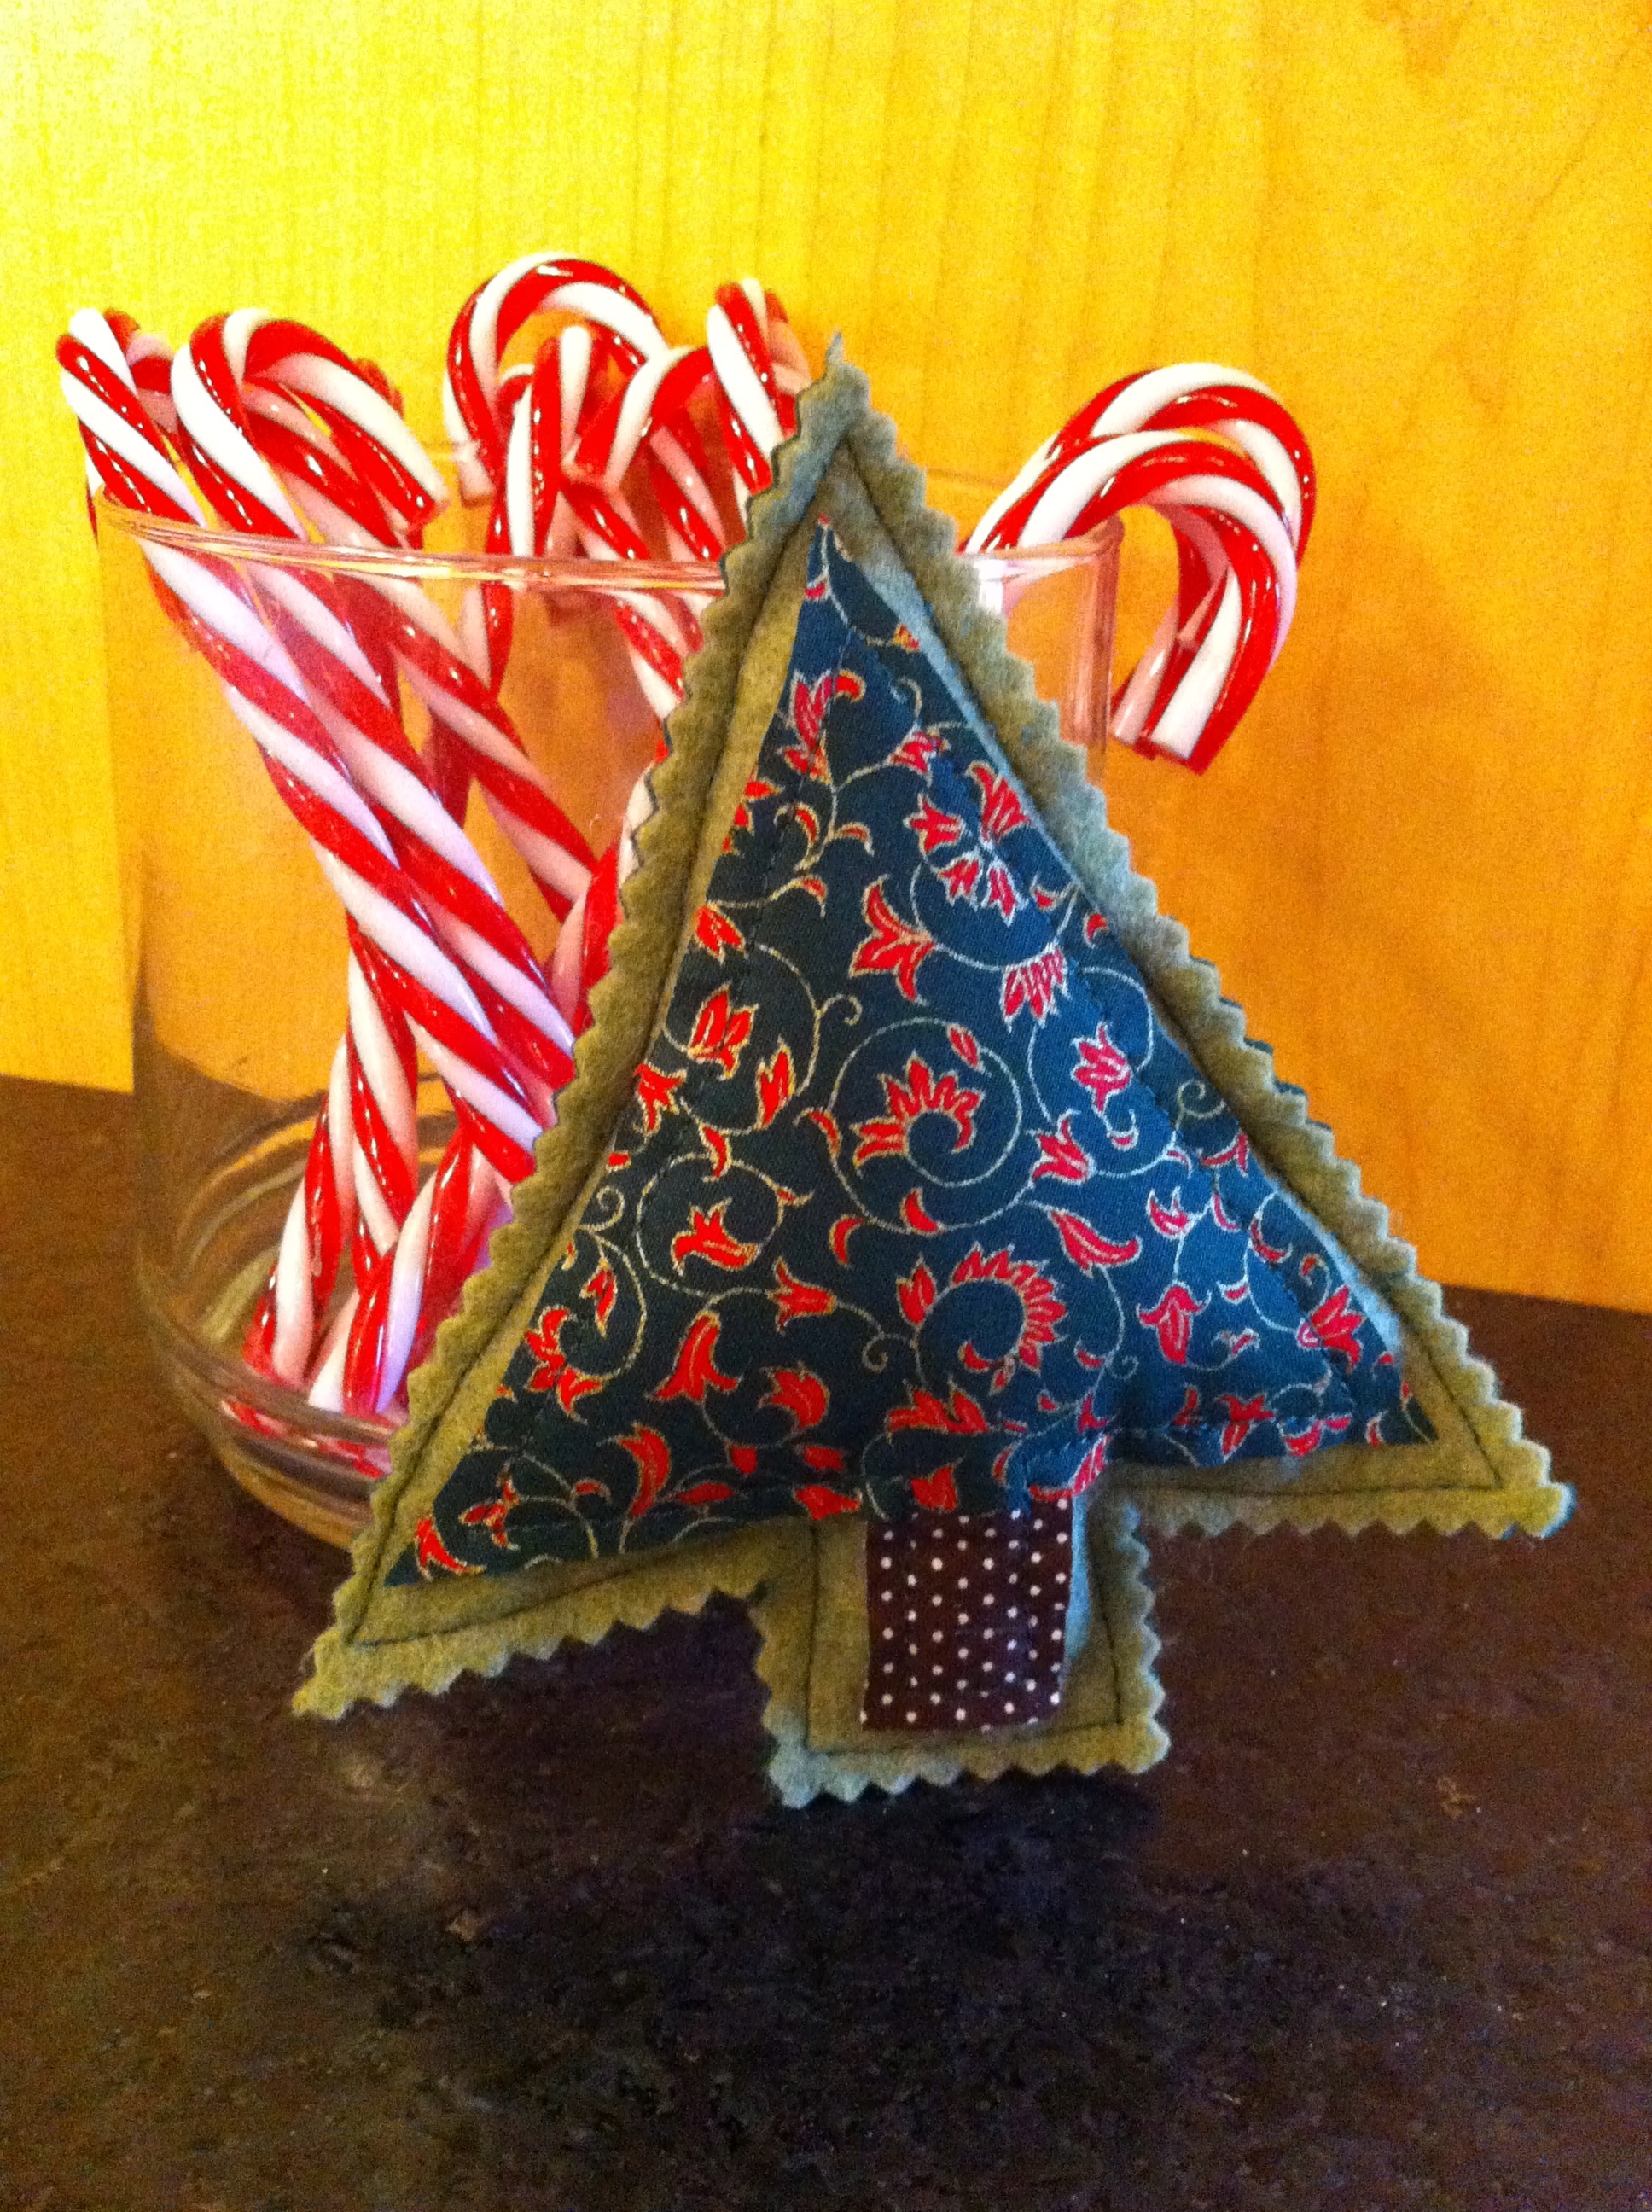
I found this tutorial at Noodlehead.com for a really adorable garland of felt trees that requires not much more than brown and green felt, and scrap holiday material. It doesn't even have to be holiday-themed. She used Liberty prints which were perfectly adorable.

This was a 2.5-evening project over the holiday weekend: Friday evening I cut out all the trees (you need 2 pieces of felt and one piece of fabric for each). Saturday evening I sewed and stuffed. Sunday afternoon I put it together. And I love it.

You can make the garland, or make each tree into a hanging or standing ornament. These are super easy, a great project for first-time sewers of all ages, and the garland looks nice anywhere you hang it.

Panda's Pot Pourri

Another from the Department of I've Been Wanting to Do This for Years. Panda, as I may have mentioned, has a rather keen sense of smell. There cannot be enough perfume, body spray, hand lotion and so forth for her to sniff out. Give this kid a gift card to Bath & Body Works and she's in Heaven.

Lavender is high on her list of favorite scents, and I planted quite a lot of it this year. With the roses in full swing, I thought we could try making some pot pourri.

The technique of drying flowers runs the gamut from hanging them upside down and air-drying, to using the dehydration setting of one's oven, if one's oven has such a setting. Mine does (smug smile). But in high-80's heat with humidity, I don't relish running the oven if I don't have to. Can you dry flowers in the microwave?

Quick consult of the Oracle of Google. Yes, you can.

Come, child, into the garden so that we may collect items of sweet scent.  Here's what we came back with:

Clockwise from top: rosebuds (Zepherine Drouhin, as they have the most scent) to keep as buds; lavender; lemon verbena leaves; carnations; roses to dry as petals only, and hiding behind them is a pile of geranium leaves.

Put some paper towels on a plate.  Working in batches, spread the petals in a single layer. Microwave a minute, to a minute and a half. Just keep checking on them, you'll know when it's right. Repeat with all the petals and leaves. We even nuked the rosebuds a couple minutes, but we left the lavender buds and leaves as they were.

Get a small, clean jar with a lid (I emptied out one of my button jars), and start building layers: some petals, some leaves, some lavender, a bud. Petals, leaves, lavender, buds. Until all is used. For fun we added one clove and one cardamom pod. You could also add pieces of cinnamon stick, a vanilla bean, or a drop or two of essential oil. Store the jar in a dark place with the lid just resting on, and every day open the jar and give the contents a shake until completely dry. Then use as desired. Panda wants to fill little bags and put them in her drawers.

Make sure you photograph the jar of pot pourri with a bouquet of roses and a lemon, because that's what all the cool people do.

My mother did this to me...

....Which in the realm of the kitchen, is not a bad thing. There are some things which my kitchen will never lack: Knorr's chicken bouillon cubes because they save your ass in so many ways. Coconut milk because it is essential to my favorite soup and to coconut rice. Beans, because as Laurie Colwin said, a house without canned beans is a house that is not stocked for emergency. And fresh bread crumbs.

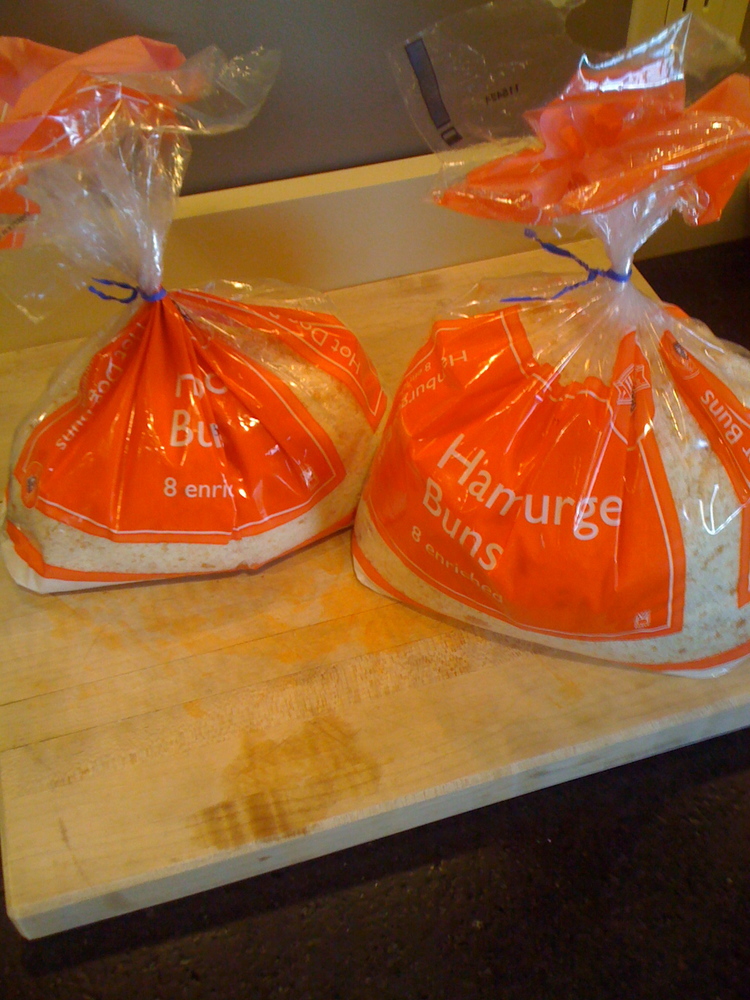
Yes, fresh bread crumbs. My mother did this to me. She taught me to make meatloaf and meatballs and breaded this-or-that and indoctrinated me into the importance of fresh bread crumbs. Therefore, once or twice a year, you will see me arrive home from the grocery store with what looks like provisions for a barbecue:

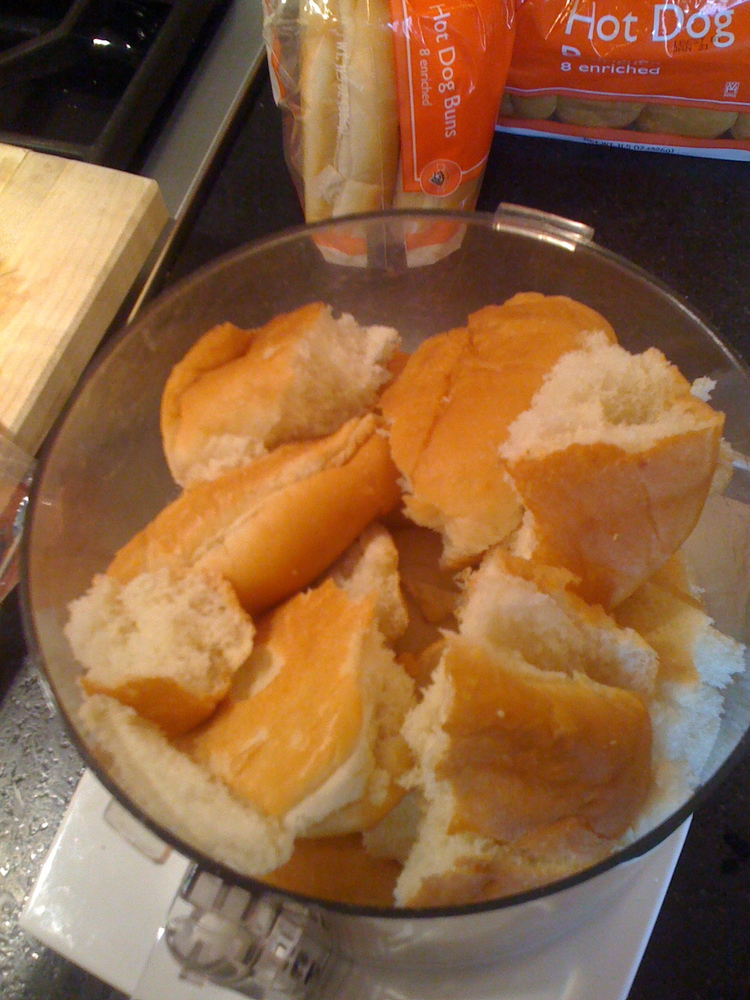
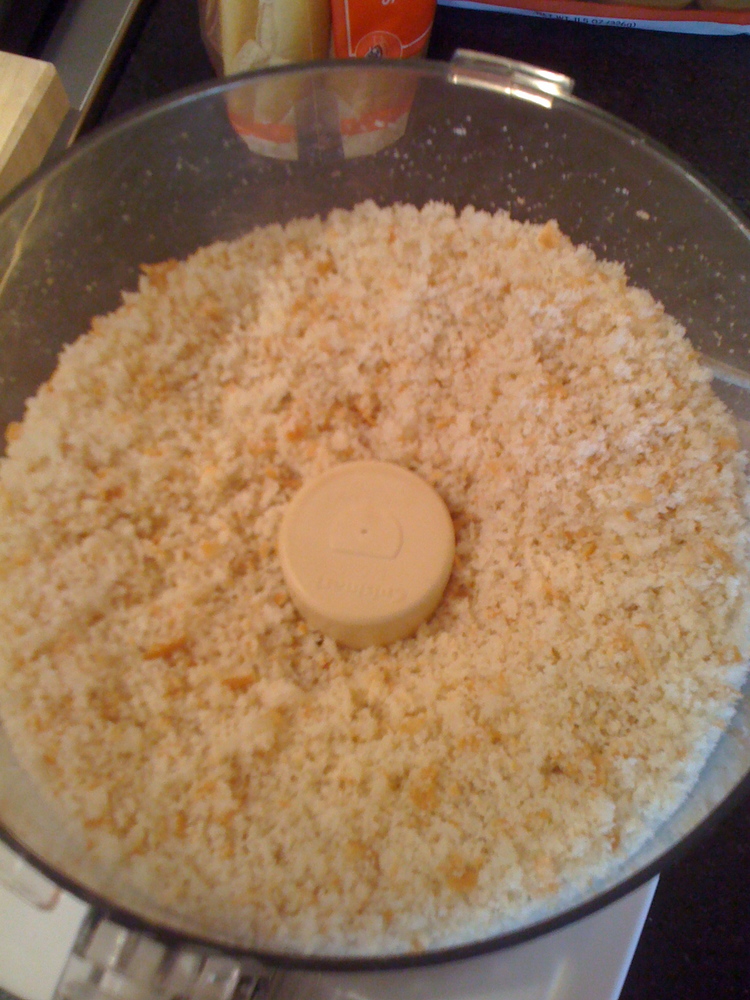
Just regular old hot dog and hamburger buns.  El cheapo.  On sale is ideal.  Into the food processor they go, and after being crumbified, right back into the bags and into the freezer.

Since this is a blog and since this is real life, I timed the entire operation as well as taking pictures. It takes eleven (11) minutes from opening the bags to putting the Cuisinart pieces into the dishwasher. Possibly less because you will not be pausing to take pictures.

Want to see what else my mother did to me? Check it out:

Know what that is? No, it's not pot, ha ha, very cute. That is fresh chopped parsley. My mother taught me to buy bunches of it, wash it, dry it, de-stem it, whirl it up in the Cuisinart, bag it and freeze it. And now, damn it, I can't be without it. I am a parsley whore. I put it in everything. The process takes much longer (it's the de-steming part, you could go crazy) but to me it's just one of those things that's worth it. Mom also taught me to chop and freeze dill but I abandoned that practice after a few years and decided dried dill was good enough for me. But scallions, surprise, freeze really well. Chop them up, throw them in a bag and next time you're making Mexican food or Black Bean Soup or anything else where you think, Damn I wish I had some scallions... You do! Grab the bag and throw them right in. Bam. You're a genius.

(Did I say parsley whore?  Really?)