2011 in review

And now a bit of self-indulgent braggery...The WordPress.com stats helper monkeys prepared a 2011 annual report for this blog.  It has pictures.

Here's an excerpt:

The concert hall at the Syndey Opera House holds 2,700 people. This blog was viewed about 11,000 times in 2011. If it were a concert at Sydney Opera House, it would take about 4 sold-out performances for that many people to see it.

Click here to see the complete report.

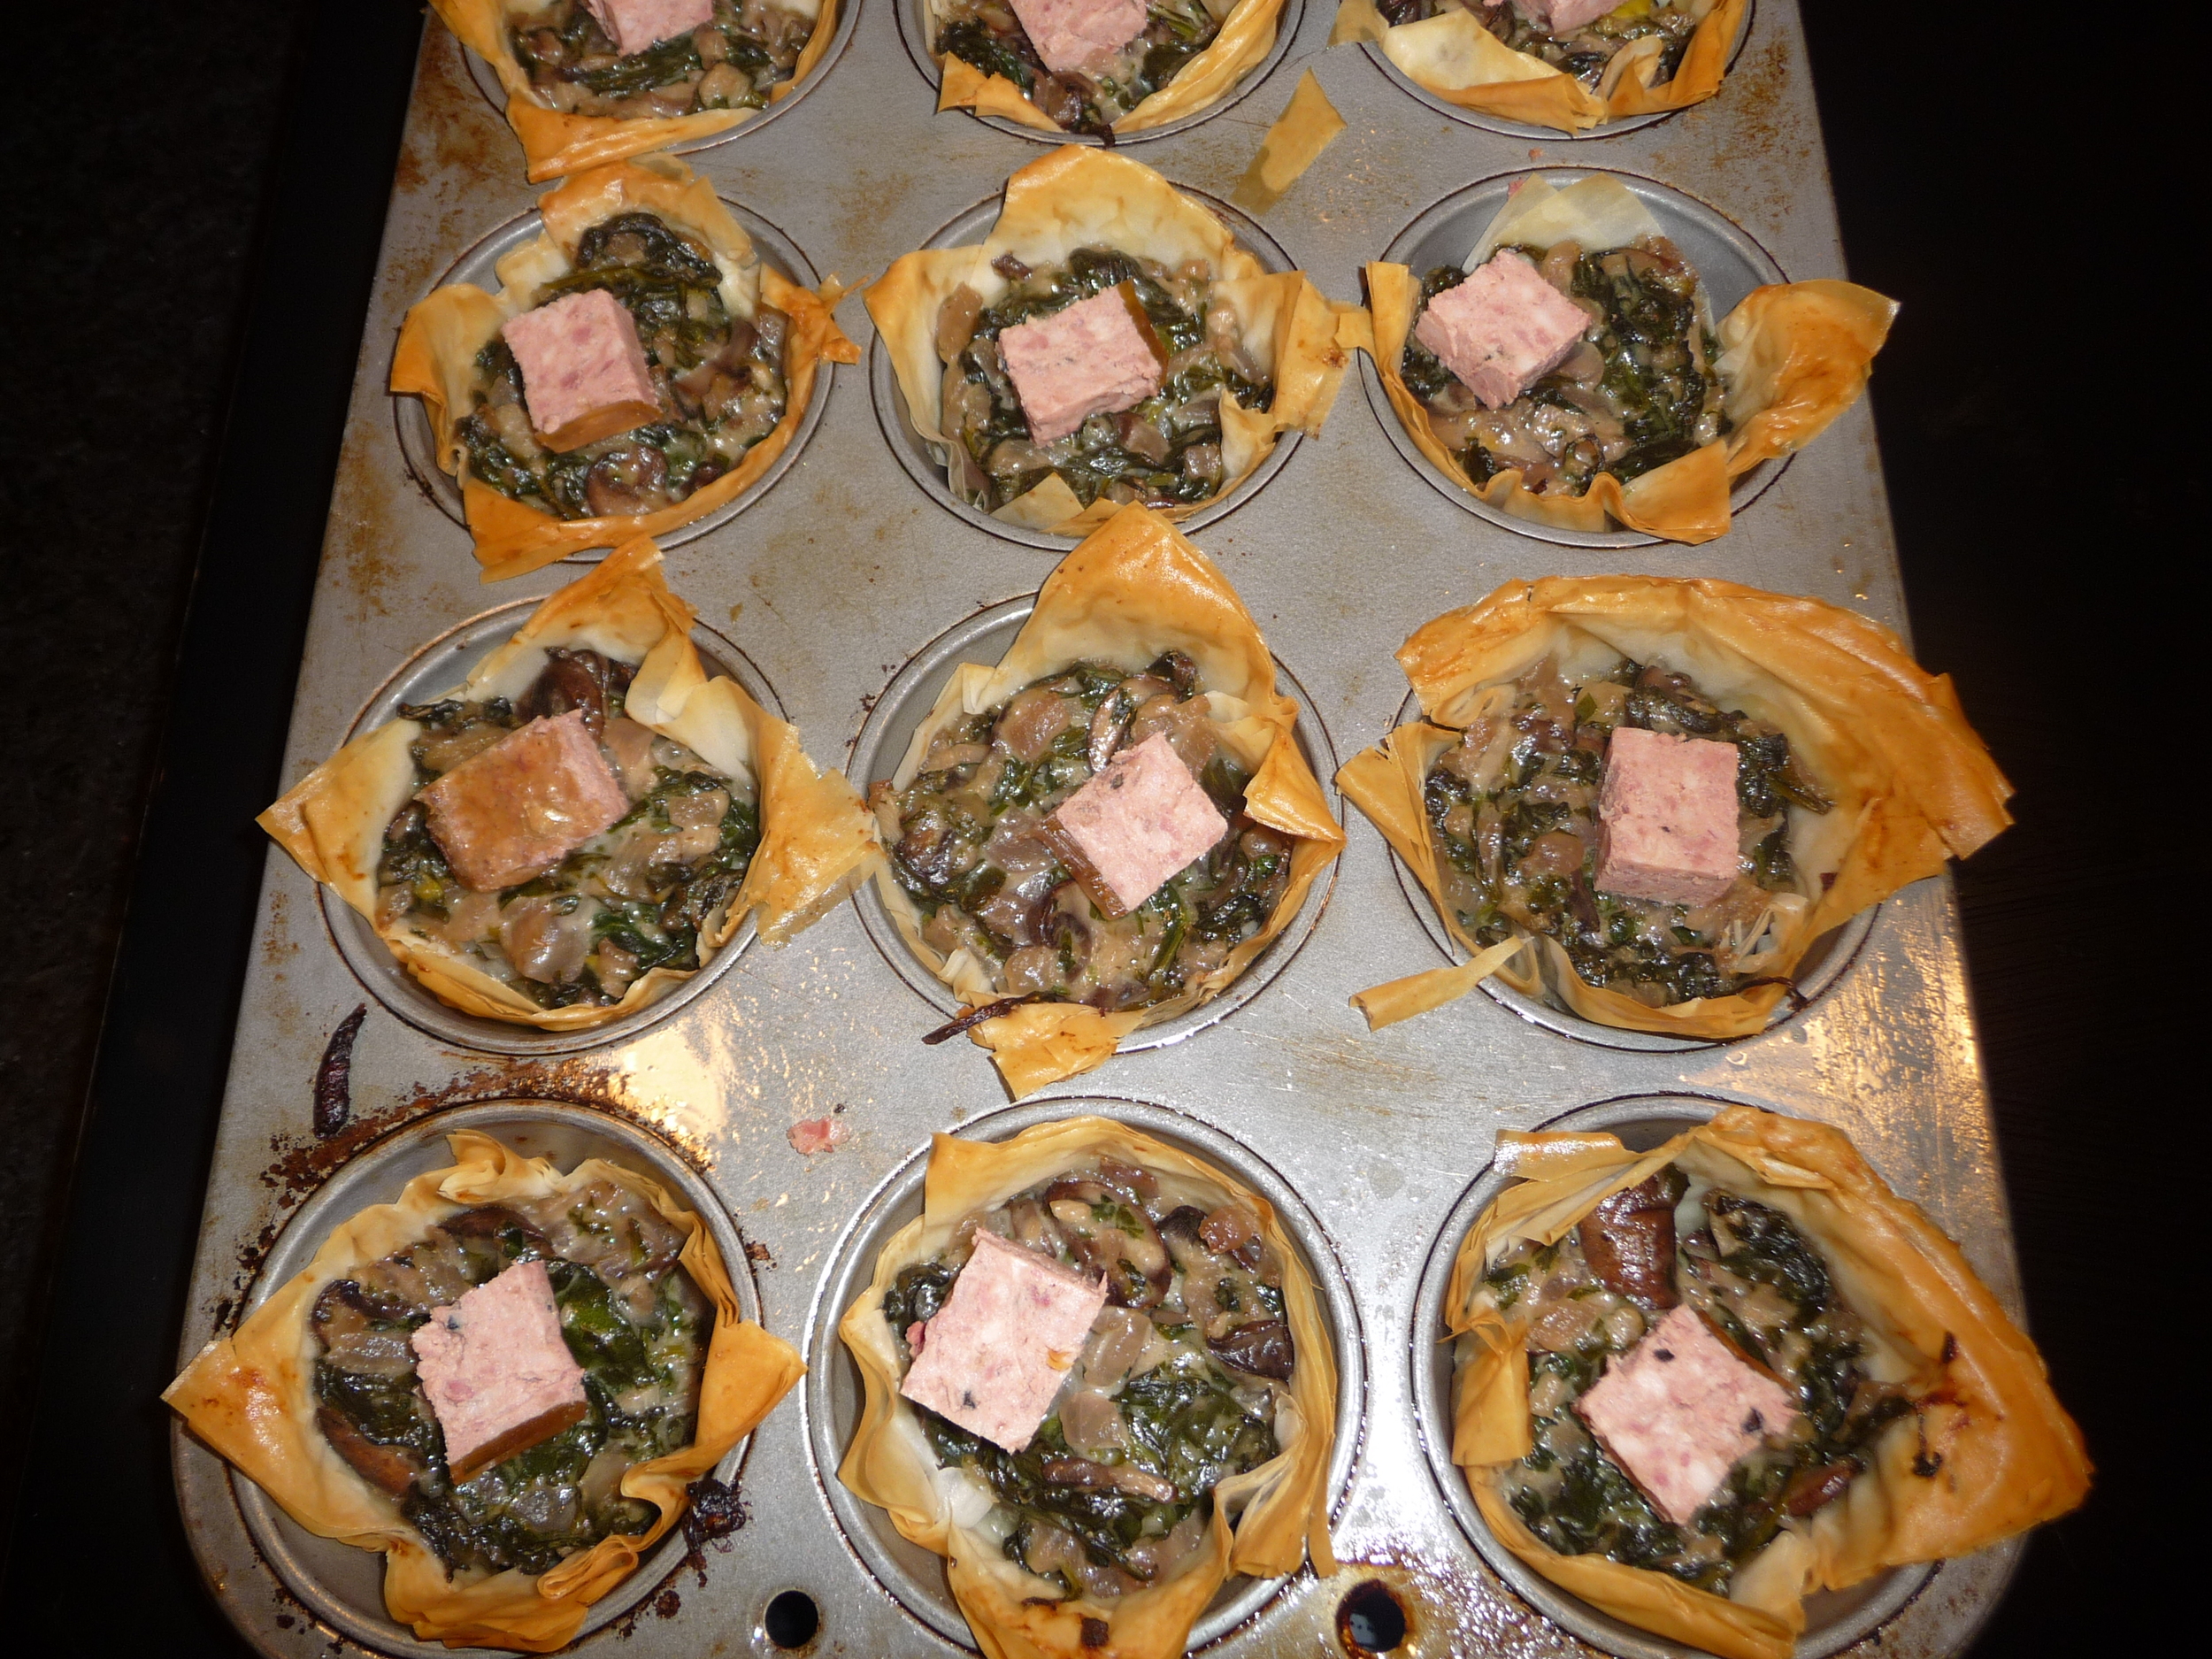
Mushroom (Spinach) Wellington Cups

The cups can be made up to one month prior.  Assemble in the muffin tin and then pop the whole tin into the freezer for about an hour.  When frozen, carefully remove from cups and place in ziplock bags.  They can go directly from the freezer into the 375 oven for 16-18 minutes. Likewise just the filling can be made beforehand, and stored in the refrigerator.

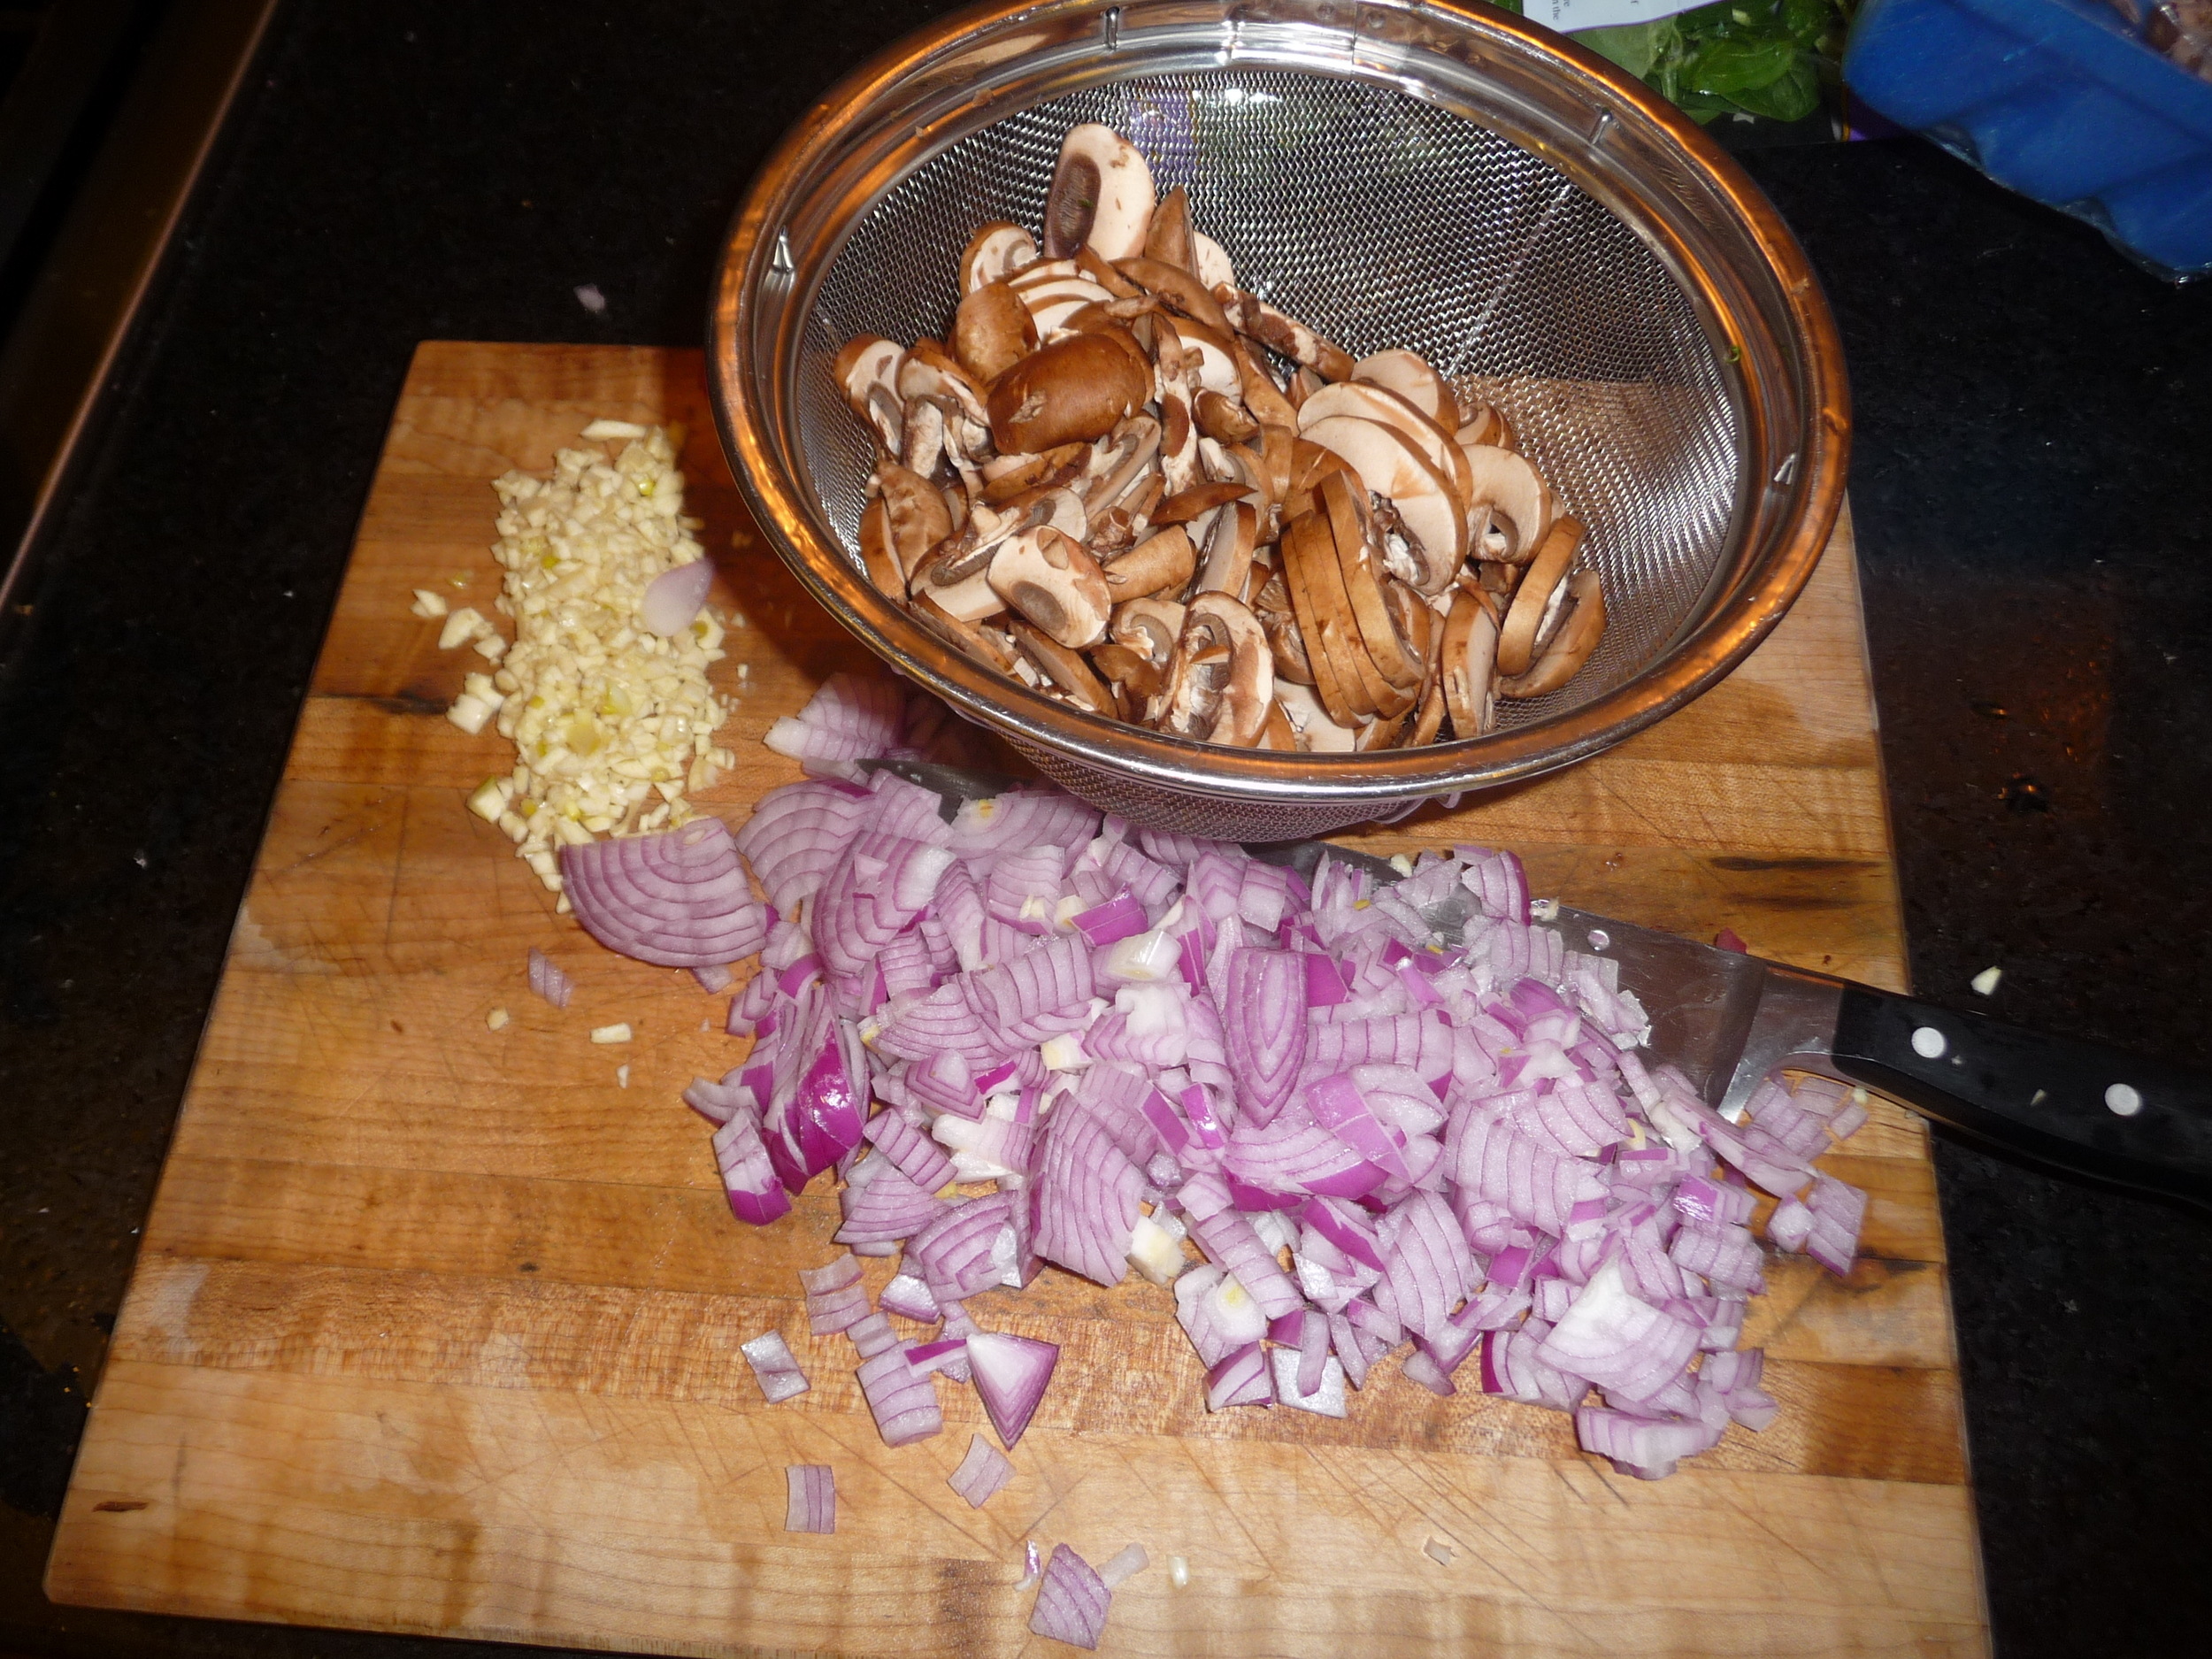
I had only 1 pound of mushrooms to hand when I made this, so I supplemented with 2 red onions.  Because I like the combination of spinach and mushrooms, I added 1/2 bag of baby spinach.  This made enough filling for 12 phyllo cups (the recipe yield as given is for 6)

Mushroom (As You Like It) Cups

  • 4 tbsp unsalted butter, plus 4-6 tbsp unsalted better melted
  • 1 1/4 lbs small cremini or button mushrooms, sliced
  • 6 garlic cloves, minced
  • 2/3 cup dry white wine
  • 2 tbsp flour
  • 1/2 cup heavy cream
  • Kosher salt and ground pepper
  • 5 sheets frozen Phyllo dough, thawed
  • 2 ounces store-bought pâté

Melt 4 tbsp butter in a large skillet over high heat.

(I sauted the red onions at this point) Cook mushrooms for 6 minutes.  Add garlic.  Cook until mushrooms are golden brown, about 1 minute more.

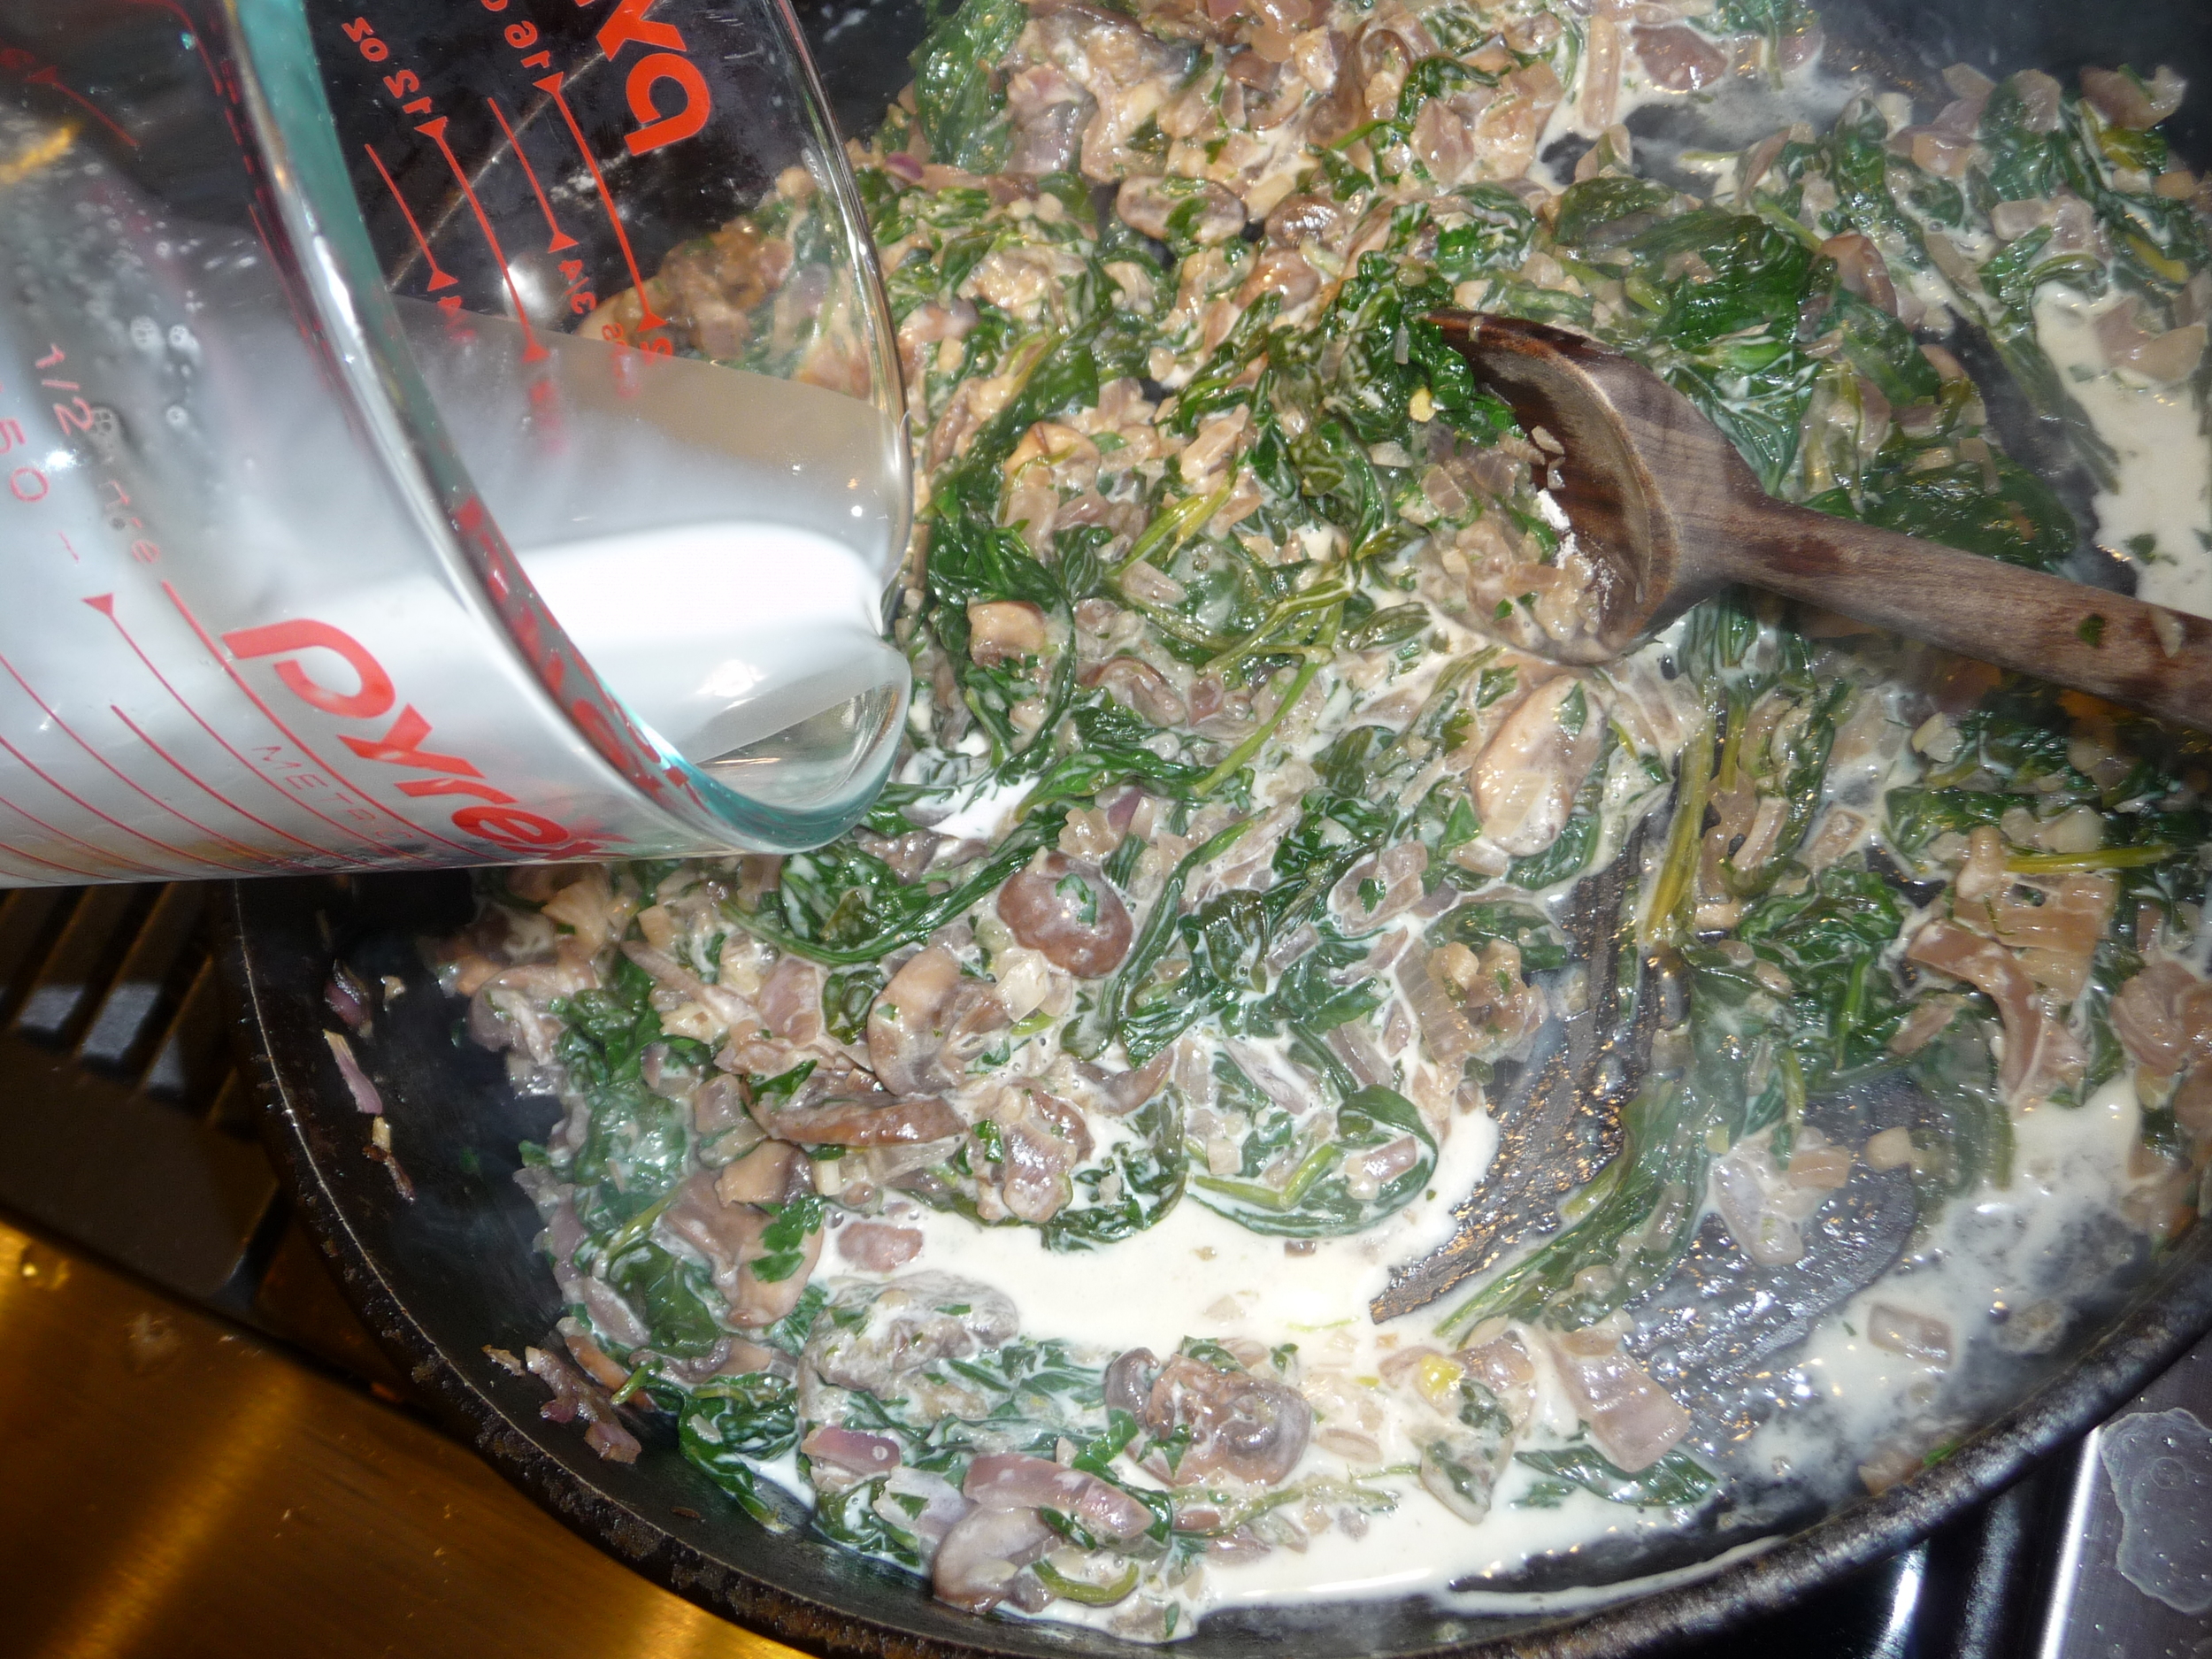
(I added spinach at this point and let it cook down until most of the liquid evaporated) Add wine.  Cook, stirring and scraping browned bits from bottom of pan with a wooden spoon, until wine evaporates, about 3 minutes (more if you're using spinach, which releases a lot of liquid).

Sprinkle flour over the mixture, and stir to combine.  Add cream.  Cook until slightly thickened, about 1 minute.  Season with salt and pepper.  Let cool for 15 minutes, or refrigerate until time to assemble cups.

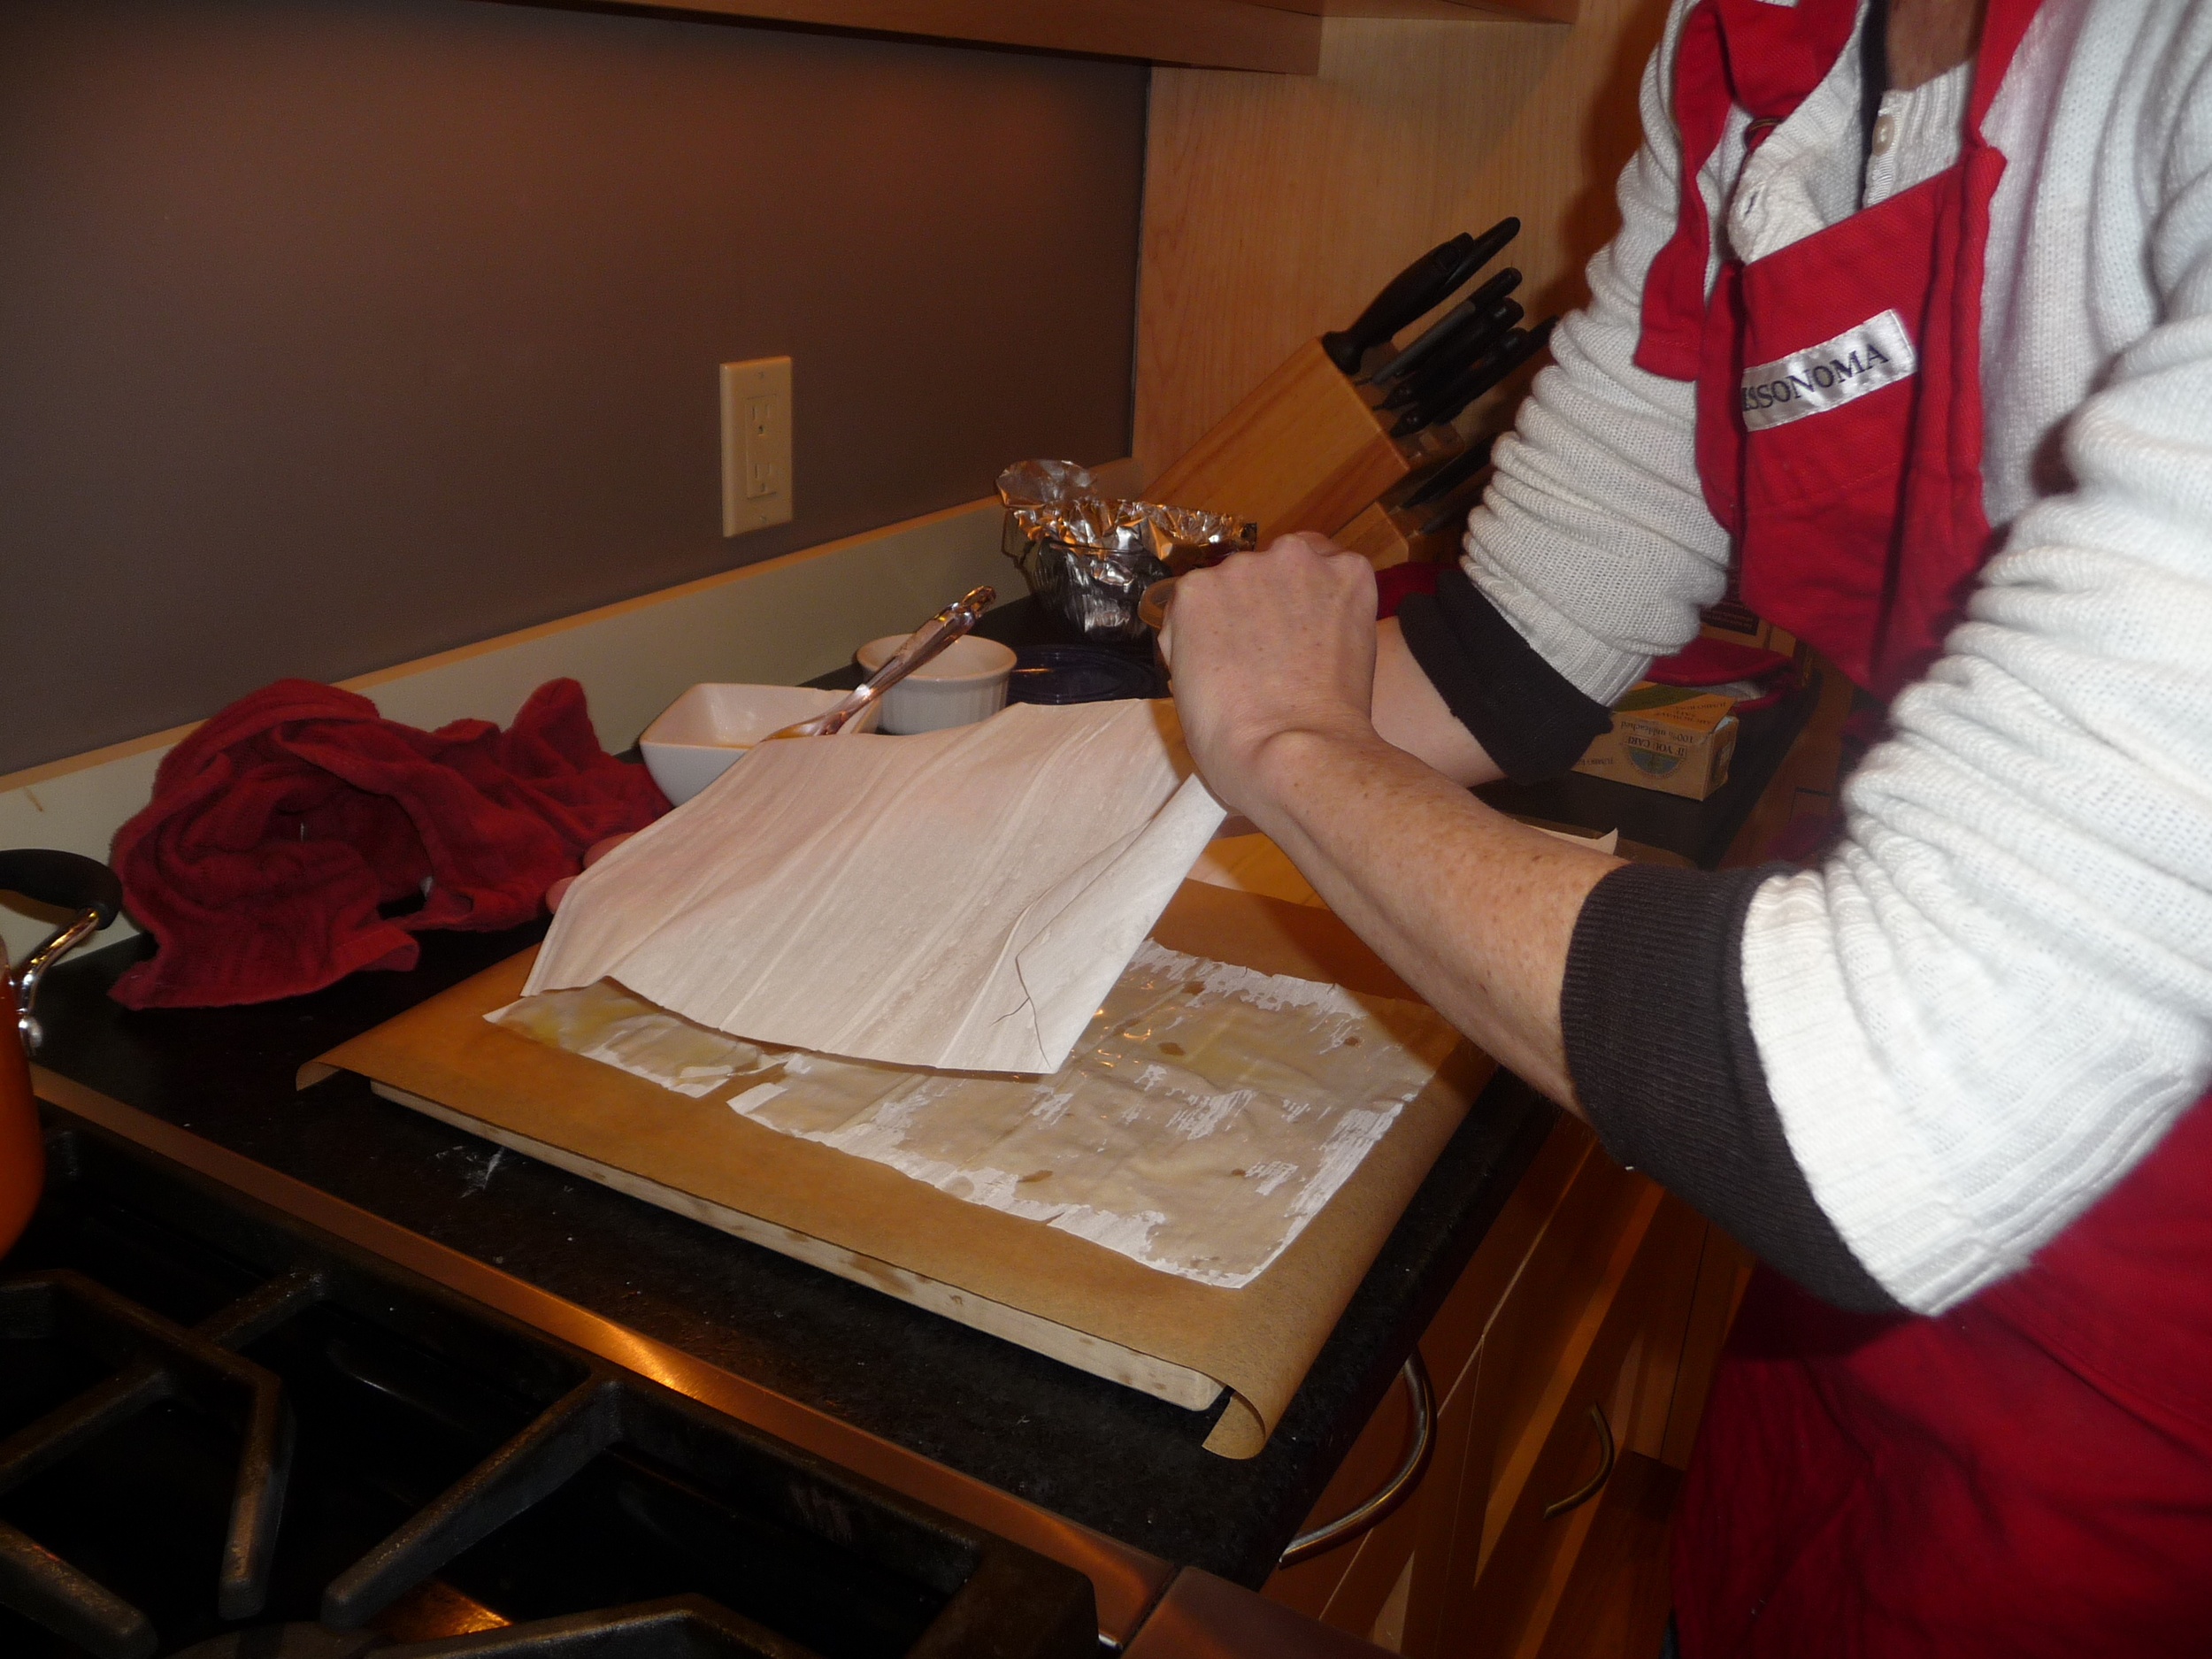
Preheat oven to 375.  Lay 1 phyllo sheet on a work surface (I covered my regular cutting board with a piece of parchment paper).  Lightly brush sheet with melted butter.  Top with another sheet.  Brush with melted butter.  Repeat with remaining 3 sheets of Phyllo, leaving the top sheet unbuttered.

With clean scissors or sharp knife, cut phyllo stack into six 5 1/2" by 6" pieces.  Nestle each into a cup of a standard muffin tin (I sprayed mine with Pam first, just to be safe).  Spoon 2 heaping tablespoons of mushroom mixture into each.

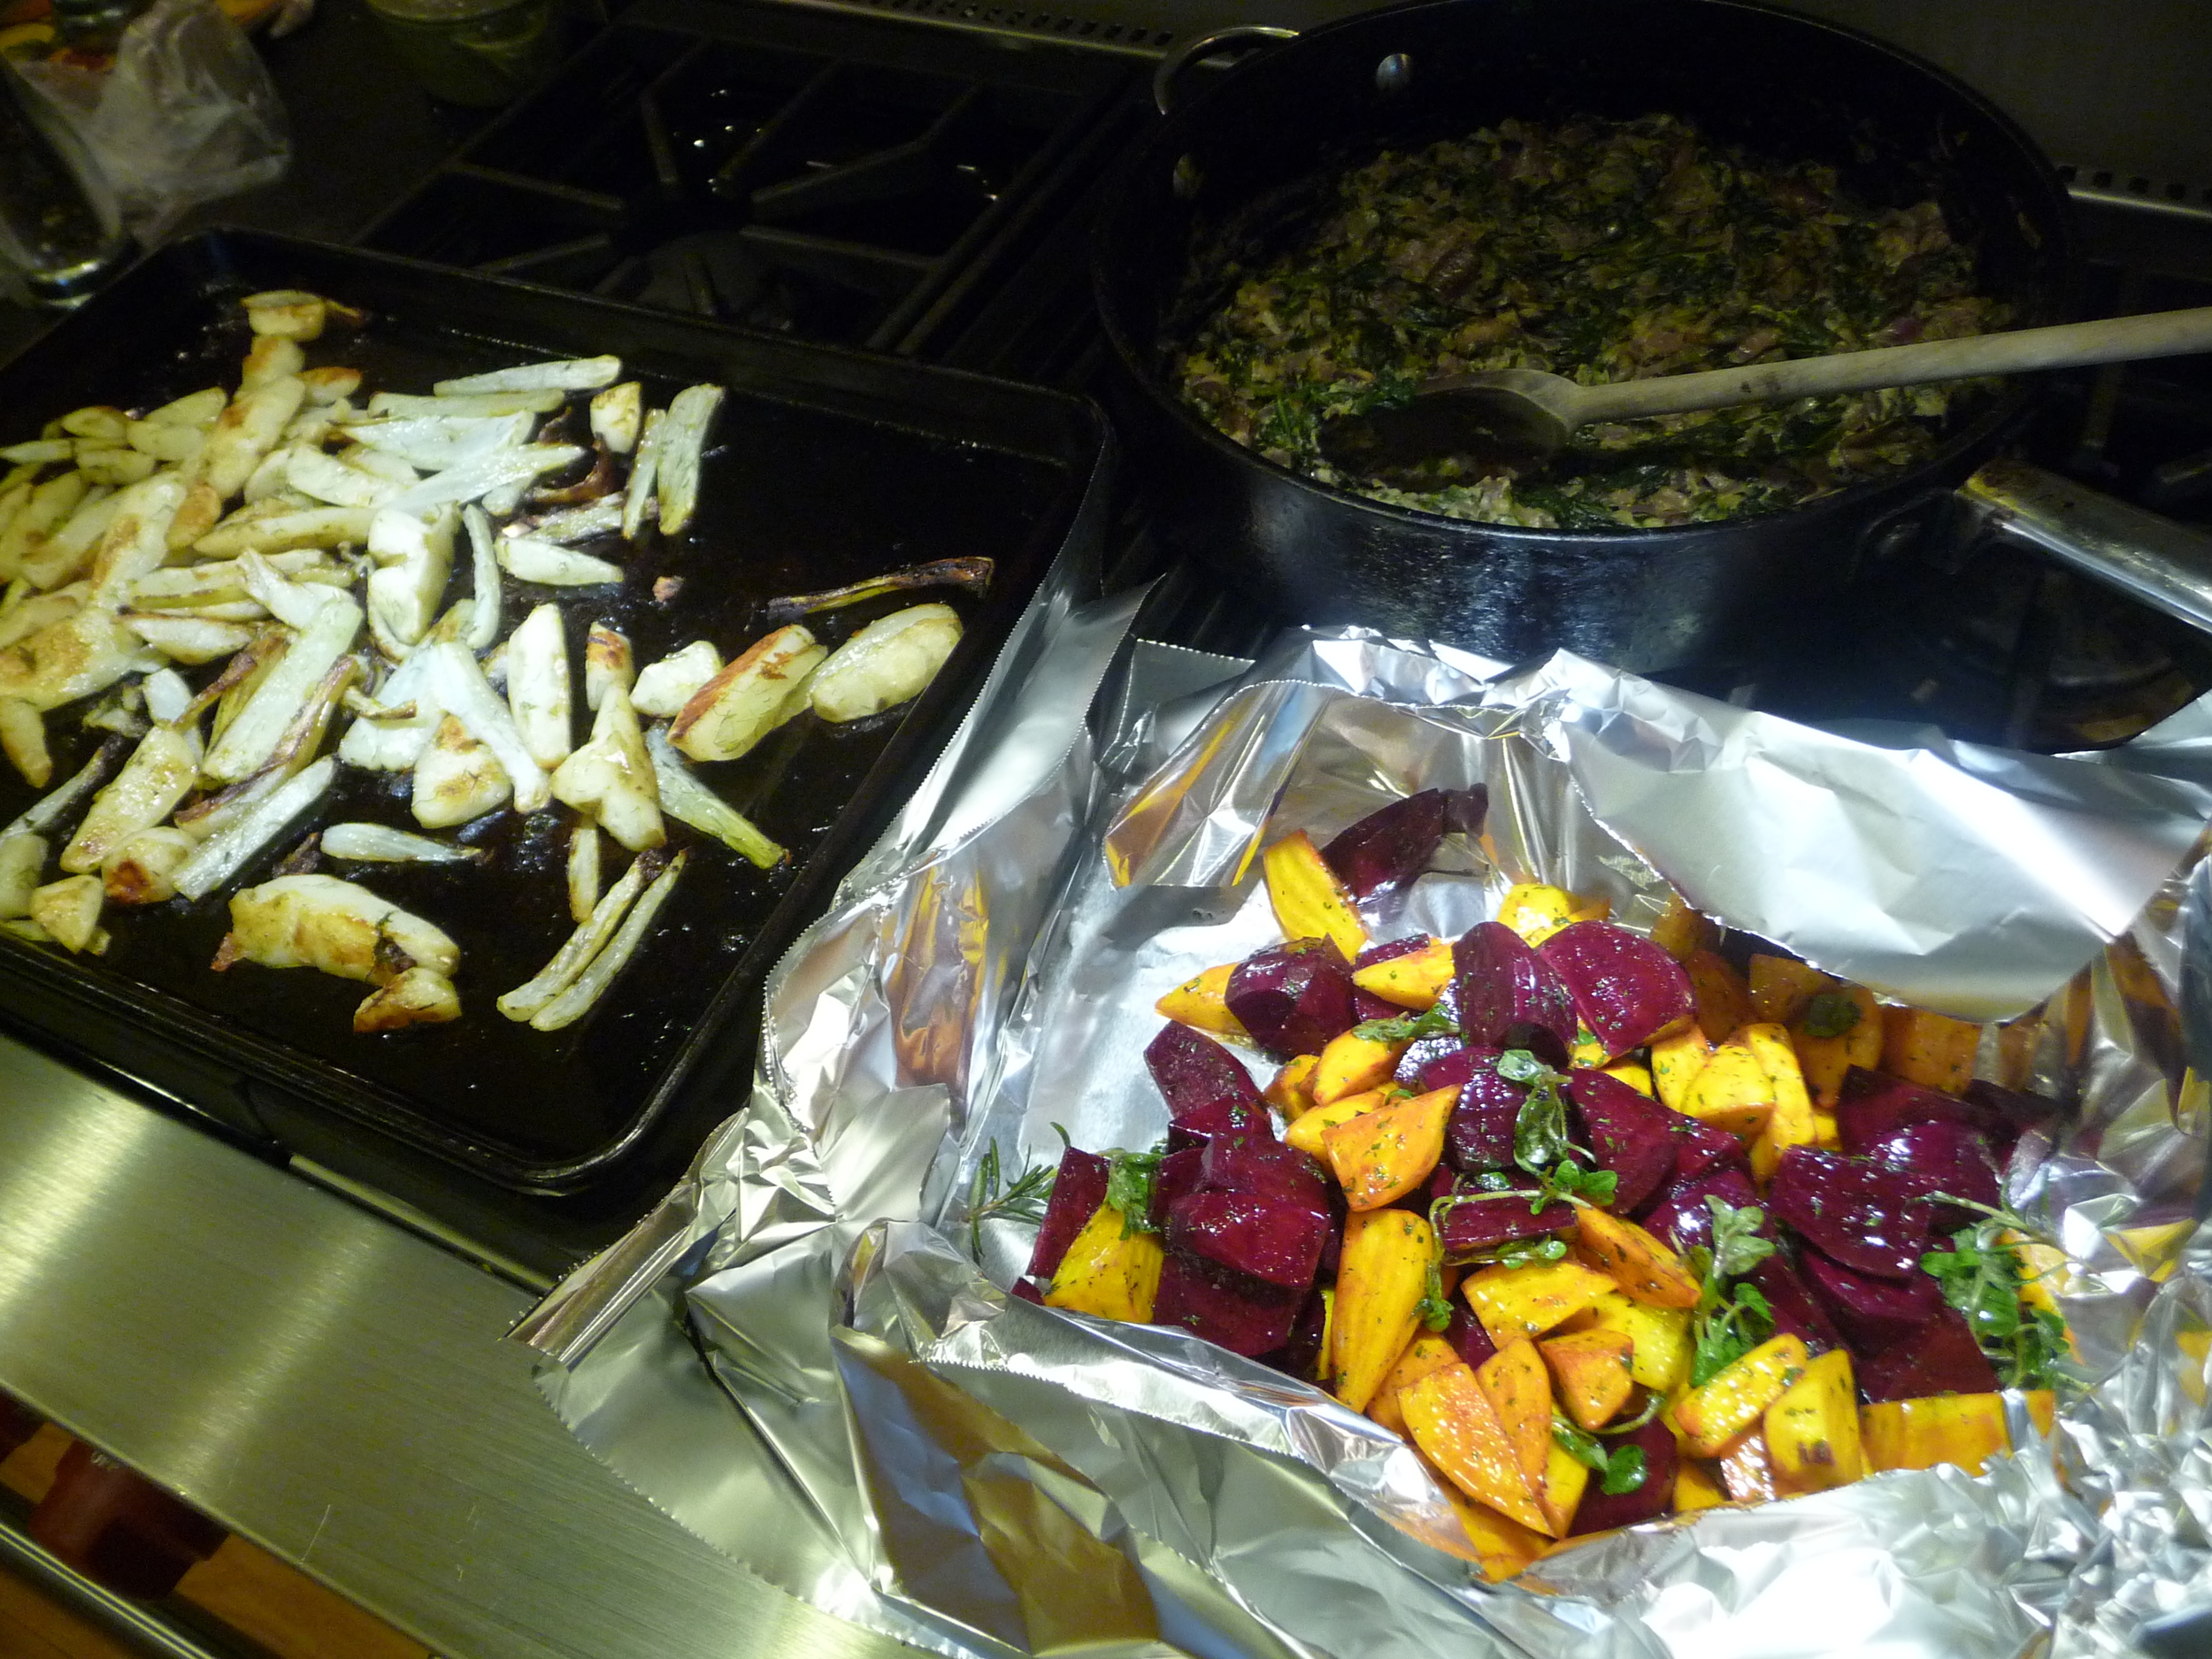
CUE MONTAGE!!!

Bake until golden, 14 to 16 minutes.  Top each cup with a bit of pâté before serving.

pâté

Traditions: A Coloring Page

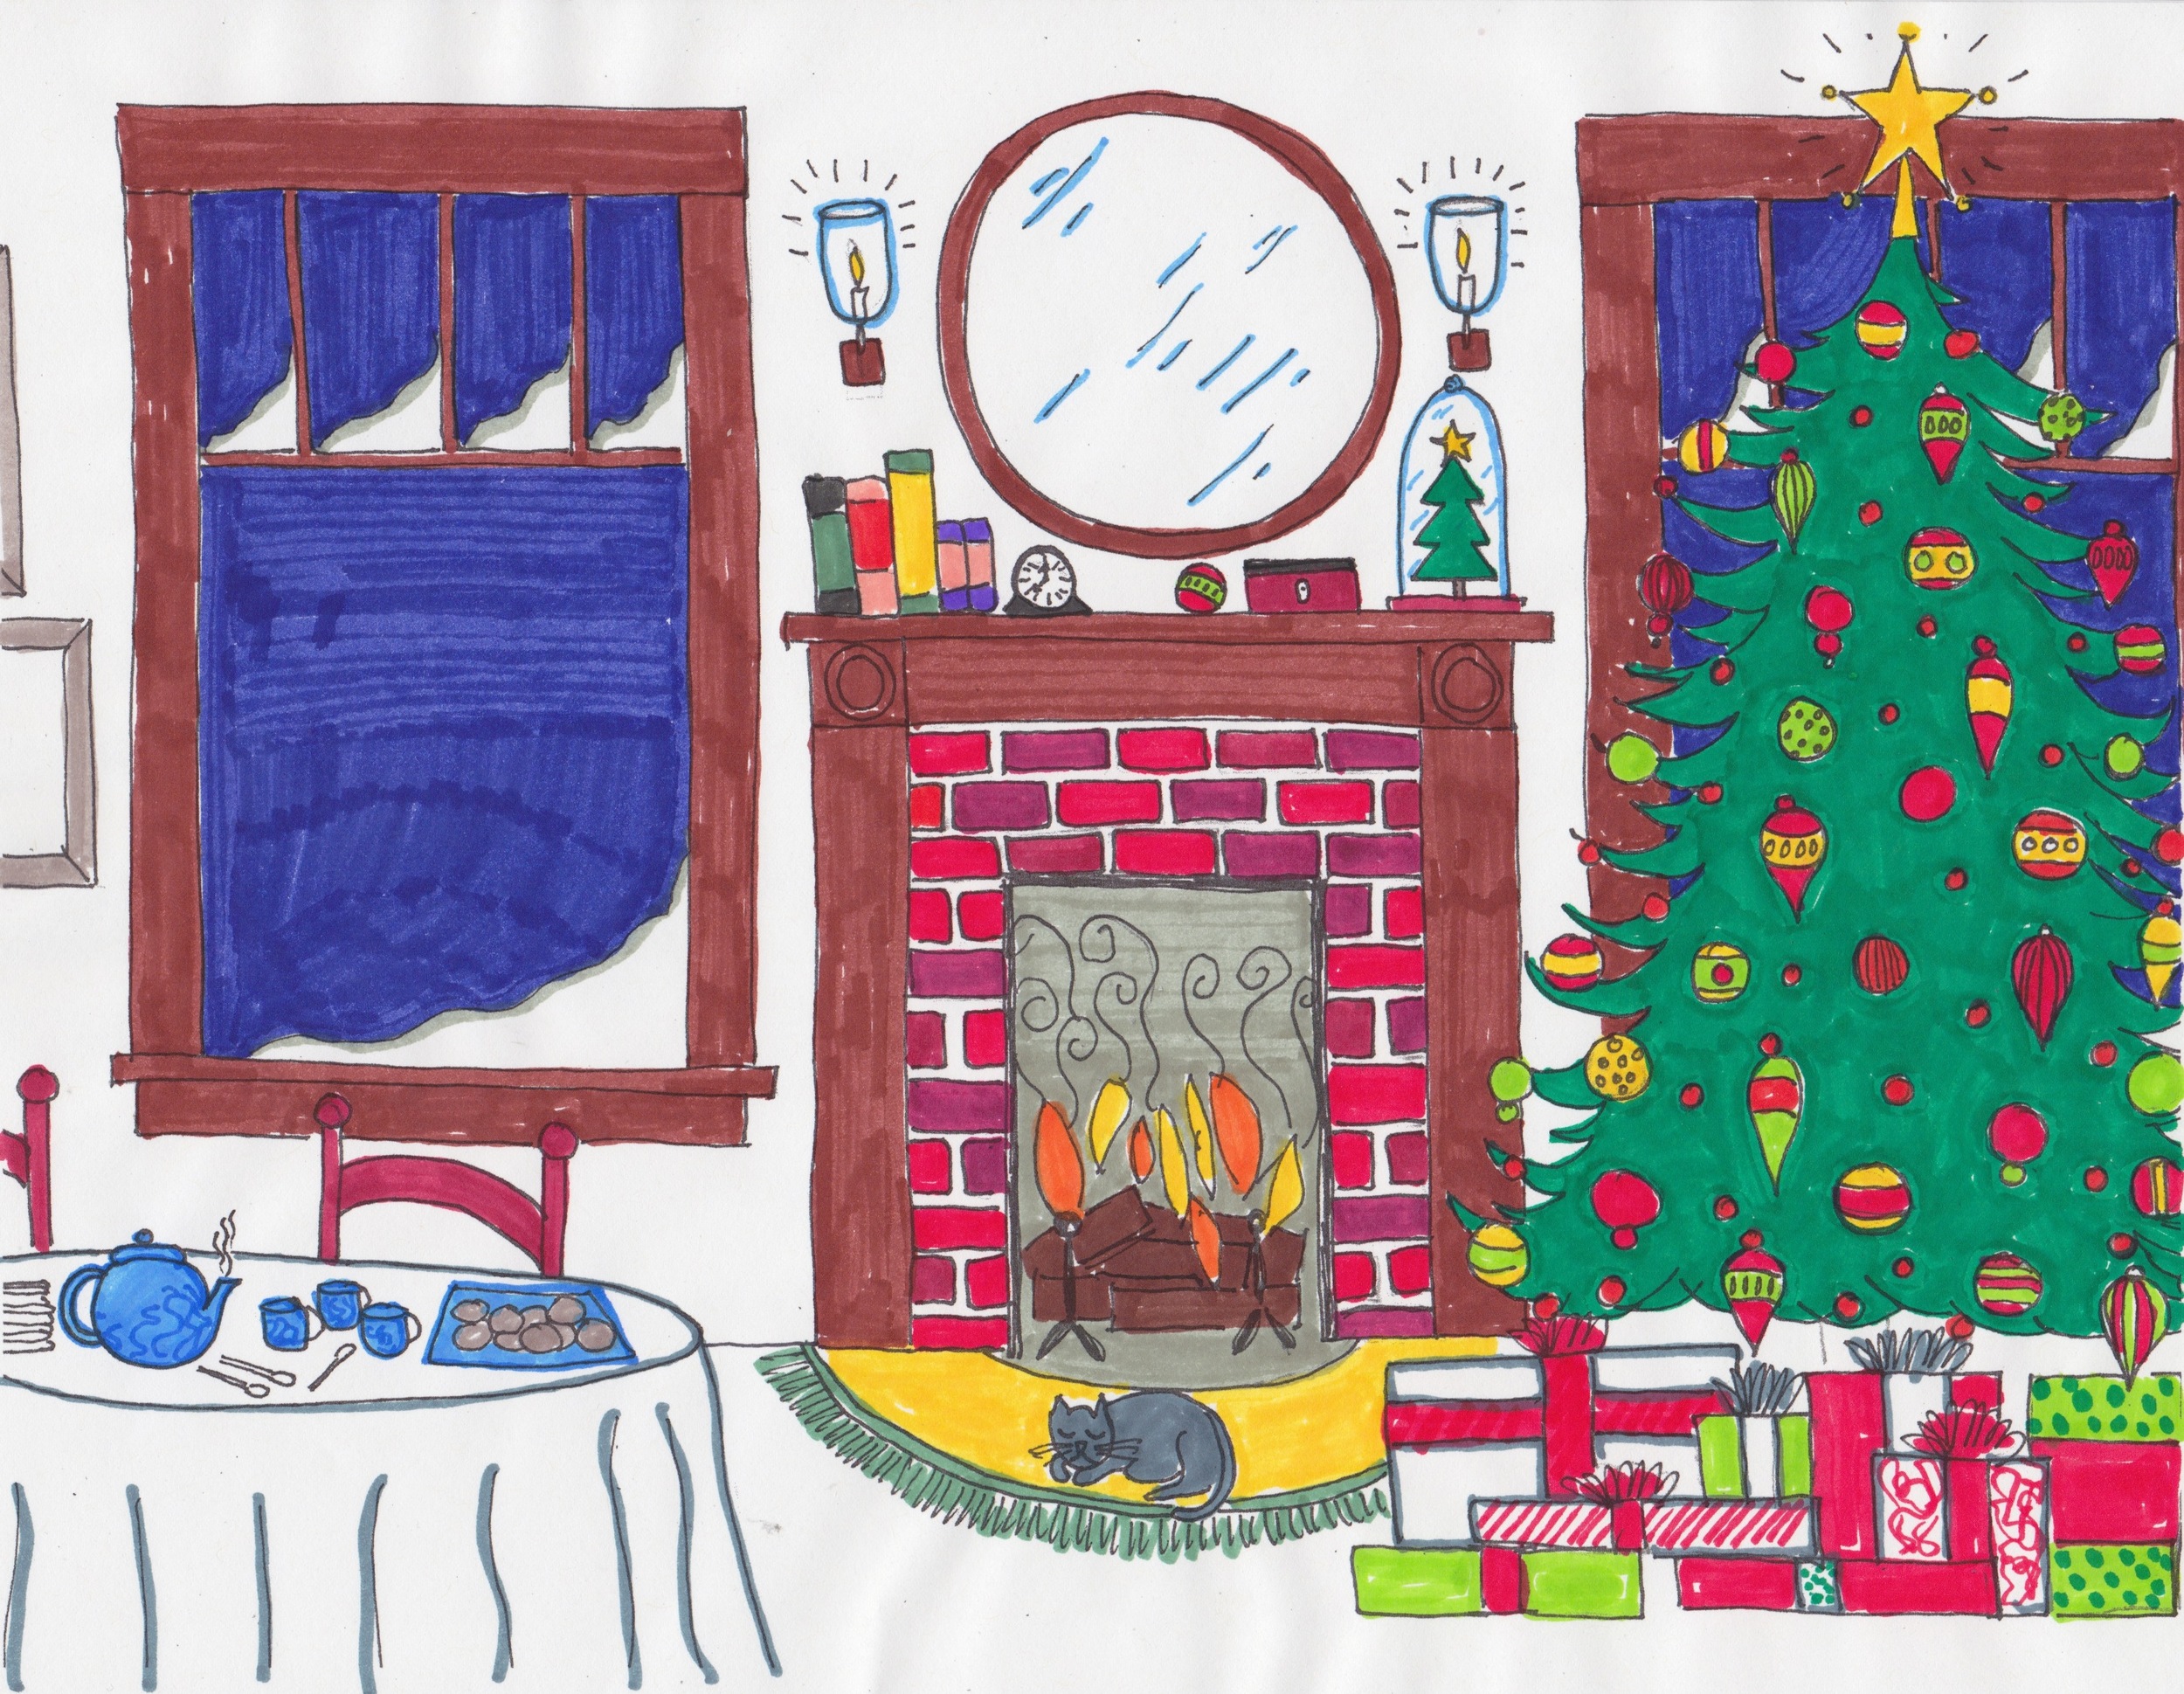
Funny how these things happen.  We're hanging around one Christmas Season night and I draw a picture.  A fireplace.  A Christmas tree.  Presents.  Hm, a fireplace needs a mantle, and a mantle needs things on it.  There must be a mirror over the fireplace.  Oh and there should be a cat sleeping on the hearth.  This evokes tea-time doesn't it?  There should be a table with tea.  I'm drawing away, happy, happy.  Panda says, "Can you draw me one?"  Redman echoes, "Me too."  Well I can't recreate this two more times but no problem:  I go over everything with a fine-tipped Sharpie and throw it in the scanner to make copies.  We color all night, listening to Christmas music.  This is the life. Fast-forward a year, it's Christmas season again, and I want to draw that picture (who knows what became of last year's).  Fireplace.  Tree.  "Don't forget the cat," Panda advises, looking over my shoulder, along with my twin neeces, who are here for the holidays.  "We want one, too," they say hopefully.  "Me, too," says Redman.  Copies all around, and again we sit around the table coloring and listening to music.  Again, the life.

And so here we are again in the holidays, and Panda asks, "Are you going to draw the picture?"  Of course.  I drew it last night and I didn't forget the cat and the tea is on the table.

And I want you to have a copy, too.  Click here for your copy.  Please download.  Please share.  Please color.

Because this is the life.

Christmas Crafts: Paper Ornaments

OK, I've never done an actual craft tutorial before. Some of the photos are going to be weird, if not outright bad, because most were taken lefty. Taking pictures of cooking is hard enough. For crafting you definitely need a third arm. I could've called Panda to help but she was reading. Let me repeat that.  She was reading. Which never happens. So I left her alone.

Also, I first thought, "Oh my God, before I do this post, I have to vacuum my office floor!" Then I figured you all would appreciate how things truly look around here, so here you go:

That's the state of the floor when I'm in the midst of Christmas card making, in fact this isn't even bad, last week was worse. I don't even attempt to be neat about things, I just let every snippet and scrap fall on the floor and then write my Dyson a check later. Then I have to push all this other shit I'm working on aside:

I know, I have problems. So, ANYWAY, the ornaments....

I discovered these last year and in my usual manner, I made like a thousand. No really. A thousand. Look:

But I love them, they remind me of the onion domes on Russian Orthodox cathedrals. And they really are quite simple to make.

You need:

  • Designer paper (mine is from a holiday pack I got at Michael's.)
  • 20-gauge jewelry wire (or 18 is fine, too)
  • Beads (don't tell me you don't have any)
  • 1/16" hole punch
  • 1", 1/2" and 3/4" circle punches as desired
  • Card stock to complement paper
  • Wire cutters (or scissors you don't care about)
  • Needle-nose pliers (and I found mine!!!!)

You can make the ornaments any length you want. The one I'm making here is 3 3/4". If your paper has a definite "order"—such as mine has little holiday sayings in it—you will want to keep the strips of paper in order as you cut them. Likewise if there is a definite "top" and "bottom" to your pattern, you'll want to keep an eye on it.

Start by punching circles from card stock for the discs that go at the top and bottom of the ornament.  Here I've layered a 1/2" blue on a 3/4" red on a 1" green. Affix them with glue stick or mono adhesive (I use Tombow) and then punch a 1/16" hole through all layers. Put those aside.

Cut your paper into 18 1/2" strips.  Ornaments smaller than 3" will only need about 15 or 16 strips.

Punch a 1/16" hole in each end of each strip. This step is bo-ring. To make sure I'm punching each the same, I made myself a little 1/2" guide out of cardstock. I lay that on top and punch through 4 or 5 strips at a time.

Cut a piece of jewelry wire. Give yourself wiggle room and cut it an inch or two longer than your paper strips. With the pliers, put a loop in the end. Slide on 3 or 4 beads and one of the cardstock discs.

Now start threading on your strips of paper, design side down (facing the table). If your pattern has a "bottom" end, this should be the end you're threading. Now take the last strip you threaded on, curve it up and over and thread it back onto the wire (if you cut your wire extra long you might want to trim some off at this point). Continue threading the strips back on and moving them over to the side, and the ornament begins to take shape.

When the last strip is on, thread on the other cardstock disc, and another 3-4 beads. Slide your fingers down until the ornament is as round or "squished" as you like. Holding it where you want it, trim the wire just above your fingertips. Grab the end with the pliers and loop it around. Voilà. You are a genius.

To make a "double" ornament, you would need an extra, single cardstock disc to put between, and another 15-16 strips in a shorter length.  Make the larger ornament as shown above, the slide on a single disc.  Then thread on the shorter strips and repeat, finishing with a layered disc and beads.

Careful, these are kind of addictive....

Bok Choy with Asian-style Ribs

I've been on a mission to try bok choy for some time now, and a few stir-fry recipes from Fast, Fresh & Green have clinched the deal.  But Susie Middleton really threw down the gauntlet when she added as a blithe aside, "these would be good with some oven-roasted boneless pork ribs."

Hello.

Asian-style boneless pork ribs.  In the slow-cooker.  Did such a thing exist?

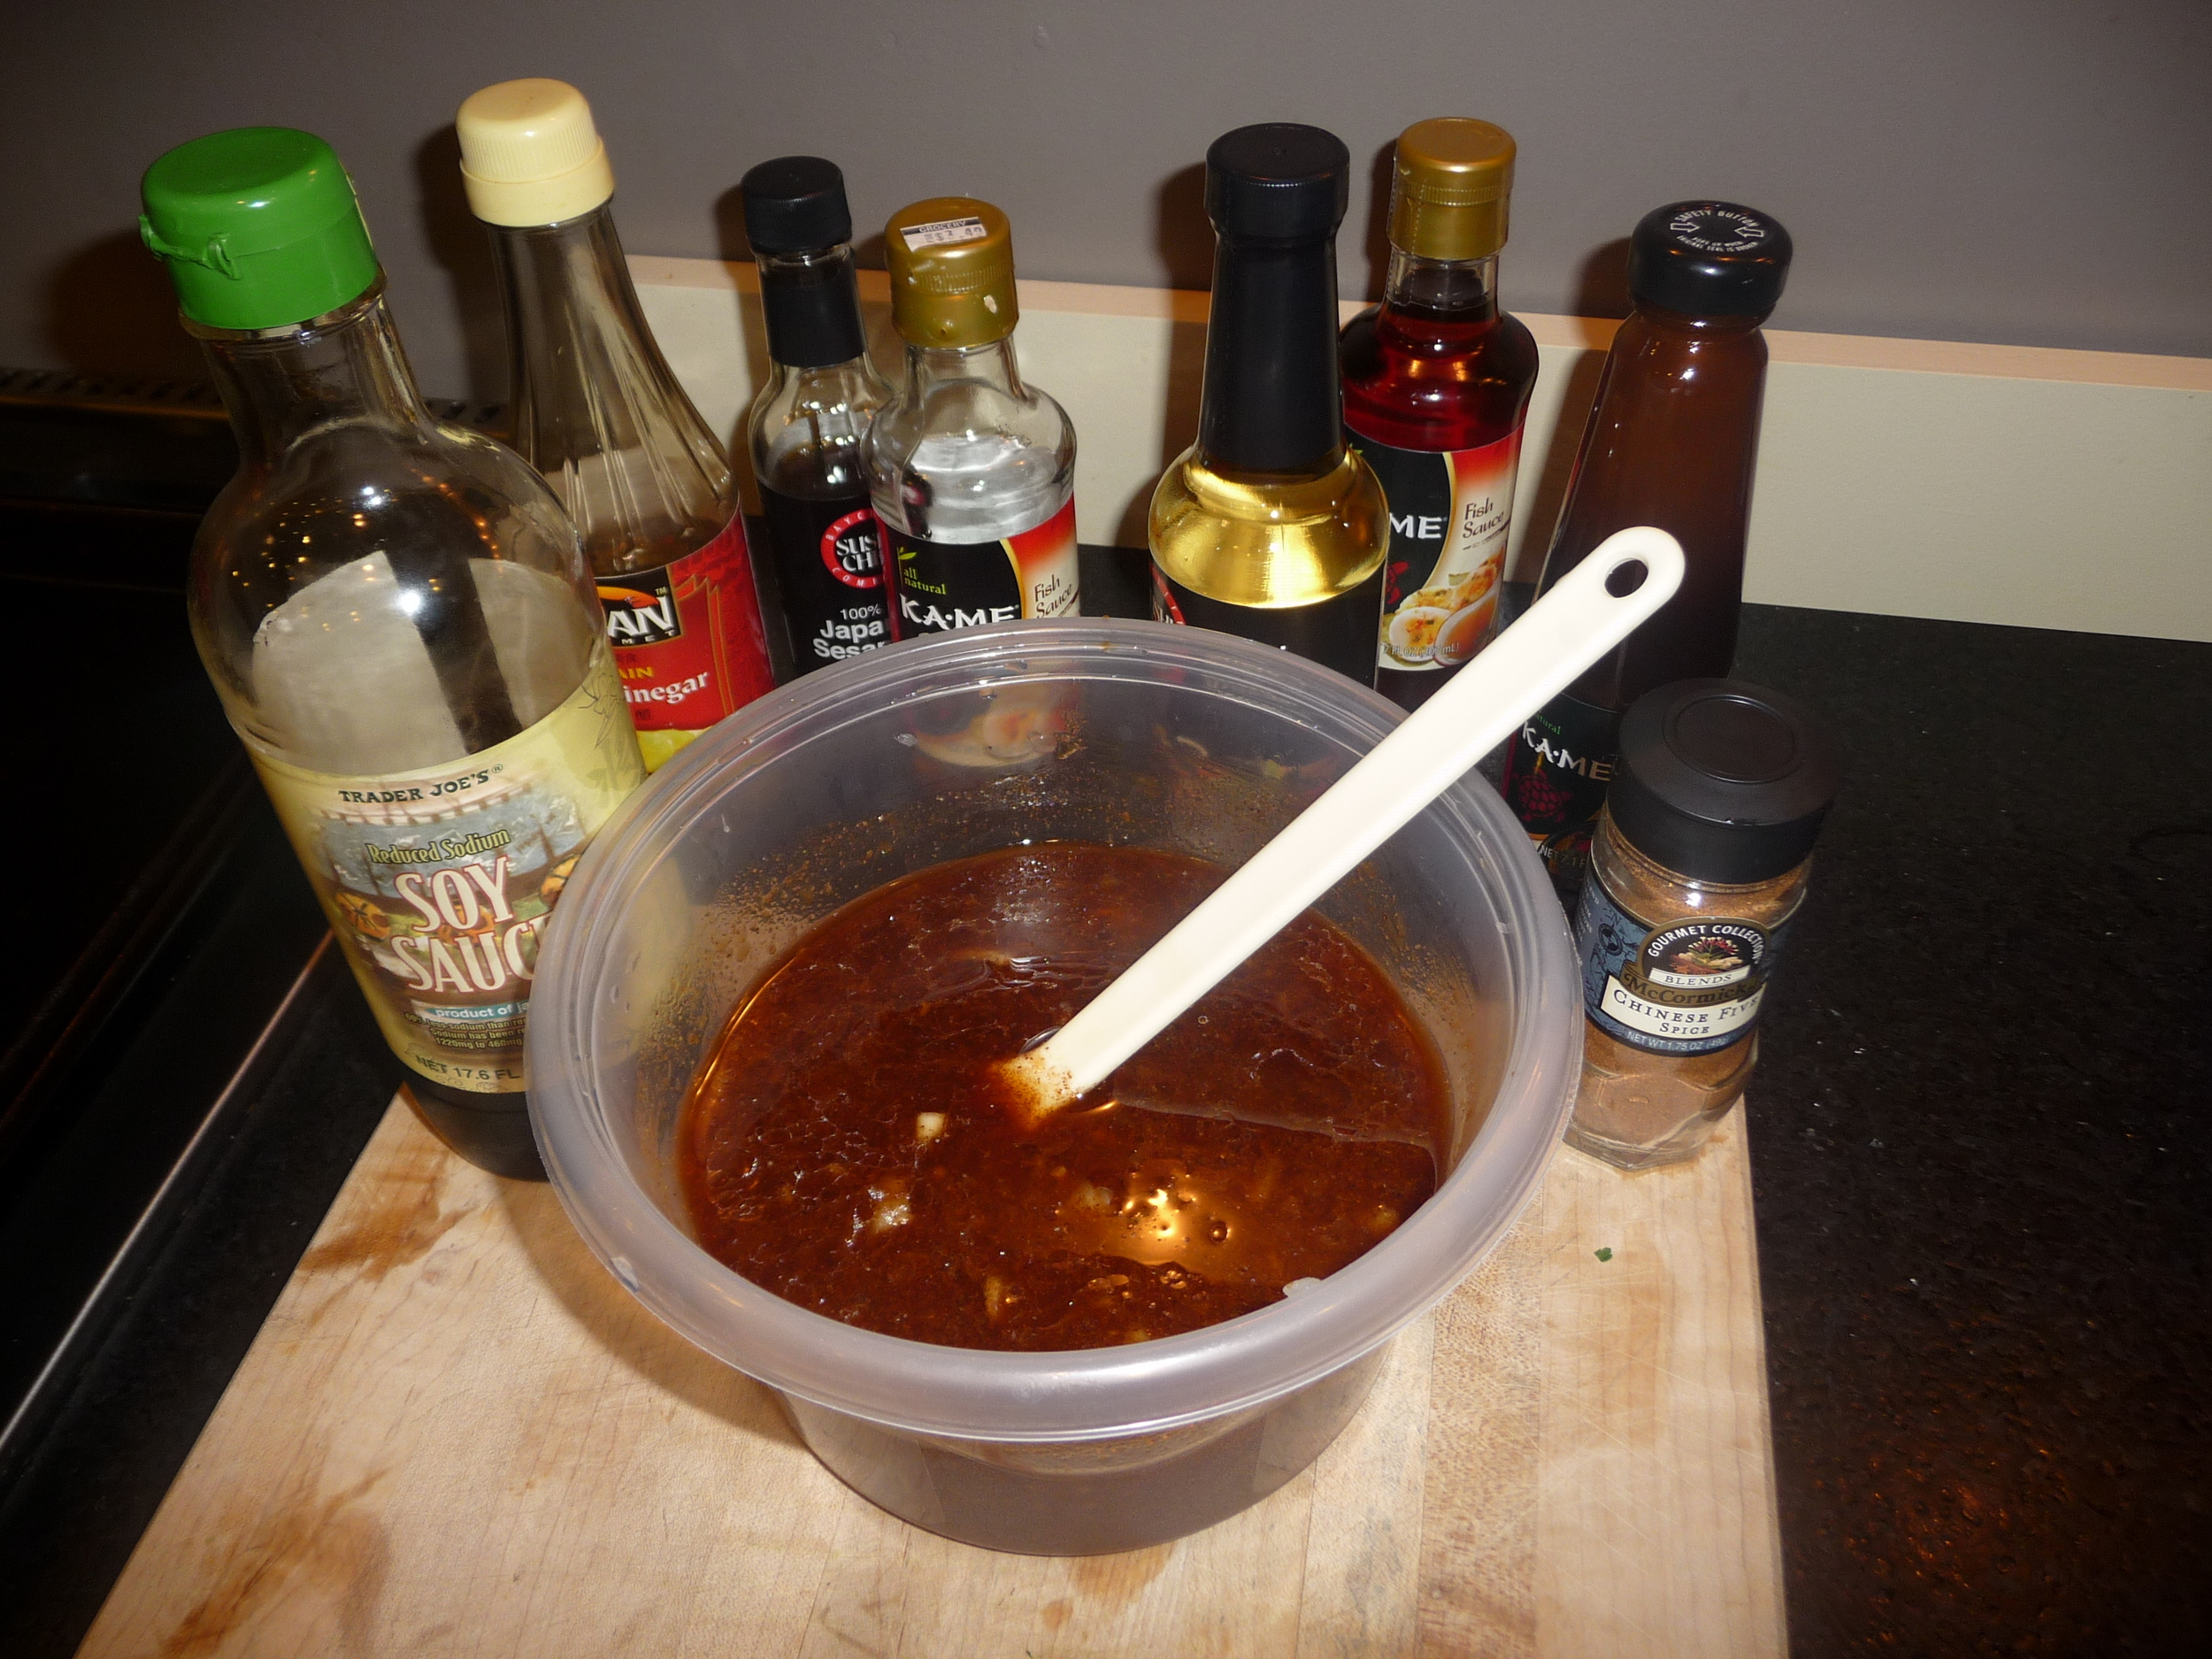
Consult the Oracle.  Of course it exists.  My searchings led me to the blog Choosy Beggars, and this awesome post about boneless Asian BBQ beef ribs.   She used beef, I figured it would work just as well for pork.  I'm not going to transpose it here, because hers is so well-written, being both about ribs and about slow cookers in general.  Just know I followed the recipe to the letter (and yes, there was a special shopping trip involved for things like oyster sauce, Chinese 5-spice powder, etc), and I'll give you a few impressions here:

1) The recipe calls for a grated onion.  I know.  You just have to suck it up and do.  I've heard all kinds of tricks for keeping tears at bay while working with onions; frankly the only thing that is a surefire thing for me is having my contact lenses in.  No such luck so last night I had to try the remedy of chewing gum as I grated.  Not much help.  It was a sobby business.

2) The sauce smells amazing.  I put it all together last night in a tupperware container and the smell lingered around the kitchen for a while.

3) Ribs in cooker.  Sauce on top.  10 hours.  That's the extent of it.  At the end, you will need to skim quite a bit of fat off the top.

4) I didn't love them.  I know, bummer, huh?  They smelled amazing, they looked divine, they cozied up beautifully to the bok choy over rice, they were thoroughly enjoyable.  But I didn't love them.  Maybe I'd love them if they were beef ribs but somehow I don't think so.

I did, however LOVE the bok choy.  That and the rice I could eat over and over again.  So that said, here is the real star of the show...

Stir-Fried Baby Bok Choy with Golden Garlic and Silky Sauce

(I added some halved baby carrots to this recipe just so there would be something for the kiddies to fall back on)

  • 12 oz baby bok choy (4-5 heads that are 6-7" long)
  • 1 tbsp oyster sauce (one of the specialties I had to go get, it was in both this and the rib sauce)
  • 1 tbsp low-sodium chicken broth
  • 1/2 tsp cornstarch
  • 2 tbsp peanut oil (and again, had to seek that out.  Wow, does peanut oil smell good!)
  • 2 large garlic cloves, sliced very thinly crosswise
  • 1/2 tsp kosher salt

Cut the bok choy lengthwise into quarters.  Wash them well by swishing them in a bowl of tepid water, and spin them dry (I shook mine dry, I didn't feel like breaking out the spinner).

In a small bowl, combine the oyster sauce, broth and cornstarch

In a large, non-stick stir fry pan, heat the peanut oil over medium heat.  When the oil is hot, add the garlic slices and break them up.  Cook, stirring, just until fragrant, about 30 seconds (it smells awesome!)  Add the bok choy to the pan.  Season with the salt and turn the heat up to high.  Using tongs, toss the bok choy with the oil to coat and to distribute the garlic slices.

Cook, rotating and turning the bok choy with the tongs and spreading it out so that all of the stems have some contact with the pan as they cook, and so that the garlic doesn't all gather on the bottom of the pan, until all of the bok choy stems are browned in parts (9 to 12 minutes).

Remove the pan from the heat and, using a silicone spatula, immediately stir the sauce as you pour it into the pan.  As soon as the sauce thickens and begins to coat the vegetables, transfer to the bok choy and the sauce to a serving dish.

Delicious.  The bok choy was crisp and savory, perfect with the sweetness of the carrots, and the sauce is indeed silky.  Really loved this dish.

Brown Butter Summer Squash "Linguine"

Unless you have exceptional knife skills, you do need a julienne peeler for this recipe from Fast, Fresh & Green. I got mine in a set of 3 peelers from Panda last Christmas, but a single one is not expensive and quite a worthy investment. Consider asking Santa for one.

As usual I was a little short of a few key ingredients: I didn't have any chopped almonds or hazelnuts that were called for, so I went in a more Italian direction by using chopped garlic and adding some halved cherry tomatoes as well. To be honest, I was a little underwhelmed by the finished dish. The recipe cooking time is 2 minutes but both Jeeps and I found it sort of undercooked. I also may have used too much lemon. But I loved the very concept of it, and it will definitely be something I fool around with.

Brown Butter Summer Squash Linguine

  • 1 1/2 lbs summer squash, mix of yellow and green
  • 2 tbsp unsalted butter
  • 2 tbsp finely chopped almonds or hazelnuts
  • 1 tsp kosher salt
  • 2 tsp chopped fresh parsley or tarragon
  • 1/2 lemon

Wash and dry the squash and trim off the ends. Using a julienne peeler, peel the squash lengthwise all the way around, dropping the strips into a bowl. Continue peeling until you reach the seed core. Discard the core and peel the other squash in the same fashion. Give all the strips a little toss in the bowl and separate any that are clumped together.

In a straight-sided saute pan, melt the butter over medium-low heat. Add the almonds and swirl the butter around in the pan. Cook the butter until it reaches a nutty brown color, about 2 minutes. Immediately add the squash and salt. Toss the squash gently with tongs until it is well coated with the butter. Continue cooking just until the squash becomes slightly limp, about 1 minute.

Remove the pan from the heat, stir in half the chopped herbs and a squeeze of lemon. Toss, taste, and add more lemon if desired. Transfer to a serving dish, sprinkle with more of the herbs, and serve.

Again, it was good, but not quite right. This strikes me as a very summery dish. It cozied up fine to a baked potato here, but I began to imagine blanching the julienned squash, just to get the right consistency, then tossing it with a vinaigrette and serving at room temperature with grilled shrimp.

Hmm... Hold that thought.