Möchten Sie einen Flügel?

Wings are awesome. Even after eating far too many of them at college in upstate NY, I still consider chicken wings the world's greatest "pick" foods. They are lovely to serve at a party (with five thousand napkins), but frankly I find the only true reason to make chicken wings is to have them around to eat cold for the next two or three or eight days, preferably alone with a dishtowel. 

Thanks to my dad, I can't say "wings." It's always die Flügel. Having outgrown Buffalo style, I actually prefer a very straightforward, garlic-and-herb-marinated, baked wing. Sometimes after marinating I'll dredge them in breadcrumbs, but usually I just make 'em au naturel. Jeeps doesn't care for them much, which is fine, more for me. Although Redman seems to be coming around...

Au Naturel Flügel.

This is my wings-for-a-party recipe, which involved two of those big wing-packs.

  • Two of those big wing-packs
  • 6-8 garlic cloves, peeled
  • 1 cup herbs your choice - I used oregano, parsley and lemon thyme
  • 1 cup cider vinegar
  • 2 cups olive or canola oil
  • Kosher salt and ground pepper

Chop garlic and herbs together fine.

Get 2 ziplock bags. Put a 1/2 cup of vinegar and a cup of oil in each. Divide the garlic and herbs equally between the bags.

Put wings into bags. Seal, pressing out air. Moosh wings around in bag until thoroughly coated with marinade. Refrigerate at least 2 hours, or overnight.

Preheat oven to 350. Line 2 baking sheets with foil and arrange wings on sheets. Sprinkle with salt and pepper.

Bake for one hour, rotating trays halfway through. Then turn oven to broil, and place each tray on upper rack of oven for about 5 minutes until skins are golden brown and sizzling.

Faux Focaccia

I bought 2 bags of frozen pizza dough yesterday. I used one to make my onion tart for a party last night, and thought I'd just figure out some creative use for the other bag today, or else throw it back in the freezer. I had a lot of ripe nectarines and plums around, and toyed with the idea of making some kind of fruit pizza dessert, but when I searched the Internet for ideas, all the fruit pizzas were made with cookie dough crust. The one I found that used actual pizza dough went on to spread vanilla frosting on the dough and arrange the fruit on top.

Vile. I looked no further.

But what about dough for bread's sake—wouldn't it make reasonable focaccia? And couldn't I pick some rosemary out of the garden and knead that into the dough first? Maybe some chopped garlic as well?

You bet I could, and with an abundance of veggies from the garden tonight, dinner practically made itself.

The green beans are going crazy. I love the purple "Velour" ones, they're so pretty in the garden; unfortunately when you steam them they turn plain old green, which the kids find fascinating to watch.

P1060709
P1060709
P1060710
P1060710

Next, zucchini, yellow squash and eggplant, sliced lengthwise and thrown into a ziplock bag with the remains of the salad dressing cruet. Left to get happy for about 20 minutes, and then thrown on the grill.

P1060702
P1060702

Last, the pièce de résistance:

Faux Focaccia

  • 1 bag frozen pizza dough, thawed
  • Olive oil
  • Sea salt and ground pepper
  • 2-3 sprigs rosemary, needles stripped
  • 2-3 cloves garlic, peeled

Preheat oven to 400, spray a rimmed baking sheet with Pam.

Chop the rosemary needles and garlic cloves together fine. Spread out over the cutting board and sprinkle flour on top.

Pry the dough out of the bag, drop it right on top of the garlic and herbs, sprinkle more flour on top (a spouse or small child is a handy thing to have near for flour duty; your hands will be quite sticky).

Knead the dough a few times to fully incorporate the garlic and herbs.

Stretch out the dough on the baking sheet. It should look very sloppy and rustic. If you manage to stretch it into a neat rectangle, please leave my kitchen.

Drizzle olive oil on top of the dough, sprinkle with sea salt and ground pepper.

Bake for 20-25 minutes until golden brown. Slide off baking sheet back onto cutting board (serendipitous tip: don't wash off the flour and garlic-herb residue from the cutting board; the heat from the bread will pick it right up.  Yum)

Slice with a pizza cutter and serve. With the addition of some marinated mozzarella, and a jar of roasted red pepper spread I found tucked away in the pantry, this meal was awesome. Knuckles all around the table for Mom.

Thank you.

And good evening.

Criss-Cross Applesauce

This is just a song me and the kids made up over the years.  It started with just the first verse about breakfast, then gradually more verses got made up for lunch and dinner, and finally dessert.  I can't describe the tune.  I need to write down the words because it would be terrible if I forgot them...

Criss-Cross, Applesauce

Piece of blueberry pie

Maple syrup on French Toast, Pancakes piled high

Hot Home Fries, Matzoh Brie, these things I like the most

Eggs and Bacon, Oatmeal, Waffles, Stack of Jelly Toast


Criss-Cross, Barbecue Sauce

Piece of Pizza Pie

Fish and Chips and Grilled Cheese, Ham and Swiss on Rye

Sloppy Joes, Beef Tacos, Macaroni Cheese

Hamburger with French Fries, pass the Ketchup, please.


Criss-Cross, Tomato Sauce

Piece of Shepherd's Pie

Roast Turkey, Mashed Potatoes, Gravy on the side

Honey-baked Ham, Leg of Lamb, Tuna CasseRRRRRROOOOOLLLE  (you have to really roll the R and hold the note there)

Grilled Chicken, London Broil, Fried Filet of Sole.


Criss-Cross, Chocolate Sauce

Piece of French Silk Pie

Hot Fudge, Banana Split, Whipped Cream to the sky

Angel Food Cake, goodness' sake, a Rainbow Sherbert Dream

Cream Puff, Eclair, Baked Alaska, Scoop of Peach Ice Cream.

Honest and Reliable Blueberry Pie

99.9% of the time, when I make a pie, I use a ready-made frozen pie crust.  And no shame. But about once a year, usually in summer, I get the urge to make pie from scratch, including the crust. Pie crust and I do not get along.  And I have very high standards: I grew up on my mother's gorgeous, lattice-topped cherry pies which she made for holiday dessert and for my brother's birthdays. I make a so-so cherry pie (Billy Boy, Billy Boy). My signature pie is blueberry, and I owe that to Cook's Illustrated.

Cook's Illustrated is a nifty magazine. It doesn't really teach you any new recipes, it just takes tried-and-true favorites and makes them even better. It teaches you tricks. They dig into the science of cooking to discover how to make roast chicken better, how to produce juicy pork chops, which methods make the best brownies, and so forth. And if you are interested in the science, you can read the whole article, but if you want to cut to the chase you can just jump right to the recipe. But it is interesting knowing why what you're doing works.

Their blueberry pie works by using a grated apple as a thickener. What's the usual problem with berry pies? The filling never thickens properly, it runs out all over and makes your crust soggy. Or too much flour and/or tapioca leaves the filling gluey.  With the CI method, the natural pectin in an apple helps the berry filling gel, and with only a small amount of additional tapioca, the pie turns out perfect every time. You slice it and the filling holds. Every time.

Whether you use ready-made crust, or try CI's foolproof pie dough, which is made with vodka, you will have a signature blueberry pie that will knock 'em dead. Every time.

But full disclosure: pie crust and I, whatever the method, do not get along. I don't get no points for presentation. Which is why I only make it from scratch once a year or so. And you will see why shortly. But at least I know that with the vodka method, the crust might look like crap, but it will always taste good.

Signature Blueberry Pie

  • 6 cups (about 3 pints) fresh blueberries (unthawed frozen ones will work just as well)
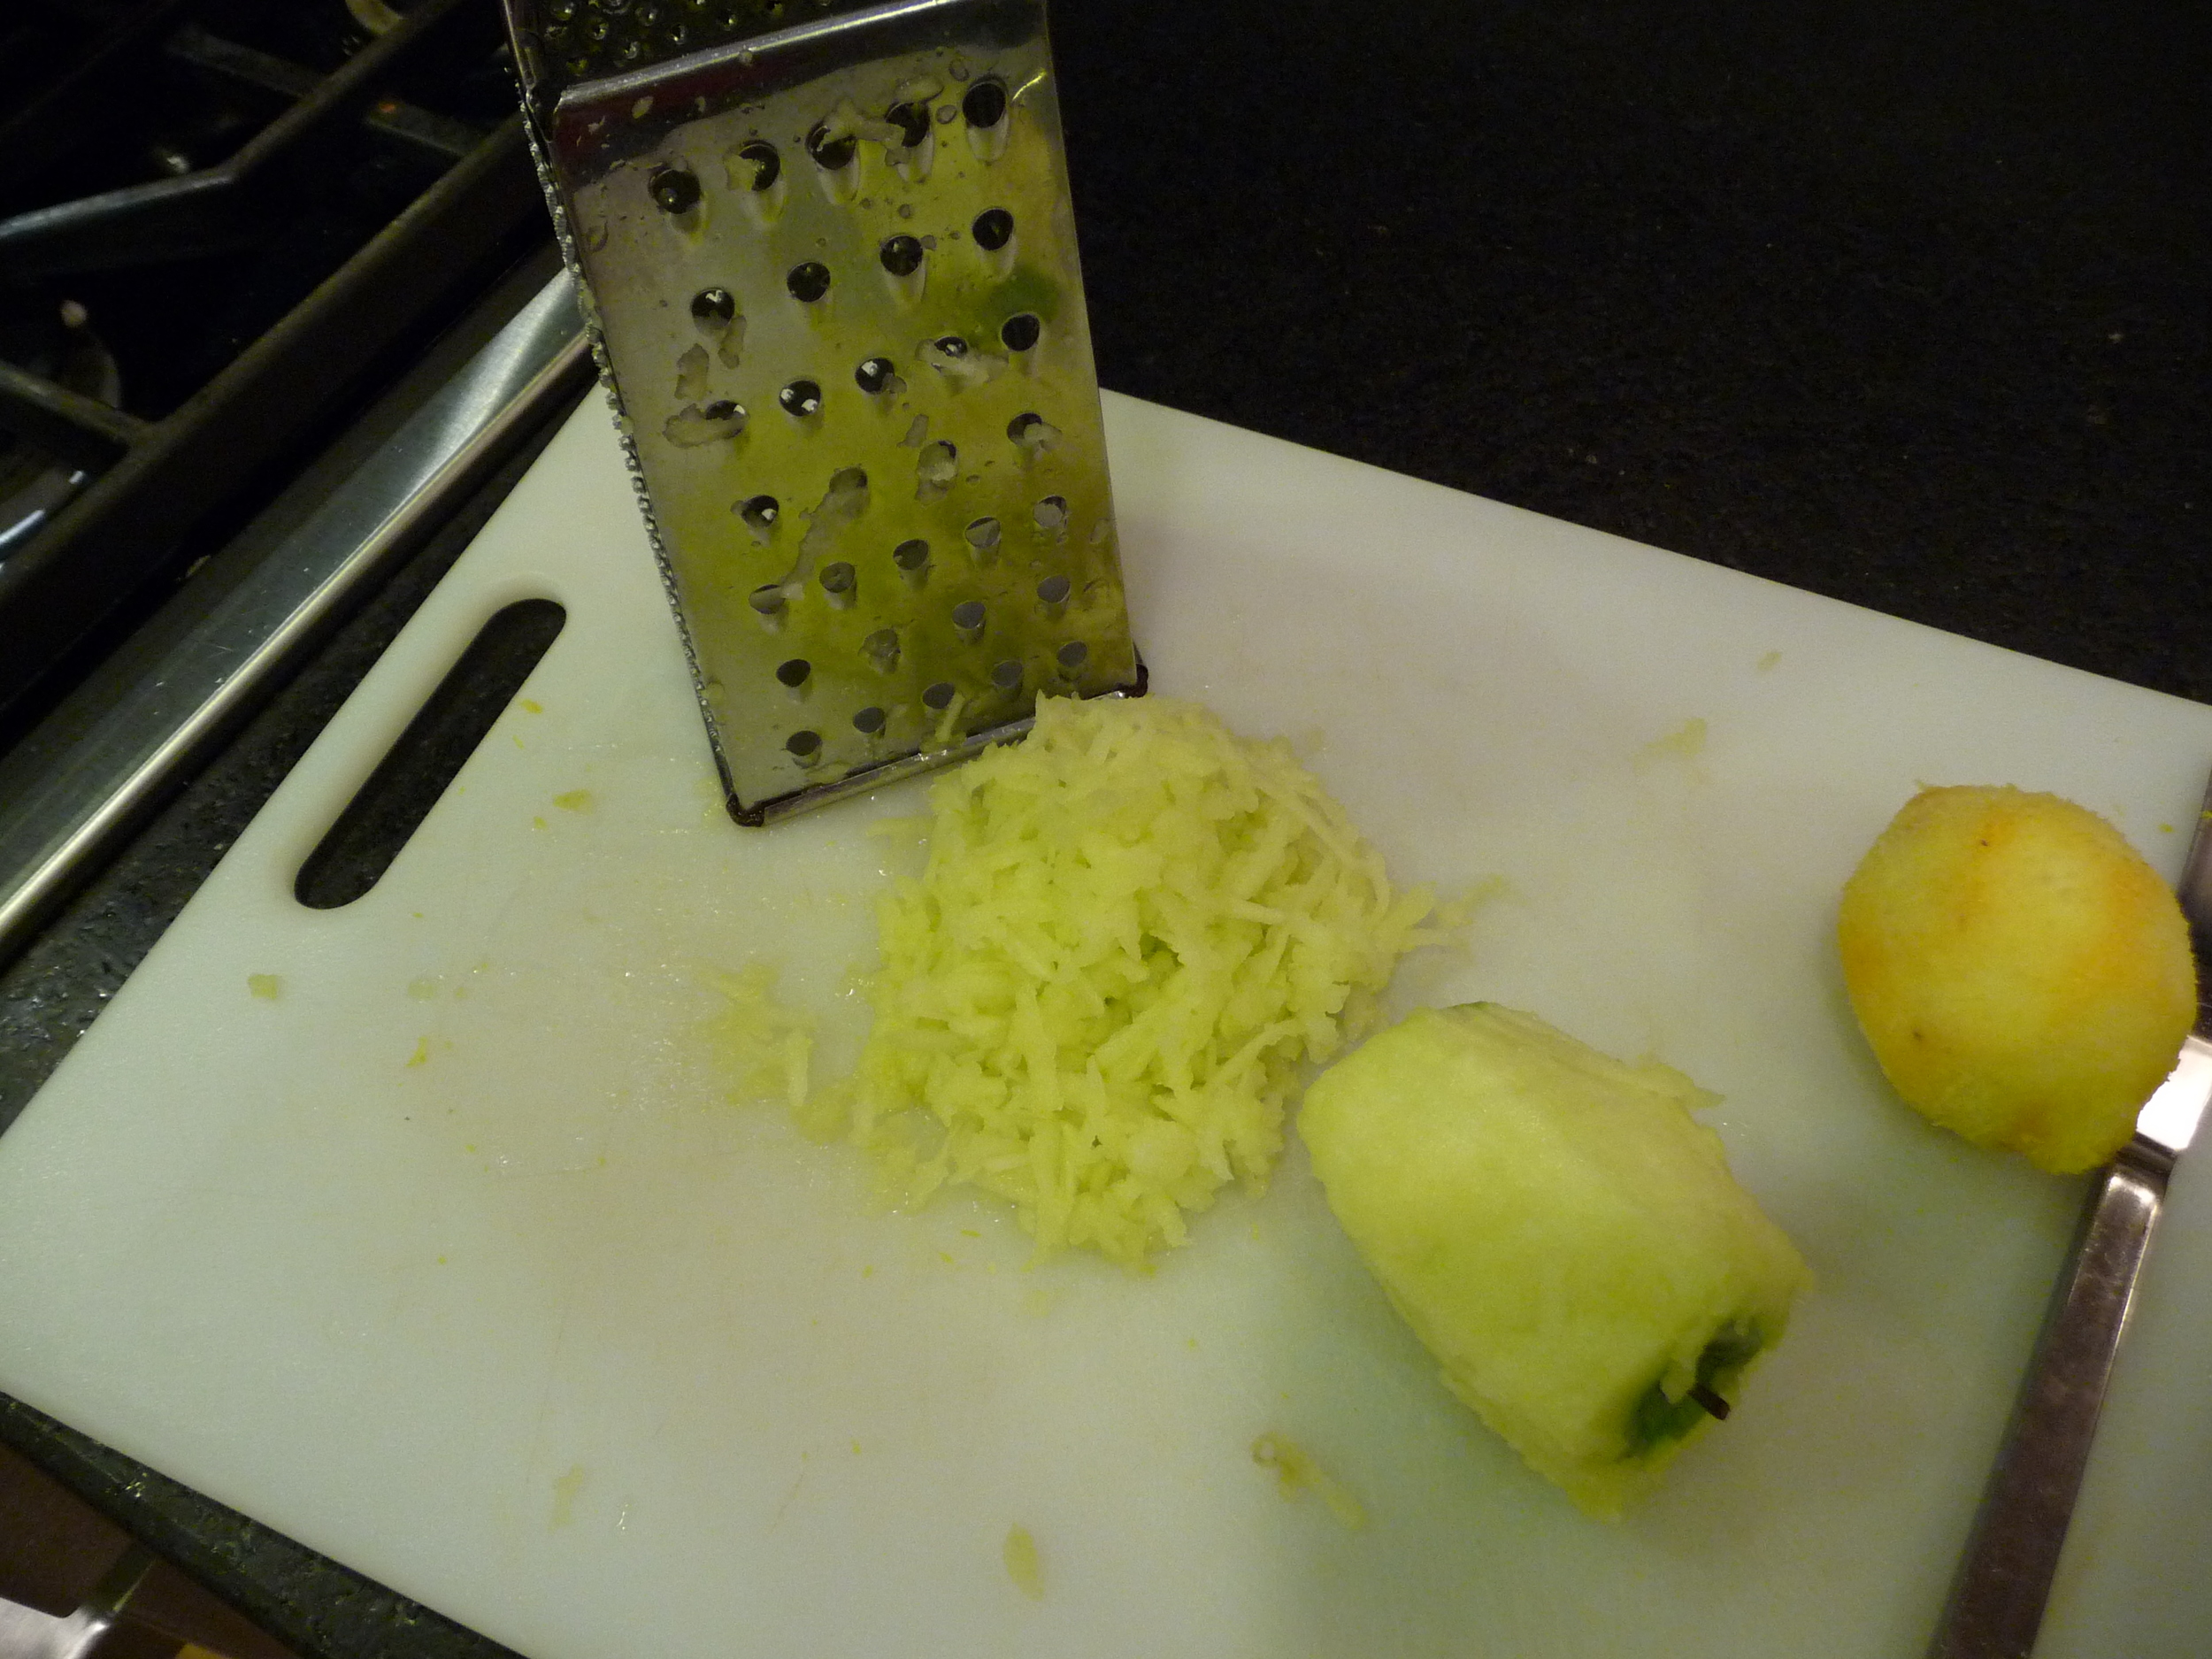
  • 1 granny smith apple, peeled and grated on large holes of box grater
  • Zest and juice of one lemon
  • 3/4 cup sugar
  • 2 tbsp instant tapioca, ground (their directions say to grind it in a spice mill or small food processor. I only have my large processor and if it's currently thrown in the sink after I've made pie crust, I am not keen to wash, dry, and assemble it to grind tapioca. So I put the tapioca in a ziplock bag and roll over it with the rolling pin until it's reasonably crushed. Don't sweat it)
  • 1 pinch salt
  • 2 tbsp unsalted butter, cut in 1/4" pieces
  • Pie crust of your choice

Step One (I hate this step): Take 1 disk of pie-crust and roll out on generously-floured surface. Roll to 12" circle, about 1/8" thick. Roll dough loosely around rolling pin and unroll into pie plate, leaving at least 1" overhang on each side.

Ha.

This is what I'm left with after following Step One:

Fabulous. That's what happens every time. And I have to resort to what I call the "Patch and Pray" method. No finesse whatsoever, the bottom crust is just completely fudged, jerry-rigged, held together with cursing and philosophy. So you do your own treatment, get the crust in there, put the pie plate back in the fridge and let's just forget it ever happened.

Adjust the oven rack to lowest position; place rimmed baking sheet on rack and heat oven to 400.

Grate the apple, set aside; grind or pound the tapioca, set aside.

Place 3 cups berries in saucepan and set over medium heat.  Using potato masher, mash berries several times to release juices.  Continue to cook, stirring and mashing occasionally, until about half of berries have broken down and mixture is thickened and reduced to 1 1/2 cups, about 8 minutes.  Remove from heat and let cool.

Place grated apple in kitchen towel and wring dry (or just squeeze it out with your hands, that's what I do). Transfer apple to a large bowl.  Add cooked berries, remaining 3 cups fresh berries, lemon zest, lemon juice, sugar, tapioca and salt. Toss to combine. Transfer mixture to dough-lined pie plate and scatter butter pieces over filling.

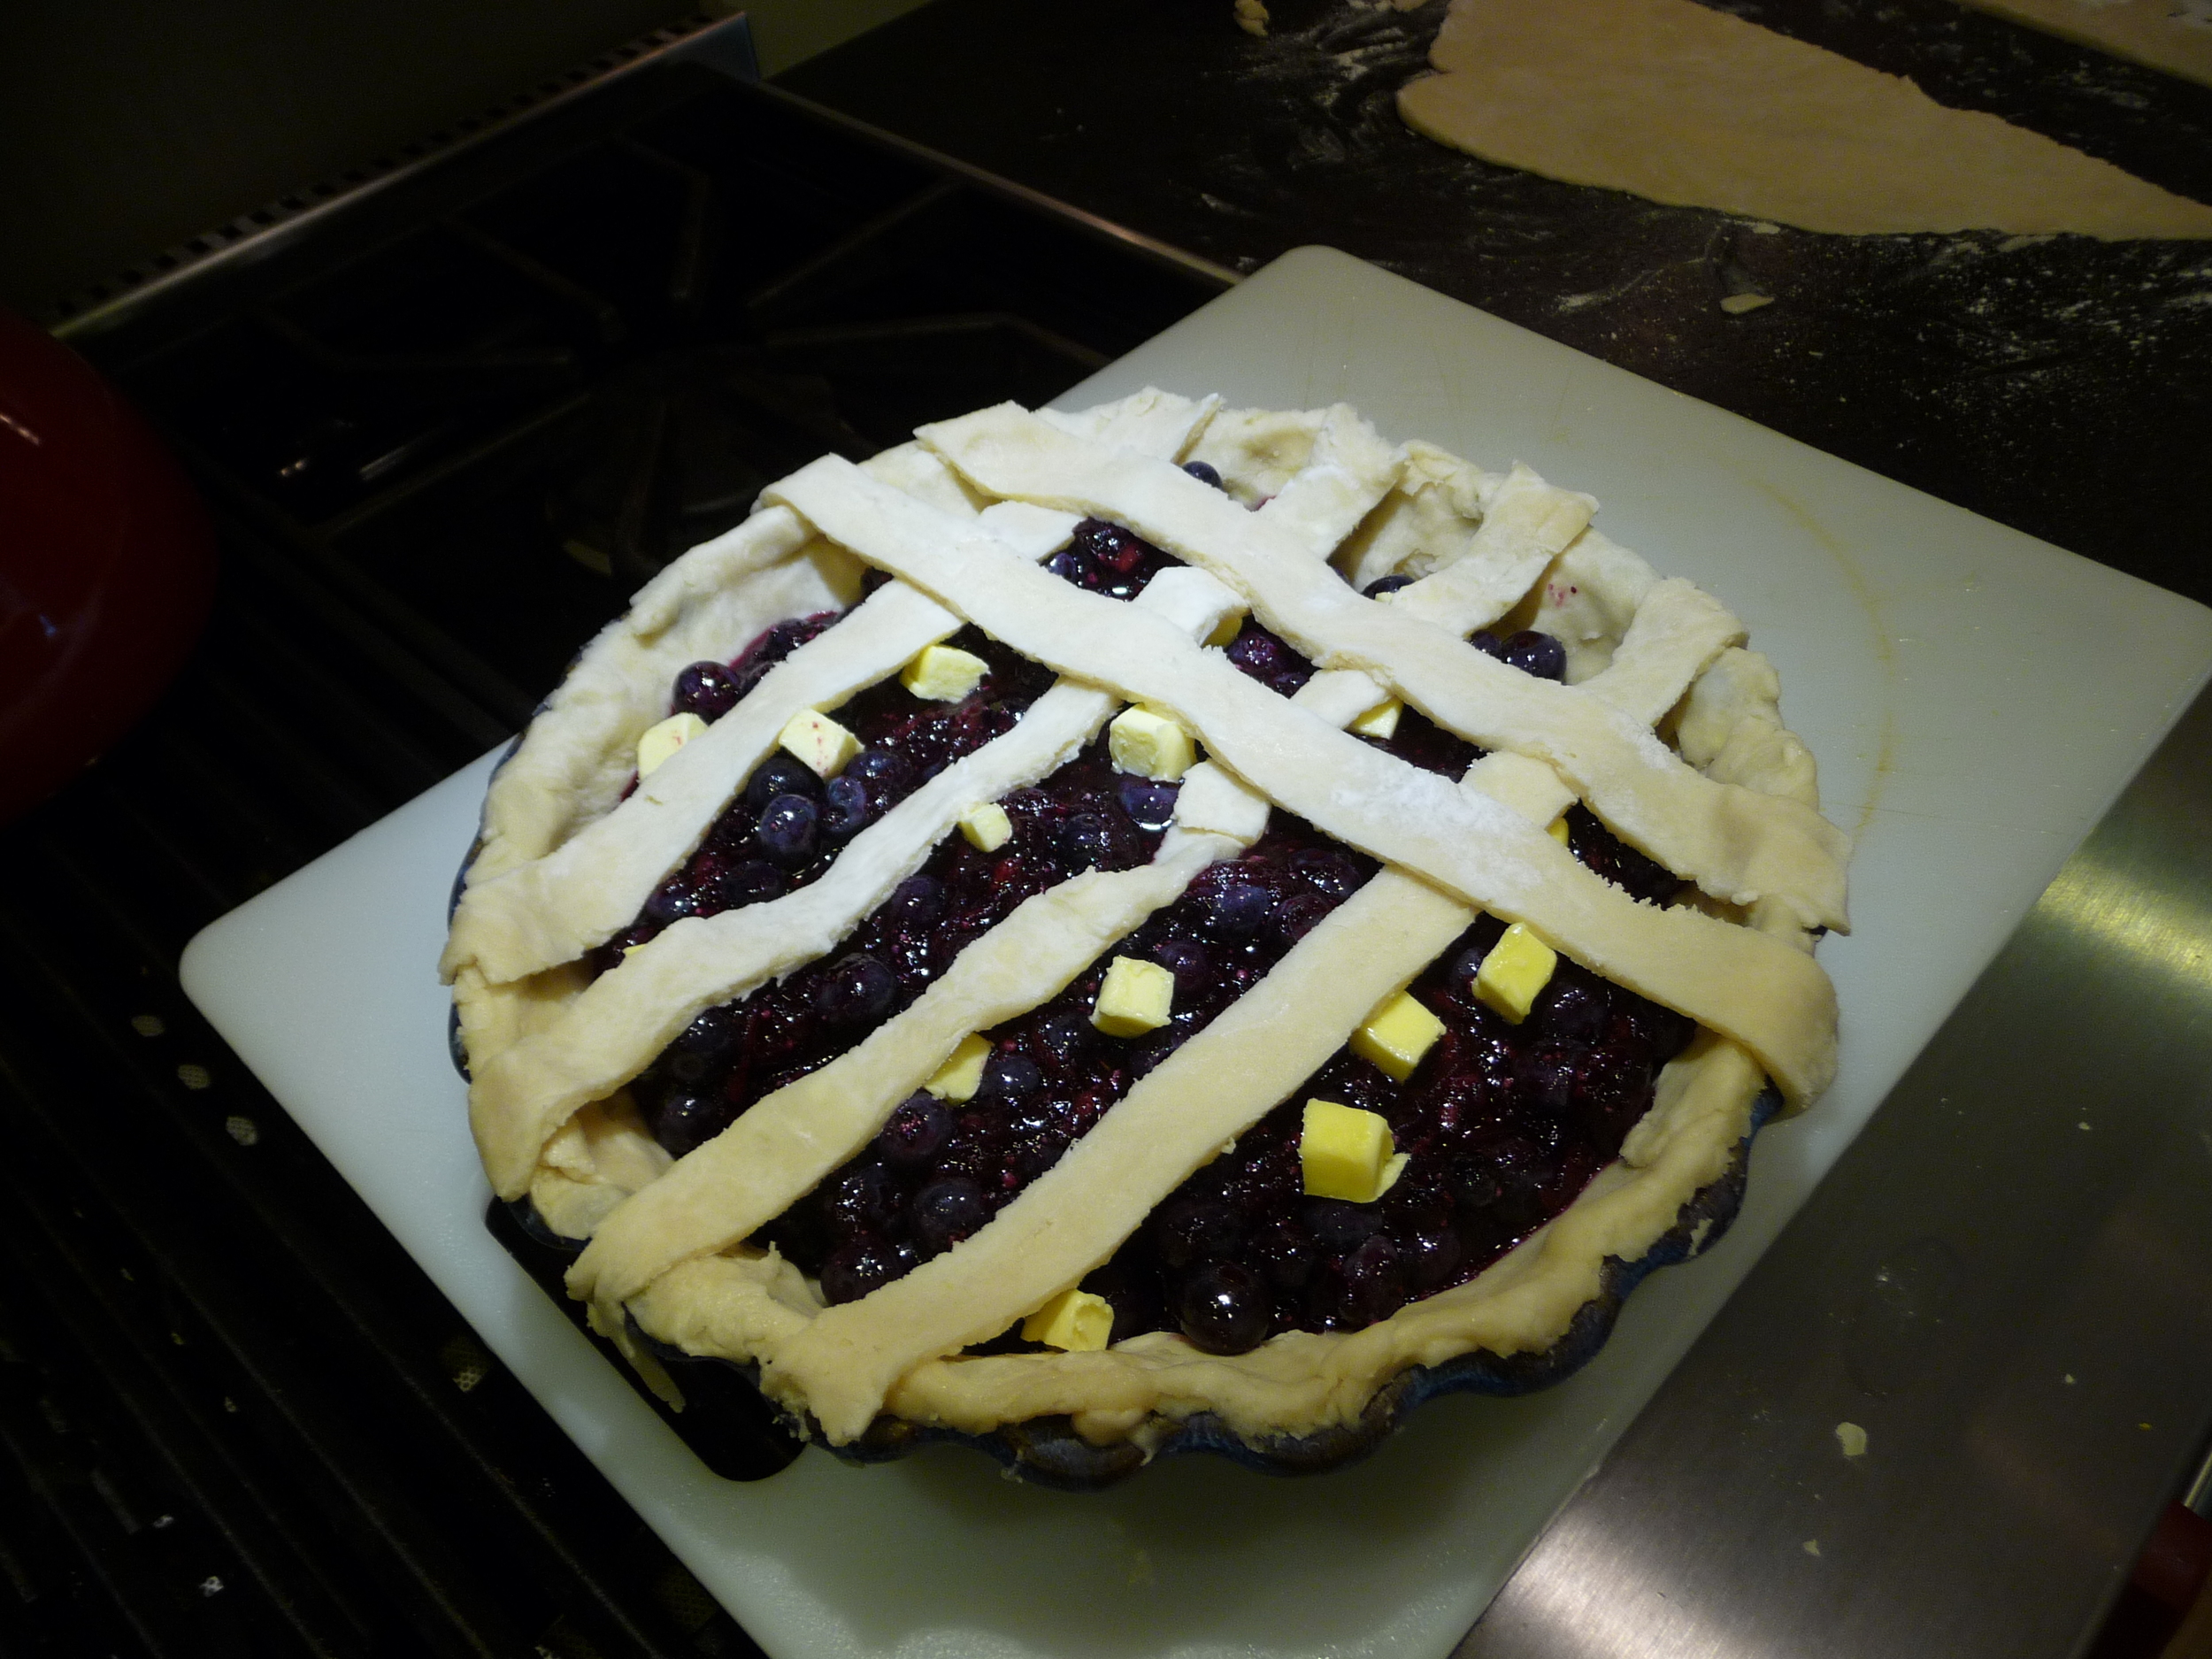
Roll out second disk of dough. You can either do a full double-crust and cut slits to let the pie vent. Or you can do a lattice top. I belong to some kind of religion that mandates berry pies to have lattice tops. Cut the dough into strips and assemble your lattice. My mother does this beautifully. Her lattice actually weaves. I just lay strips out one way, and then lay them across the other. I'm just trying to get through it, OK?

By the way, do not talk to me about crimping or fluting. I am missing that chromosome entirely. The edge of my pie is what it is.

Place pie on heated baking sheet and bake 30 minutes.

Clean up the unholy mess that is your kitchen counter:

After 30 minutes, reduce heat to 350.  If pie edges are becoming too browned, cover with foil.  Bake another 30 minutes at 350.

P1060693
P1060693

Remove from oven. Place on wire rack, or on windowsill, or on attractive curved ledge of your kitchen window pass-through, which your architect so thoughtfully designed for the express purpose of cooling a pie thereupon. Let cool completely, at least 4 hours.

Slice.

Serve.

Die.

You can see from the quarter of the pie that's left how nicely it holds. It's a beautiful pie. You did a great job. 

More, please.

Foolproof Pie Crust (from Cook's Illustrated)

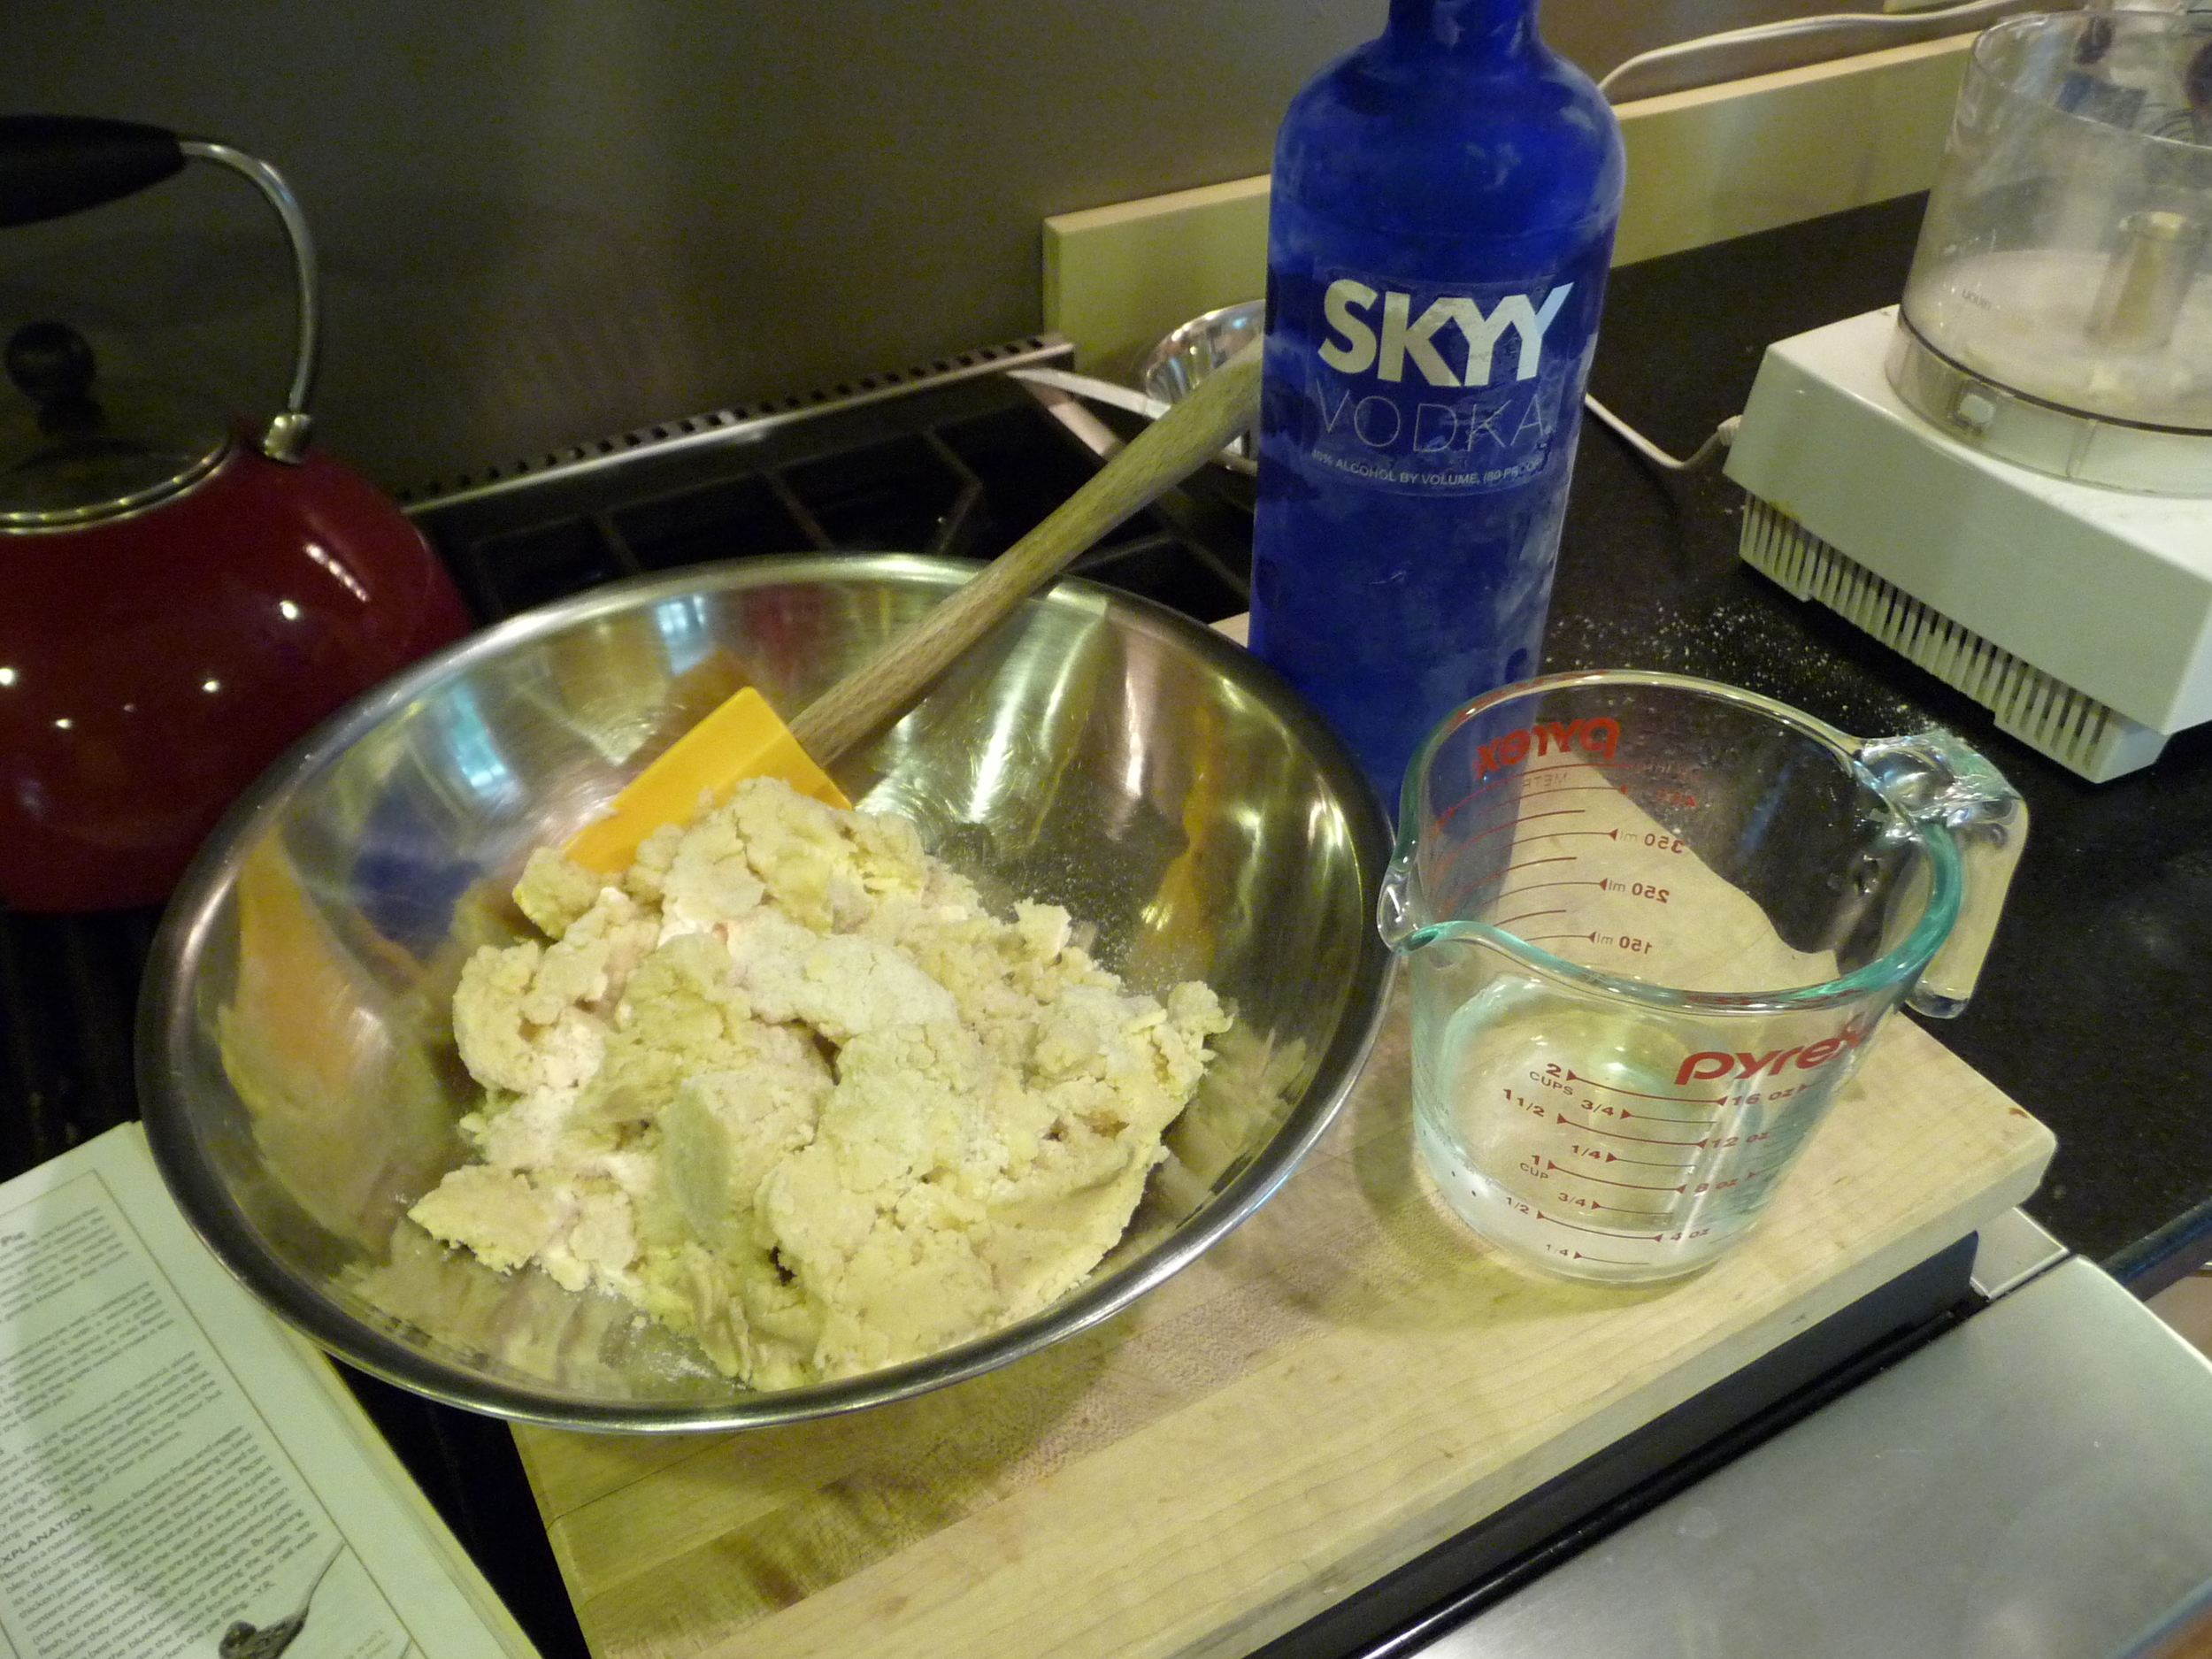
The secret to this crust recipe being foolproof is the use of vodka, and Cook's Illustrated can give you all scientific know-how but basically the vodka prevents gluten from forming in the crust, which makes it turn out tough. Water makes gluten form, but you need water to make crust, so essentially you need something that's wet without being water and vodka is the ticket—it's only 60% water and the 40% alcohol evaporates away during baking, leaving perfect crust every time. Trust me.

Foolproof Pie Crust

  • 2 1/2 cups flour
  • 1 tsp table salt
  • 2 tbsp sugar
  • 12 tbsp (1 1/2 sticks) COLD unsalted butter, cut into 1/4" slices
  • 1/2 cup COLD vegetable shortening, cut into 4 pieces
  • 1/4 cup COLD vodka (any sensible person keeps vodka in the freezer anyway)
  • 1/4 cup COLD water

Process 1 1/2 cups flour, salt and sugar in food processor until combined (about 2, one-second pulses).

Add butter and shortening and process until homogenous dough just starts to collect in uneven clumps, about 15 seconds.  Dough will resemble cottage cheese curds and there should be no uncoated flour.  Scrape bowl with rubber spatula and redistribute dough evenly around blade.

Add remaining cup flour and pulse until mixture is evenly distributed around bowl and mass of dough has been broken up (4 to 6 quick pulses).  Empty mixture into medium bowl.

Sprinkle vodka and water over mixture.  With rubber spatula, use folding motion to mix, pressing down on dough until dough is slightly tacky and sticks together.

Divide dough into two even balls and flatten into 4-inch disks.  Wrap each in plastic wrap and refrigerate at least 45 minutes or up to 2 days.

Even MORE Plants That Look Good Together and Bloom at the Same Time!

After the whites, pinks and pastel purples of spring, the gardens are now hot with summer color, leading to bouquets such as this:

I've had a long love affair with Echinacea, and my new flower crush is definitely Hot Papaya, a double coneflower in the most unbelievably vibrant orange you've ever seen. These pictures don't do them a lick of justice. The flowers last a long time: these have been in the garden 2 weeks with the same blooms that came home from nursery. They are a fantastic player.

I have a stand of them right outside my dining room windows, next to a clump of not-yet-bloomed Black-Eyed Susans, and a mess of Drumstick alliums.  These alliums bloom much later in the season than their spring counterparts, in a vivid red-purple. 

At the base of the Echinacea is some Mirabilis, or Four O'Clocks (so called because the flowers don't open until mid-afternoon). This kind is called "Limelight"—it has chartreuse leaves and bright magenta flowers. I grew them from seed two years ago and they have re-populated themselves like crazy. Every year seedlings show up and I just move them wherever I want that hit of lime-green foliage.

Hot Papaya is dynamite with any purple spiky flower, like salvia or, pictured here, Veronica.

The orange pompoms are also fantastic with any silver-foliage plant. I'm a big fan of eryngium, or sea holly. I grow Eryngium Giganticum, "Miss Wilmott's Ghost," which is a true silver that looks superb next to any orange or yellow flower. It's a little hard to obtain and establish, but once you have it going, it will reseed every year.

This clump of coneflowers grows with Monarda "Raspberry Wine".

Below is Echinacea "Mango Meadowbrite" at the foreground, and "Big Sky Sundown" at the rear Clumps of Nepeta (catmint) grow at the base of them, but it's been sheared down recently. It's resting.

Stuffed Zucchini Flowers

I grow six zucchini plants. Three are for the purpose of having zucchini. The other three are expressly for flowers, and if the plant manages to produce a fruit or two anyway, fabulous. But if you are a male flower on those three plants, you should accept that your days are numbered. Oh, and you blossoms on the rogue pumpkin vines scattered about the premises? You're not safe either.

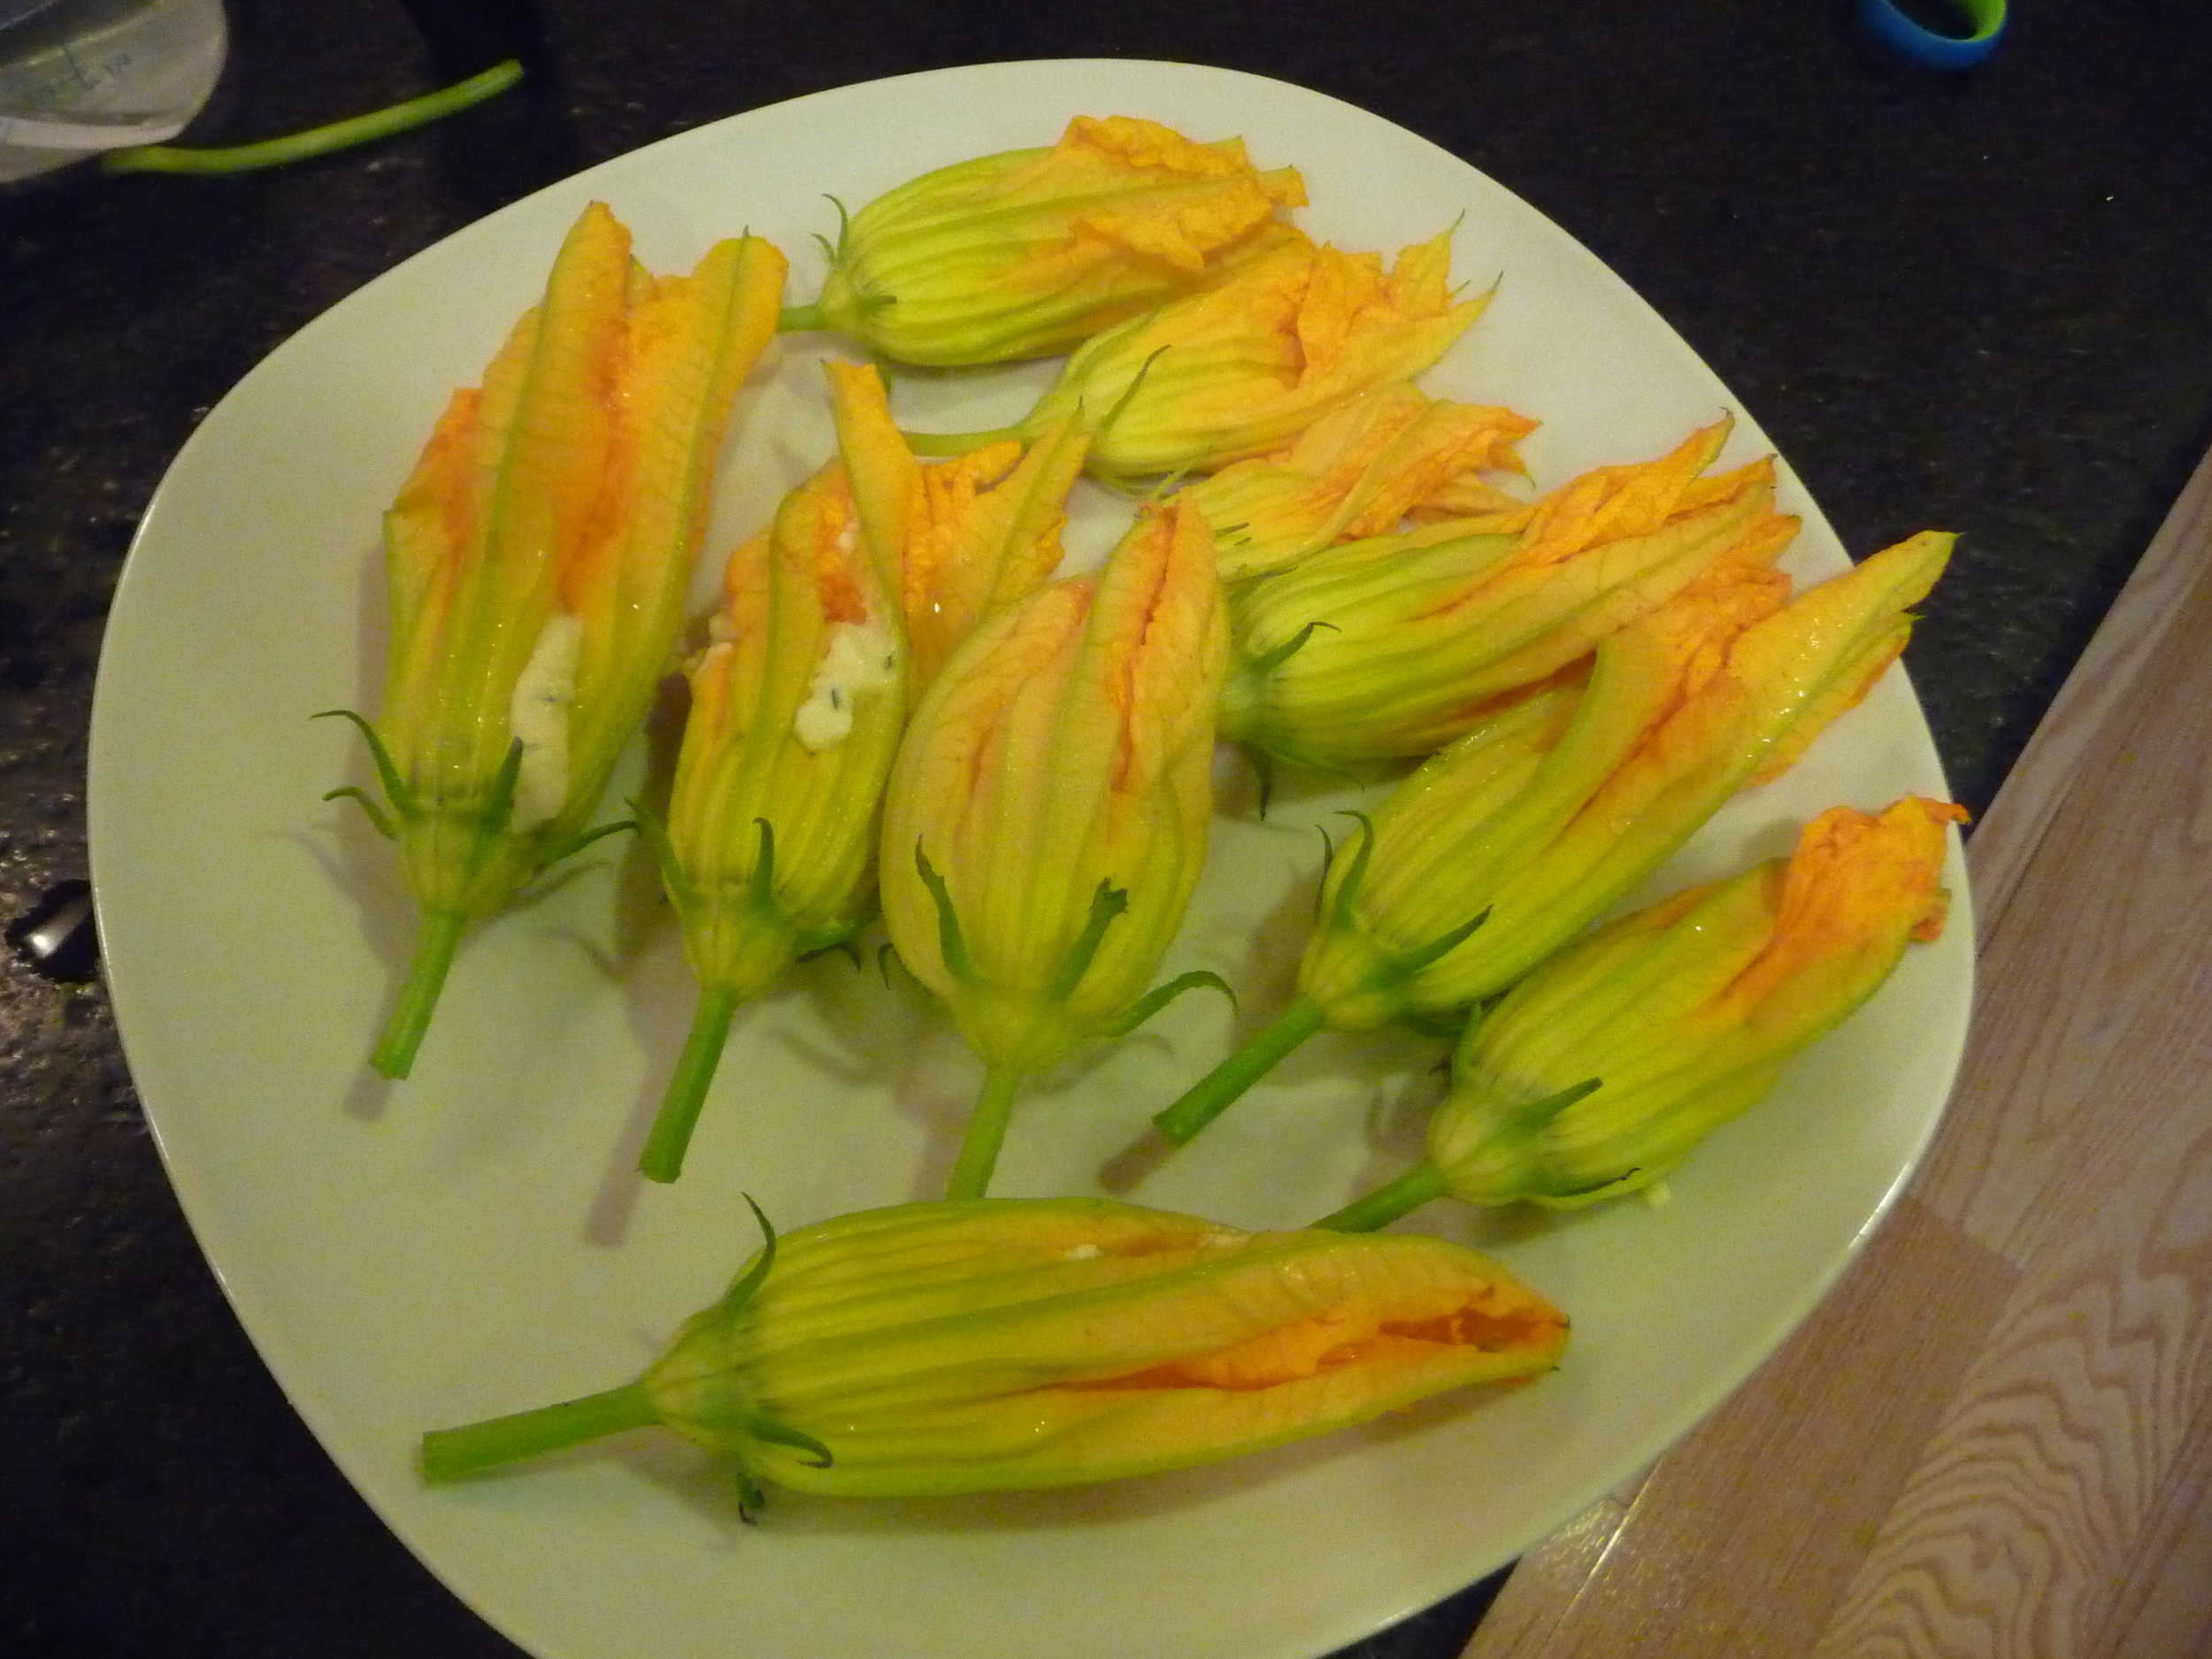
Between yesterday and today, I got 10 good flowers—8 zucchini and 2 pumpkin. The blossoms will keep in the fridge, rolled in a damp paper towel.

There are about a thousand ways to make zucchini flowers—unstuffed, stuffed, pan-fried, deep-fried, baked, rolled in a batter of flour and seltzer, or egg and flour, or egg white and bread crumbs. It's simply a matter of finding the recipe and method that works for you. Or, in my case, cobbling a method together from one or two sources—the filling from one of my cookbooks, and the batter from Laurie Colwin's Home Cooking. 

Whatever your method, it's pretty hard to screw these up. And it's impossible to make enough.

Stuffed Zucchini Flowers

You use male flowers for this dish. The stem of a male flower looks like a stem, and the stem of a female flower looks like a tiny little squash. Inside the blossom, the males look like boys, and the females look like girls. OK? That's all I'm saying. For further botanical sex education, and visual aids, go here.

Trim the stems off the blossom—I leave about a two-inch stem just to have something to hold onto (shut up). With small scissors, cut out the stamen of each flower (courage, men, courage). (And shut up).

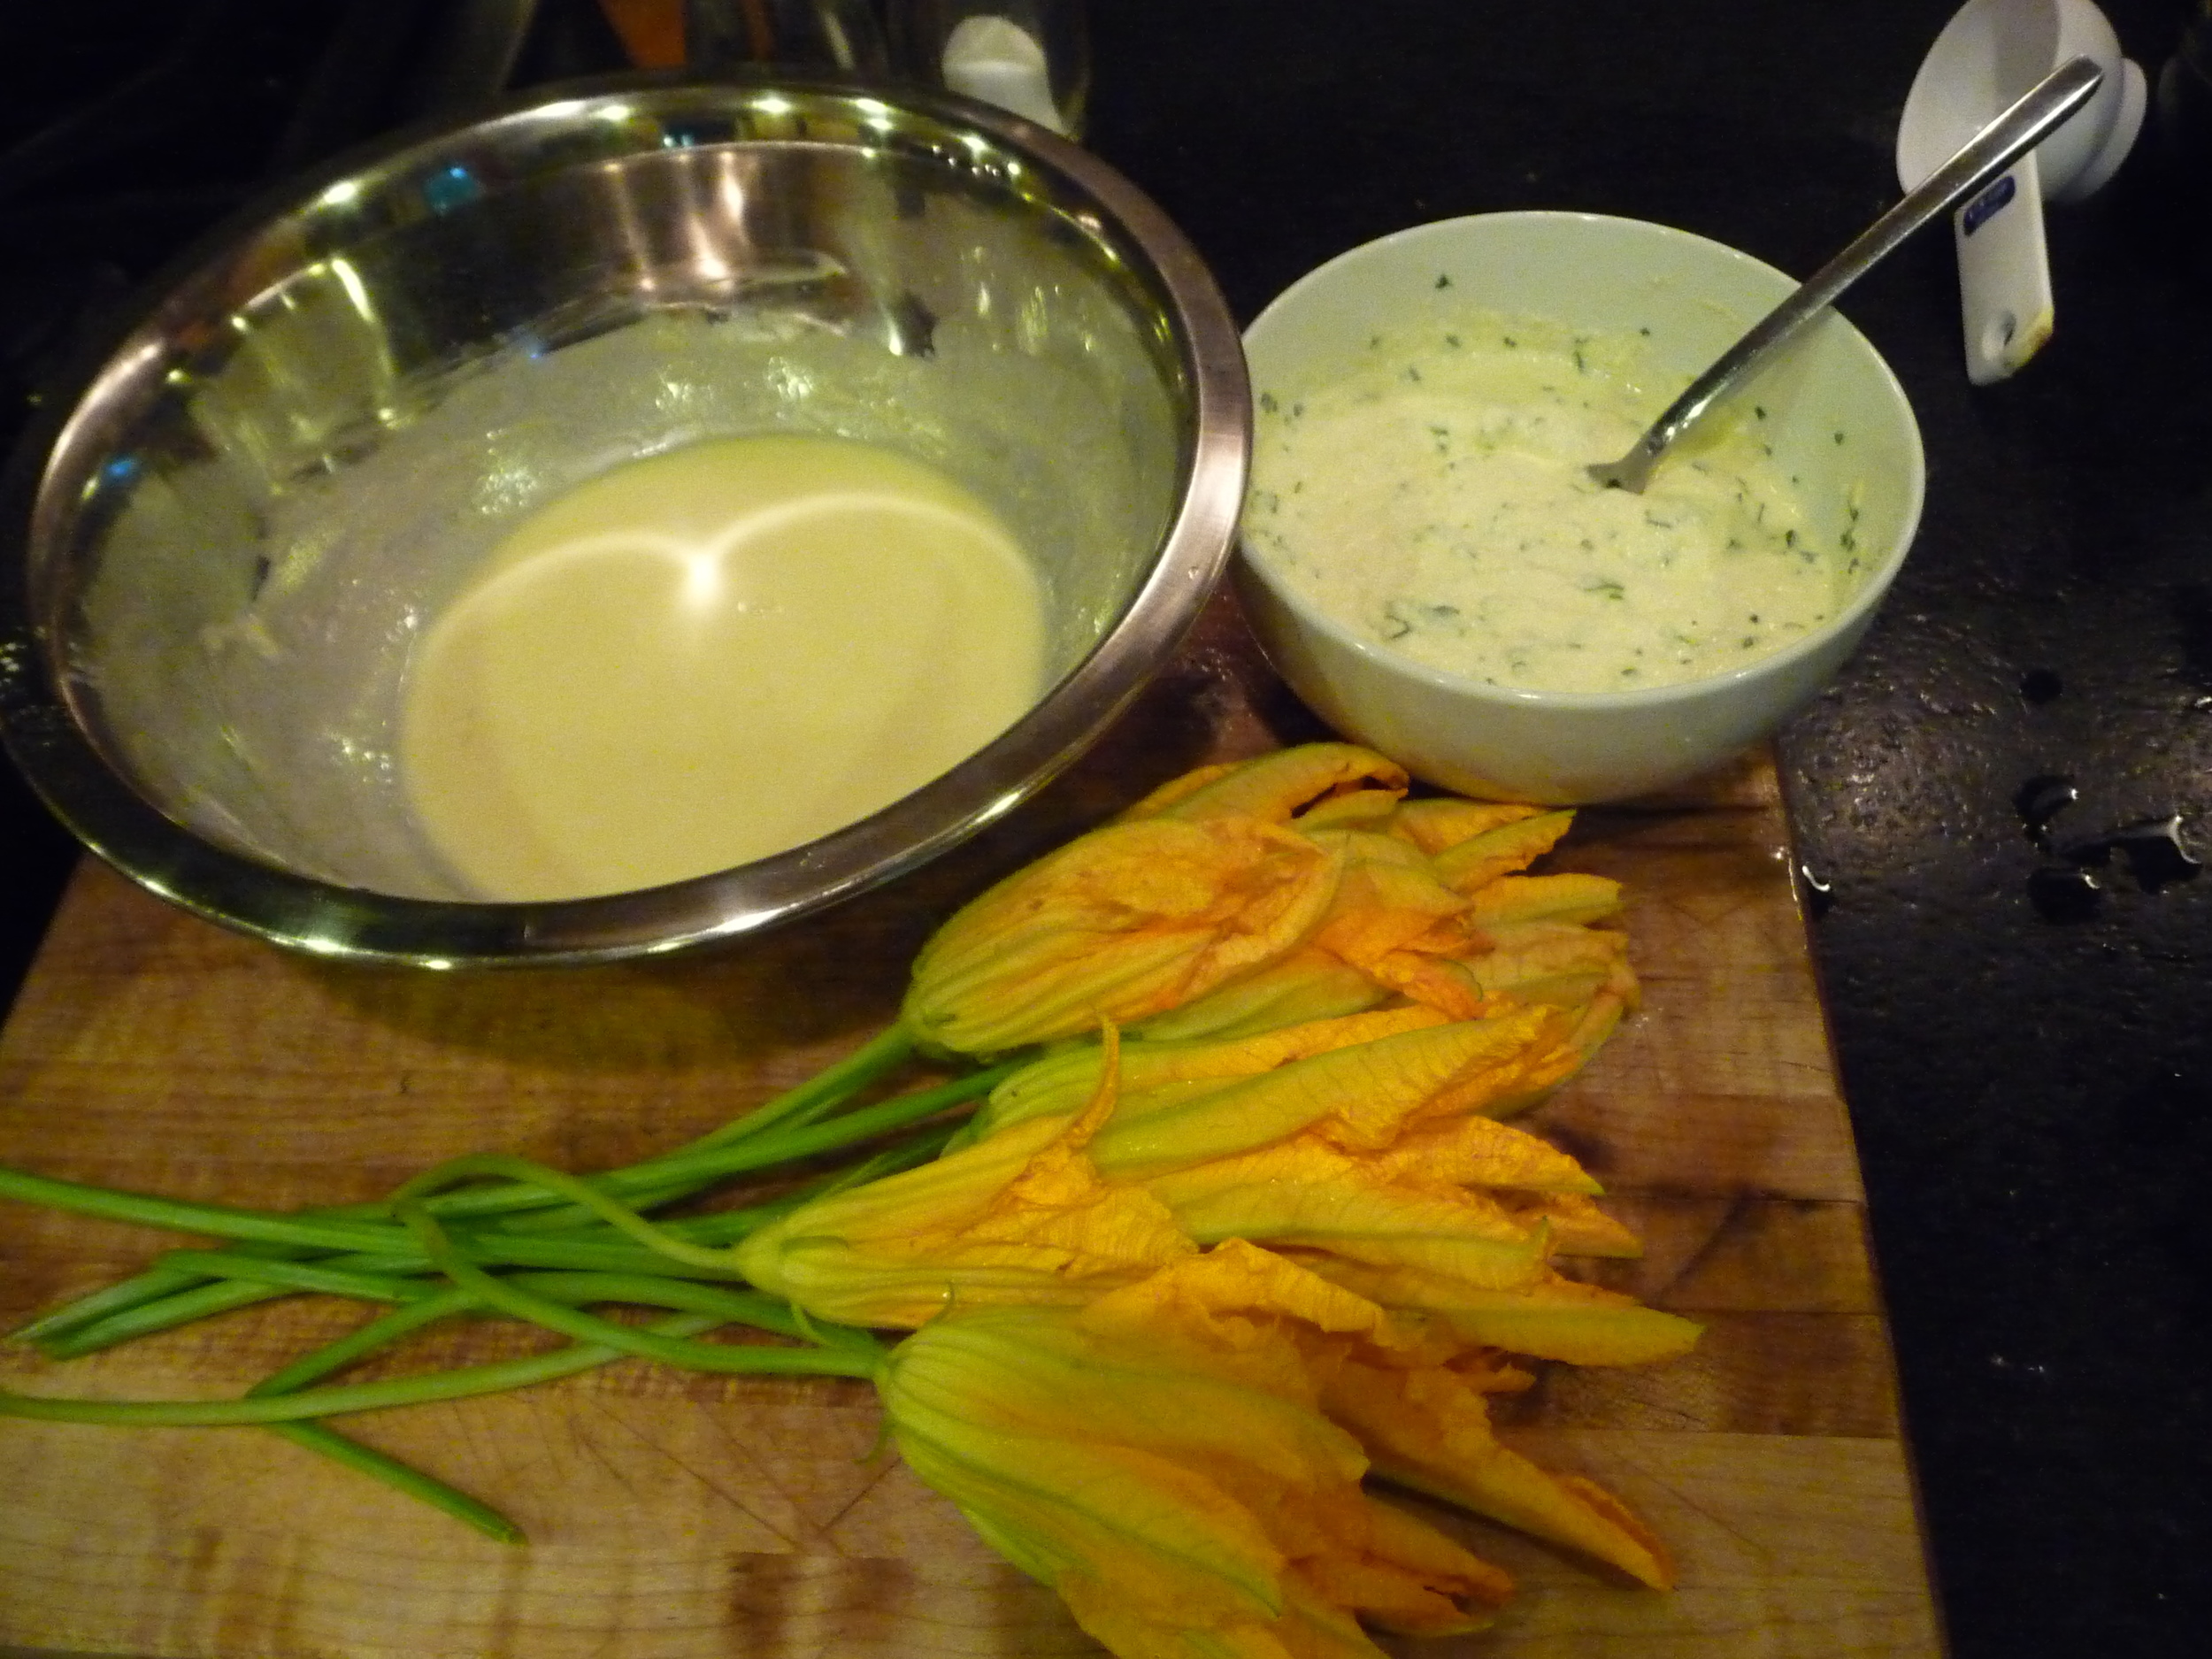
Filling (for about a dozen blossoms, plus leftovers for the next crop)

  • 3/4 cup ricotta cheese
  • 1/4 cup parmesan
  • 1 egg
  • 1 tablespoon chopped fresh herbs (I used basil and parsley)

Mix all in a small bowl. You have a choice of filling the blossoms with a small spoon, or putting the filling into a pastry bag (if you own one) or a ziplock bag with the corner cut off and piping the filling into the blossoms. I use a small spoon. Fill each flower with about 2 teaspoons, then twist petals to close. It helps to wet your fingers first, then twist. (Shut up.)

Batter

  • 1 egg
  • 1 tablespoon lemon juice
  • 1/3 cup flour
  • 2-3 tablespoons water

Beat egg with lemon juice in a medium bowl. Whisk in flour. Batter will be thick. Whisk in water until consistency of thin pancake batter or tempura. I know that's extremely vague, and very lame coming from someone who does not cook before 12PM, but that's what it will look like.

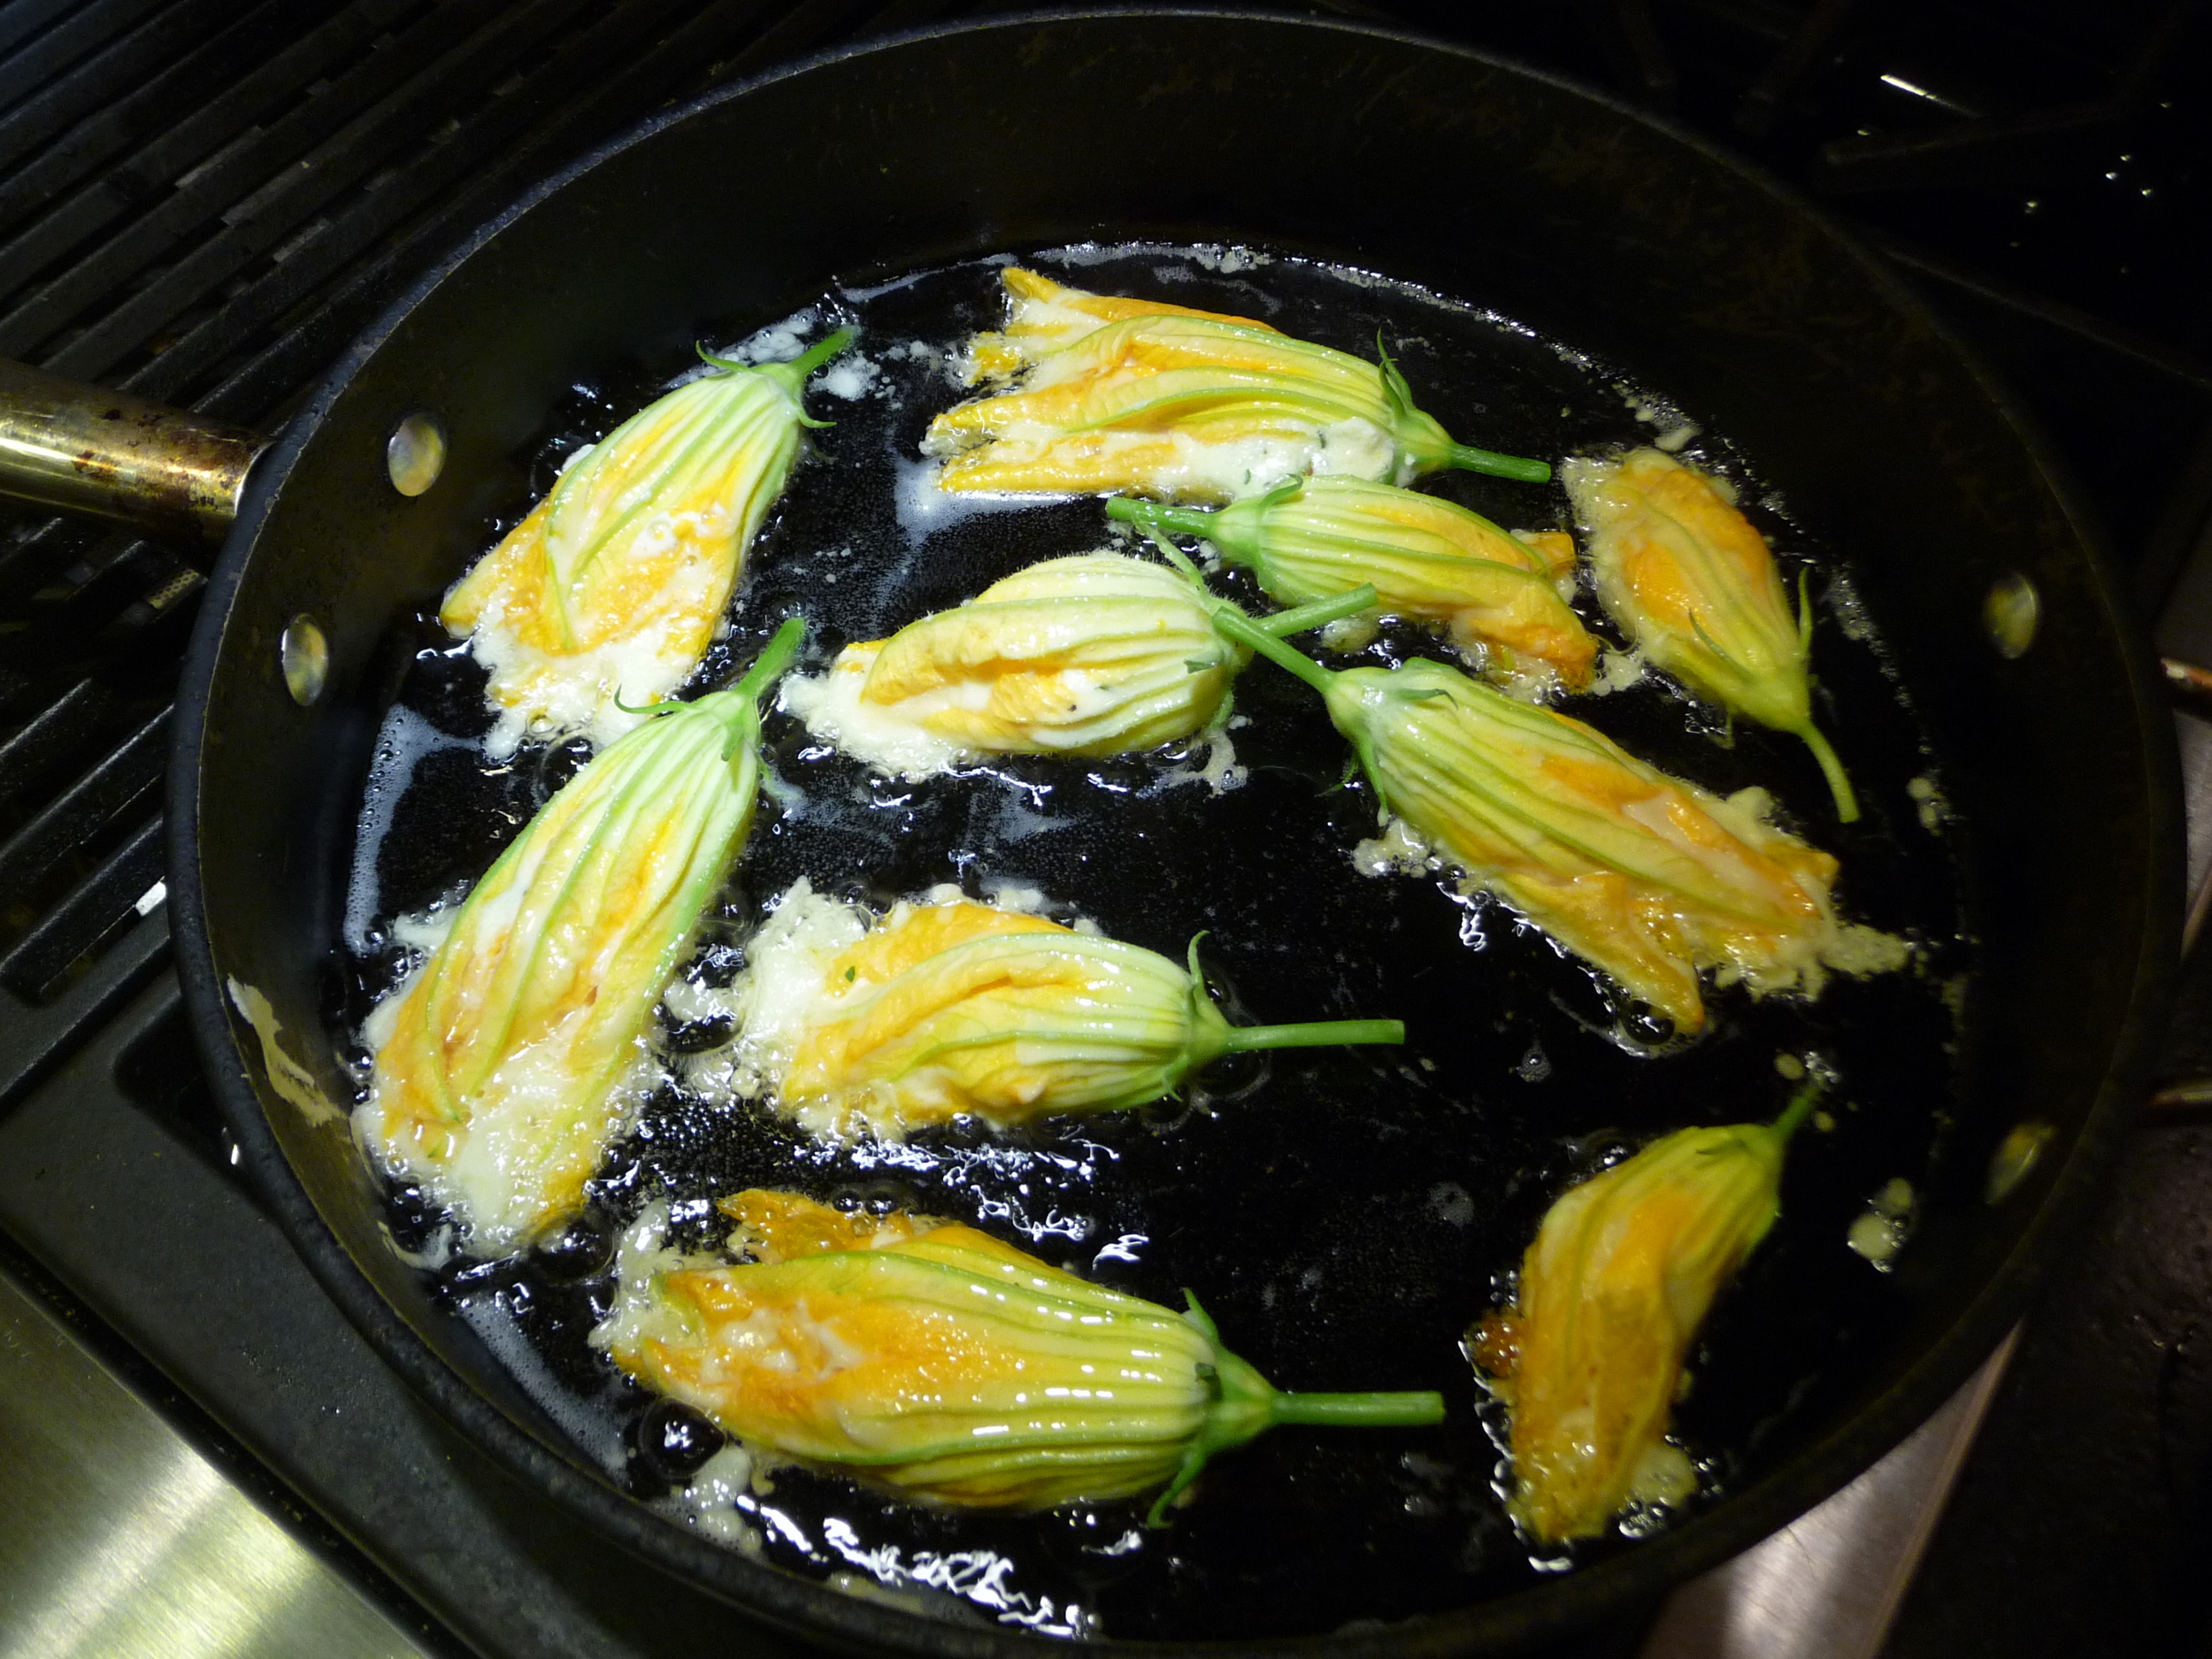
Heat 1/2" canola or vegetable oil in a heavy skillet over medium-high heat.

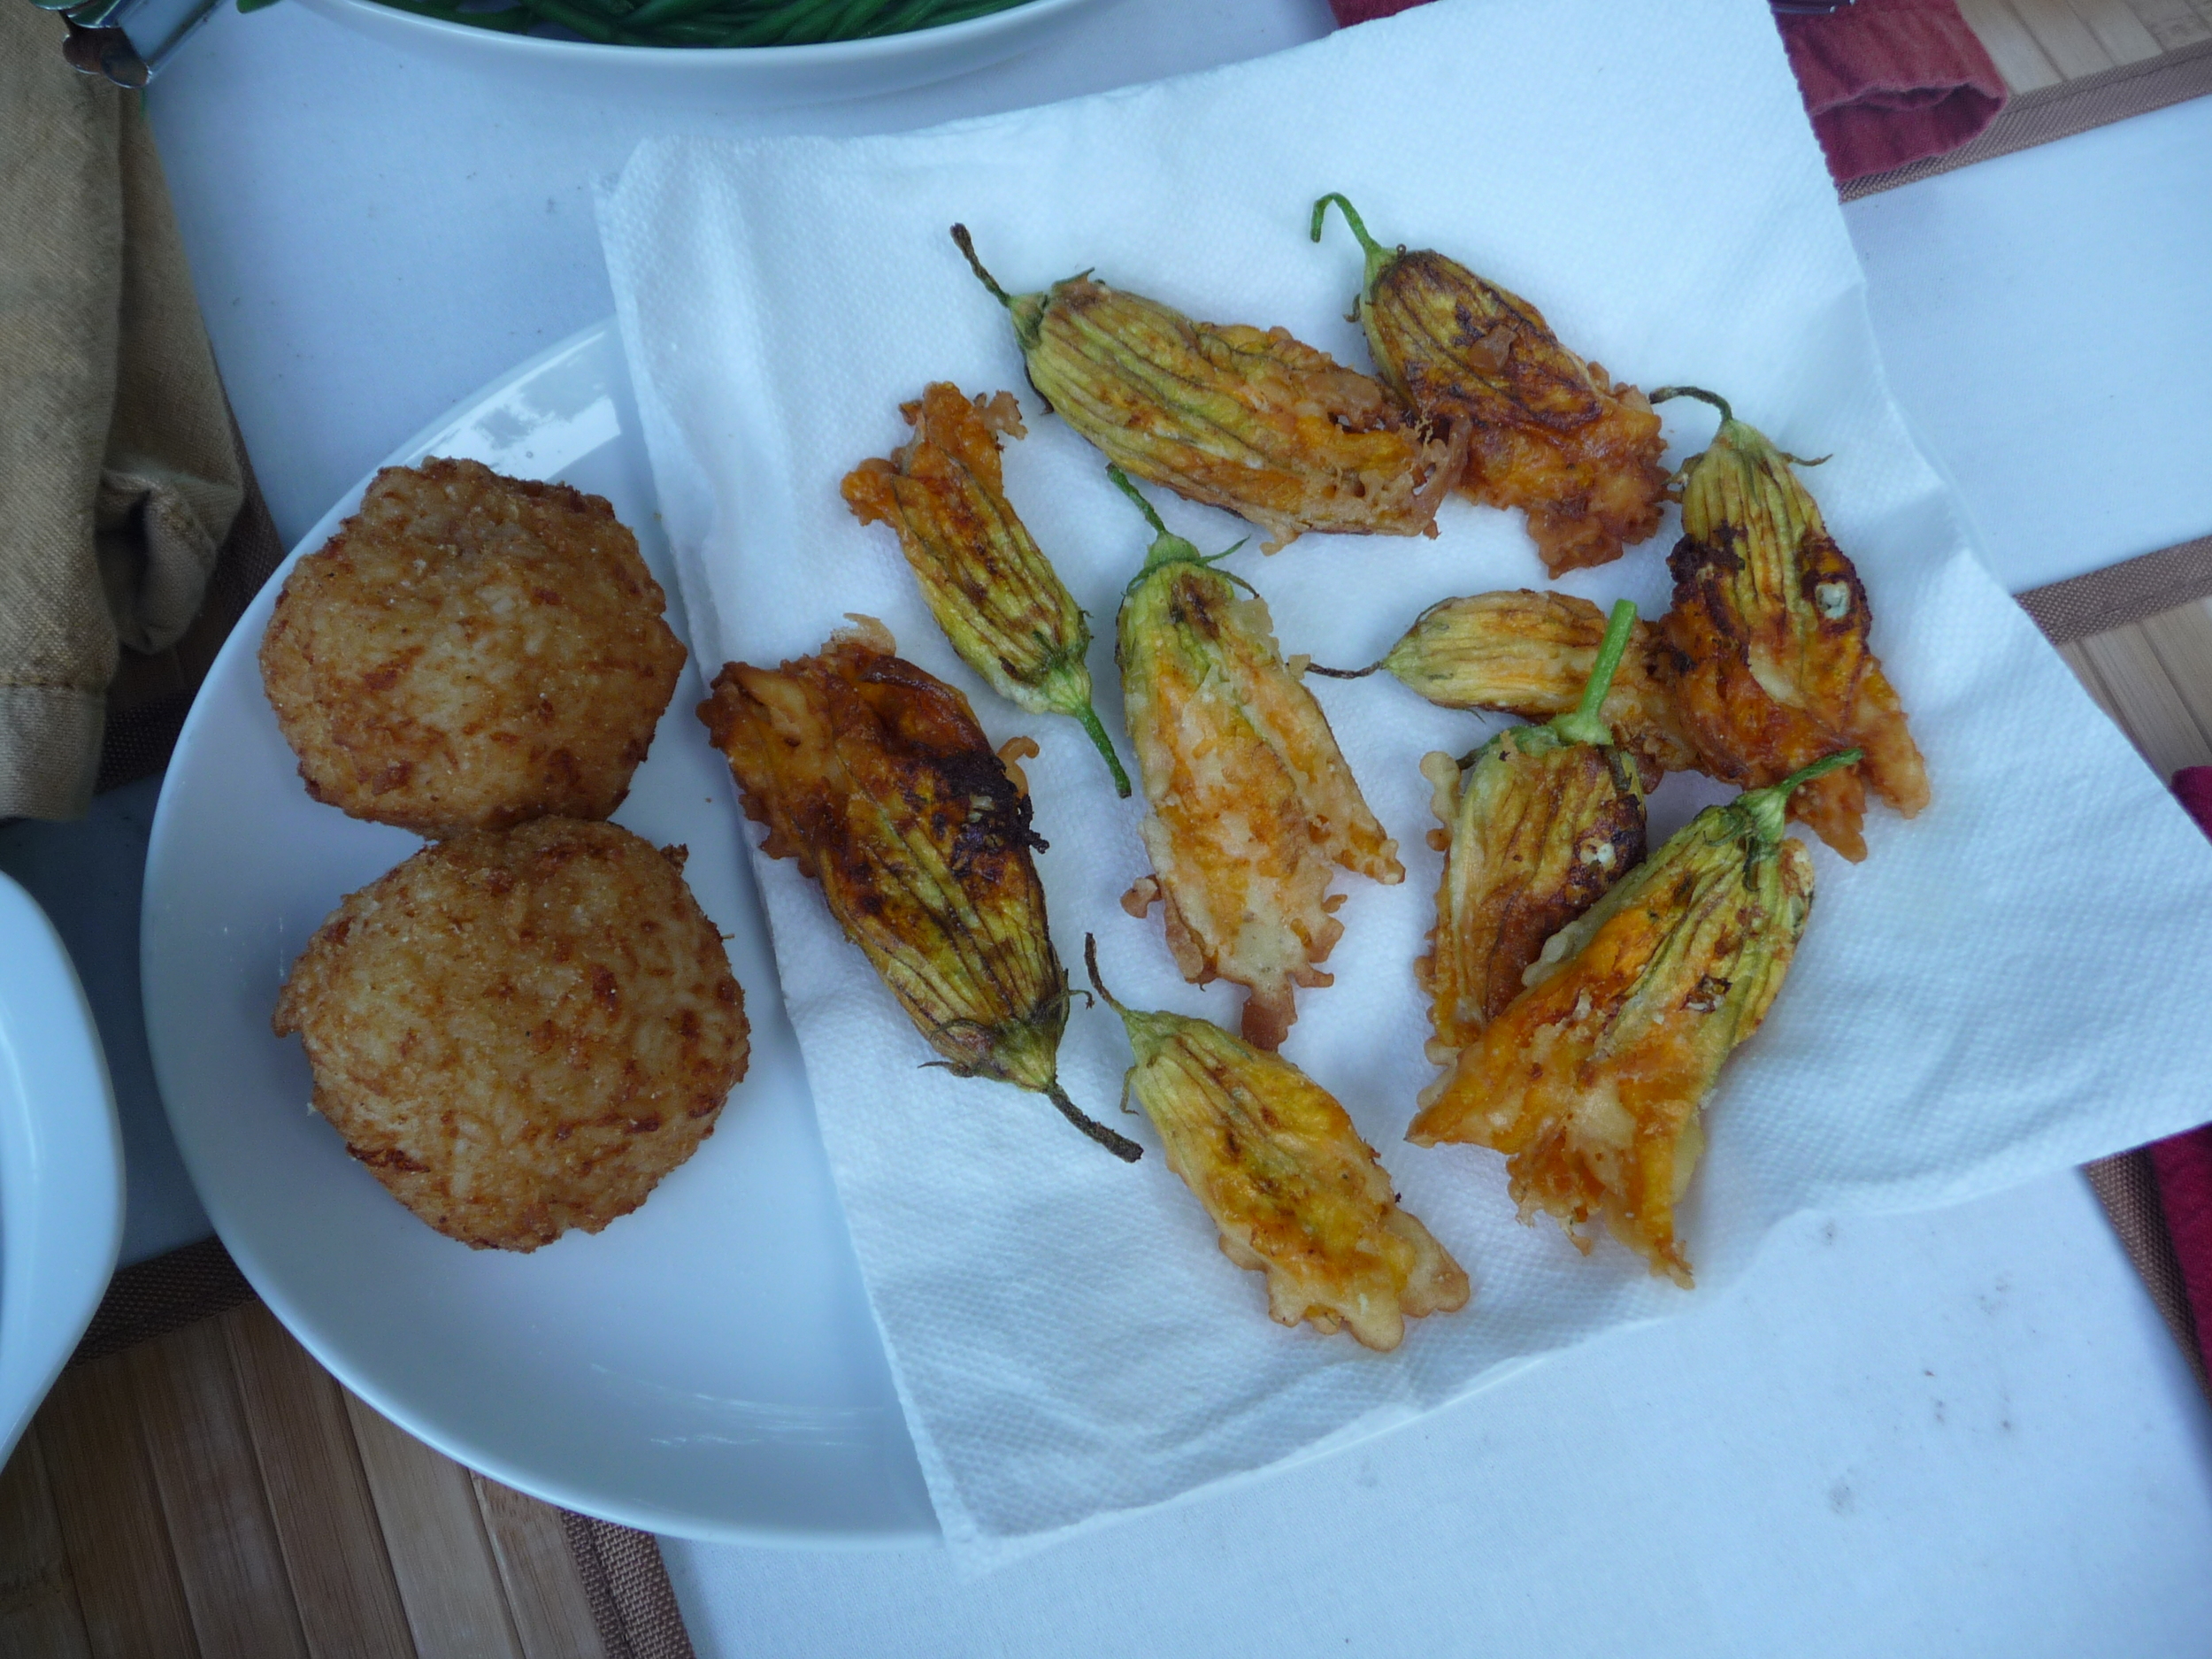
Dip each blossom in batter, twist by the stem to coat completely, then lay in skillet. Fry 3-4 minutes a side until golden brown and crispy. Transfer to paper towels to drain and sprinkle with salt. Immediately claim yours. Serve the rest. Wipe the tears when they realize there are no more.

So dinner tonight, like the zucchini flowers, was cobbled together from this and that. I don't know why this seems so much acceptable in summertime, but in general I find mealtimes easier this time of year. I'm not racing the clock, I'm usually letting the garden dictate the direction of dinner, people are hungry and seem more amenable to new things, everyone is just in a better mood. 

So I already had the blossoms on deck, but when I went to our local Italian deli (Valben's, for those of you in the area, I love them) for the ricotta cheese and eggs, she had rice balls in the front display case—breaded and fried and wow, they looked good. And her fresh marinara sauce in the cooler, yes, I'll take a half-quart of that, please. The woman there is so wonderful, "What are you making for dinner tonight, honey?" I told her about the crop of blossoms waiting at home and she was as excited as if she'd been invited for dinner.

So there were the blossoms, the rice balls with marinara sauce, steamed green beans, and roasted potatoes. Potatoes and rice for dinner? Sure, why not, what the hell!

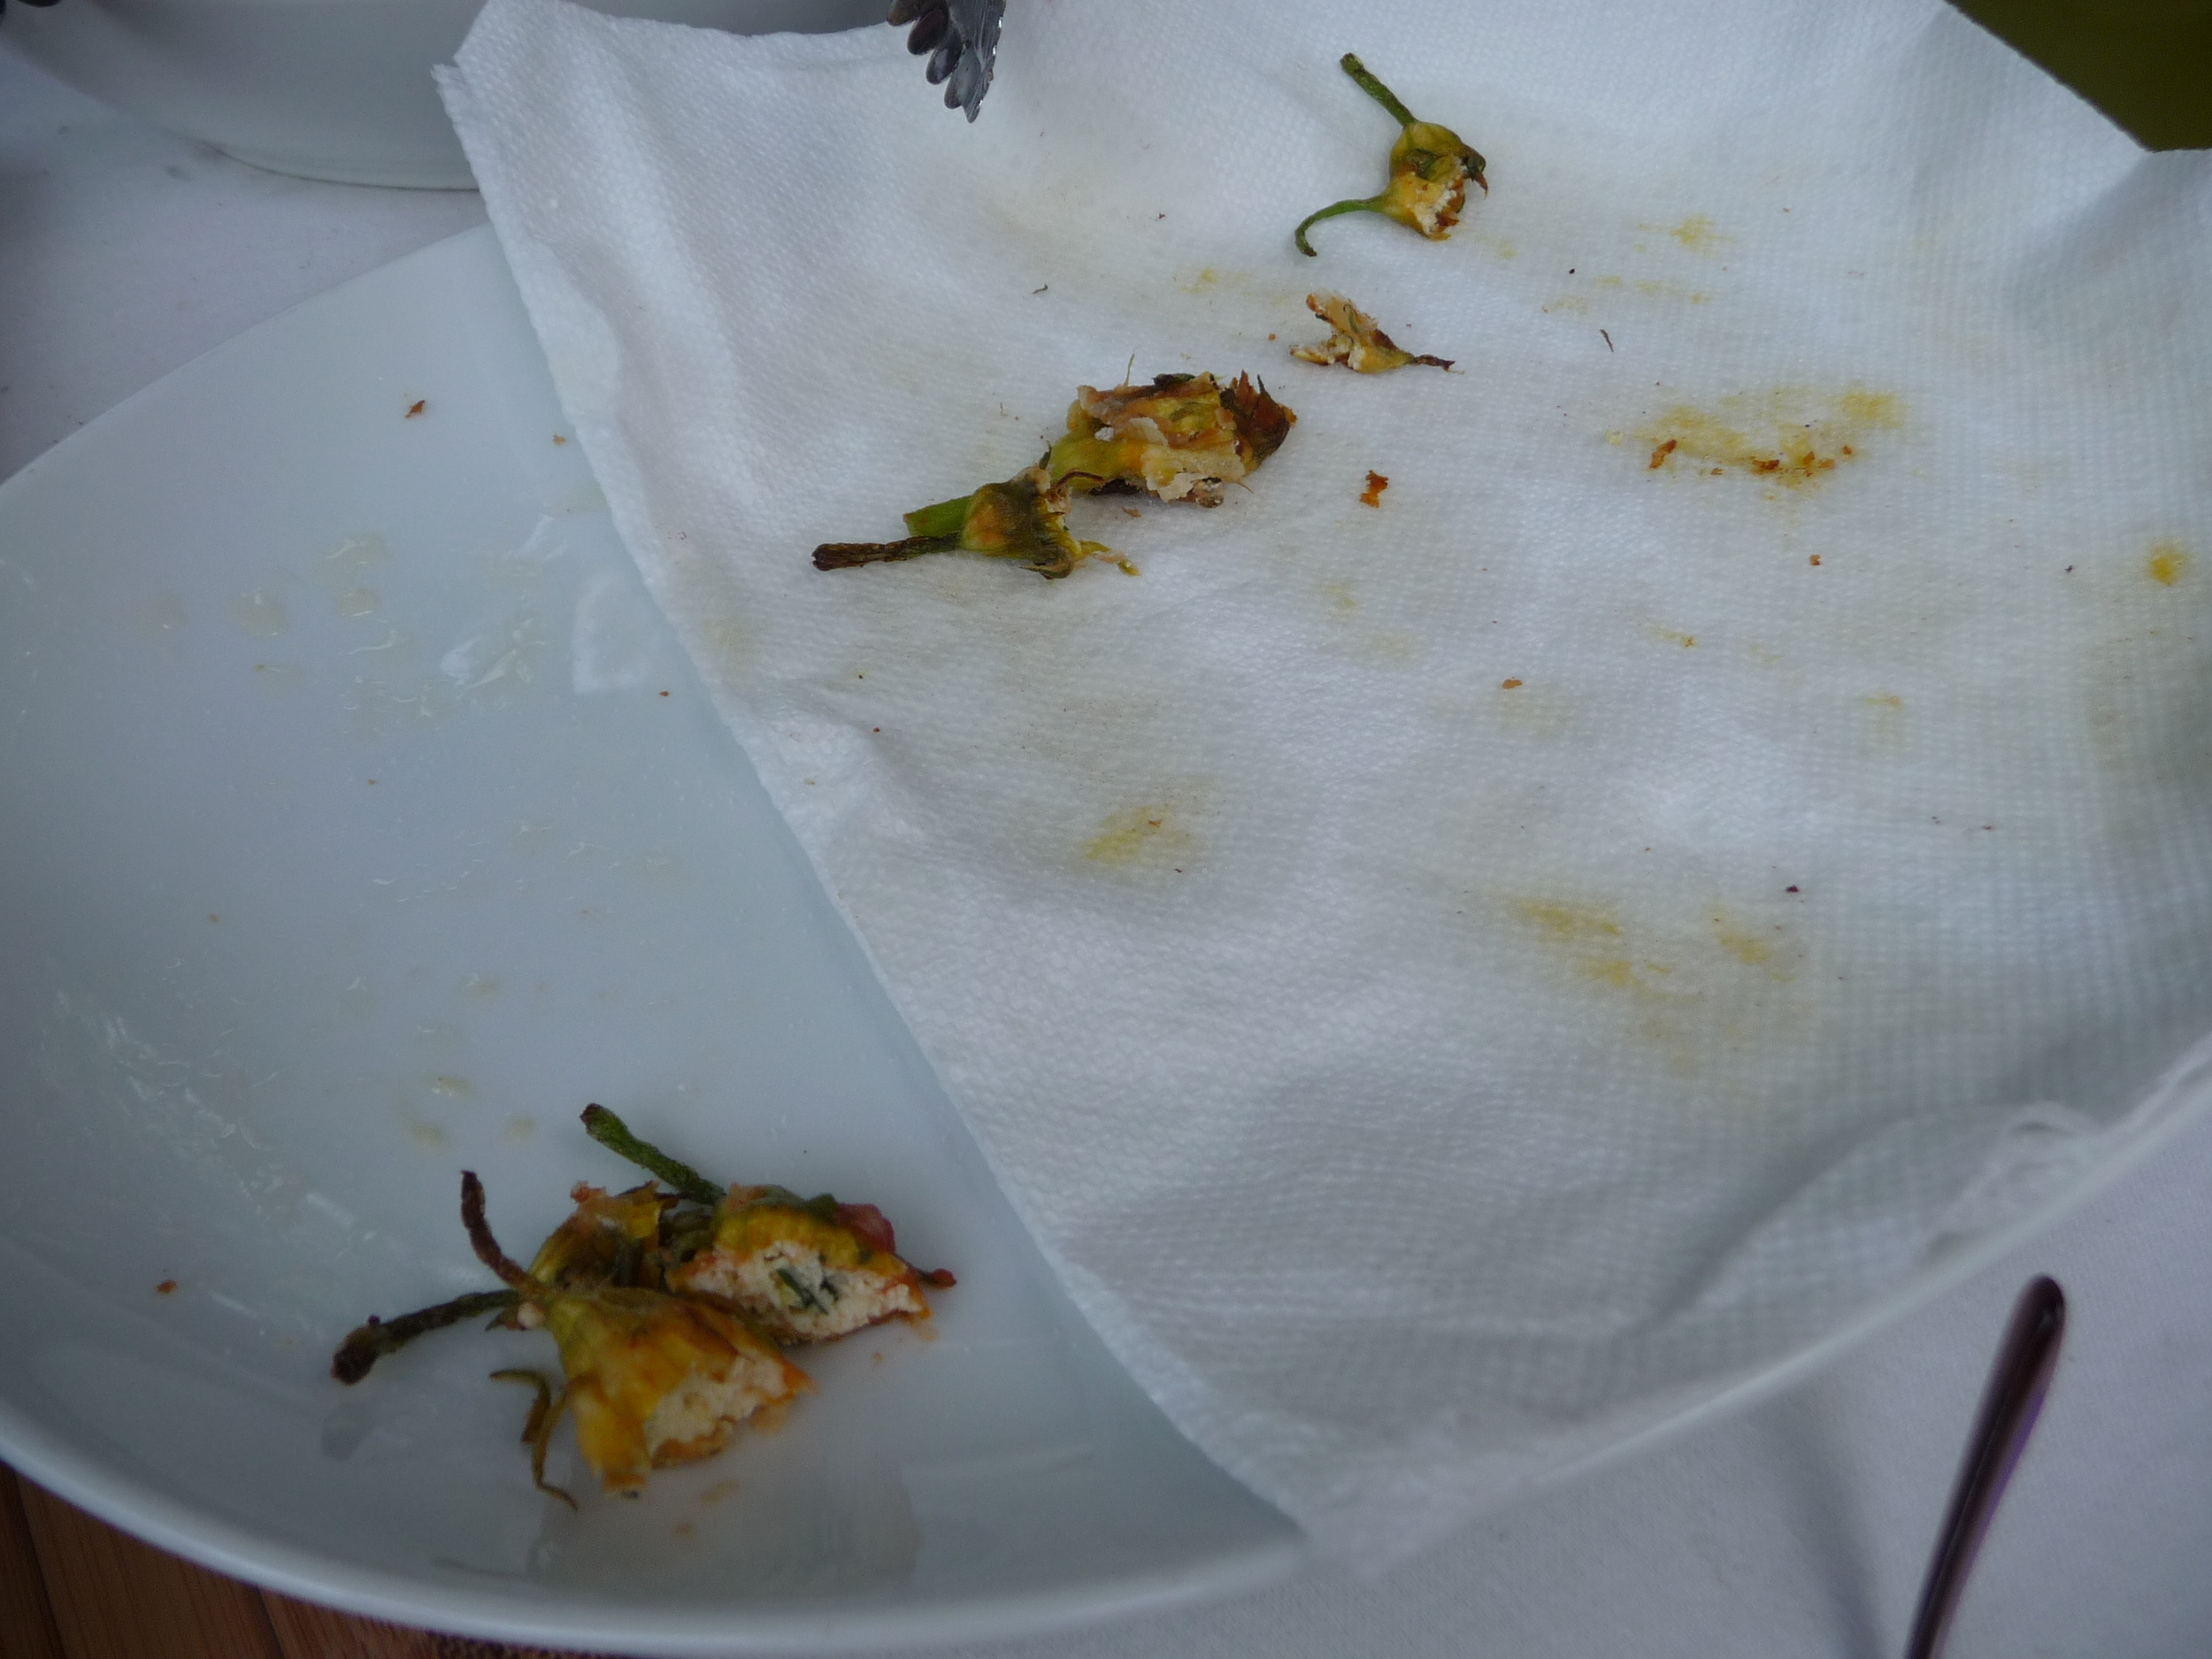
And one more "Before and After" shot of the zucchini flowers. Don't blink or you'll miss it...

Beet a Path to my Door

Ha. Thanks to Betty, my Punmaster neighbor, for the title. The beet crop hath indeed arrived: Golden, Chiogga and Detroit Reds. I really only like beets two ways: roasted most of all, and pickled a very distant second. I don't like canned beets, and I don't like borscht (which annoys me because I hear great things about it. It seems like something I should like, but I just don't).

As I posted once before, Croton Creek does an amazing salad with golden beets, heirloom tomatoes and gorgonzola. I've tried replicating it several times but can't quite match it, I think they put crack in theirs or something.

But the other day I teamed up some thyme-roasted beets with arugula and gorgonzola and it was out of this world. And the most satisfying thing was that everything except the cheese came from my garden.

Everything but the Cheese Beet Salad

(And by the way, if beets are not your bag, baby, just substitute carrots, they are delicious roasted with thyme)

  • 9 beets of choice (I used 3 golden, 3 Chiogga, and 3 Detroit Reds)
  • 5-6 sprigs of fresh thyme (I grow lemon thyme which is awesome for roasting root vegetables)
  • Olive Oil, Kosher salt and ground pepper (be generous with all. The more seasoned the beets, the less of that "earthy" flavor there is. The oil you roast them in then serves as the dressing for the greens)
  • 1 bunch arugula or greens of choice
  • Gorgonzola cheese, crumbled

Preheat oven to 375. Scrub and trim the root and stem ends from the beets. Peel if you're obsessive (I am). Cut in half lengthwise, and then each half into 3 wedges. Put beets in bowl with thyme stems, drizzle with olive oil, sprinkle with kosher salt and ground pepper, toss well.

Lay out a sheet of aluminum foil.  Dump the beets into the center and fold up the sides to make a packet.

Roast for 30-40 minutes until fork tender. Remove packet from oven and leave open to cool. Pick out thyme stems and discard.

Put the arugula into a salad bowl. Dump in the contents of the foil packet—beets, oil, and bits of herbs, scrape it all in there. Add Gorgonzola and toss well.

Serve.

Die.