Steve's Pasghetti Pie

This is really Clara's Spaghetti pie:  my grandmother's recipe, passed to my Aunt Evelyn, who gave it to my mom, who gave it to me. I now give it to you.  

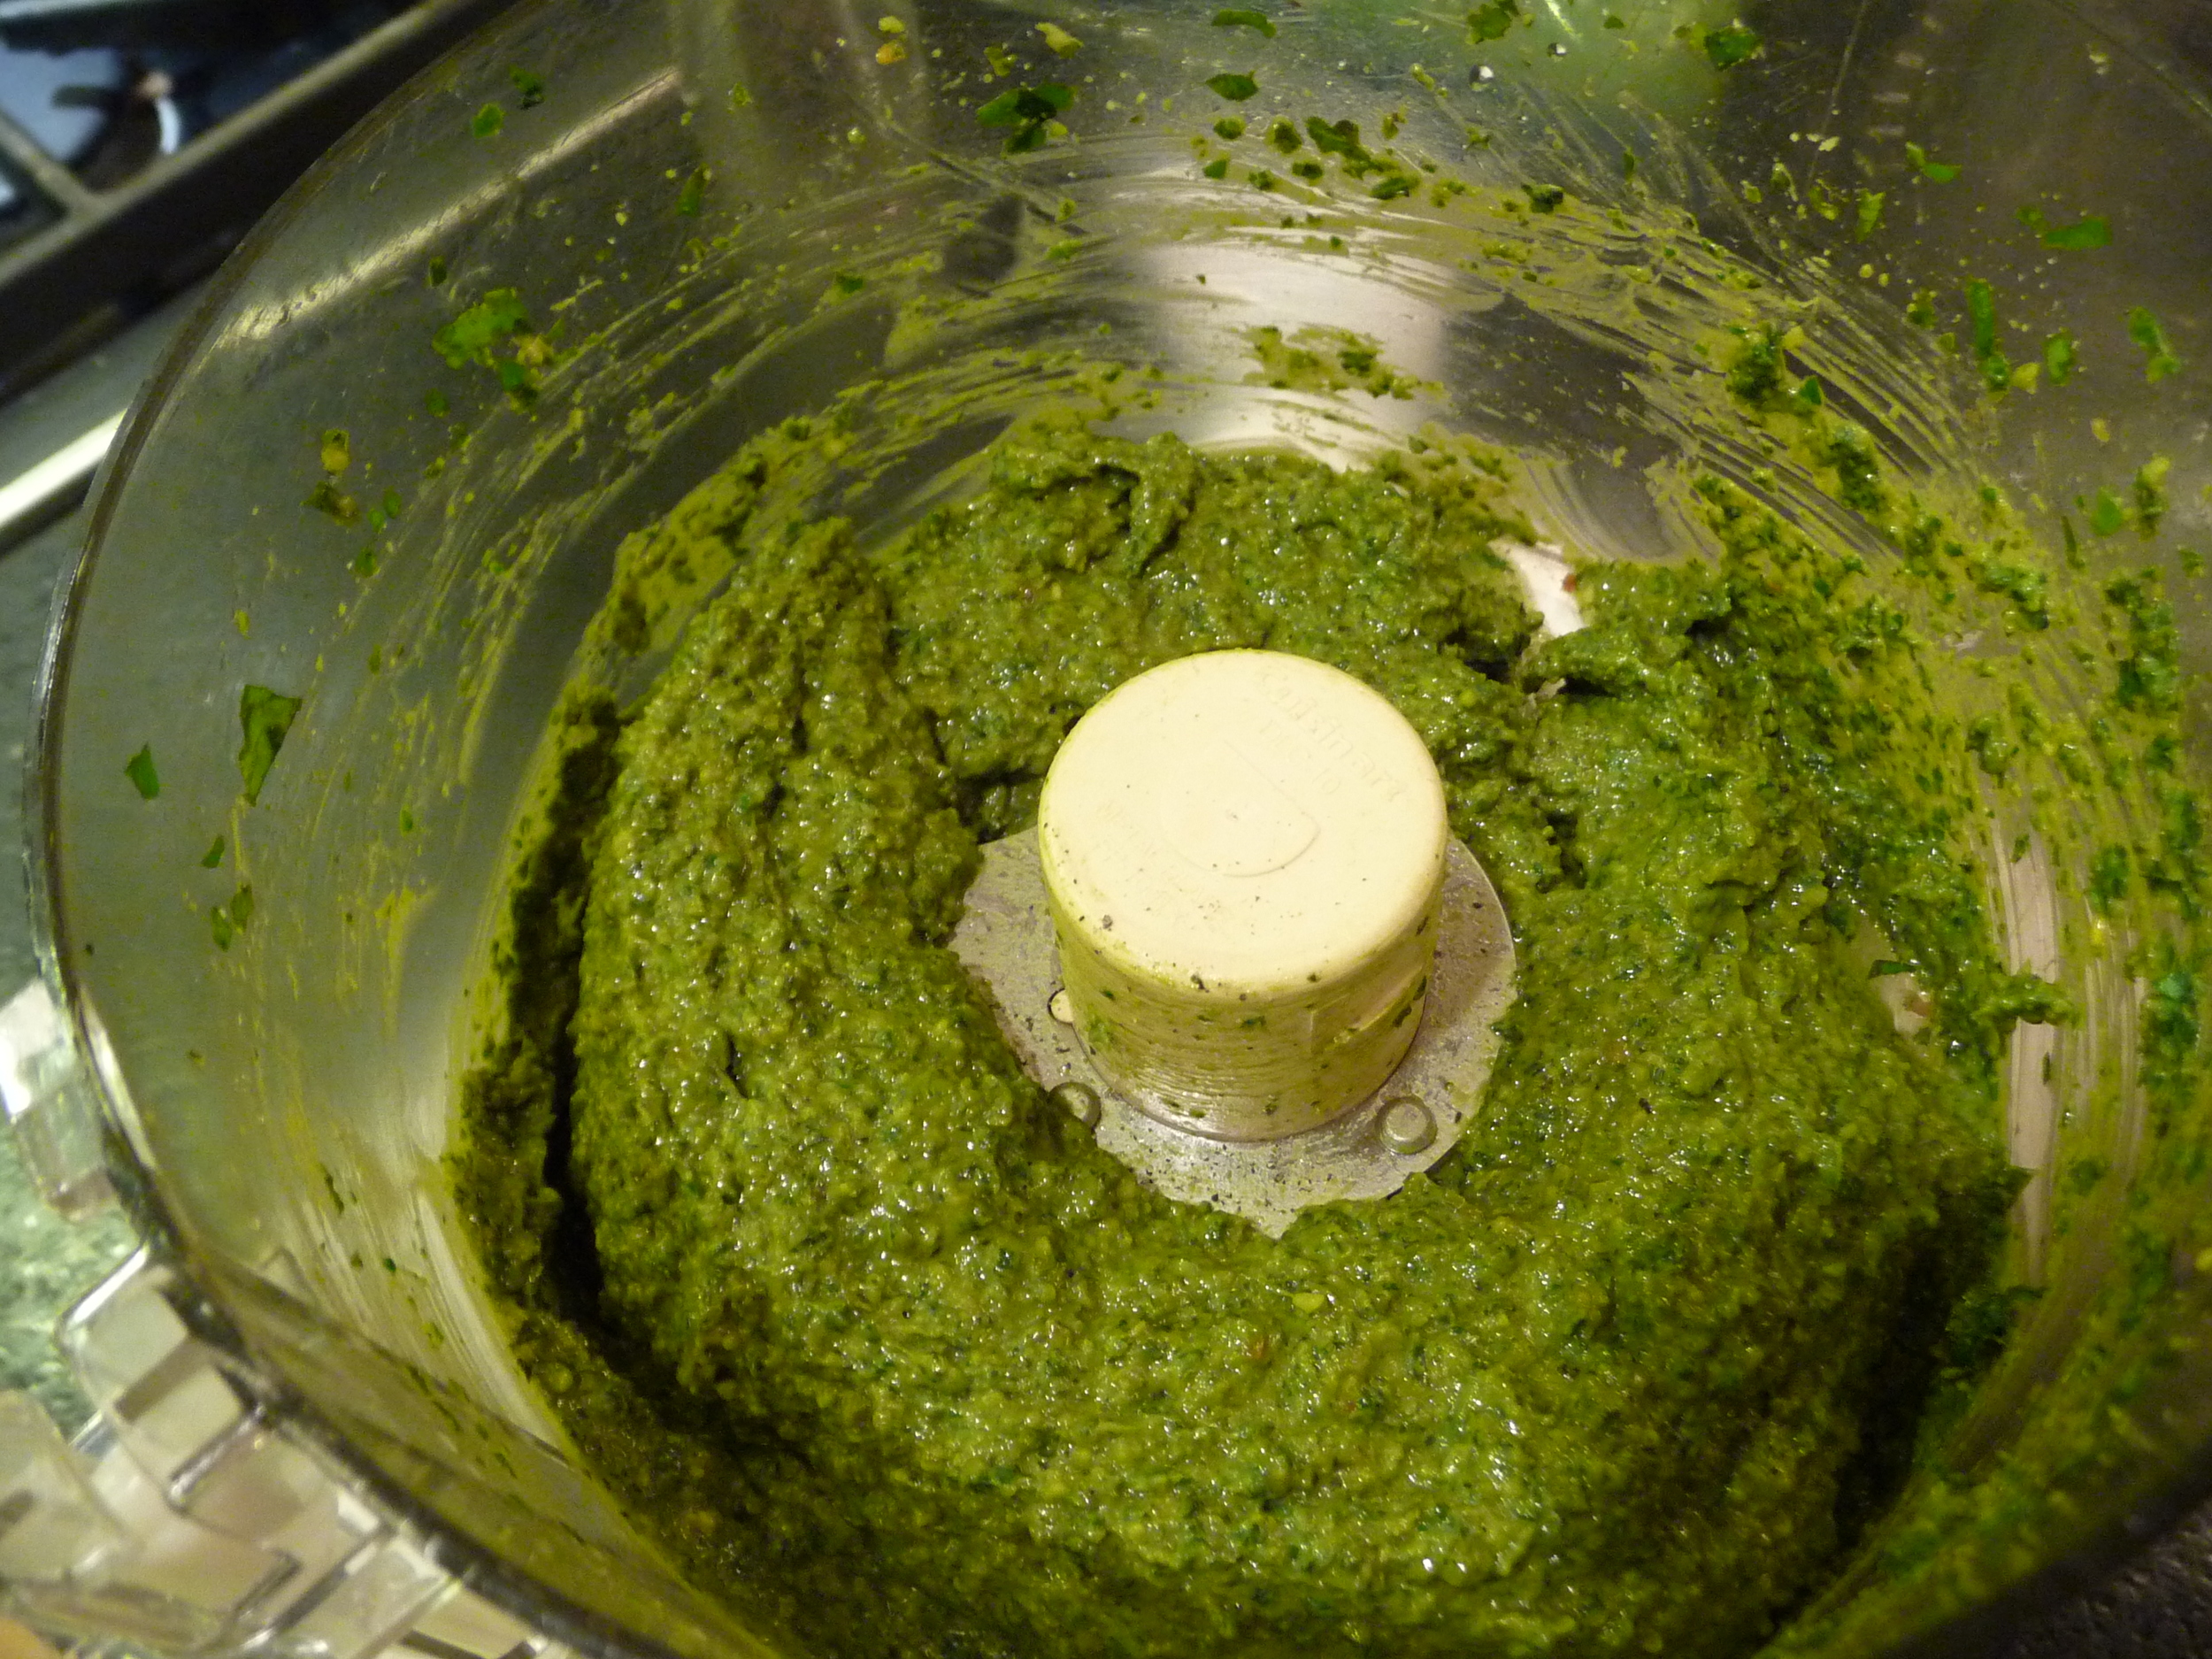
My brother Steve adores this. It can be an appetizer, it can be the main dish with a salad, or it can be a side for soup. It tastes good hot, room temperature, or cold right out of the fridge at 2AM. And as we discovered last night, it's divine with a smear of leftover pesto.

In the recipe below, the last 3 ingredients are not Clara's. They are my own tinkering, which is what you're supposed to do with a family recipe. You all get together and something like this is served and everyone knows Cousin Jane makes spaghetti pie with extra onions. Aunt Ethel uses raw onions, not fried. Aunt Mary puts in raisins. Aunt Betty leaves out the salt because of Uncle Jack's high blood pressure so nobody really likes Aunt Betty's spaghetti pie.

But everyone loves Clara's.

Clara's Spaghetti Pie

  • 1 pound spaghetti
  • 1-2 large onions, diced (originally 1, I like a lot so I use 2, and I like using a mix of yellow and red onion)
  • 4 large eggs
  • 1/3 cup chopped fresh parsley
  • 1/3 cup parmesan cheese
  • fresh ground pepper

Pick a large frying pan with a handle but not too high sides. My largest one does have high sides which makes sliding the pie in and out a little tricky.

Fry the diced onion in olive oil. Do not be stingy with the oil (hey, I'm just repeating the directions, Grandma said don't be stingy!) The onions should brown on the edges.

Take the pan off the heat and put the onions in a large bowl to cool down.

Meanwhile cook 1 pound of spaghetti and generously salt the water. You will not be adding salt later on so you want the water a little more seasoned. Cook the paste until just al dente. It will cook more once you put it in the frying pan.

Drain the pasta and rinse with very cold water. Drain thoroughly again.

In a medium bowl, beat 4 eggs with the parsley, parmesan cheese, and 3 or 4 grinds of the pepper mill. Add the cooked spaghetti to the large bowl with the onions, pour the egg mixture over all and combine well.

In your pan there should be some oil left from frying the onions, but add more if it seems too dry and put on medium-high heat until shimmering. Dump in spaghetti-egg mixture and smooth out to fill the pan. Turn heat down to medium and cook until nice and brown on the bottom. Every now and again take your spatula and run it around the edges and a little bit underneath.

Slide the pie onto a large plate cooked side down.

Call your brother and tell him you made spaghetti pie and he should leave now.

Now the tricky part: hold the plate in one hand like a tray, take the frying pan with your other hand and invert the frying pan over the pie. Keep your hand on the bottom of the plate and push up. Hold on tight to the handle and keep pressure down. 1-2-3, turn the whole operation over. Now the uncooked part of the pie will be down in the frying pan and ready to brown.

It usually takes 5 to 7 minutes per side to brown well (enough time for your brother to drive over).

Slide onto large plate or platter (I like to use my big wooden cutting board) and cut into wedges, reserving at least half for your brother.

My mom says spaghetti pie can be frozen in foil and warmed up in the oven (it should be thawed first). However I cannot attest to this because I have never seen leftover spaghetti pie in my life.

Amy and the Pesto Pea Salad

Two...no, three summers ago...maybe four...oh forget it. Once upon a time, we were out in Montauk with our friends Chris and Amy. Amy is a personal trainer, triathlete, and a completely insane cook. Wherever she is, there will be something good to eat.

Before this particular long weekend, I was only vaguely aware of the name Ina Garten (I refer to this era as my ignorant youth). From her kitchen bookshelf, Amy pulled out Barefoot Contessa: At Home, began flipping through pages and said, "There's this little salad I really want to try..."

Little salad. Yeah right. This turned out to be a tremendous salad. It is baby spinach tossed with pesto, peas and pine nuts. Amy whipped it up our first night in Montauk and served it with...I think it was flank steak but I honestly don't remember, I was so consumed with the salad. There wasn't a shred left at the end of the meal and I picked every last pine nut out of the bowl.

The next day, Jeeps and I were hanging around the kitchen while Amy mused about what to make for dinner that night. 

"I have shrimp," she said, poking around in the fridge. "There's this scampi recipe I want to try and I could serve it over pasta, I think I have linguini..."

Jeeps and I exchanged one single, telepathic glance.

"Can we make the spinach salad again?" I asked. "And just serve the shrimp on that?"

Amy popped her head out of a cupboard with raised eyebrows. "Sure!" she laughed. She is an exemplary hostess.

So we ate the salad again with shrimp. That night I ordered my own copy of Barefoot Contessa: At Home so I would never again be without this recipe. I went back home a changed woman. I began bringing that salad with me to parties. Everywhere I took it, it was a hit. 

I give it now to you. Go forth and be a hit.

Barefoot Contessa Pesto Pea Salad

(This is the exact recipe measurements from the book; eventually it becomes something you don't measure)

  • 2 cups frozen peas, thawed (about 1/2 bag)
  • 2 tablespoons pine nuts, toasted (toast them in a dry saute pan over medium heat, tossing often, until browned. Babysit them as they will burn easily. And by the way, 2 tablespoons turned into more like 1/3 cup for me because I do love me some pignolis)
  • 2 1/2 cups baby spinach (I know, I've never measured cups of salad leaves either)
  • 4 tablespoons pesto (according to your methods, you can hear about mine here)

To assemble the salad, put the spinach in your salad bowl, sprinkle 3/4 of the peas and 1/2 of the pine nuts over the spinach.  Add the pesto and toss. This is more blithe than it sounds. In the beginning the pesto will just be glop and you will fret that it will never distribute evenly over the leaves. It will. Keep scraping it off the salad spoons and keep tossing. It eventually incorporates and it will be beautiful. 

Once it's beautiful, sprinkle the rest of the peas and pine nuts attractively over the top, and then give a nice sprinkle of parmesan. Step back and admire. It's beautiful. You are beautiful.

This salad goes with everything and it can even stand alone. It's terrific with steak, chicken, shrimp and fish. In summer, it goes great with a big platter of corn on the cob, and another plate of sliced tomatoes.

Note: if you bring this salad to a party, don't bring it composed. Bring the ingredients and your salad bowl and assemble it just before the meal is served. Reason being the salad leaves absorb the pesto and very quickly go limp. Which is not beautiful.

Bouchons au Thon

My copy of A Homemade Life was delivered today. You need to have this book. Go order it. I'll wait.

I knew exactly which recipe I was going to make first. In the chapter titled "What France Would Taste Like," Molly Wizenburg tells of her junior year abroad in France, and the French family that hosted her. Her host mother was:

"...Tall, trim, and proper, with a singsong voice and a name that, when properly pronounced, rang like chimes at Sunday mass....

"Aside from her role at home, my host mother was also the French equivalent of a Tupperware saleswoman. She tested and sold silicone baking equipment, the bendy, nonstick baking pans, molds and sheets that have become so popular in recent years... At least one night each week we'd have a "Flexipan dinner," a meal centered on a recipe that my host mother was testing in her silicone molds... My favorite were the bouchons au thon (literally, "tuna corks"), an odd, homely and surprisingly delicious mixture of canned tuna, tomato paste, crème fraiche, Gruyère, and eggs, baked in muffin molds.

"Canned tuna isn't usually something I go crazy for, but these bouchons were special. With a texture somewhere between the filling of a quiche and a freshly made country pâté, they tamed the flat pungency of the canned fish with the sweetness of tomato and the rich butterfat of crème fraiche. We ate them warm with roasted potatoes, and, for lunch the next day, cold with a green salad. They were unlike anything I'd ever had. They tasted like what I imagined France itself would taste like, if it were small enough to fit in my mouth. I gave thanks almost daily for all the France and its Flexipans brought to my life, but mainly for those bouchons au thon.

--"What France Would Taste Like", from A Homemade Life, by Molly Wizenburg (and orangette.blogspot.com)

After reading this chapter, I folded down a corner of the recipe page. I had to make these.  Furthermore, I had to make them with roasted potatoes and salad, exactly as was written.

Bouchons au Thon

The recipe measurements and directions below yield 8 bouchons, "enough for 4 light eaters." I have kids in daycamp and a husband in the midst of the P90-X workout. There are no light eaters around here. So I doubled the measurements and filled all 12 cups of my muffin tin. 

There were no survivors.

  • 1 6-oz can tuna packed in water, drained well
  • 1 cup lightly packed finely shredded Gruyère
  • 1/3 cup crème fraiche
  • 3 tablespoons tomato paste
  • 3 large eggs (alas, I only had 4 eggs in the house and I'm not sure this affected the recipe or not, as you'll see below)
  • 1/4 cup finely chopped yellow onion
  • 2 tablespoons finely chopped Italian parsley
  • 1/4 teaspoon salt

Preheat oven to 325. Grease 8 cups of a standard-sized muffin tin and set aside.

Put the tuna in a medium bowl and break it up with a fork; there should be no chunks larger than a dime. Add the remaining ingredients and stir well with the fork, mashing a bit as you go, until the mixture is thoroughly combined. It will be a soft orange-pink color.

Divide the mixture evenly among the 8 prepared muffin cups.  Bake for 20 to 25 minutes, or until the bouchons look set on top and around the edges. Transfer the tin to a rack and let cool 5 minutes. Carefully run a small, thin knife around the edge of each bouchon to make sure it isn't stuck, then carefully remove them from the tin. They will collapse a bit as they cool.

These were UNBELIEVABLE. Truly unlike anything I'd ever had before and completely perfect with the roasted fingerling potatoes and green salad. My only concern was that even baking for closer to 30 minutes, the bouchons didn't seem to set, and some fell apart when I scooped them out of the tin.  They just seemed more "slumped" than I was expecting. Maybe it was the lack of eggs, or not owning Flexipans, or maybe next time I should try a 350 oven. Then again, Molly does describe them as having a consistency between quiche and pâté. Anyway, regardless of texture and presentation, they were freakin' awesome. Redman picked at one. Panda ate three. Jeeps and I put away four each.

Did I mention I love this book?

Meal in a Ziplock Bag: Fish Bake

That's a rather wordy title.  I was going for something catchy like D**k In a Box but it....um... Hey, look, I learned how to expand what's called the "Kitchen Sink" in Wordpress, which lets you change your font color, among other things!!

Sorry, let's just start over.

Score another Meatless Monday with this quick and easy Meal in a Ziplock Bag!

Kitchen Sink Fish Bake

  • White fish filets of your choice - cod, tilapia, roughy.  If frozen, thaw completely in fridge or in cold water.
  • 2-3 tablespoons olive oil
  • Grated zest of 1 lemon, and juice squeezed from said lemon.
  • 1/4 cup chopped parsley
  • 1 pint grape tomatoes, rinsed and left whole (I only had 1/2 pint, I wish I'd had more, you can never have too many roasted grape tomatoes)
  • 1/2 bag frozen green peas.  Not necessary to thaw but swish them under some cold water in a colander
  • Kosher salt and pepper
  • 2 teaspoons seasoned breadcrumbs (optional)

Put all ingredients except breadcrumbs in a ziplock bag, close bag, and "moosh" them around until evenly coated with marinade.  Leave alone for anywhere from 20 minutes to a couple hours, but if it's really hours then put the bag back into the fridge.

Preheat oven to 375.  Spread fish and veggies onto a baking sheet, sprinkle with breadcrumbs.  Bake 10-12 minutes until filets are opaque.

You can substitute lime for lemon, cilantro for parsley, and swap out any of the veggies as long as they are something that doesn't need a lot of roasting time - thin sliced zucchini, asparagus spears, small green beans, etc.

Chana Masala

So over vacation I fell in love with Molly Wizenburg, with Orangette, and with A Homemade Life:  Stories and Recipes from my Kitchen Table.  I may be late to this party, but so be it.  She is my new girl crush and this book is, as we speak, being shipped to me to keep for my very own because this library copy for 3 weeks just isn't going to cut it.  This is the world's most perfect book.  This book was written for me.  And I'm afraid I'm going to be a bit of a pain in the ass about it, but so be it. Let's dive right in, shallllllll we?

While not a vegetarian herself, Molly confesses to consistently falling in love with them ("My love is for herbivores only"), and now she is married to one.  So her book includes lots and lots of delicious-sounding recipes for salads and meatless meals.  Including her husband Brandon's recipe for chana masala.

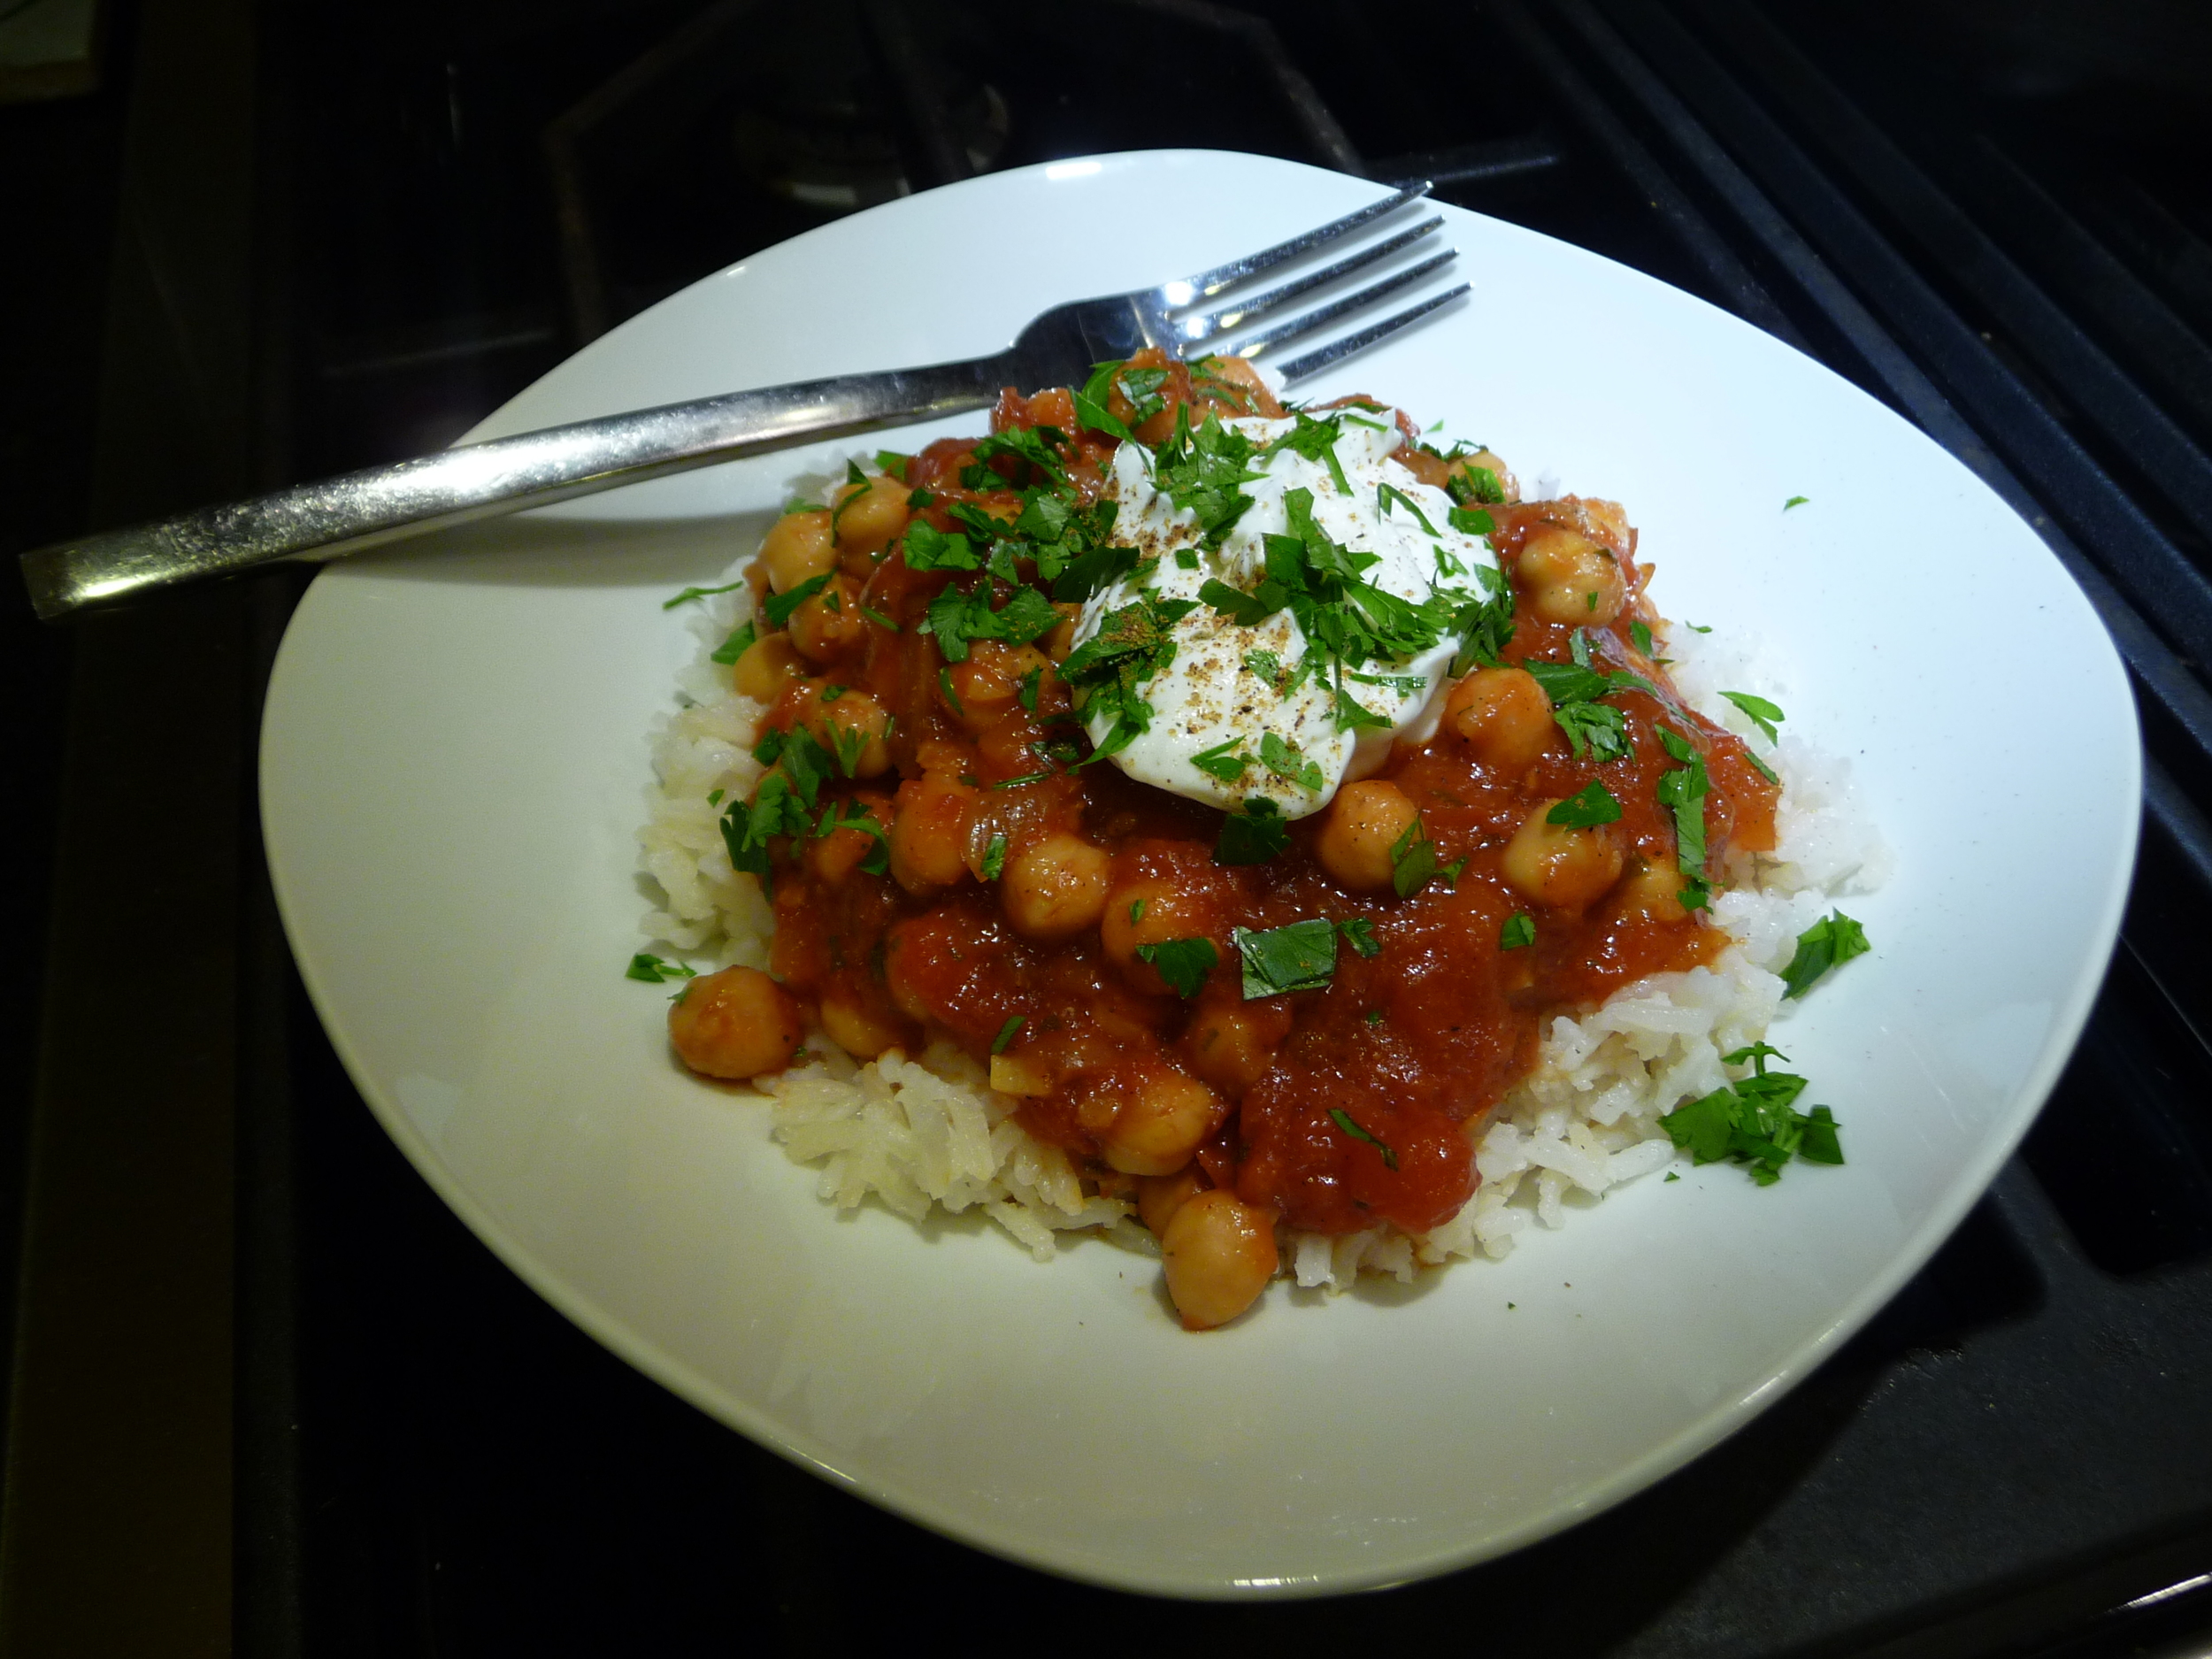
For the uninitiated, chana masala is an Indian dish of chick peas and tomatoes, heavily and beautifully seasoned.   It's fantastic by itself with hunks of pita or naan, or served over rice, which is how I did it tonight.

You can read the full post and story here (and please do go to her blog and if you can, get a copy A Homemade Life because she's just a wonderful, wonderful writer).  But if you want to cut to the chase, let's just cook.

Chana Masala, from A Homemade Life by Molly Wizenburg

  • Good-quality olive oil or coconut oil (coconut oil in this dish is KILLER)
  • 1 medium onion, coarsely chopped
  • 2 medium cloves garlic, minced
  • 1 tsp cumin seeds (I did not have seeds, I used 1/2 tsp of ground cumin)
  • ½ tsp ground coriander
  • ¼ tsp ground ginger
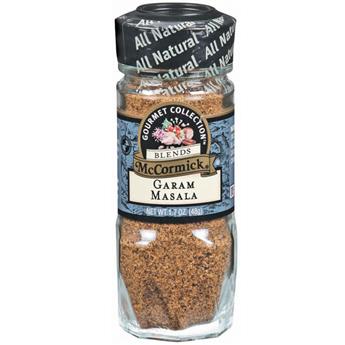
  • 1 tsp garam masala (you can buy this pre-made in the spice aisle, or make your own)
  • 3 cardamom pods, lightly crushed (I did have these because cardamom is my favoritest spice ever, but you could skip the pods as there is cardamom in the garam masala)
  • 1 28-ounce can whole peeled tomatoes
  • 1 tsp kosher salt, or to taste
  • 1 Tbs cilantro leaves, roughly torn, plus more for garnish (I had no cilantro and used parsley)
  • A pinch of cayenne, or to taste
  • 2 15-ounce cans chickpeas, drained and rinsed
  • 6-8 Tbs plain whole-milk yogurt, optional
  • A few lemon wedges, optional

1.  Heat oil in saucepan or Dutch oven over medium heat.  Add the onion, and cook, stirring frequently, until it is deeply caramelized and even charred in some spots. Be patient. The more color, the more full-flavored the final dish will be.

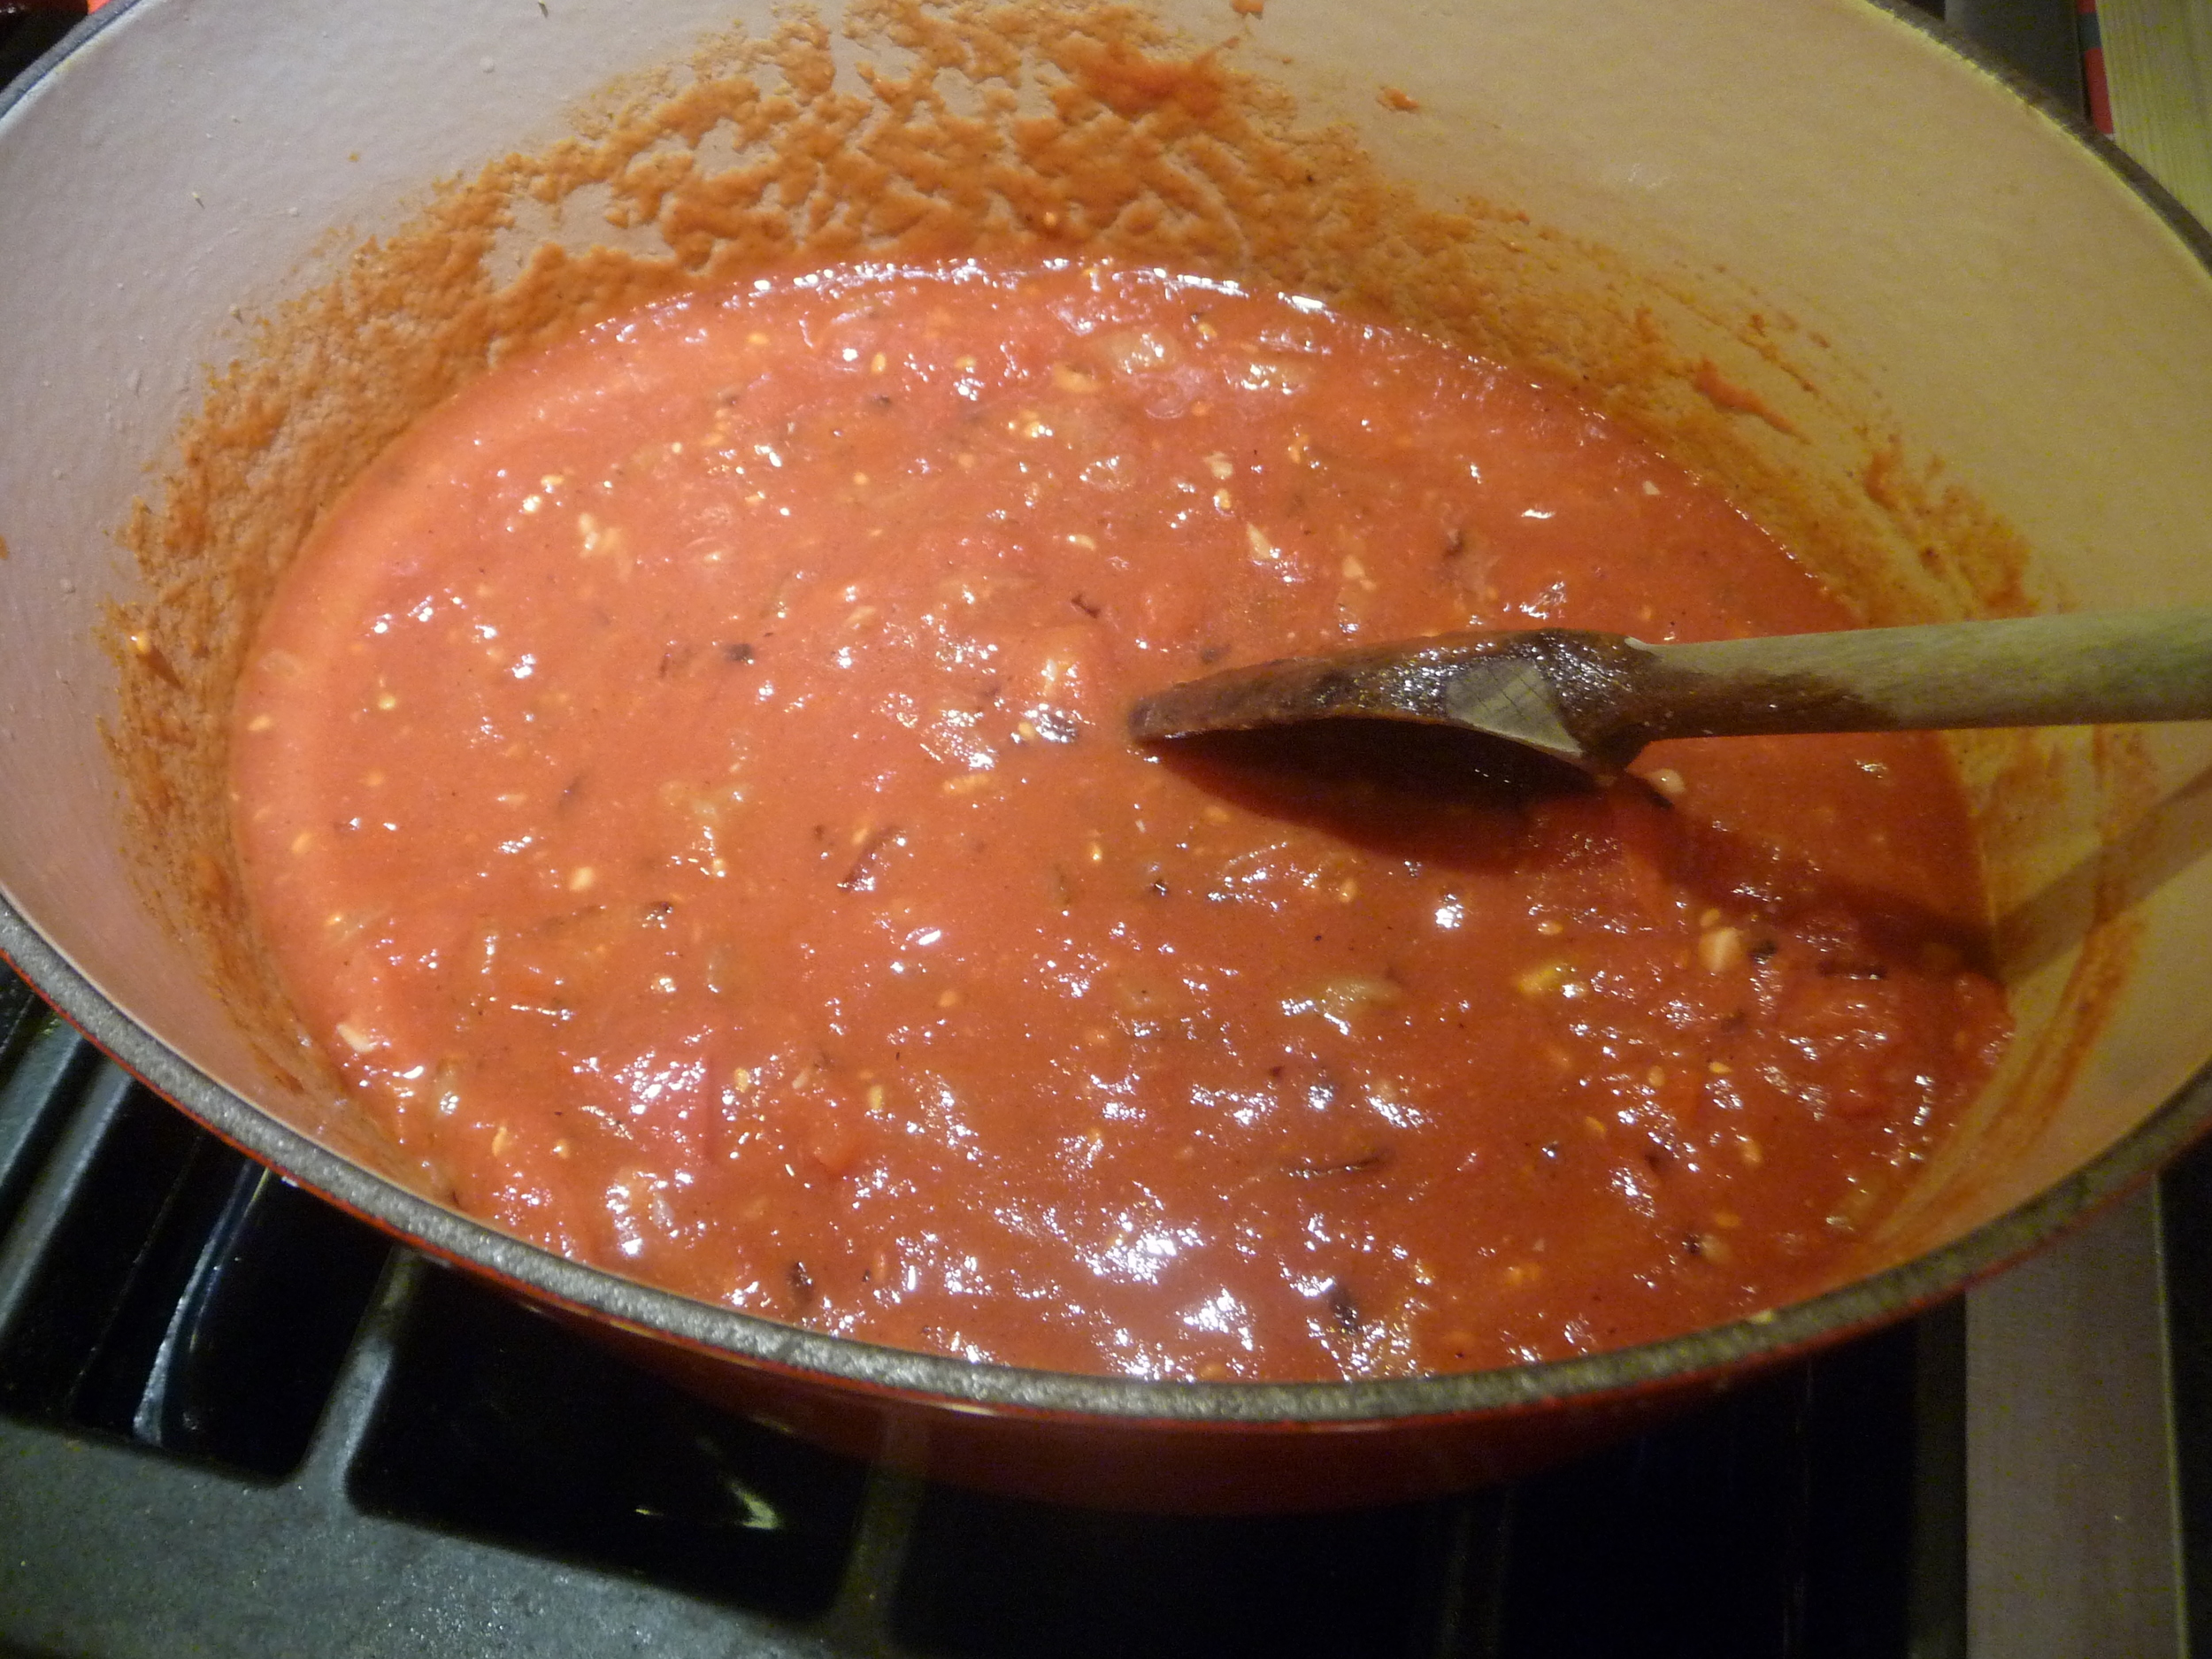
2.  Reduce the heat to low. Add the garlic, cumin seeds, coriander, ginger, garam masala, and cardamom pods, and fry them, stirring constantly, until fragrant and toasty, about 30 seconds. Add ¼ cup water, and stir to scrape up any brown bits from the bottom of the pan. Cook until the water has evaporated away completely. Pour in the juice from can of tomatoes, followed by the tomatoes themselves, using your hands to break them apart as you add them; alternatively, add them whole and crush them in the pot with a potato masher. Add the salt.

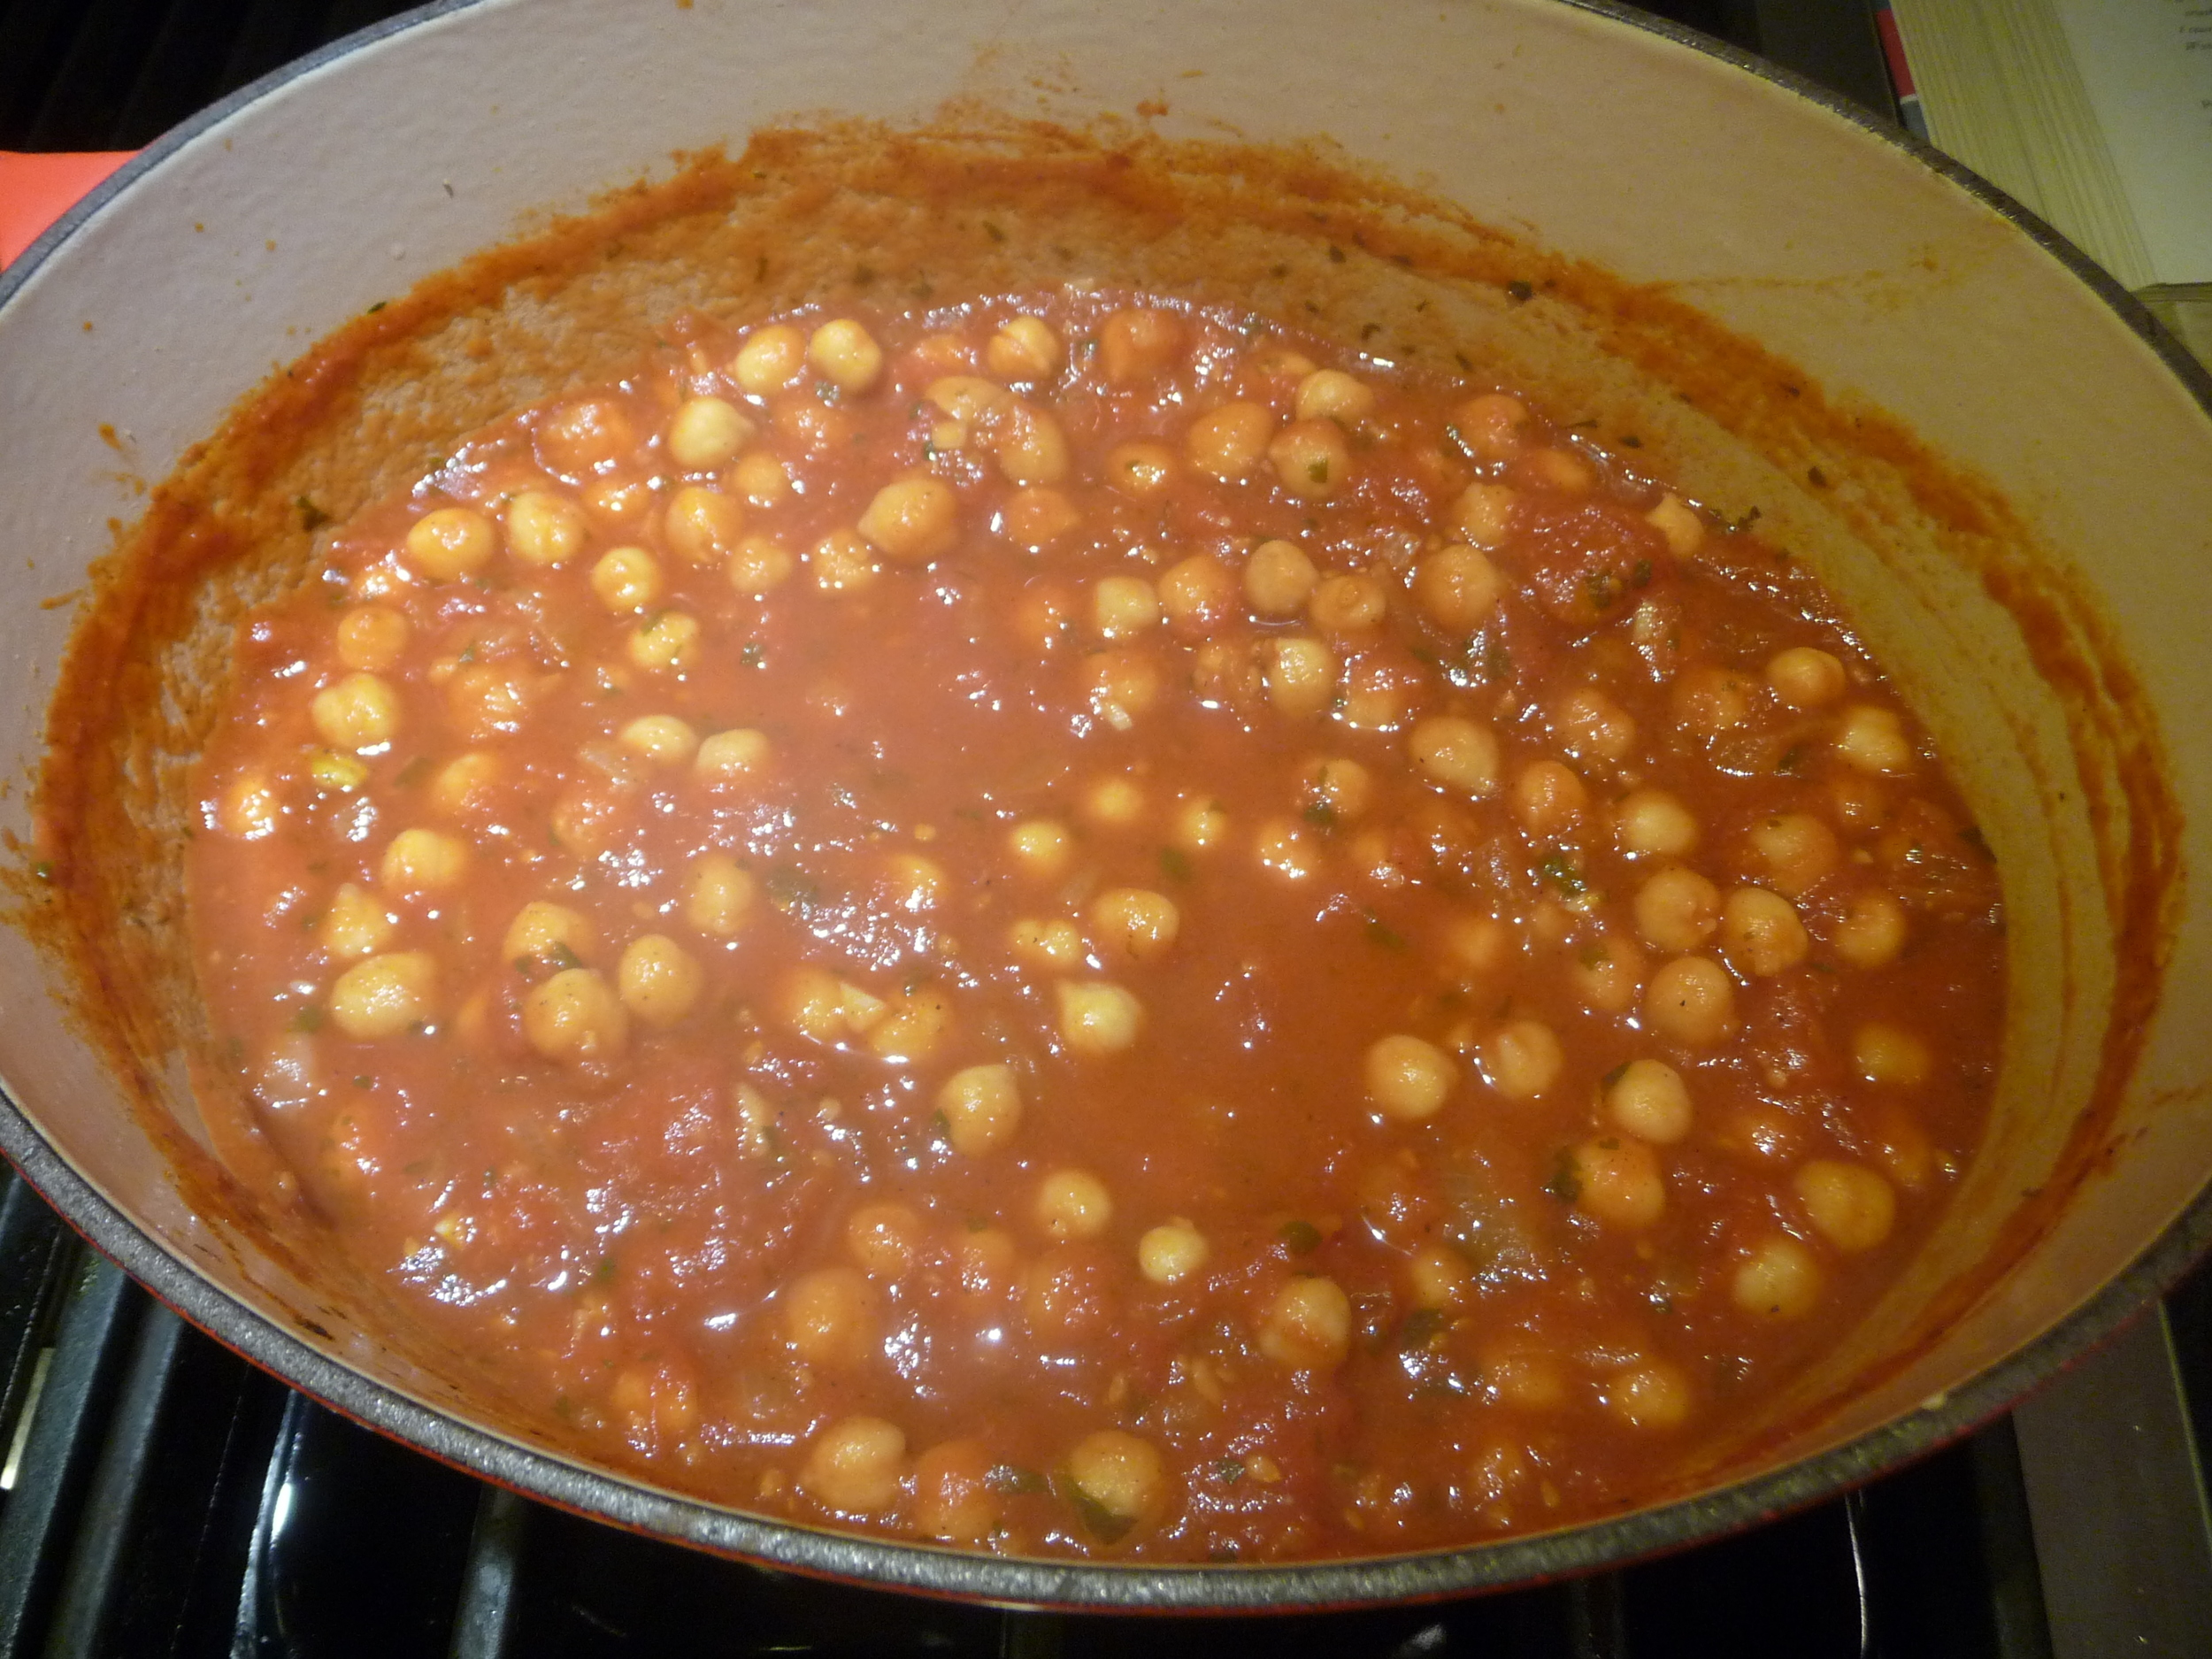
3.  Raise the heat to medium, and bring the pot to a boil. Reduce the heat to low, add the cilantro and cayenne, and simmer the sauce gently, stirring occasionally, until it reduces a bit and begins to thicken. Taste, and adjust the seasoning as necessary. Add the chickpeas, stirring well, and cook over low heat for about five minutes. Add 2 Tbs water, and cook for another five minutes. Add another 2 Tbs water, and cook until the water is absorbed, a few minutes more. This process of adding and cooking off water helps to concentrate the sauce’s flavor and makes the chickpeas more tender and toothsome. Taste, and adjust the seasoning as necessary.

You can stir the yogurt into the chana masala before serving, or leave it out and serve with a squeeze of lemon.  However you serve it, do so with a sprinkle of cilantro/parsley and a pinch or two of the garam masala.

Served over coconut rice, this was pass-out delicious and so easy to make.  Plus your house smells amazing while it's cooking.  Jeeps ate two huge bowls and has called dibs on the leftovers for tomorrow (Molly says it's even better the second or third day).

Garam Masala

Garam masala is a basic blend of spices common to North Indian and other South Asian cuisines.  From the Hindi Garam "Hot" and Masala "mixture" the Garam refers to the intensity of the spices rather than the heat content; it's spicy but not like a chile pepper. Garam masala can be found pre-made in the spice aisle but spices are always so pricey and I was pretty sure, according to my memories of Laurie Colwin, that I already had all the separate spices necessary to make my own.

When I got home, I remembered my mother was in current possession of my copy of Home Cooking so I consulted the Oracle of the Internet.  Honestly...what excuse is there for not knowing anything anymore?

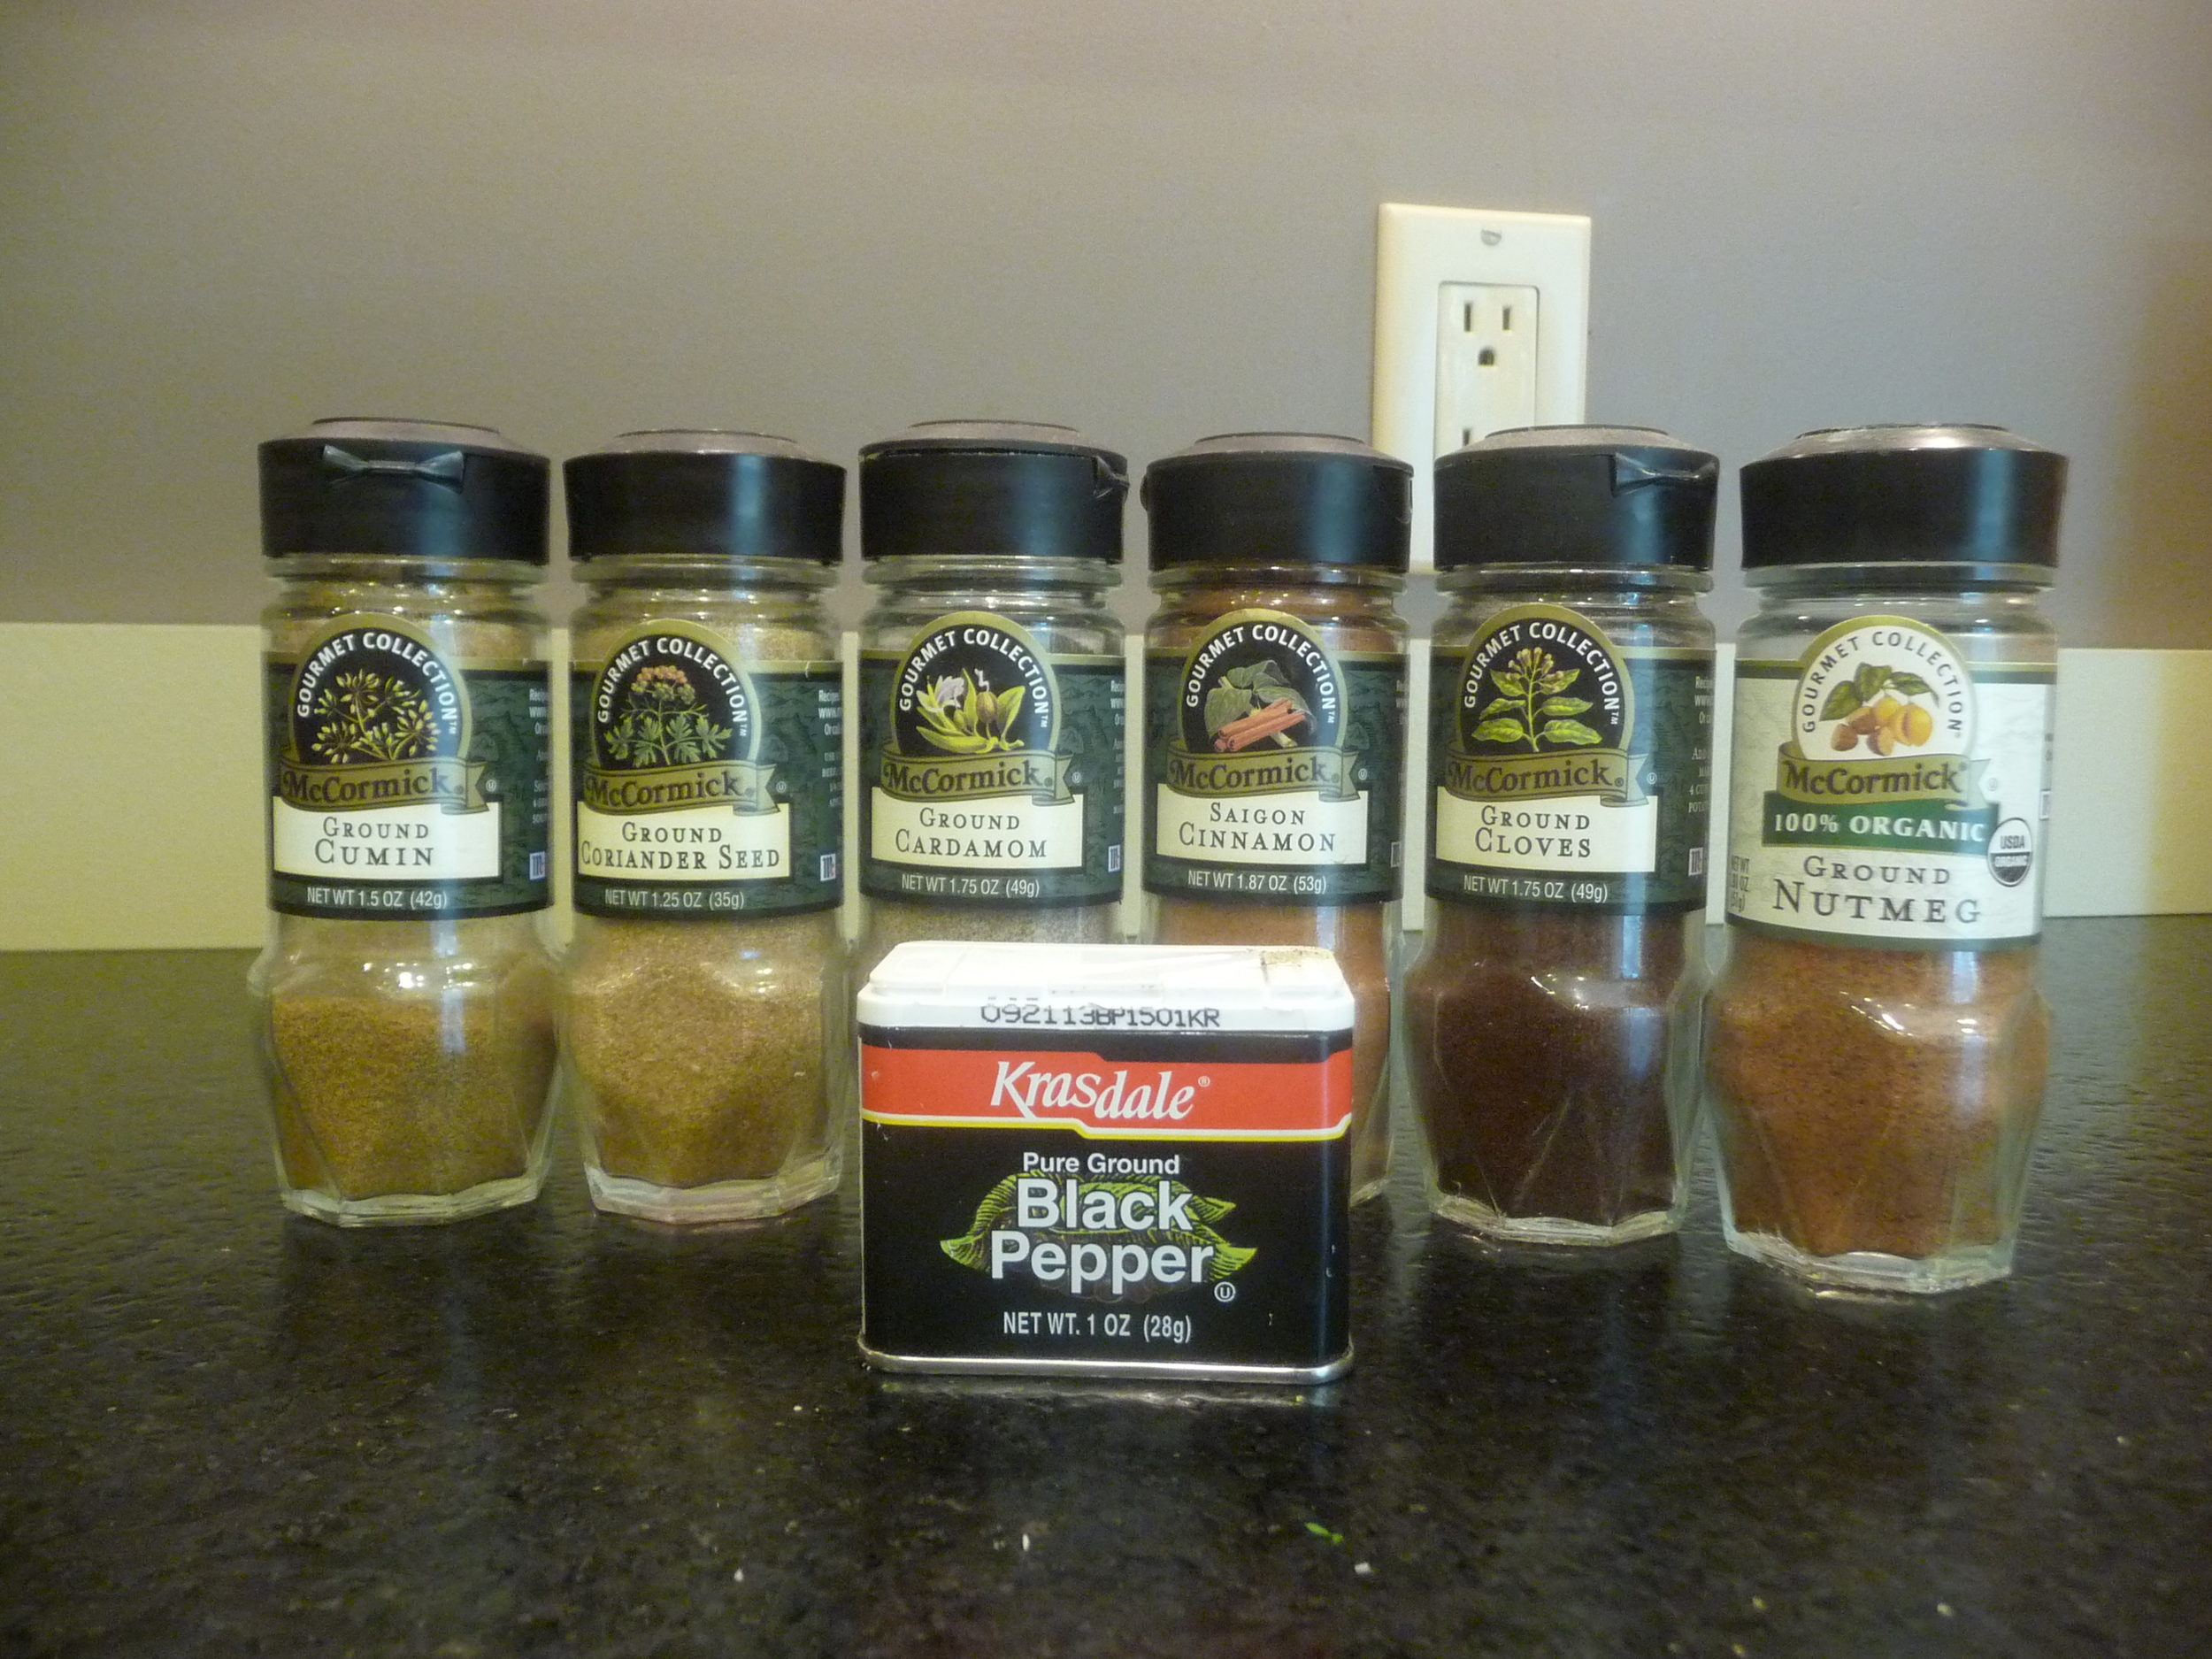
So this is the recipe I found from Allrecipes.com and indeed I already had everything, although this pretty much wiped out my jar of cumin.  What is it about cumin anyway?  It smells like an old sweat sock but it's just so awesome...

Garam Masala

  • 1 tablespoon ground cumin
  • 1 1/2 teaspoons ground coriander
  • 1 1/2 teaspoons ground cardamom
  • 1 teaspoon ground pepper
  • 1 teaspoon ground cinnamon
  • 1/2 teaspoon ground cloves
  • 1/2 teaspoon ground nutmeg
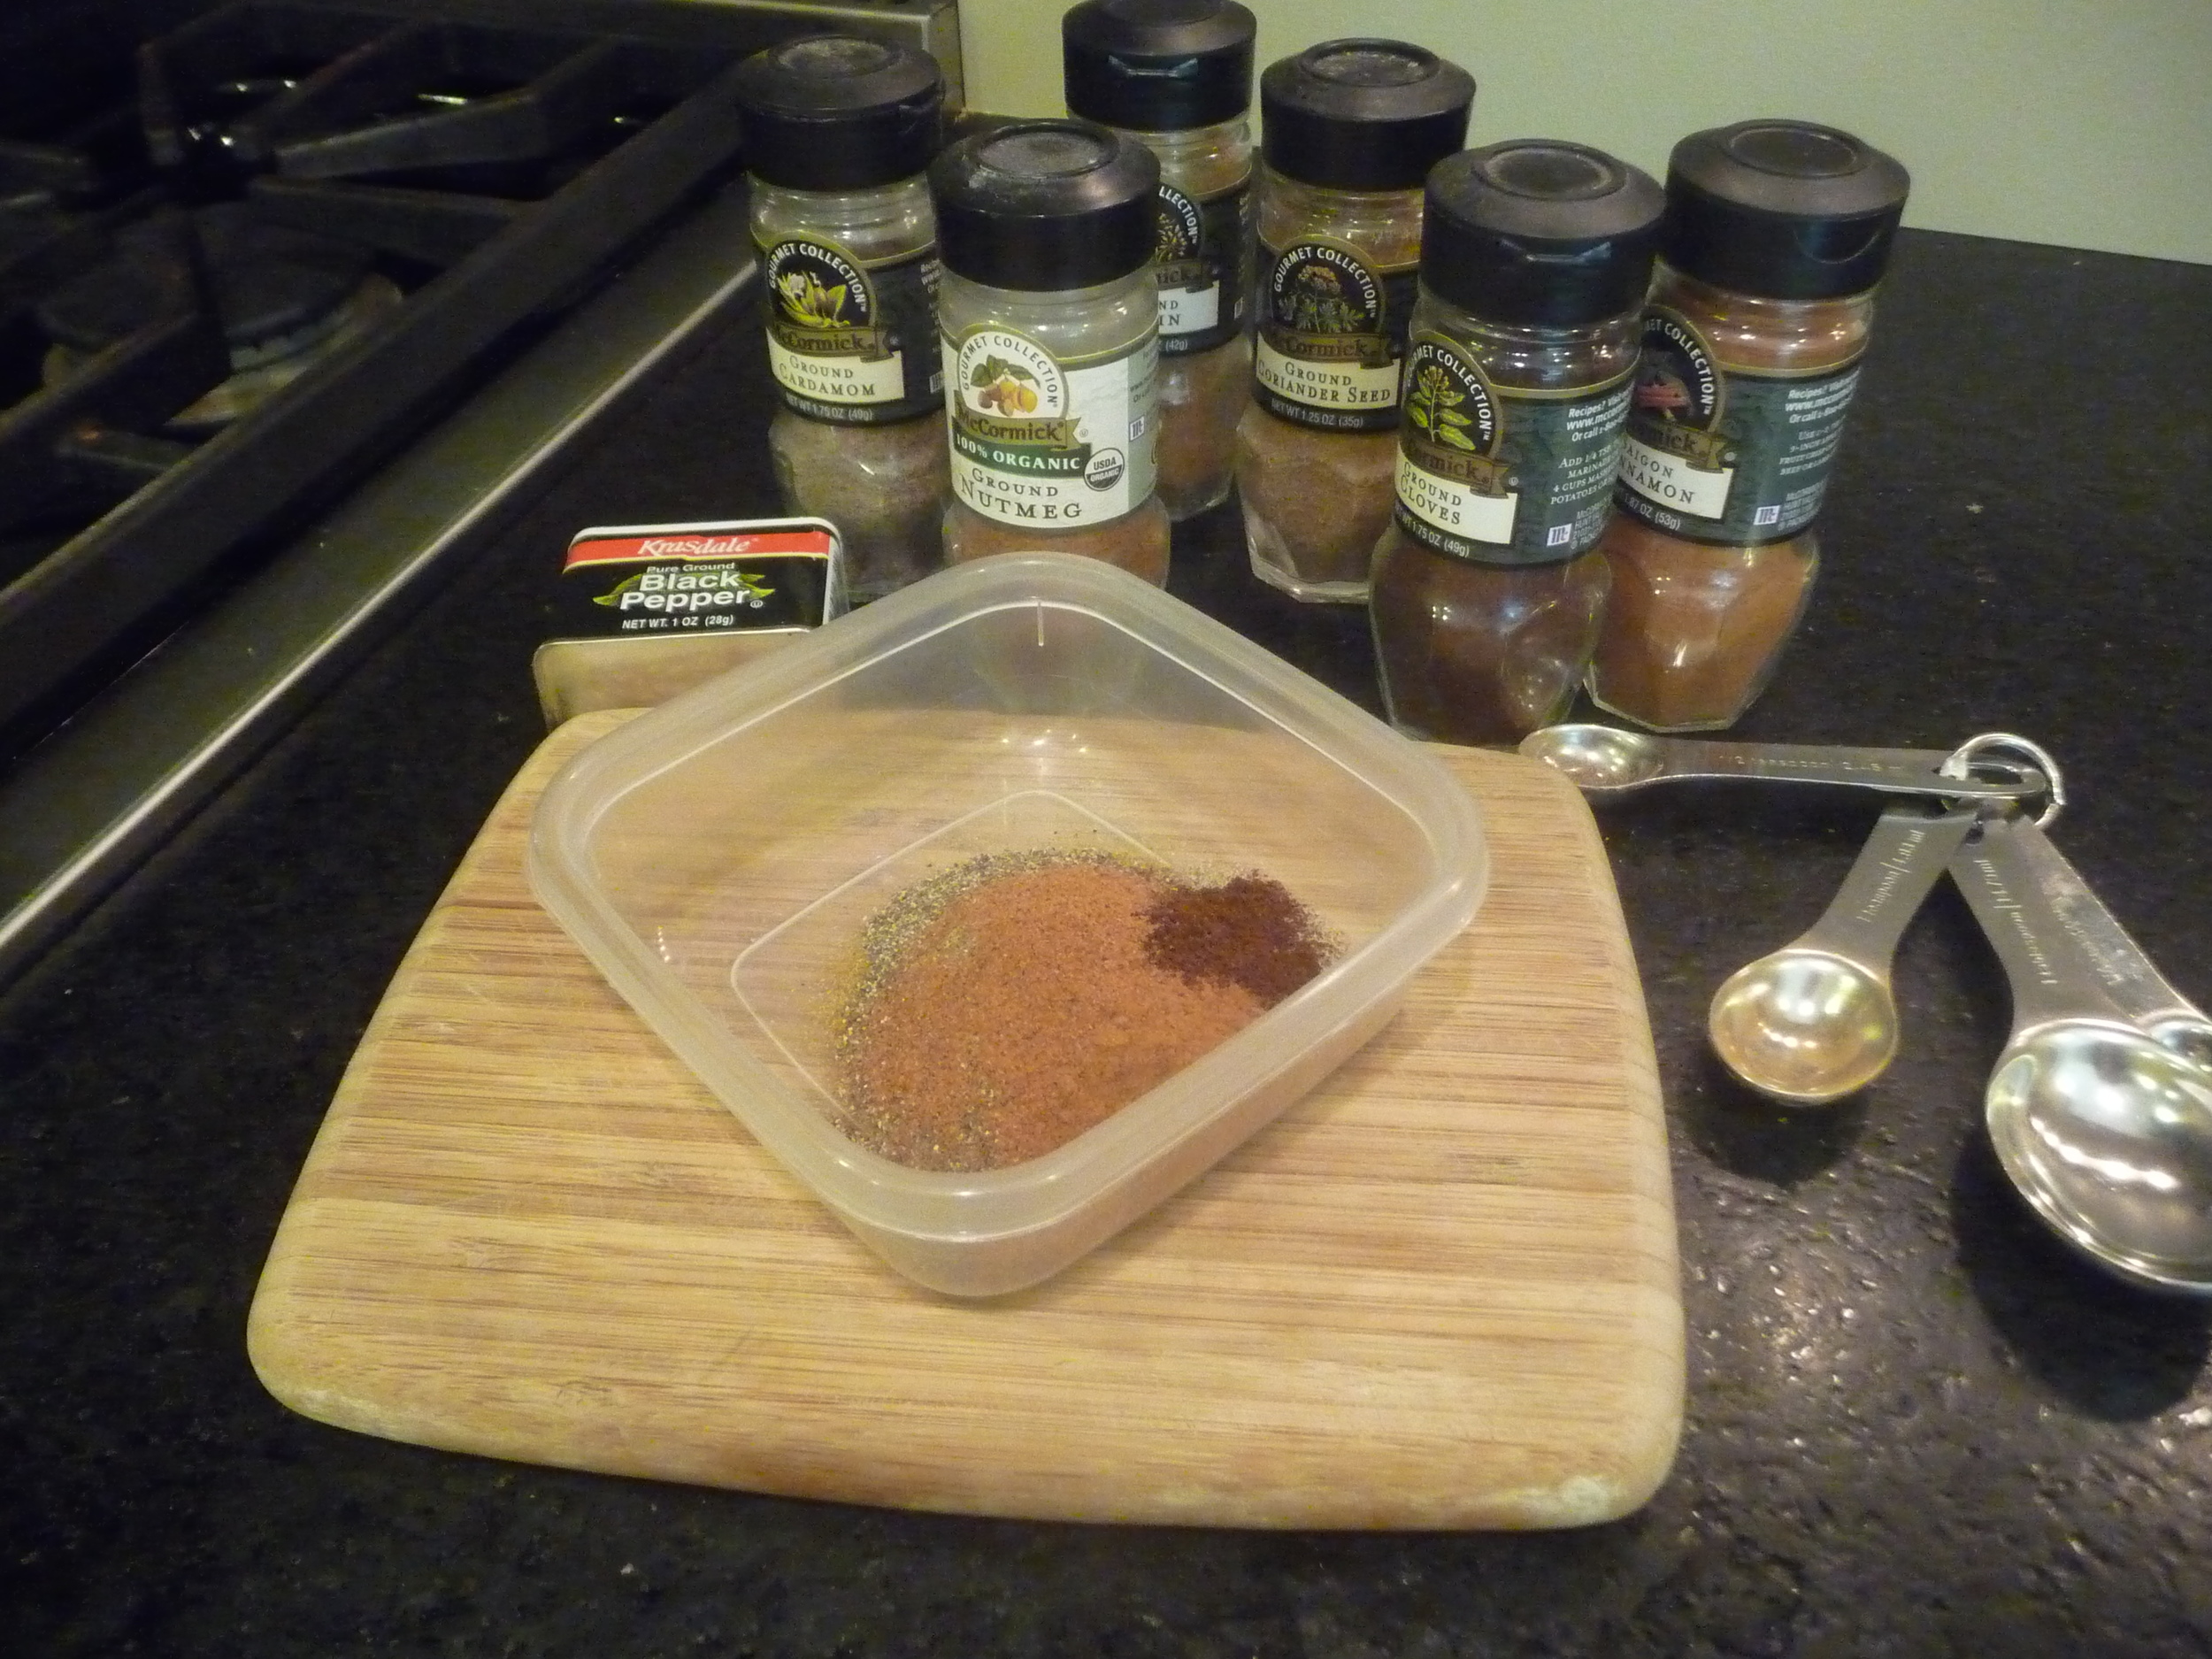
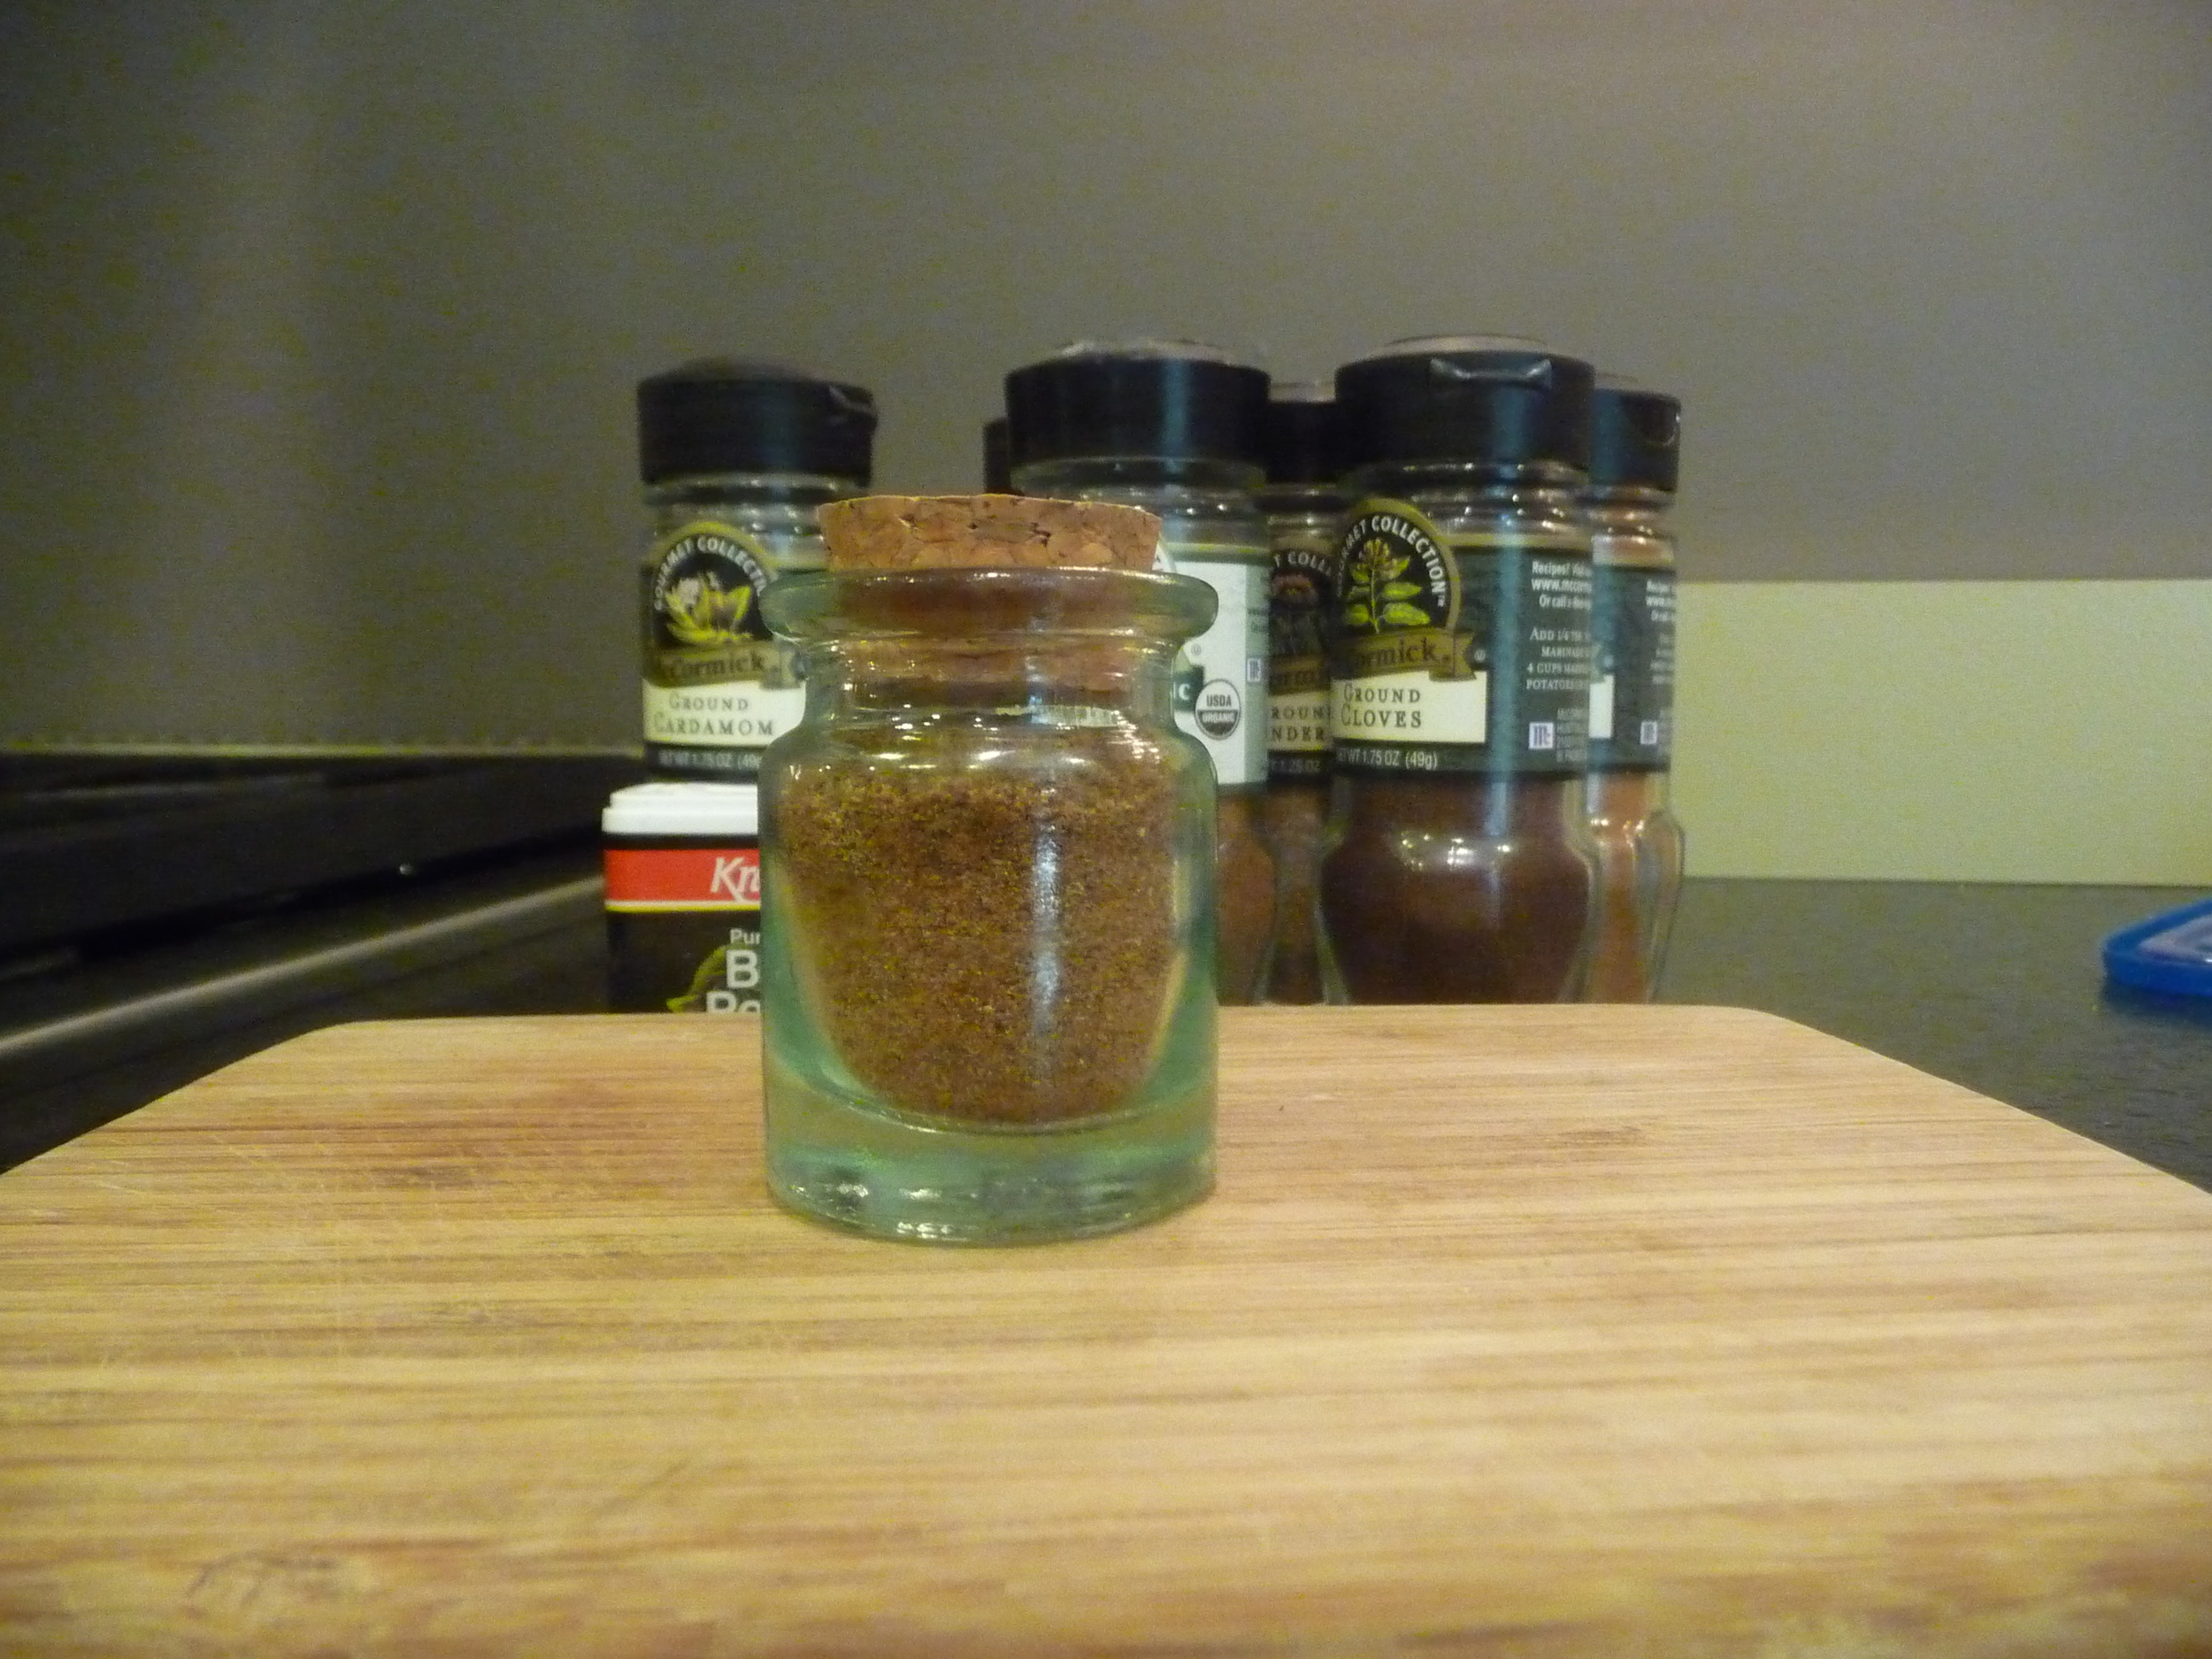
Combine all spices together and store in a covered container in a cool, dry place.  In my case, in a cunning little glass jar with a cork that used to hold saffron threads, which Pandagirl stole from me, which I stole back.


Random bites

Here's the first pea harvest.  I know, try to contain yourself at the sight of such abundant bounty.  Still, good things come in small packages, and there is nothing like picking them off the vine, pulling the string, splitting the pod, and scraping it along your bottom teeth to pop the peas in your mouth. That is how you do it, right?

Moving along.  Here was some yumminess:  Quinoa Patties as found on Stacey Snacks.  I'd had my eye on these and over the weekend I cooked up about 4 cups of quinoa and just had it keeping in the fridge.  Monday night I was late in the city, so I texted the URL to Jeeps...oddly, just as he was peering in the fridge and wondering what to do with the quart-sized Chinese food container filled with quinoa.  They were made and waiting when I got off the train and they were dynamite.   We had them with just steamed broccoli; Stacey shows them with a dollop of guacamole, and in another post she has them on a bed of greens with, hello, a sunnyside egg on top.

Speaking of eggs, it has been beastly hot the past two days, with more beastliness to come.  But is it hot enough outside to fry an egg?  My neighbor Elizabeth does not suffer clichés gladly, and demanded proof over hyperbole.  The results are in, and yes, it was that hot:

[Editor's note - Naive ninny that I am, I really did think Elizabeth had conducted said experiment but later she confessed to a Google image and then passed along an article about how, in theory, it is not possible to fry an egg on the sidewalk because it does not reach the temperature required to denature and coagulate the egg whites.  I called her a fraud and told her that to salvage her street cred, she should crack an egg on the hood of her car.  Stay tuned]

Oh, here's a treat.  Last year we went to friends in Westport for Memorial Day, and one of the appetizers they served was goat cheese in apricots with hazelnuts.  We went crazy over these and let me be perfectly frank:  goat cheese and I have a contentious relationship.  For years I wanted to like it, I felt it was something I really should like, but whenever I had it...I just didn't like it.  But I kept on and each time I didn't like it a little less.  And then with the apricots in Westport...maybe it was the type of goat cheese or the company it was keeping, but I think I ate half the platter and Francesca and I fought for the last one.

So this was my lunch on Tuesday.  I went the extra step and drizzled some honey over them, and then a pinch of sea salt.  And they were so good, I made like another four and ate those too.

Tuesday night I went back to dance class.  I have not been in....many years.  My mother is guest teaching at my friend Jen's dance studio, 5-6-7-8 Dance Arts, for the month of June.  So I went and I took Pandagirl, and I wasn't prepared for how emotional I'd feel at one, being back in class; and two, being in class with Panda.  And my mother.  We weren't halfway through the first plié combination when I was getting teary.  And now I have this amazing picture of three generations at the barre:

Also taking class was Jen and Anne Marie, both of whom were my mother's students as well.  Being with them in class was like traveling back in time.  It felt so familiar...and yet it was different.  You could just see in our carriages that we remembered all the training, but so much unneeded luggage of youth has been left behind and to hell with perfection - now is the time to just dance.  It was also humorous how many times we each had to break and turn our knees in to relieve our howling joints, or massage a cramp out of our arch.  My body felt okay that night, but by Wednesday afternoon my calves and hips were filing for divorce.

Last, a preview of my next "Reads" post.  It's easy to say that a book is one of your favorites so I just want you to get an idea of what neighborhood of favorite I mean when I talk about In this House of Brede:

It is a book very beloved to me.

Vegetable Garden, my Vegetable Garden

I'm in love with this picture. It just evokes everything that I wanted my vegetable garden to be.  

Back in 2004, the March garden issue of Martha Stewart had this amazing article called "Vegetables, Beautiful Vegetables," and it featured the gardens of Nancy Heckler, who lives in western Washington.  

At the time, we were living in this house just 4 months. When we moved here, there wasn't a flower to be found on the property, let alone a space for a vegetable garden. But I tore out the article and saved it, for now I had a vision. Heckler's garden combined vegetables and flowers in ways I never thought possible.  

The article, unfortunately, isn't archived anywhere online so I just have to describe the raised beds filled with stunning combinations: a line of yellow swiss chard backed by clumps of orange and red dahlias. A cedar arbor in the center of the garden covered with scarlet runner beans. Purple kale growing around bright green romanesco cauliflower. Marigolds clumped at the base of tomato plants.  

Some flower-vegetable combinations had function as well as form:  Heckler grows lupines among her broccoli, because broccoli is a heavy eater and depletes the soil of nitrogen, but lupines are of the legume family and their roots actually set nitrogen into the ground. Talk about a match made in heaven.

It became my dream to have a vegetable garden that was beautiful to look at and full of whimsical touches. Like any garden, it will always be a work in progress, but I am closer to where I want to be, and I walk through here every day, four or five times a day, and it always brings me joy.  

Come take a walk with me.  I love how you can actually walk through this garden, in one gate and out the other. I found the dragonfly at at Homegoods. There were two in the wall art section and I brought one to the register. As the cashier was ringing me up, I thought aloud, "Maybe I should get the other." The cashier didn't miss a beat, winked at me and said, "Get the other." So I did and that's why there's one on each gate.

This climbing rose "Zepherine Drouhin" is coming into bloom, and a bright pink clematis grows around it (soybeans are growing in the bed, another nitrogen-fixer). I used to have this gorgeous purple clematis at one of the garden gates but when we re-did the fence this year, I had to move it. And it died. I wasn't expecting this pink one to bloom this year, but maybe it felt bad for me.

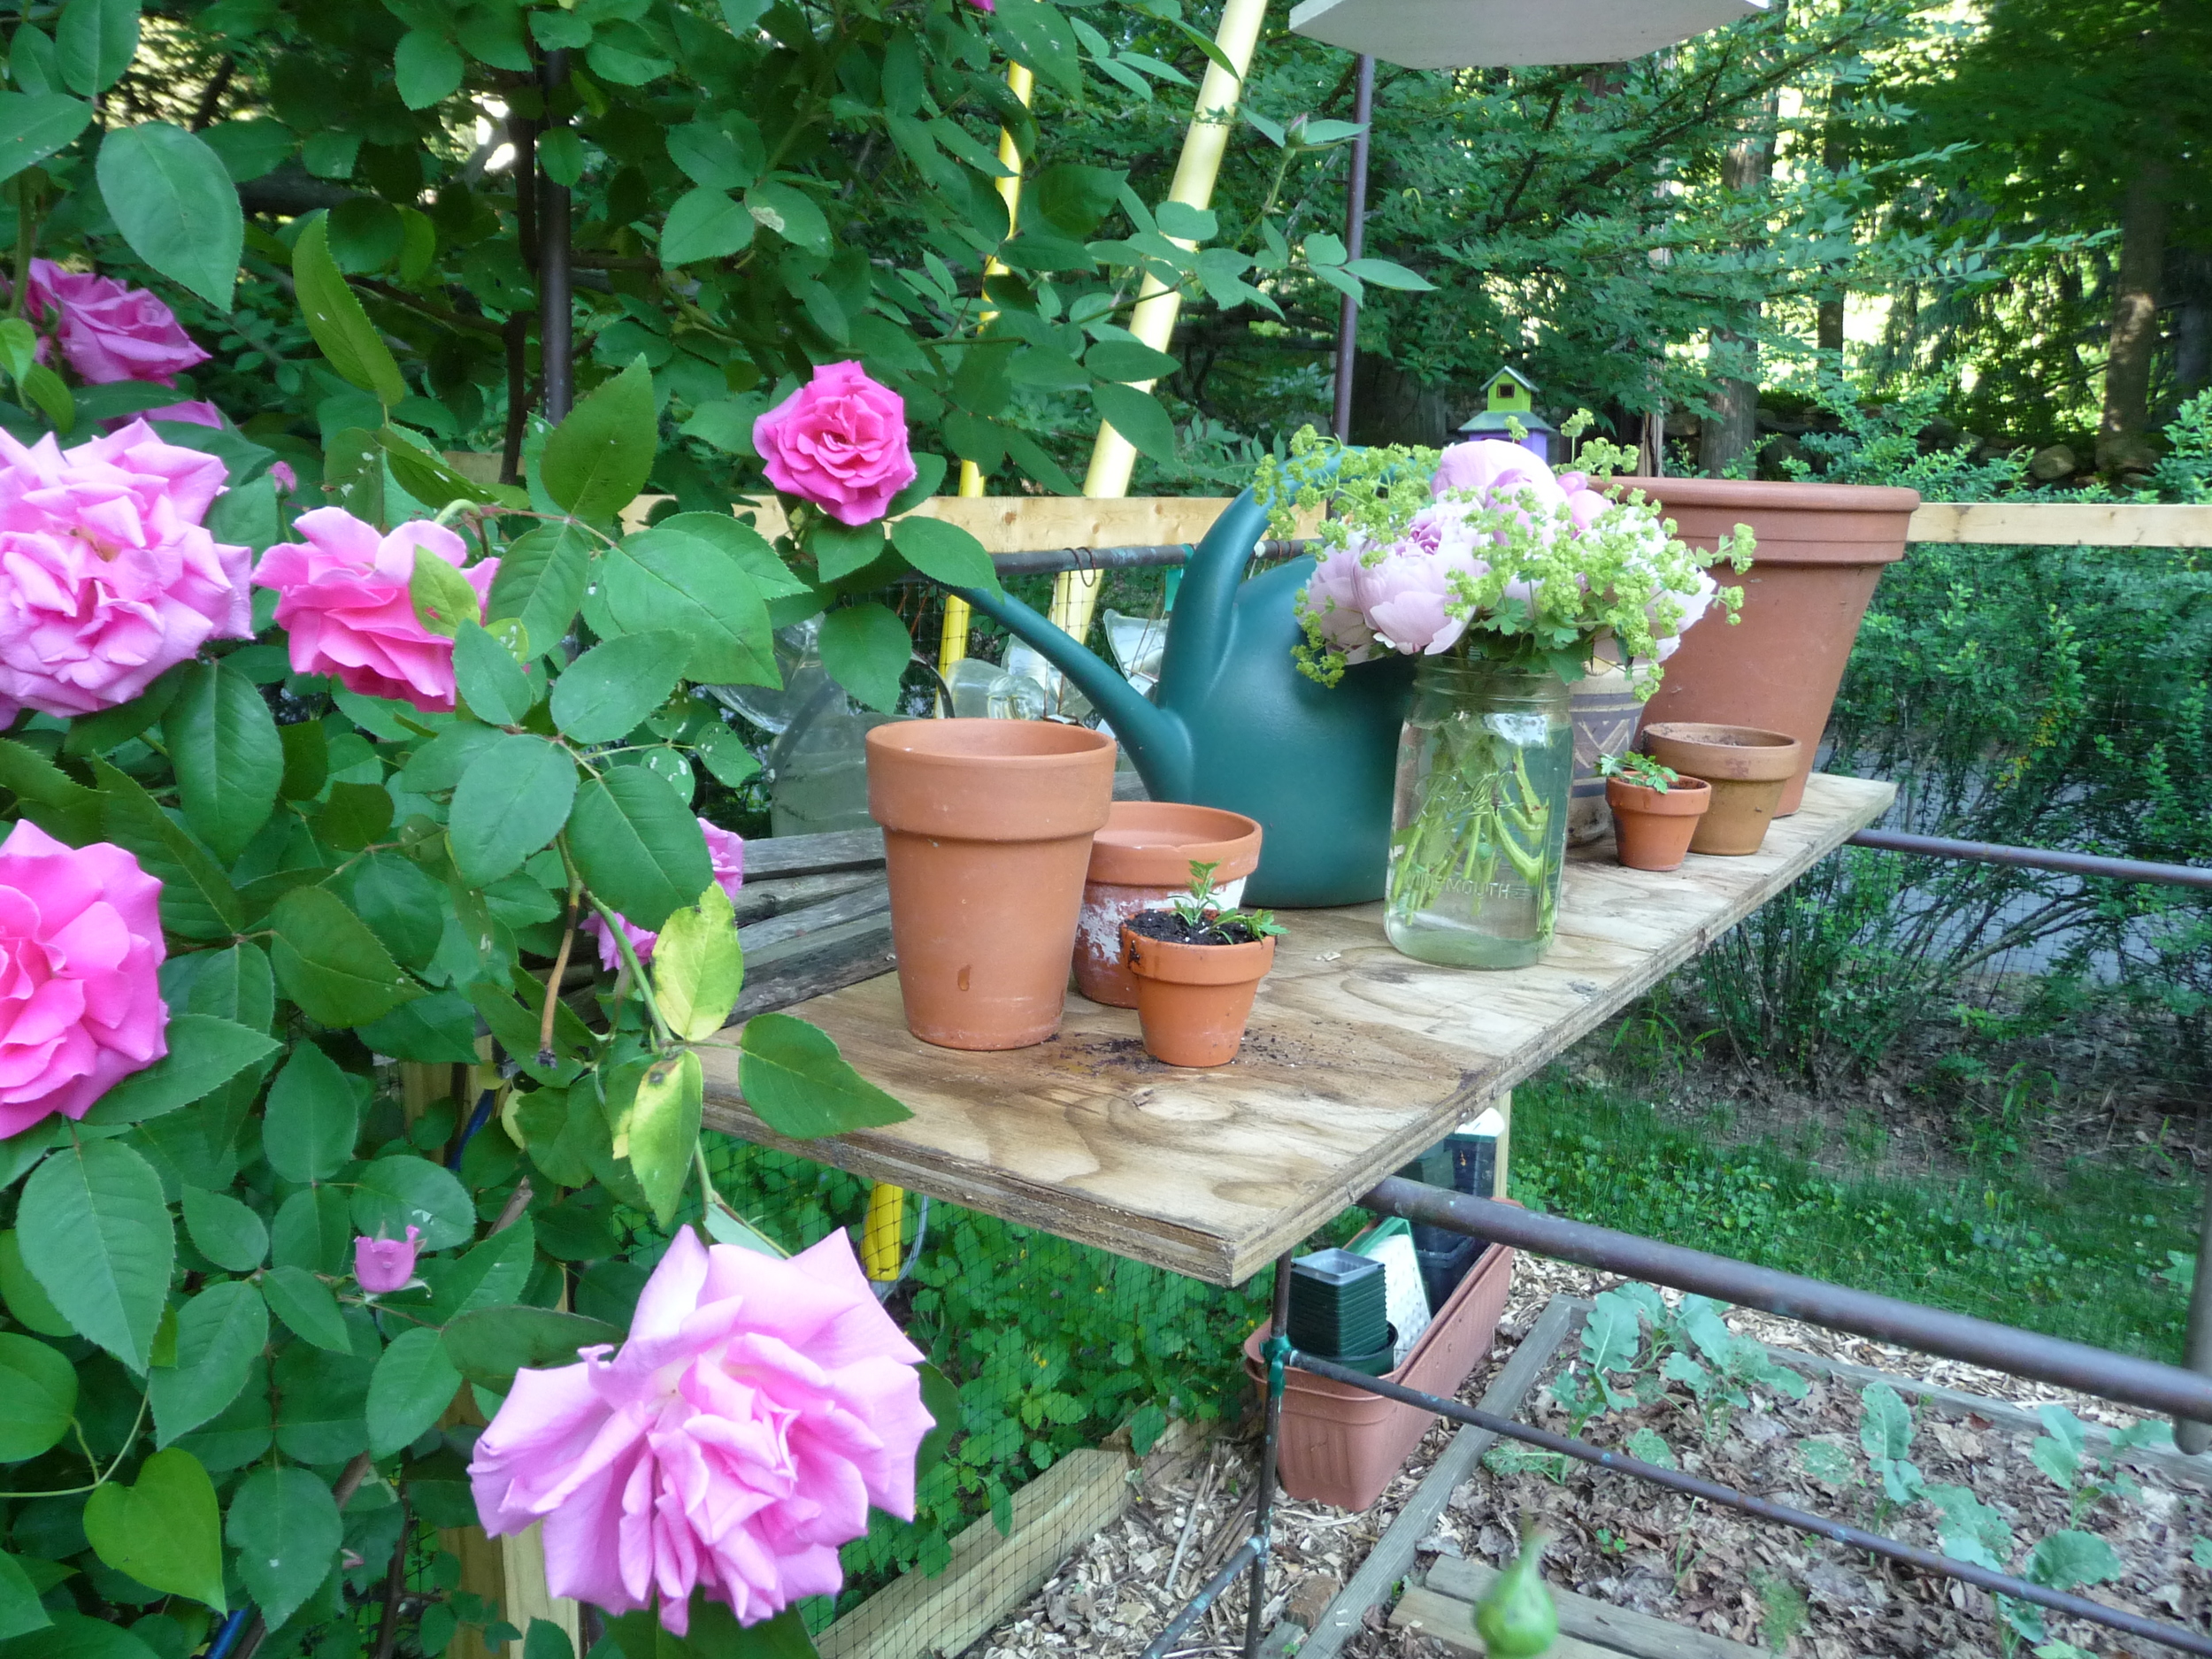
A lot of my roses live inside the vegetable garden otherwise they get mauled by deer, rabbit, woodchucks, and lord knows what else. The Zepherine climbs up this copper structure that Jeeps built when we had the intent of growing our tomatoes upside-down. We snubbed the "Topsy-Turvy" planters hawked on TV and made our own out of gallon-containers of Poland Spring water and some ingenuity. Two seasons I attempted to grow cherry tomatoes this way, with thoroughly mediocre results. Last year I just grew flowers in them and found it to be too high-maintenance with the extra watering needed. So to hell with that, I put a board across the middle poles and turned it into a potting bench. It also makes a shady area underneath to grow lettuce and shelter young seedlings.

So the pathways between the beds are finally mulched, courtesy of the swamp maple we had cut down and chipped up couple months ago—there's a 50-Advil weekend.  The garden beds all get a shot from the compost pile, and then I mulch the plants with dead leaves. We have woods on 3 sides of the property so there's never any shortage of those. When Jeeps starts bagging the clippings when he mows the lawn, I add those to the beds, too.


This bed has my heirloom tomato plants at the back, basil and parsley, then a row of fennel and a row of arugula.  The standing container has cherry tomatoes (which I really need to cage), and other herbs in pots...

This is my broccoli bed.  Remember it had radishes outlining the plants? Well we ate those, thank you for your kind service. So now the broccoli is mulched with leaves and has another row of fennel fronting it, just WAITING for slaw!!! 

And of course, my birdhouses. When we were re-doing the fence posts, I first thought some kind of decorative filial on the top of each one would look cool. Then in a flash of insight, I thought about birdhouses. Three weekends of painting and three cans of acrylic spray later, I have one on nearly every post. I just love them so much.

They were meant to be purely decorative. The garden is right off the driveway and turnaround, and of course I'm traipsing in and out of there a dozen times a day. I figured they were way too close to human traffic to be inhabited. But what a surprise this weekend to see increased bird activity around the houses, and I can confirm this orange one is definitely occupied:

So other than the flowers, some herbs and some salad greens, the only other crop approaching harvest are the peas. "Crop" is an extremely generous term. I had three beds full of them, growing along with my tulips, but when the Vole Family invaded, they not only ate all the tulip bulbs, but their burrowing destroyed most of the peas, too. Really discouraging. I'm down to one decently-filled pea bed, and then two pathetic crops on either side.  Peas rarely make it from garden to table around here. The kids usually snack right off the vine. That's fine with me but just once I'd like to pick enough peas to be able to sit on my front porch and shell them, and then steam them lightly and serve with butter, salt and pepper. Someday...