Christmas Cookies: Lemon Poppyseed

These are Jeeps' favorite. They are light, lemony and just darling: the kind of small little cookie that you feel justified eating six at a time. You can make them any size, actually. They go equally well with tea, coffee or a glass of wine.

Lemon Poppyseed Crisps

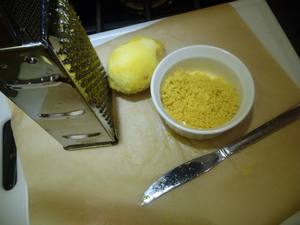
  • 1/4 cup fresh lemon juice, plus 3 1/2 tsp grated lemon zest (about 3 large lemons)
  • 1 cup (2 sticks) unsalted butter
  • 2 cups flour
  • 1 tsp baking powder
  • 1/2 tsp coarse salt
  • 1 1/2 cups sugar
  • 1 large egg
  • 2 tsp vanilla extract
  • 1 tbsp poppyseeds plus more for sprinkling

Note: lemon zest both refrigerates and freezes well. I make a lot of cookies that use citrus zest and it's a task I loathe. So along with pre-measuring dry ingredients, I take a night to zest oranges and lemons (say the bells of St. Clements) and store it until I'm ready.

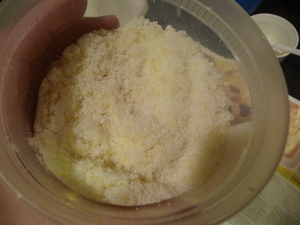
Take 1 1/2 tsp of the grated lemon zest and mix it with 1/2 cup sugar in a small bowl or tupperware. Set aside or put in the fridge until you are going to make the cookies.

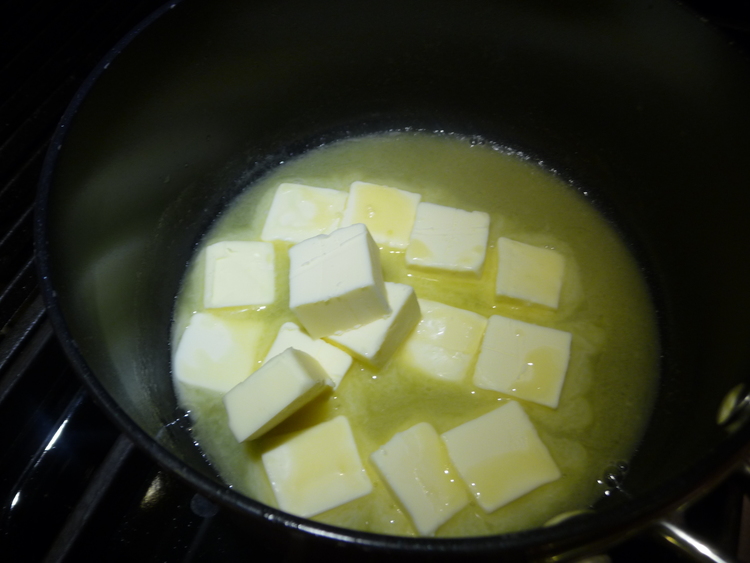
Bring lemon juice to a simmer in a small saucepan over medium heat. Cook until reduced by half. Add 1/2 cup (1 stick) of butter and stir until melted. Set aside.

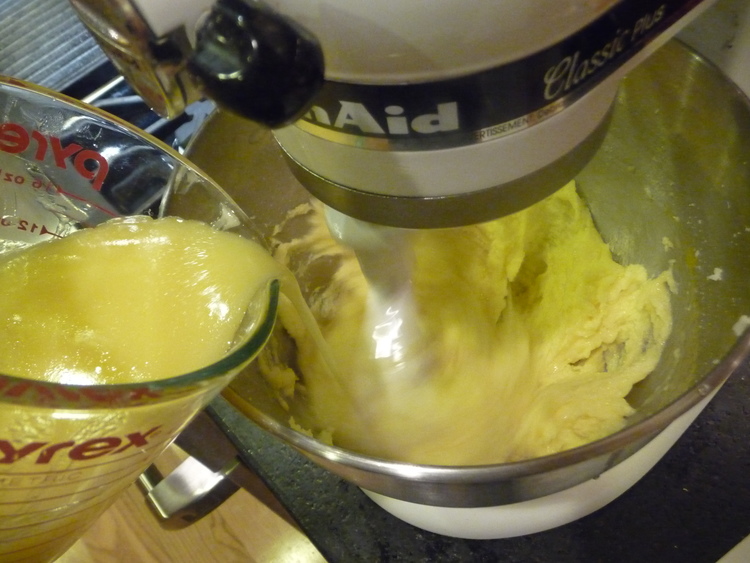
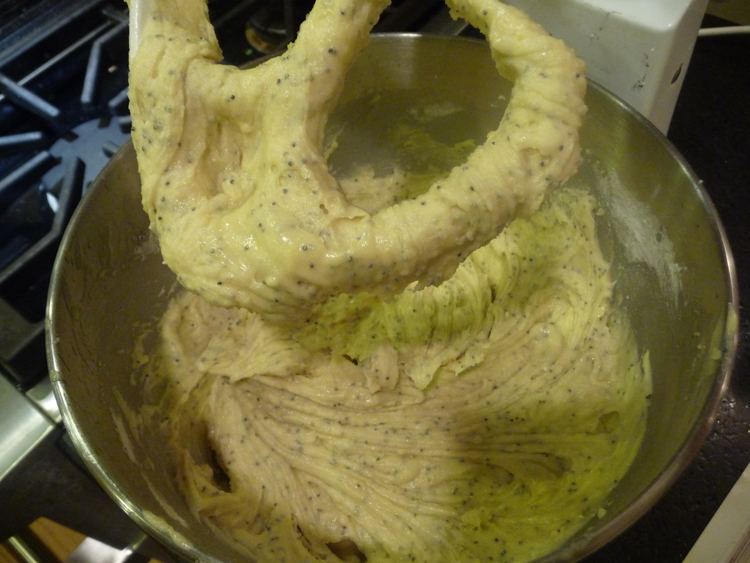
Whisk together flour, baking powder, and salt in a medium bowl and set aside. Cream together the remaining 1/2 cup (1 stick) butter and 1 cup sugar. Add egg and reserved lemon butter, mix until pale, about 3 minutes. Mix in vanilla and remaining lemon zest. Reduce speed to low. Mix in flour mixture and poppyseeds.

Empty dough onto saran wrap, flatten into a disk and chill for an hour, or freeze until ready to use (thaw frozen dough in fridge first).

Roll dough into 1" - 2" balls, depending on how darling you want your cookies to be. Roll balls in lemon zest-sugar mixture and place on baking sheets. Press each with the bottom of a glass dipped in the sugar mixture to 1/4" thickness. Sprinkle with poppyseeds.

Bake 12-13 minutes at 350 until just browned around the edges.

World's Best Gingerbread. Really.

The other day called for Gingerbread. I hung up the phone.  

The day called back and said "Chocolate Gingerbread."

I said, "Speaking."

Usually my go-to gingerbread is Laurie Colwin's recipe but I was in the mood to expand my horizons and see what else was out there in the world.

I found the world's best at a blog called The English Kitchen.

Now I do realize that when you throw around words like "world" and "best" then you better damn well deliver. This recipe delivers.  If this isn't the world's best damn gingerbread, it's pretty damn close. It's everything the author says it is: "no-fail, bakes up deliciously moist, the perfect blend of spice and heat, and it tastes better and better with each day that passes."

The author gives her gingerbread a lemon glaze. I put my twist on it by adding cocoa powder. Frankly it needs nothing. It needs nothing and gives everything. That is the world's best gingerbread.

World's Best Gingerbread (really) from "The English Kitchen"

  • 1 1/2 tsp ground ginger
  • 1 1/2 tsp ground cinnamon
  • 1/4 tsp ground cloves
  • 2 cups flour
  • 2 1/4 tsp baking powder
  • 1 heaping tbsp Hershey Special Dark Cocoa Powder (optional)
  • 1/4 tsp salt
  • 1 1/4 cups boiling water
  • 1/4 dark treacle and 1/2 cup Golden syrup (I have no idea what treacle is. I already had Lyle's Golden syrup from when I make Laurie Colwin's recipe, but only just 1/2 cup. I used 1/4 cup molasses for the treacle to get to the 3/4 cup. The English Kitchen says you can use all molasses, so don't sweat it)
  • 3/4 tsp baking soda
  • 6 tbsp unsalted butter, softened
  • 3/4 cup dark brown sugar, packed
  • 1 large egg

Preheat the oven to 350. Butter and flour a 9 inch square baking tin, or spray with Pam.

Add the treacle/molasses and syrup to the boiling water along with the baking soda. Set aside and let cool to room temperature.

Whisk together the flour, spices, cocoa, baking powder and salt. Set aside.

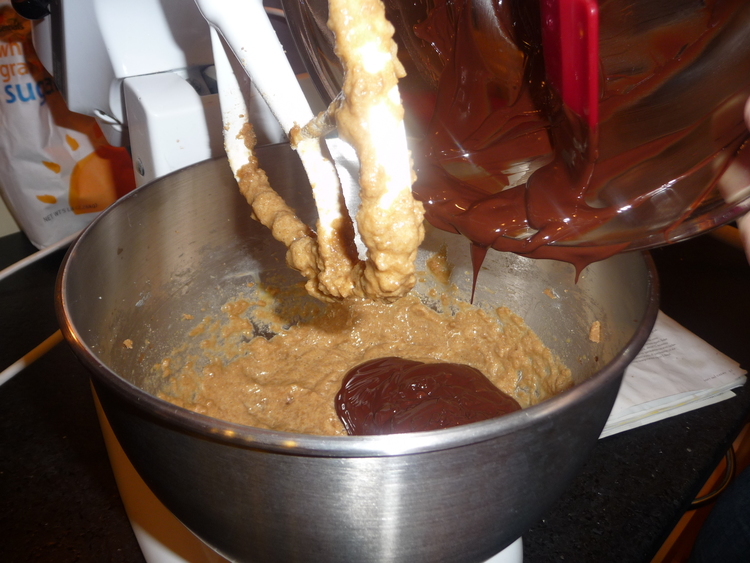
Cream together the butter and brown sugar until light and fluffy. Beat in the egg. Add the cooled syrup mixture to the creamed mixture. Stir in the dry ingredients only to blend and note this is very liquid batter, don't be alarmed!

Pour batter into the prepared baking pan. Bake for 30 to 40 minutes, until well risen and the top springs back when lightly touched, or a toothpick inserted into the center comes out clean.

Serve warm, or pick at it in the middle of the night. It's divine.

The Truth About Mousse

My friend Ami posted this link to an article in Huffington Post about how social media can seriously stress you out. Things we pin on Pinterest and things we choose to Facebook and Tweet can easily blur the line between what is real and what is perceived as real. Someone's picture or post that captures a seemingly perfect little moment of life can either genuinely move you, or leave you with the feeling that no matter what you do, someone else is doing it cooler. Someone is more organized, more creative with their solutions, more environmentally responsible. They make more nutritious meals, they have more patience, less anxiety. They just do it better.

They don't.

Life on social media is a cleverly crafted illusion. A web of avatars. What is put forth is chosen to be put forth and what is kept behind is sacrosanct and a mystery. But the truth does exist amongst the pins, posts and pictures. What you put aside with "someday I'll do that," can be done today. I'm here to help.

Who hasn't seen this little meme circulating around:

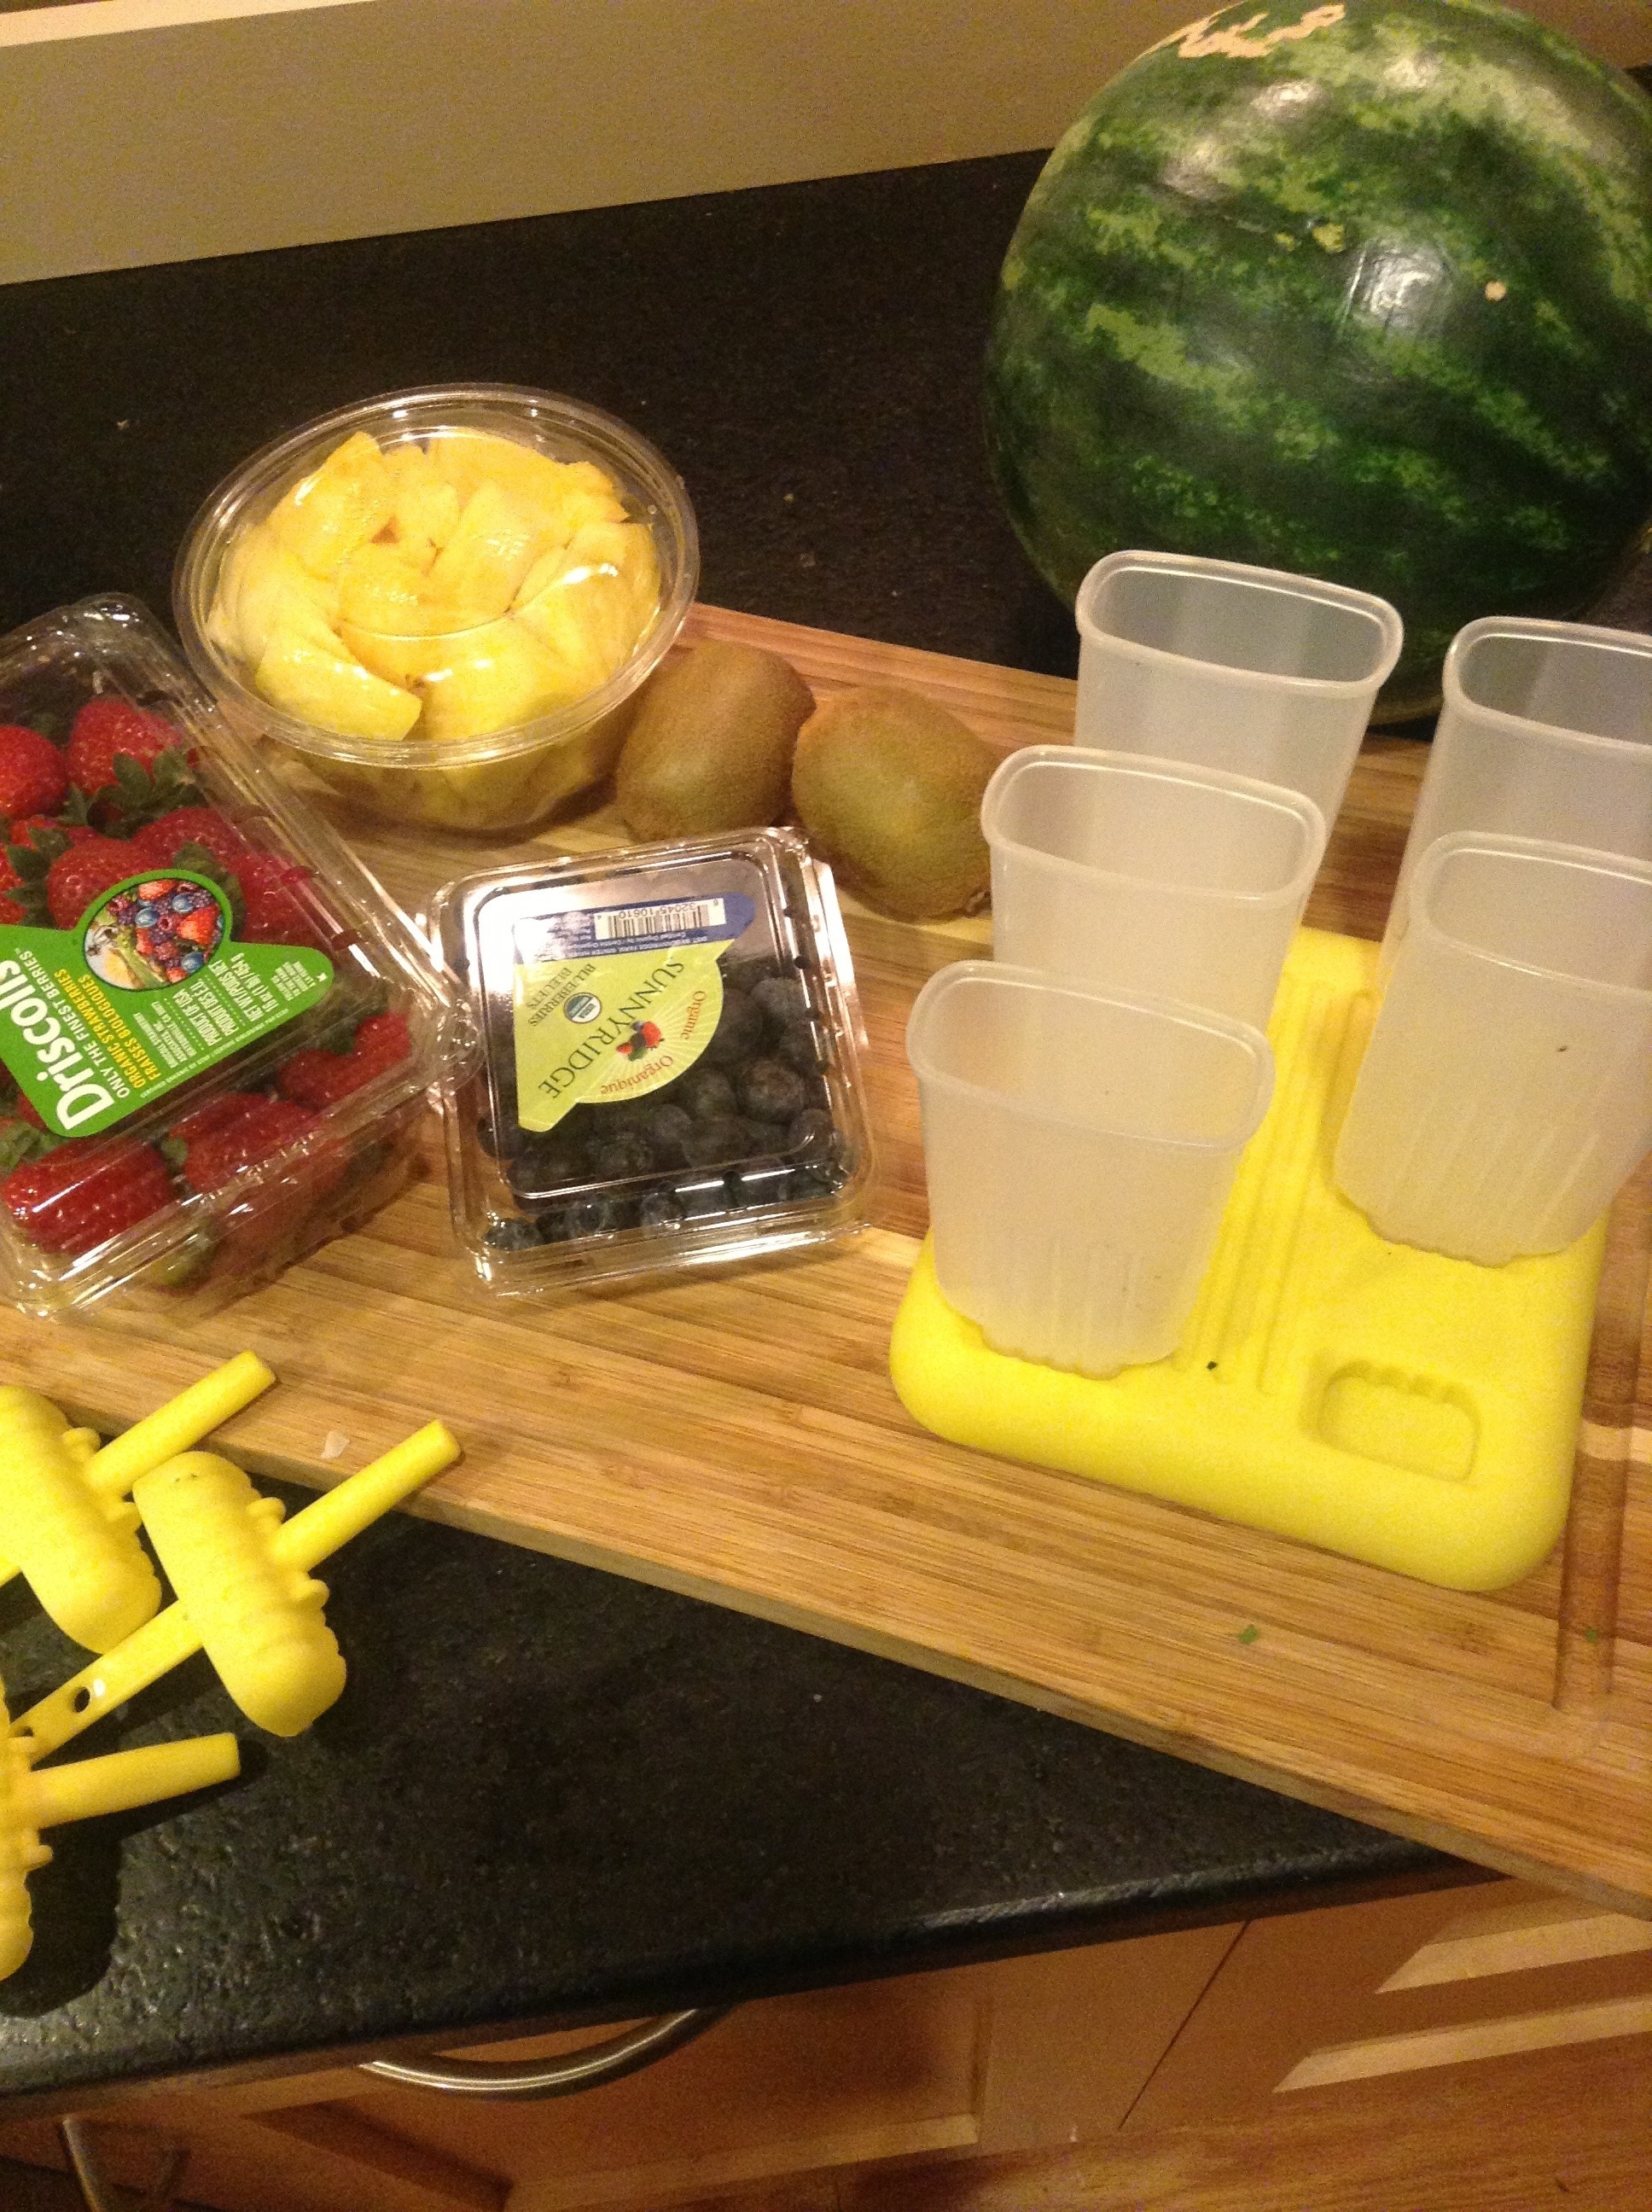
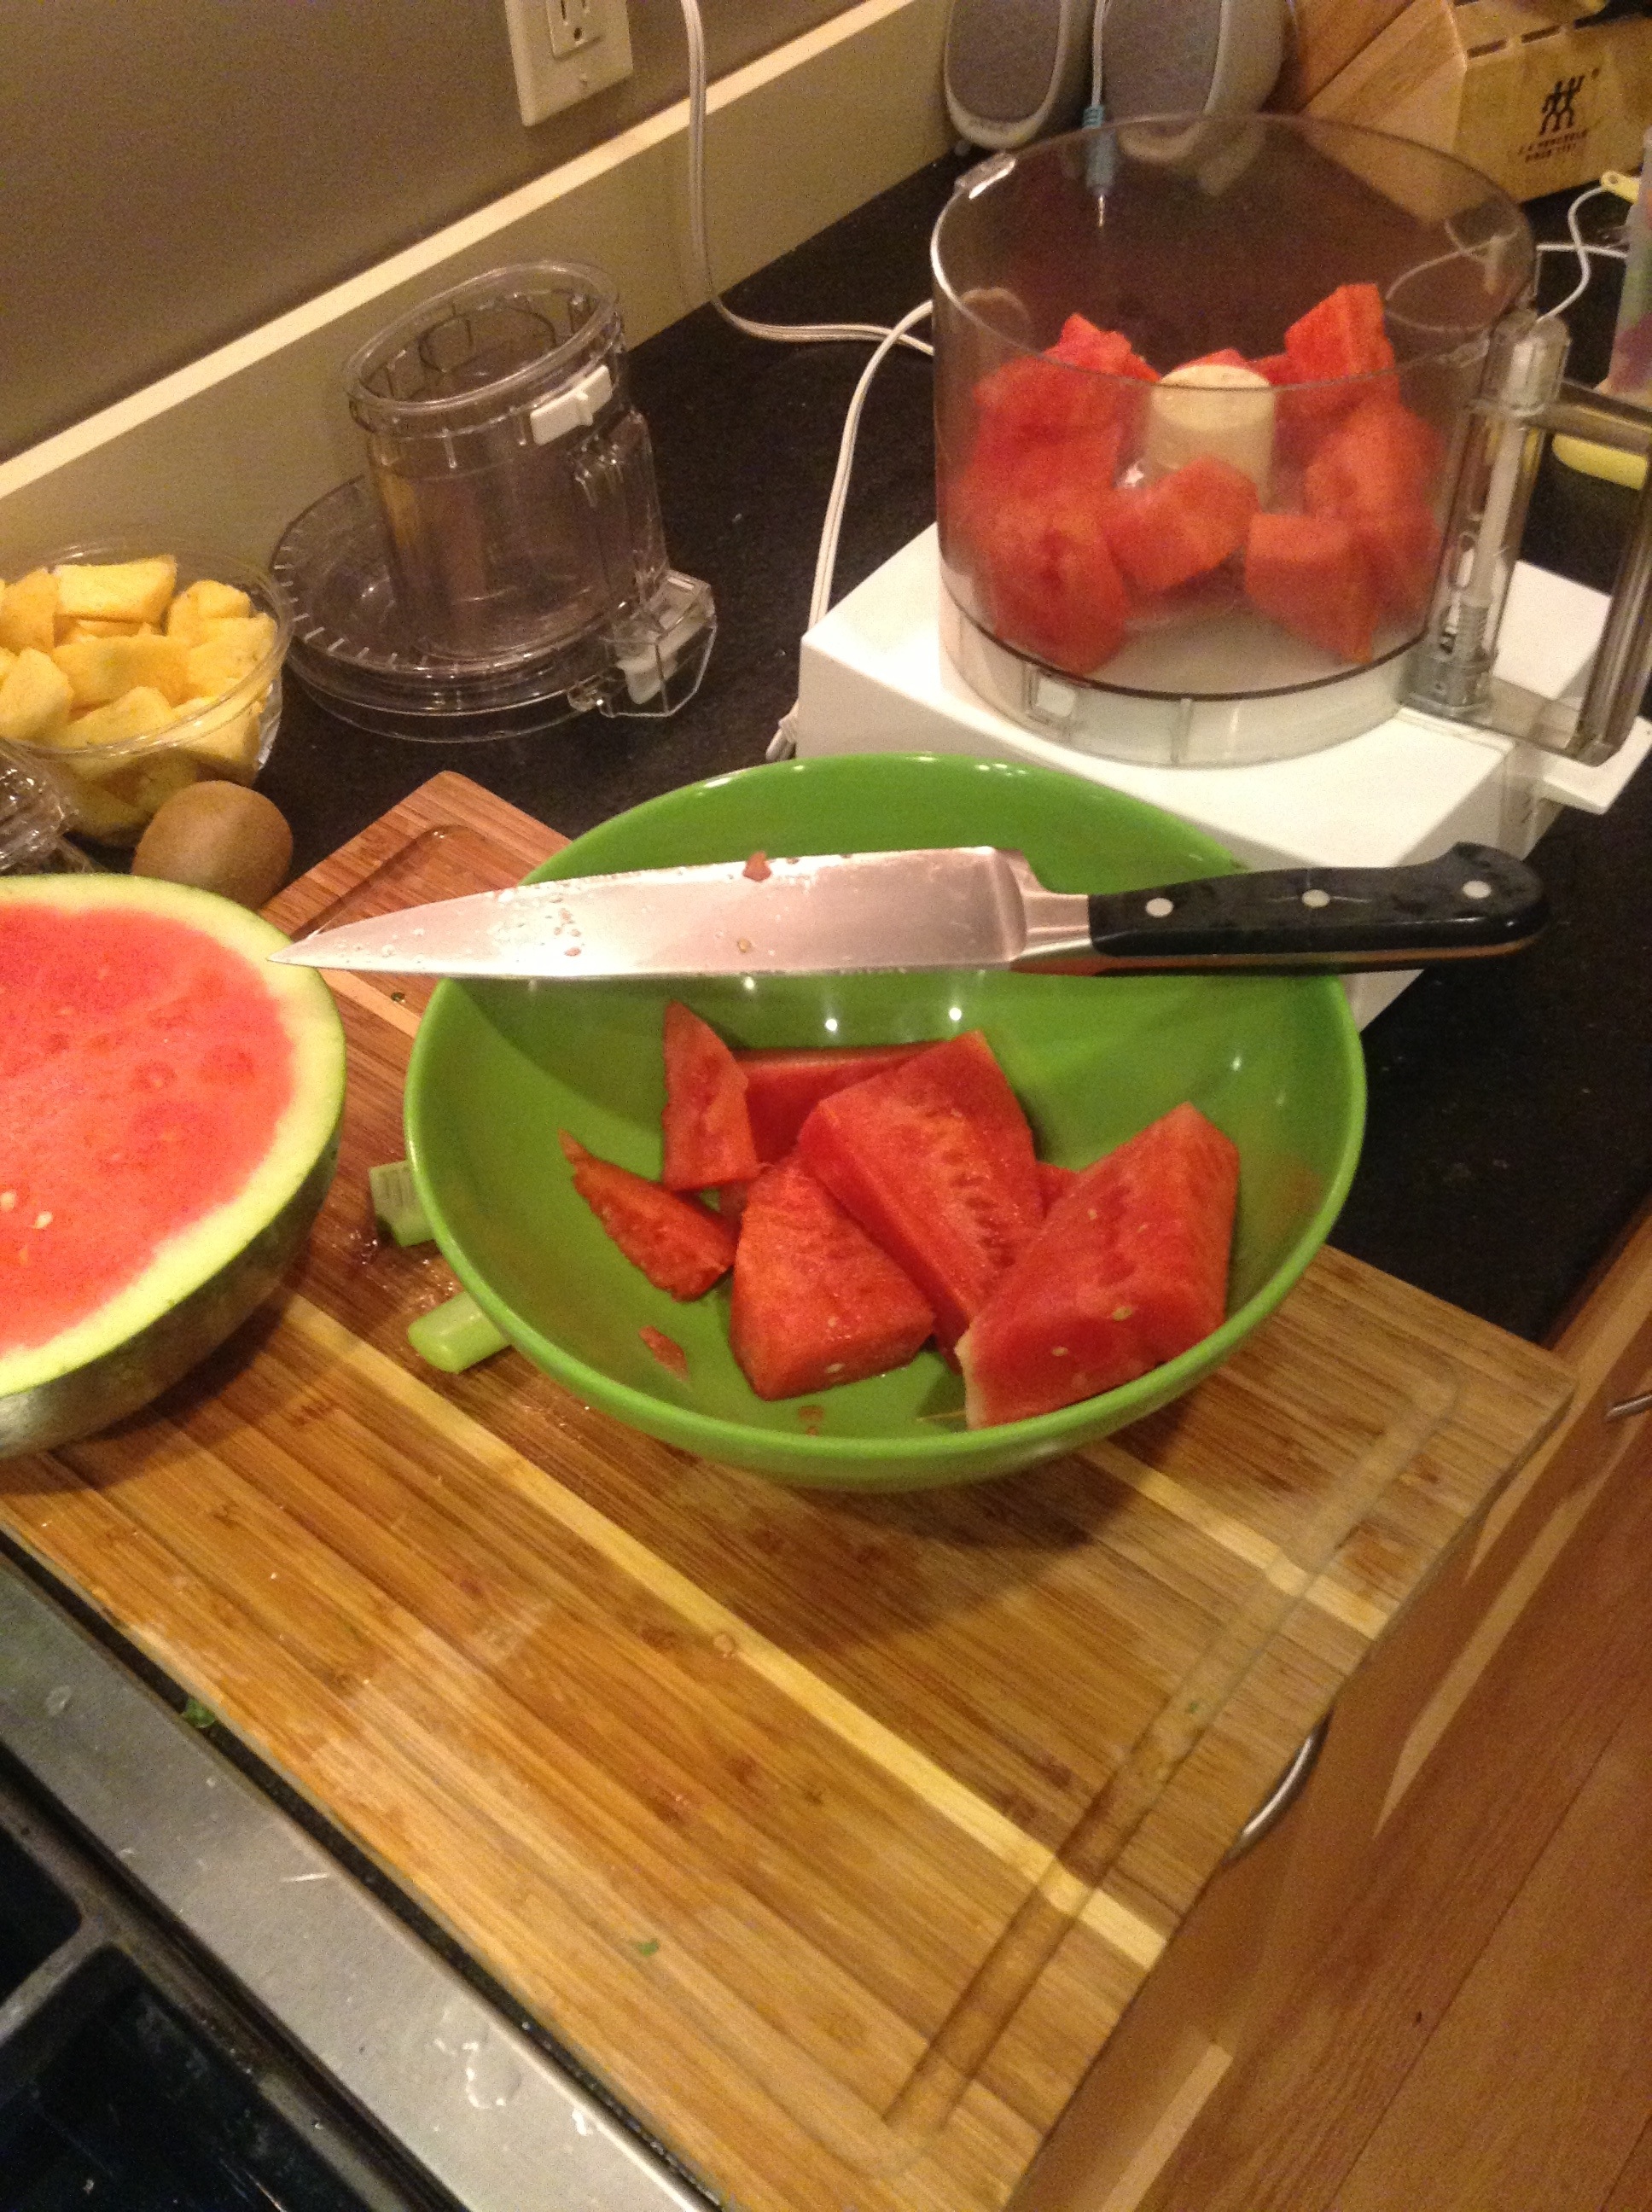
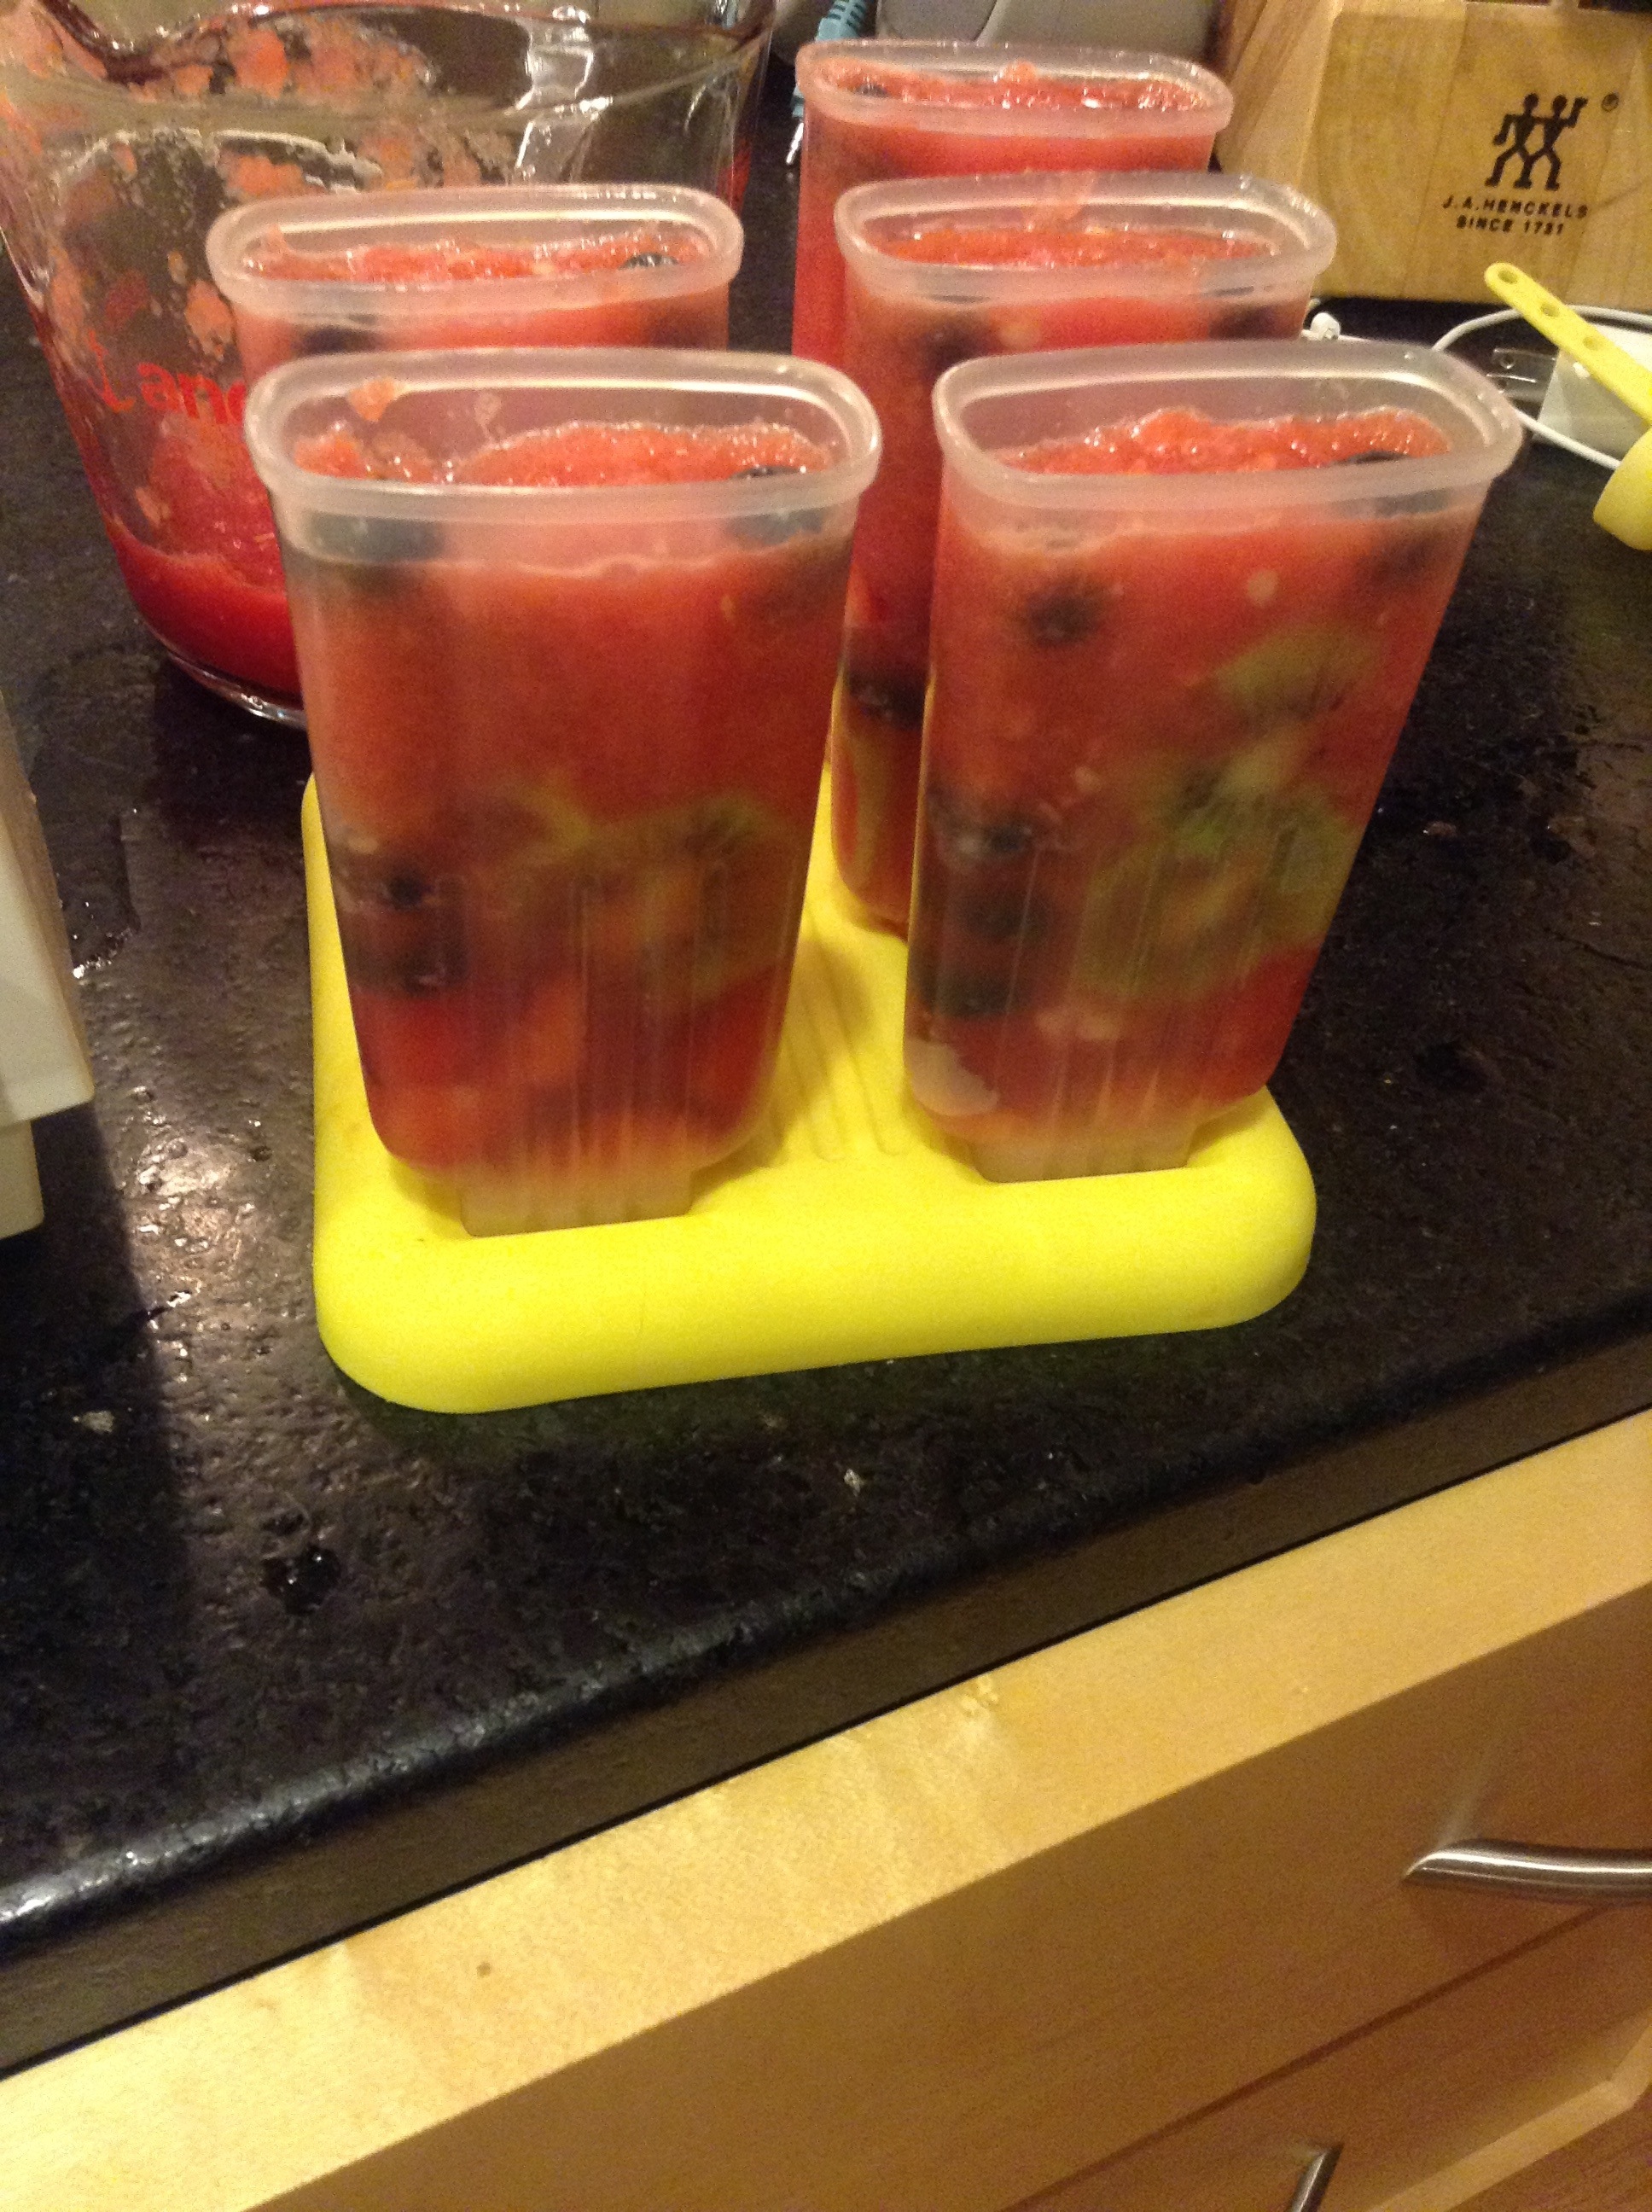
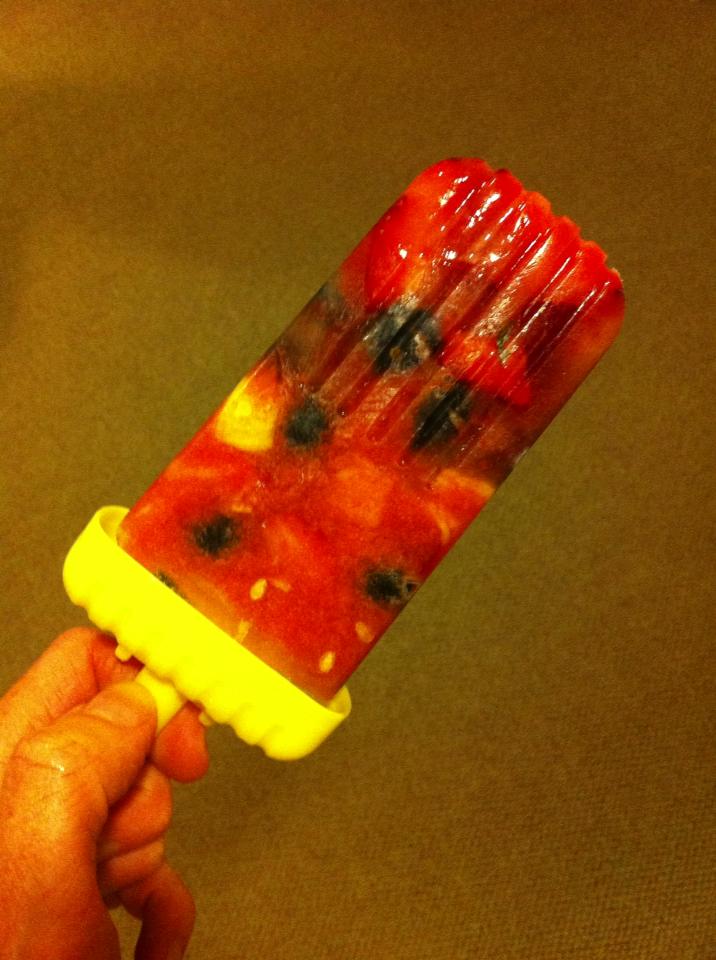
Homemade fruit pops. Good, and good for you. You pin it. You say you'll do it someday. But is it real? Do they actually work?

They do. I did it. You don't need a recipe, you just need common sense. If you have fruit, pop molds and a food processor or blender, you can do it. If I can do it, you can do it.

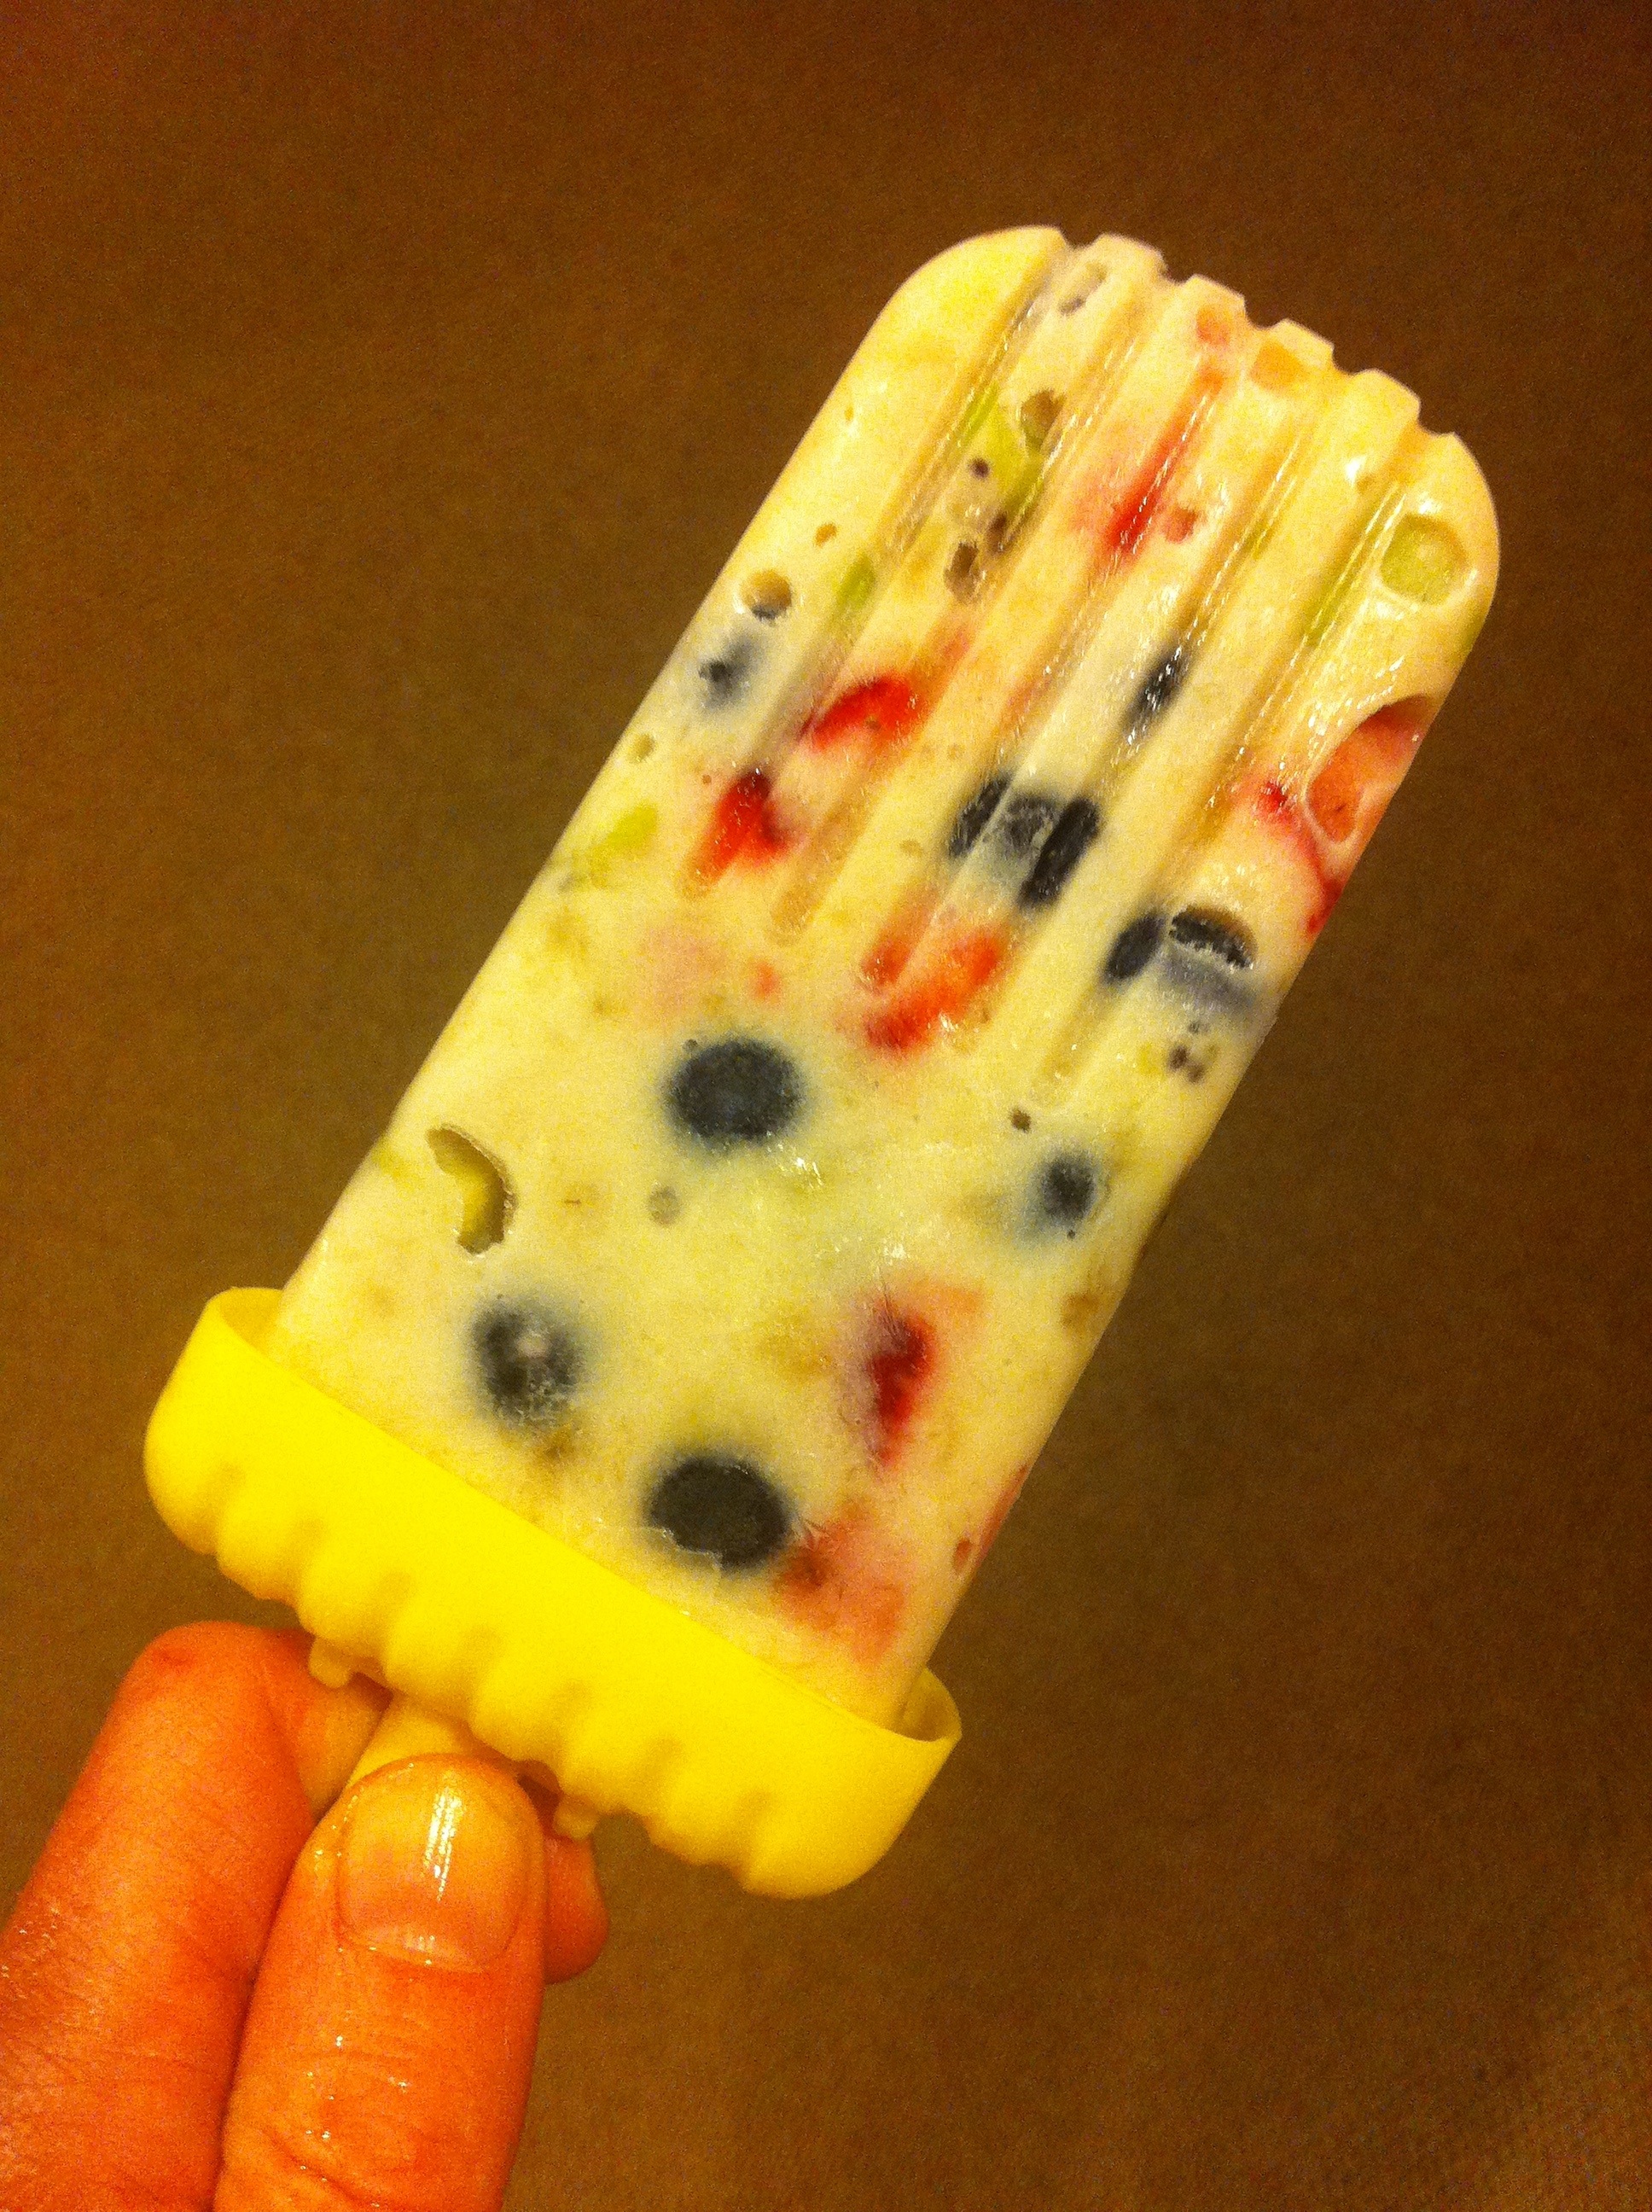
They work. These are truth. If you want to sub greek yogurt for the pureed watermelon, they will also work and be truthful.

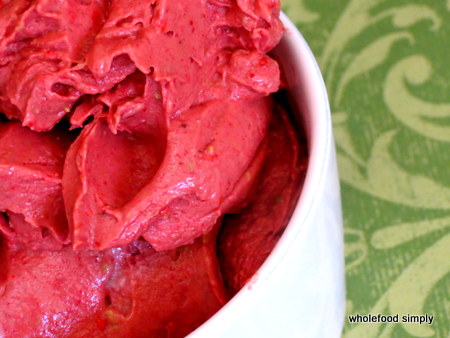
Now. Has anyone seen this going around? Coconut and raspberry mousse. Doesn't that look amazing?  Can't you just taste it? I mean seriously, you only have to look at that mass of fuschia goodness and your mouth just waters. In the article, the author describes how she barely got a spoonful out of the blender before the entire family fought over it on the kitchen floor! And you can totally believe that this is something worth fighting for. You'll whip yourself up an entire blender after the kids are asleep and eat it all yourself, right?

Wrong.

Lies.

Propoganda.

I am here to tell you the truth.

The recipe seems innocent enough: 1 avocado, 1 frozen banana, 1 cup of frozen raspberries, and 1 heaping tablespoon of coconut milk. Blend and serve. That's it. Simple. Brilliant. And beautiful and pink and yum. Right?

Wrong.

Now I do admit I used strawberries here but I didn't think it was going to be a game-changer. I wondered what "heaping tablespoon" of coconut milk actually meant but I figured it meant you pour over the food processor and let it spill over the sides of the tablespoon for like two seconds. How scientific does this need to be?

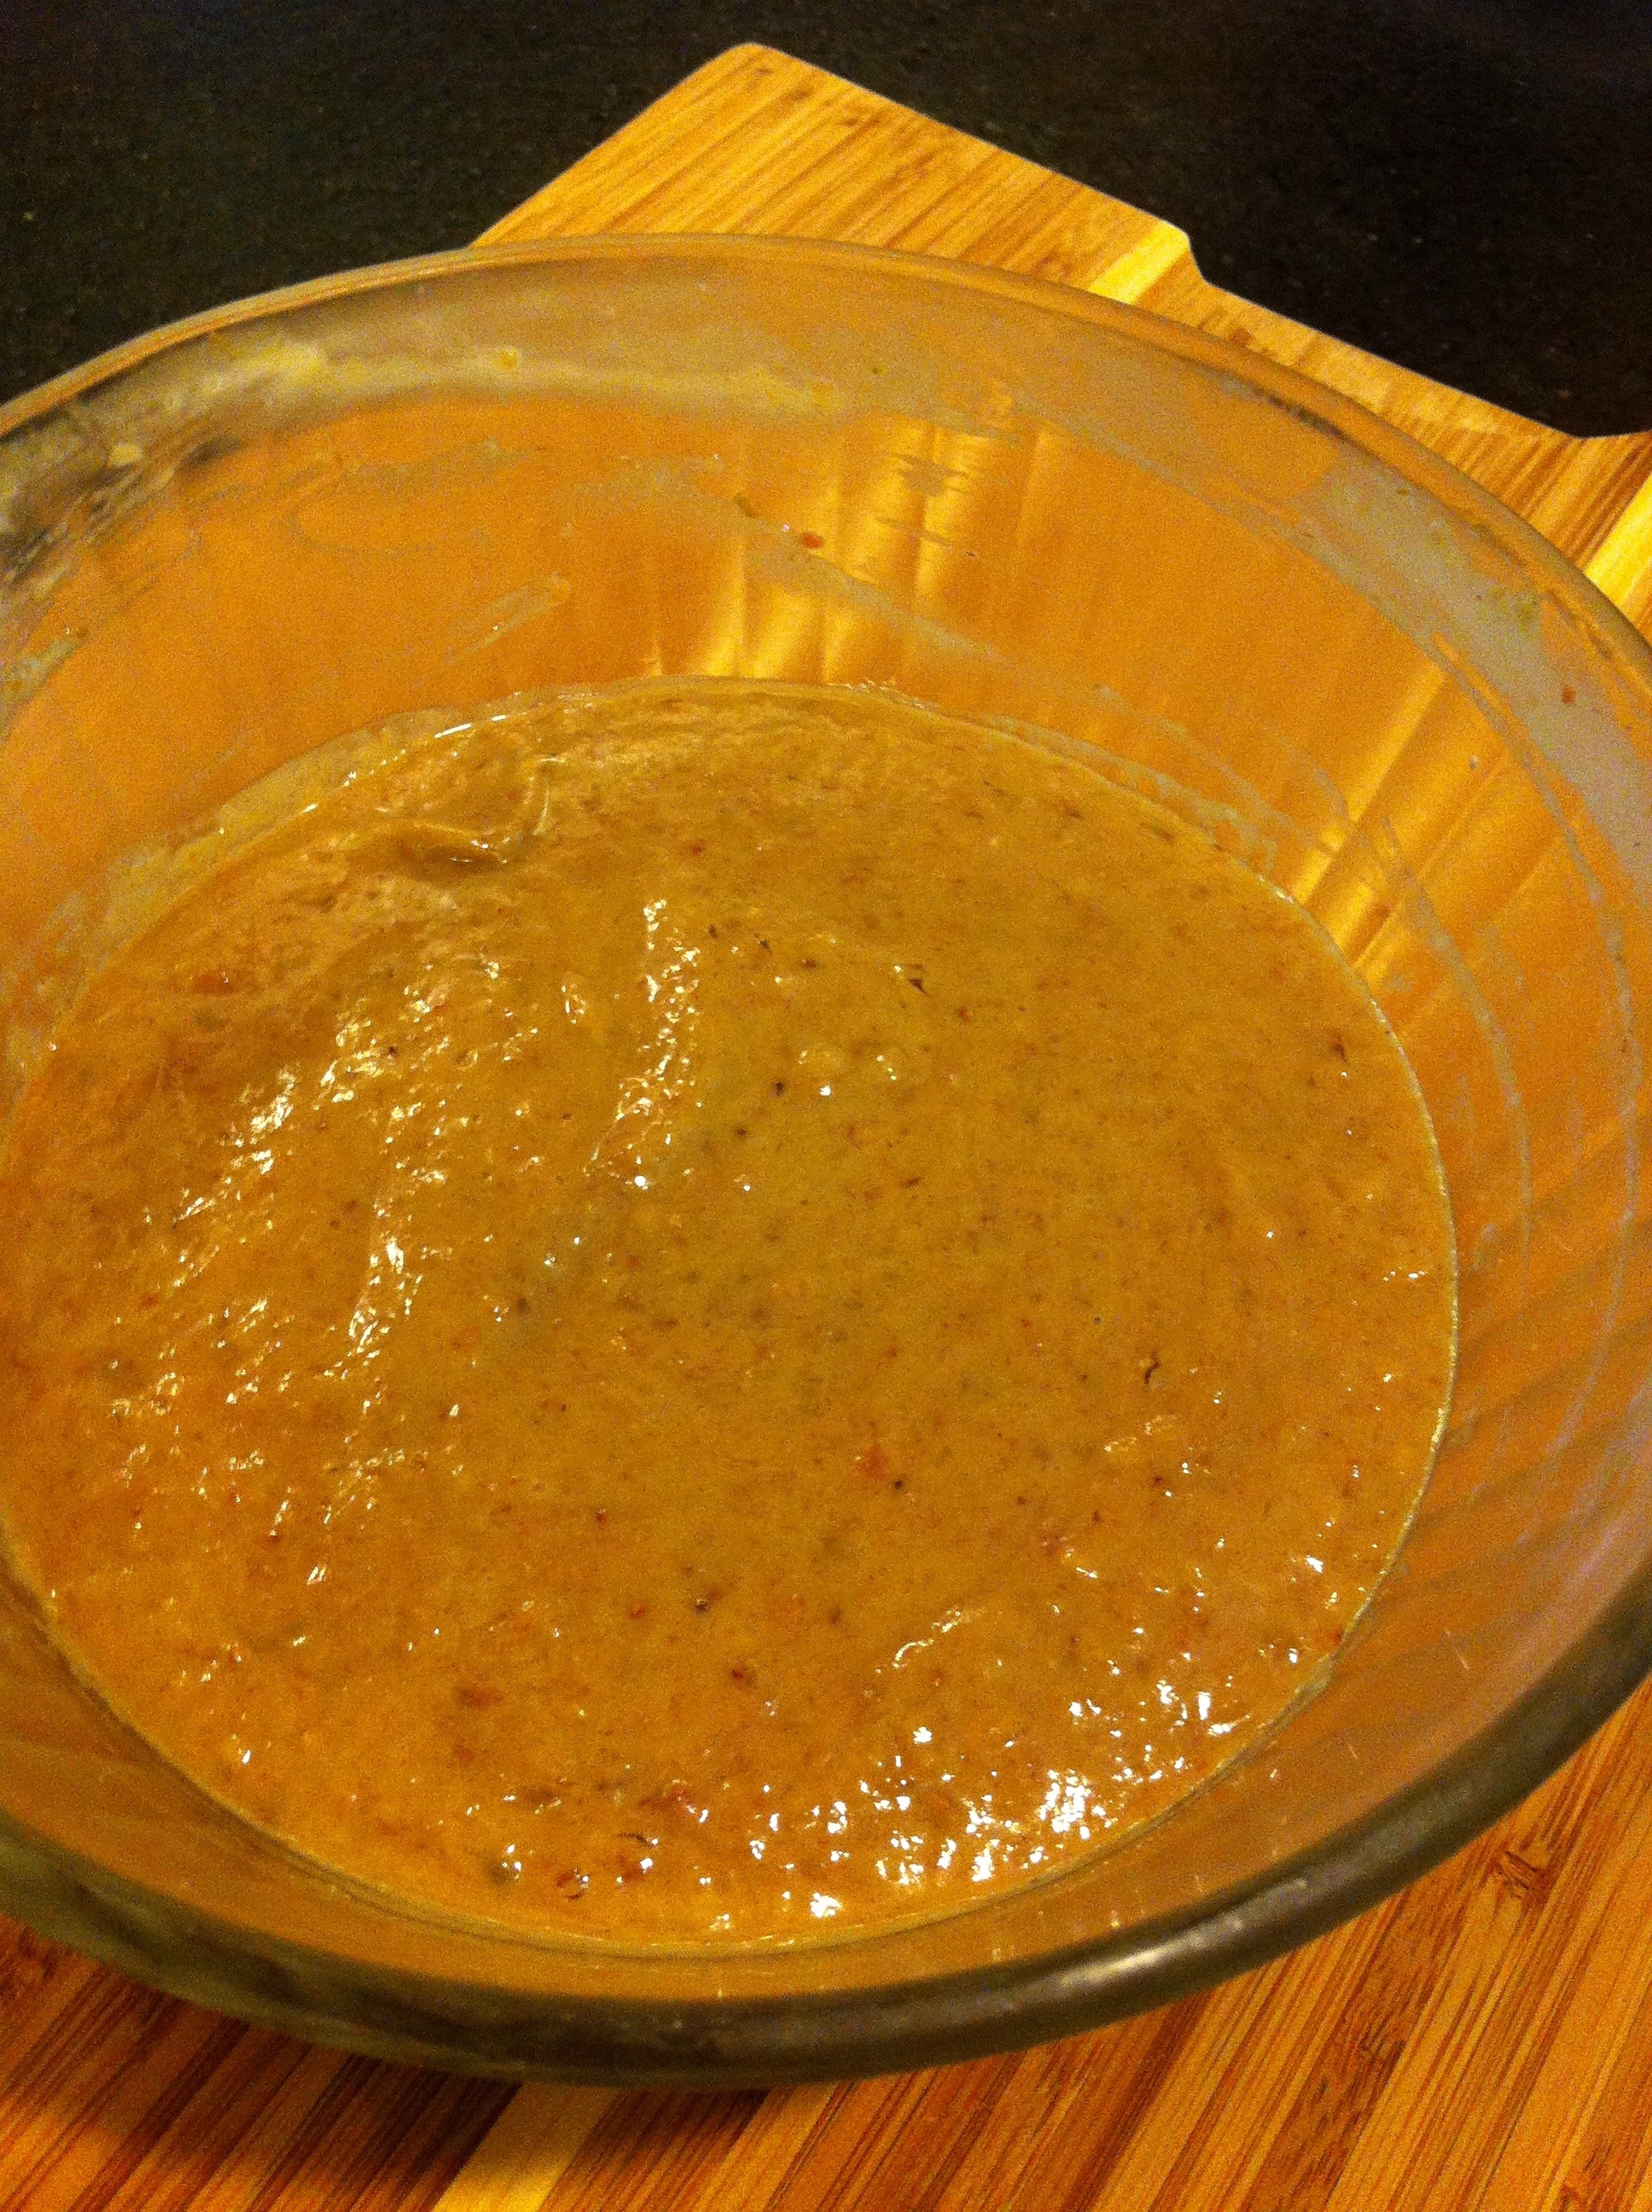
Ah, but science will get you in the end. An avocado is green. A frozen banana is tan. You're already two strikes down and no amount of red berries will overcome the natural free-flowing tendency of these two already dun-colored fruits to turn brown when exposed to air.

Behold:

Let's see those two shots side-by-side, shall we?

As for taste? It was thoroughly okay. Texture was nice. The coconut was totally lost.  I certainly wouldn't fight for it on the kitchen floor. I poured some of it into pop molds and the rest went onto the compost.

In life there is no right or wrong, no winners and losers. Nobody's cooler than you, nobody's better than you, everyone is making it up. All you have is the truth about who you are and what you feel. Live the truth. 

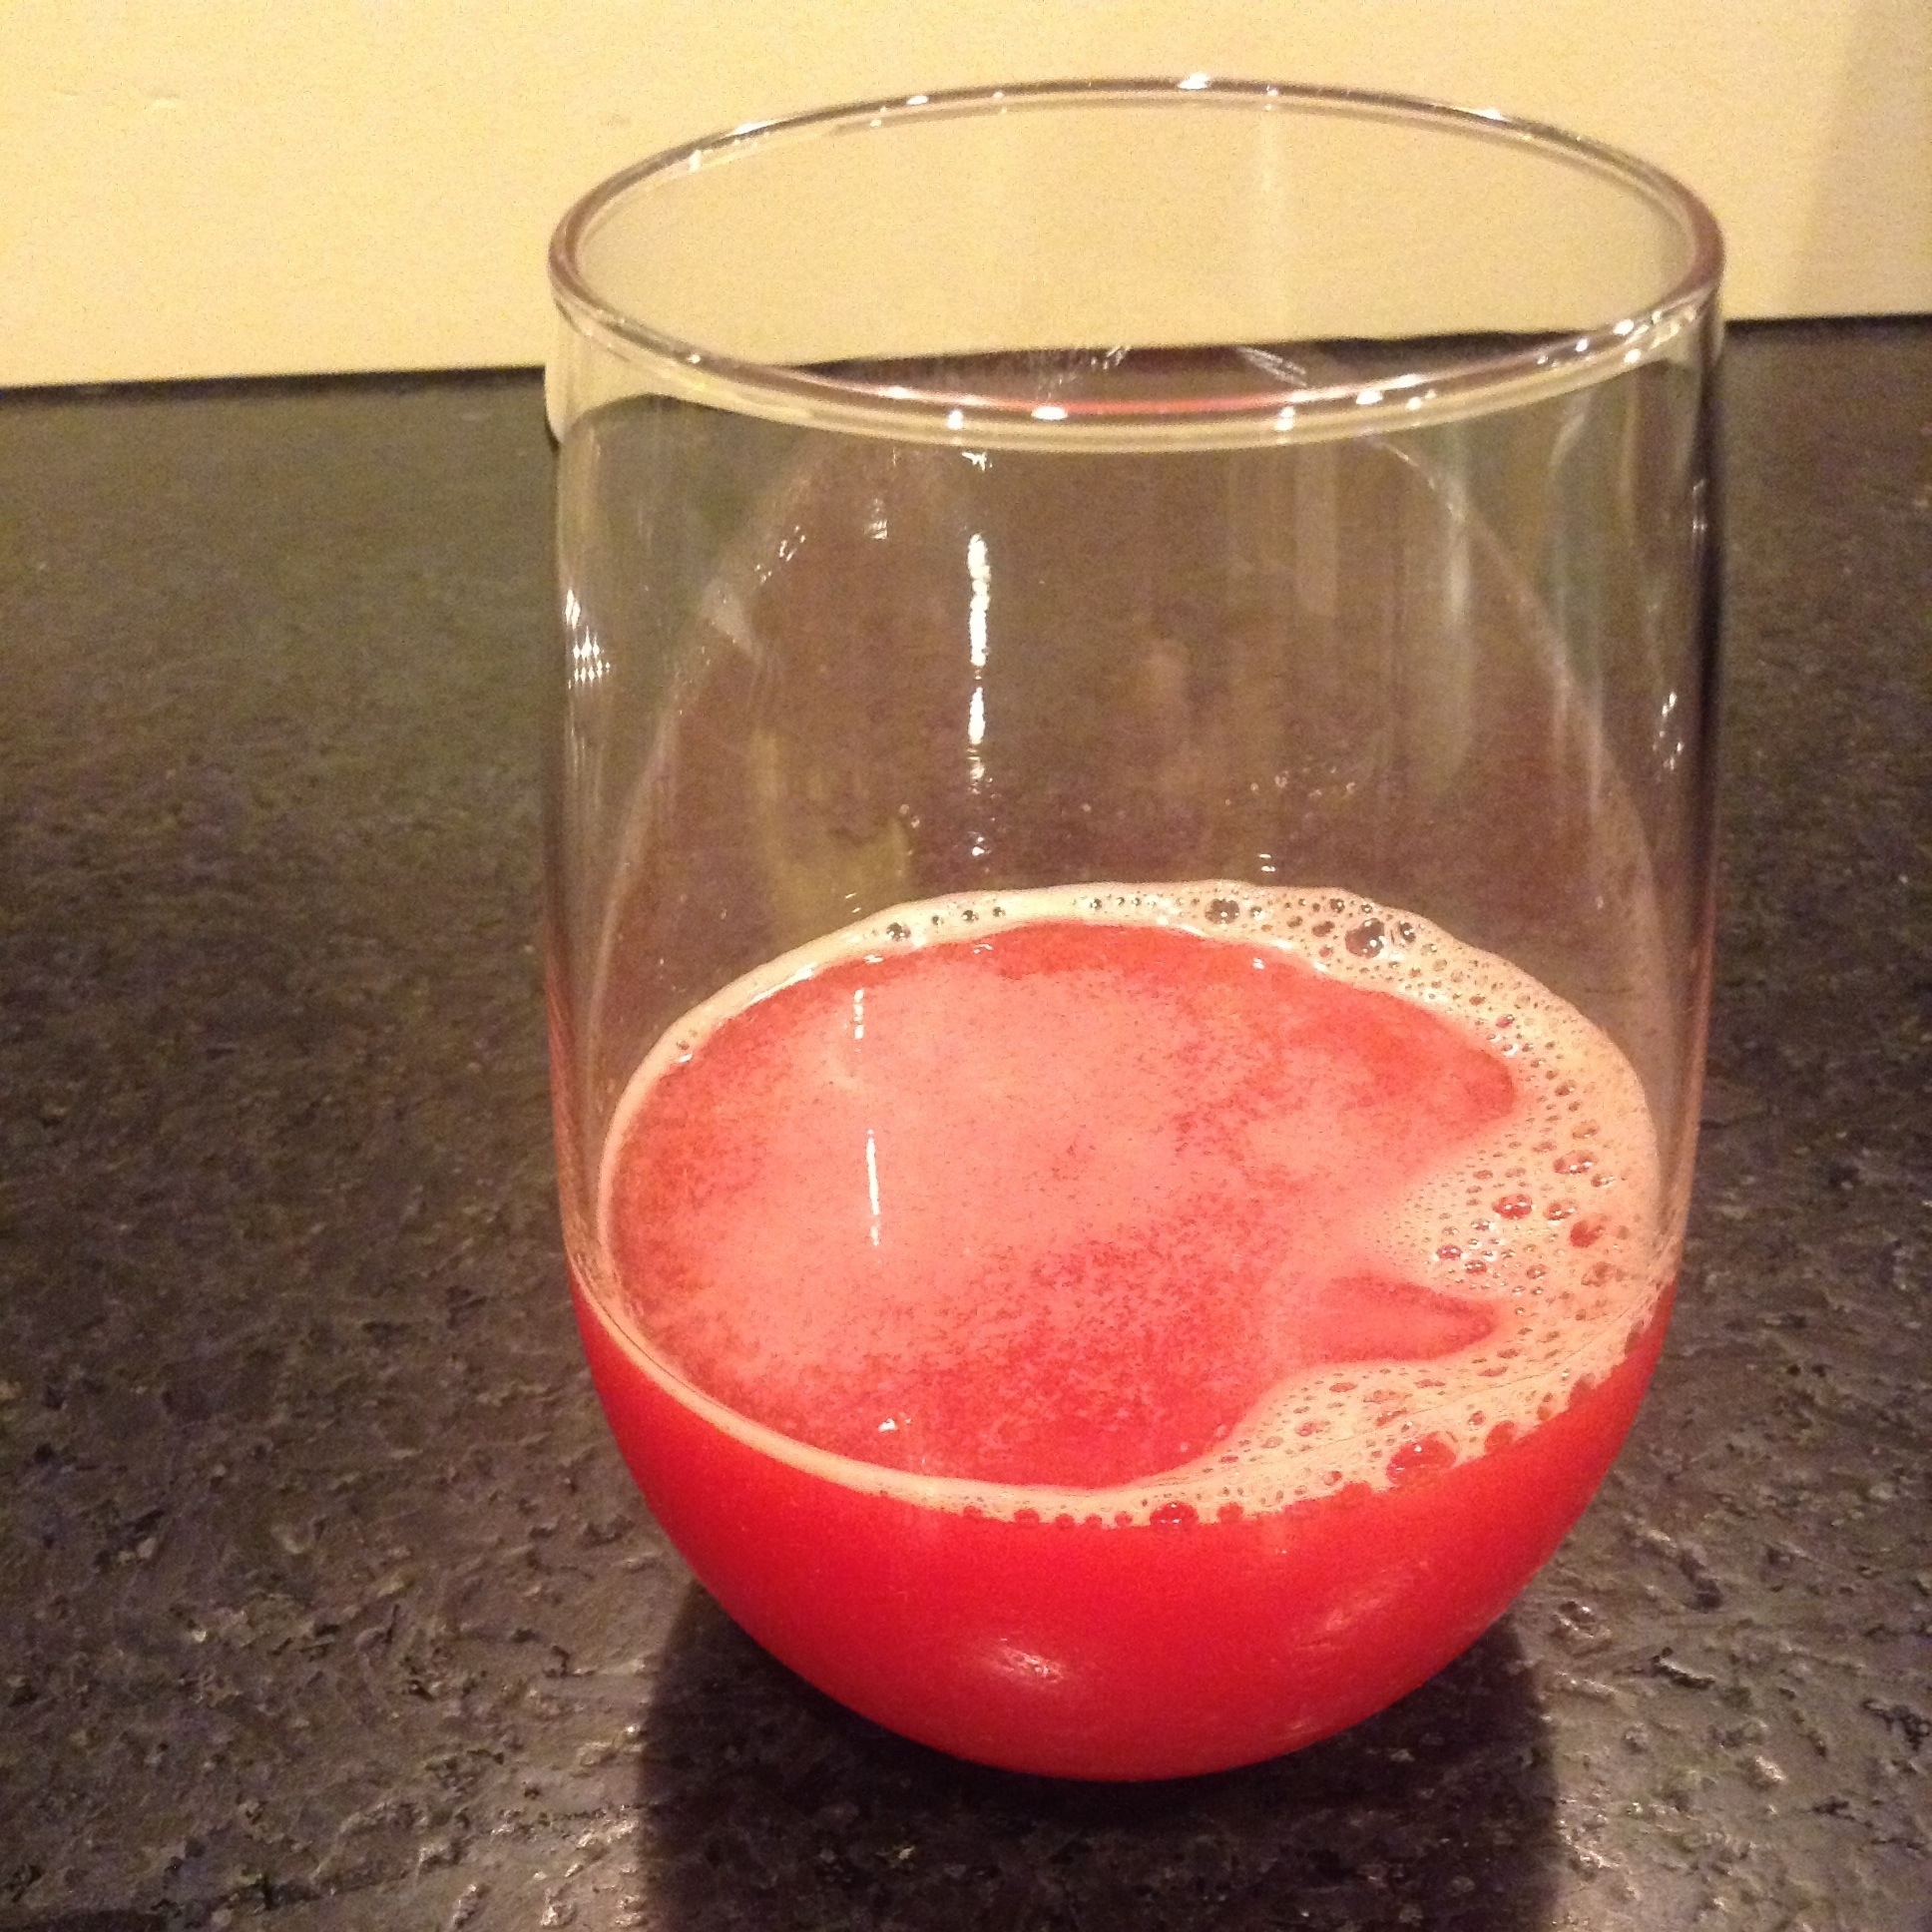
And then strain some of that watermelon puree into a glass, add a shot of vodka, and just be.

Concerning Gingerbread

I have a few favorite books that I faithfully read every year, usually in the fall: Rumer Godden's In This House of Brede; Elizabeth Ehrlich's Miriam's Kitchen; and Laurie Colwin's twin masterpieces, Home Cooking and More Home Cooking.

I was in bed with the latter two this weekend (I love writing that), dreaming of comforting things to eat now that the tiniest bit of chill is in the evening air, and now that I am a touch more inclined to make dessert. Like gingerbread.

Says Colwin:

The sad fact is that gingerbread is on the decline, although it is alive and well in the children's books of the fifties, where cheerful housewives wait at home for the arrival of their hungry children at three o'clock, ready with a great big pan of warm gingerbread and some ice-cold milk.

You do not need to be a housebound mother to make gingerbread. All you need is to put aside an hour or so to mix up the batter and bake it, and then, provided you do not have a huge mob waiting to devour the gingerbread immediately, it will pay you back for a few days because it gets better as it ages. I myself never have any around long enough to age, but my English cookbooks assure me that a few days make all the difference.

Colwin then offers her personal thoughts on gingerbread, namely that the more ginger the better, and molasses should never be used because it is too bitter. She prefers pure cane syrup and endorses that made by the C. S. Steen Syrup Mill. Of course her books were written in 1992 and she helpfully offers the reader the address and phone number of said company. Ten years later, you simply can go to their website if you wish to order syrup. Colwin also advocates Lyle's Golden Syrup which is available in most grocery stores and I myself have some in the cupboard but only because I've made this gingerbread before.

Colwin gives two gingerbread recipes in More Home Cooking, and I go with the one from Delia Smith's Book of Cakes, which is called "Damp Gingerbread." I could call it "Moist Gingerbread" and watch the majority of my girlfriends go screaming from the room. But I won't. However I will give you my own little tweaks and modifications as we get down to business and get to perfuming your kitchen.

Moi—... Damp Gingerbread

  • 9 tbsp butter (that's one stick plus one tablespoon from a second stick)
  • 12 oz Lyle's Golden Syrup (that's 1 1/2 cups and a little bit annoying because Lyle's comes in an 11 oz bottle. I use 1 cup of the golden syrup and scant 1/2 cup of Grandma's molasses, and do so without a trace of bitterness)
  • 2 cups plus 2 tbsp flour
  • 1/2 tsp salt
  • 1 3/4 tsp baking soda
  • 1 tbsp ground ginger (can be a level spoon or a heaping spoon, depending on your taste)
  • 3/4 tsp ground cloves
  • 1/4 tsp cinnamon
  • 1 egg
  • 1 cup milk
  • 1 heaping tablespoon fresh ginger (and stop me if you've heard this before, but if you are a ginger person, Spice World's bottled pressed ginger could and should be one of your very best friends, and see funny story at the end of the post)

Preheat oven to 350. Grease a baking dish with butter or spray with Pam.

Melt butter, golden syrup and molasses in a saucepan and set aside

Sift flour, salt, baking soda, and spices into a mixing bowl and set aside

In a separate small bowl, whisk egg, milk and pressed ginger

Pour syrup and butter onto dry ingredients and mix well. Add egg-milk-ginger mixture and mix well. The batter will be very liquid: this is damp gingerbread.

Pour into baking pan and bake for 50-55 minutes until the middle is just set with the edges pulling away from the sides of the dish.  Your kitchen is going to smell amazing and don't be surprised if you feel inclined to string up some lights and create a holiday station on Pandora. At the very least you should light a candle.

Cool for ten minutes before turning out.

Serve with a dollop of whipped cream, vanilla ice cream, or just eat it straight out of the pan. Try to save some, wrapped in foil, because it really does improve with age.

*Funny story about bottled ginger: I was in Stop & Shop yesterday, trawling the produce section where I know they keep those jars of ginger. They are usually on the lower shelves beneath the bins, cozied up with the bags of apple chips and the jars of minced garlic and the bags of pine nuts. But they weren't there. I scoured every last lower shelf and then went over to the ethnic aisle, thinking maybe they'd moved in with the Asian ingredients. No, not there either.  

I checked the produce section one more time and then finally asked a clerk. He wrinkled his eyebrows, asked if I didn't mean ginger root? No, I said, it was bottled fresh ginger. He asked another clerk. Clerk2 said yes, the bottled stuff, he knew what I meant but he hadn't seen it stocked lately. Had I tried the ethnic aisle? Yes I had.

Clerk2 apologized, as did Clerk1, and I thanked them both and moved on. As I was passing the refrigerated display of bagged lettuce and other salad stuff, AH-HAH!!! There they were! Hiding!  

"Hey!" I called out happily to Clerk1 and Clerk2, holding up my prize, "Found it!"  

And they just seemed really happy about it, and apologized again for not knowing their own section. They were cute. It's these little things that make your day.

Honest and Reliable Blueberry Pie

99.9% of the time, when I make a pie, I use a ready-made frozen pie crust.  And no shame. But about once a year, usually in summer, I get the urge to make pie from scratch, including the crust. Pie crust and I do not get along.  And I have very high standards: I grew up on my mother's gorgeous, lattice-topped cherry pies which she made for holiday dessert and for my brother's birthdays. I make a so-so cherry pie (Billy Boy, Billy Boy). My signature pie is blueberry, and I owe that to Cook's Illustrated.

Cook's Illustrated is a nifty magazine. It doesn't really teach you any new recipes, it just takes tried-and-true favorites and makes them even better. It teaches you tricks. They dig into the science of cooking to discover how to make roast chicken better, how to produce juicy pork chops, which methods make the best brownies, and so forth. And if you are interested in the science, you can read the whole article, but if you want to cut to the chase you can just jump right to the recipe. But it is interesting knowing why what you're doing works.

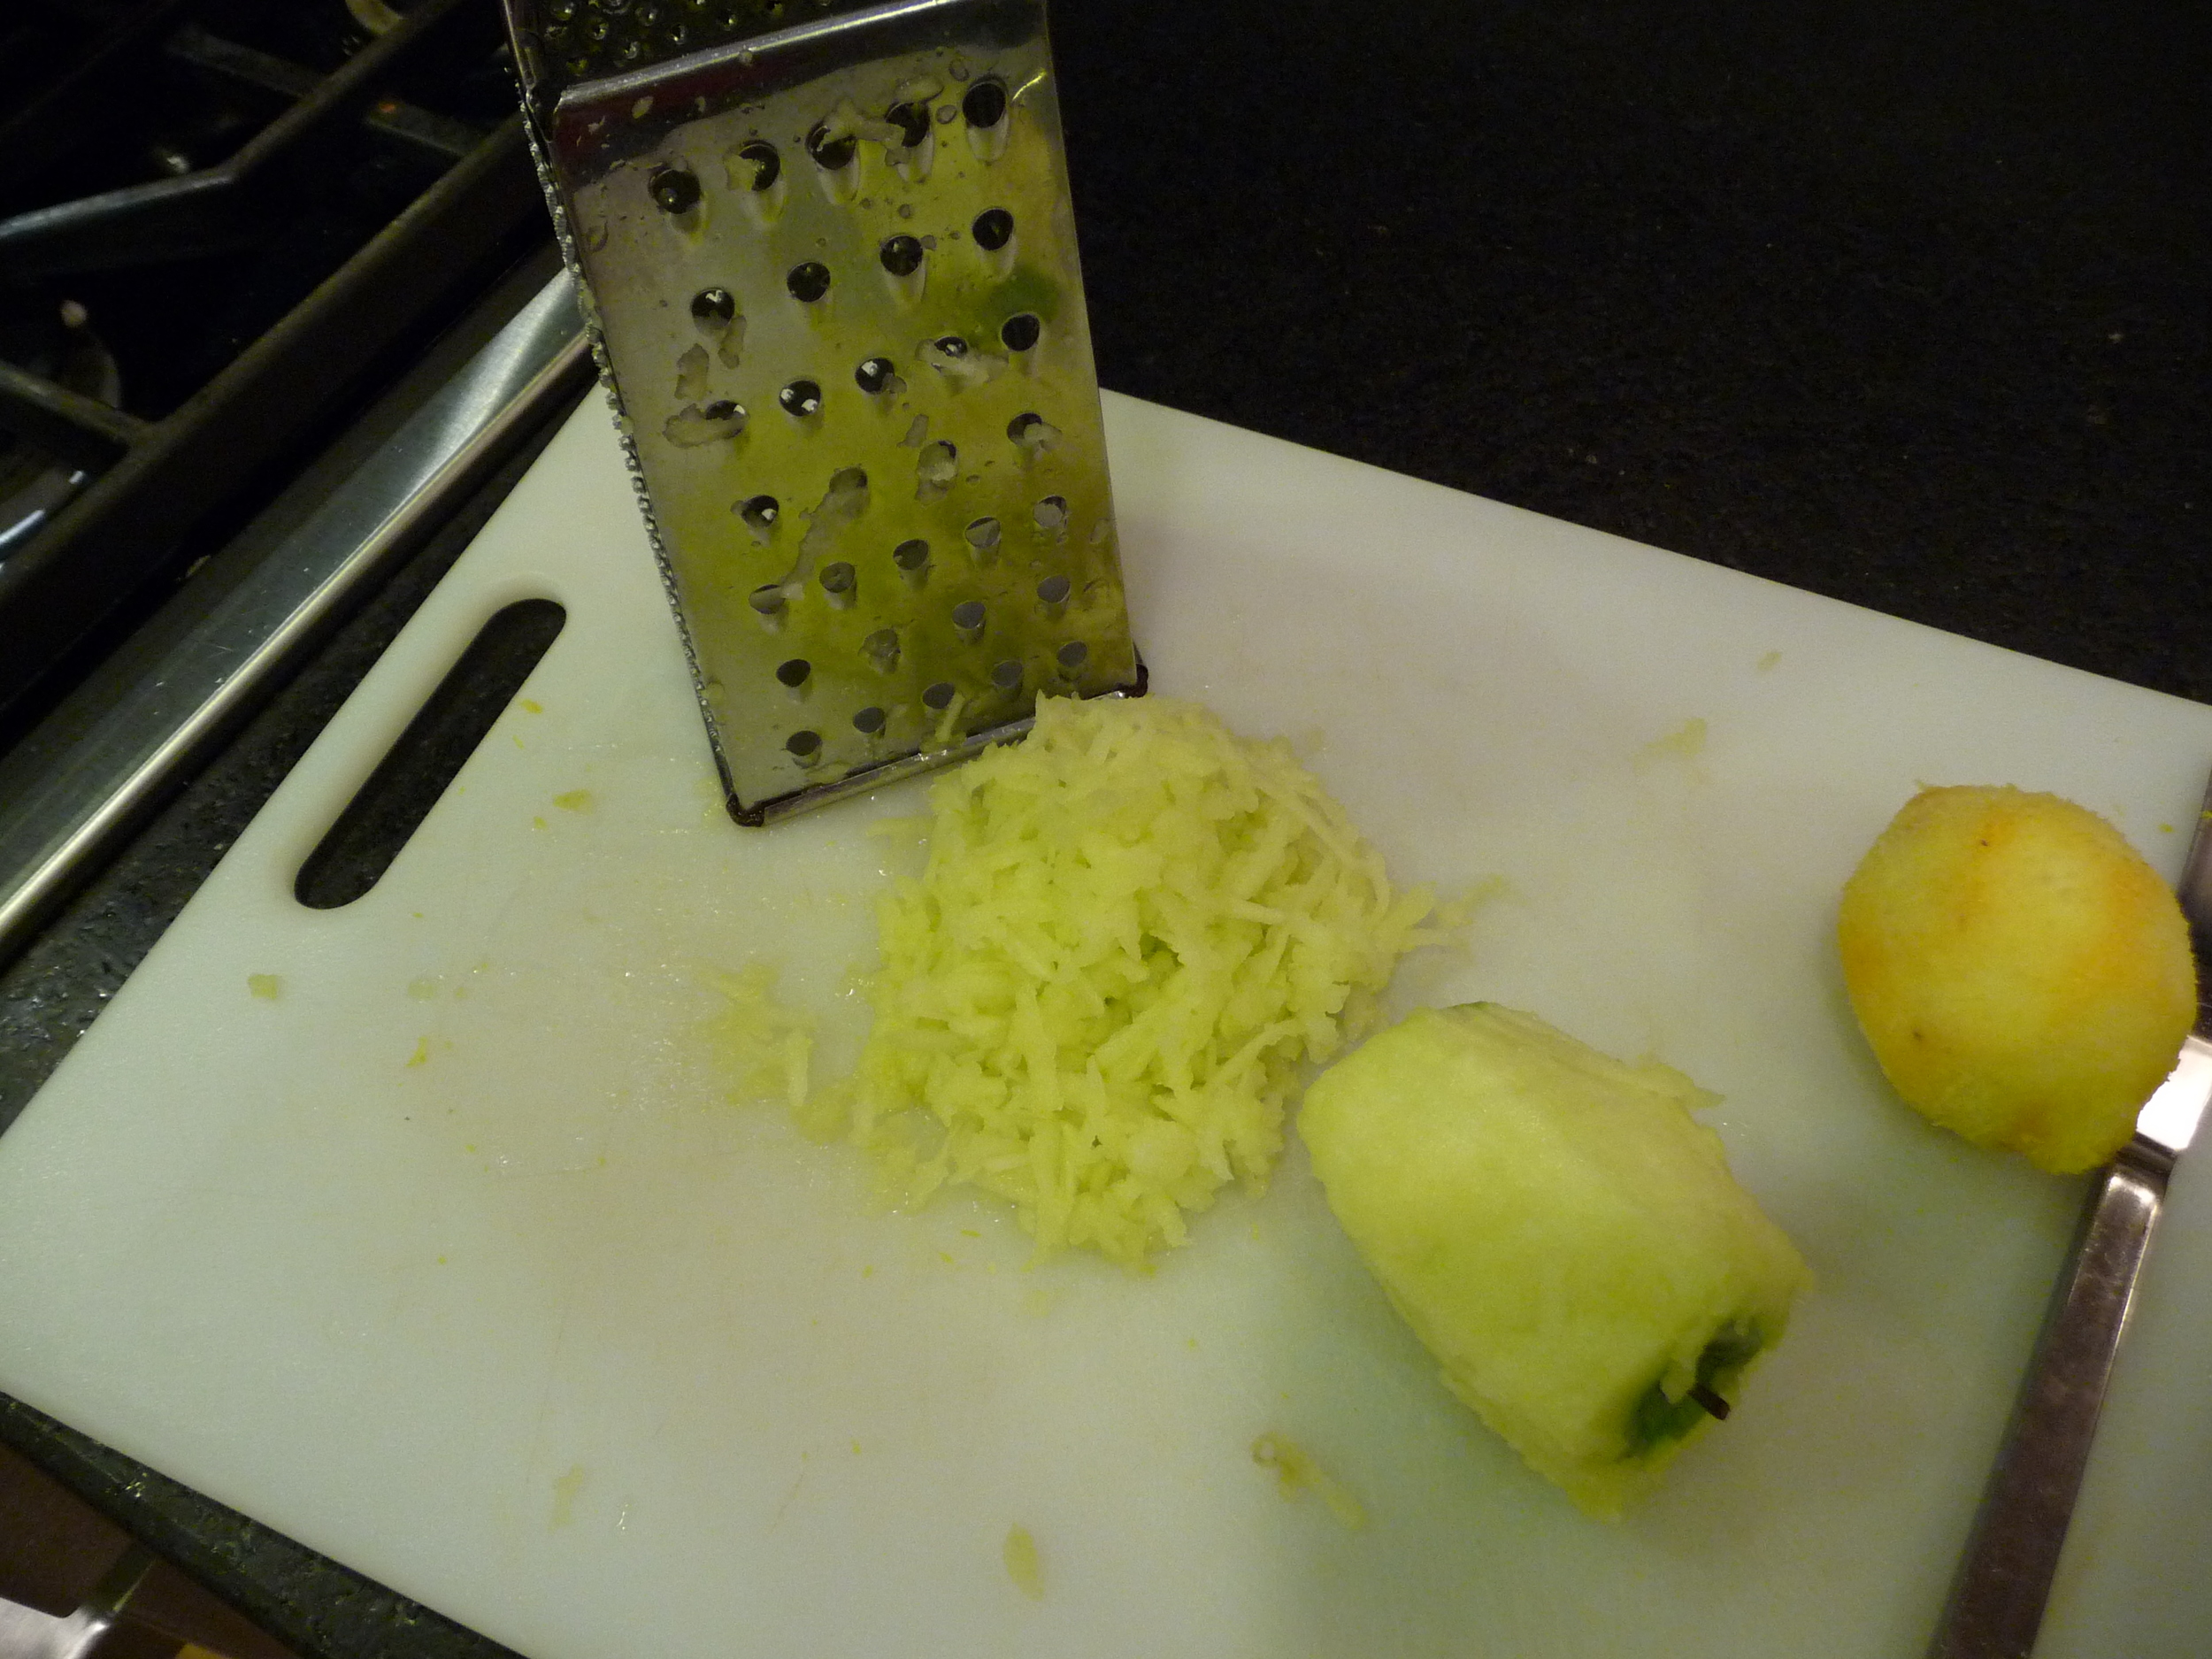
Their blueberry pie works by using a grated apple as a thickener. What's the usual problem with berry pies? The filling never thickens properly, it runs out all over and makes your crust soggy. Or too much flour and/or tapioca leaves the filling gluey.  With the CI method, the natural pectin in an apple helps the berry filling gel, and with only a small amount of additional tapioca, the pie turns out perfect every time. You slice it and the filling holds. Every time.

Whether you use ready-made crust, or try CI's foolproof pie dough, which is made with vodka, you will have a signature blueberry pie that will knock 'em dead. Every time.

But full disclosure: pie crust and I, whatever the method, do not get along. I don't get no points for presentation. Which is why I only make it from scratch once a year or so. And you will see why shortly. But at least I know that with the vodka method, the crust might look like crap, but it will always taste good.

Signature Blueberry Pie

  • 6 cups (about 3 pints) fresh blueberries (unthawed frozen ones will work just as well)
  • 1 granny smith apple, peeled and grated on large holes of box grater
  • Zest and juice of one lemon
  • 3/4 cup sugar
  • 2 tbsp instant tapioca, ground (their directions say to grind it in a spice mill or small food processor. I only have my large processor and if it's currently thrown in the sink after I've made pie crust, I am not keen to wash, dry, and assemble it to grind tapioca. So I put the tapioca in a ziplock bag and roll over it with the rolling pin until it's reasonably crushed. Don't sweat it)
  • 1 pinch salt
  • 2 tbsp unsalted butter, cut in 1/4" pieces
  • Pie crust of your choice

Step One (I hate this step): Take 1 disk of pie-crust and roll out on generously-floured surface. Roll to 12" circle, about 1/8" thick. Roll dough loosely around rolling pin and unroll into pie plate, leaving at least 1" overhang on each side.

Ha.

This is what I'm left with after following Step One:

Fabulous. That's what happens every time. And I have to resort to what I call the "Patch and Pray" method. No finesse whatsoever, the bottom crust is just completely fudged, jerry-rigged, held together with cursing and philosophy. So you do your own treatment, get the crust in there, put the pie plate back in the fridge and let's just forget it ever happened.

Adjust the oven rack to lowest position; place rimmed baking sheet on rack and heat oven to 400.

Grate the apple, set aside; grind or pound the tapioca, set aside.

Place 3 cups berries in saucepan and set over medium heat.  Using potato masher, mash berries several times to release juices.  Continue to cook, stirring and mashing occasionally, until about half of berries have broken down and mixture is thickened and reduced to 1 1/2 cups, about 8 minutes.  Remove from heat and let cool.
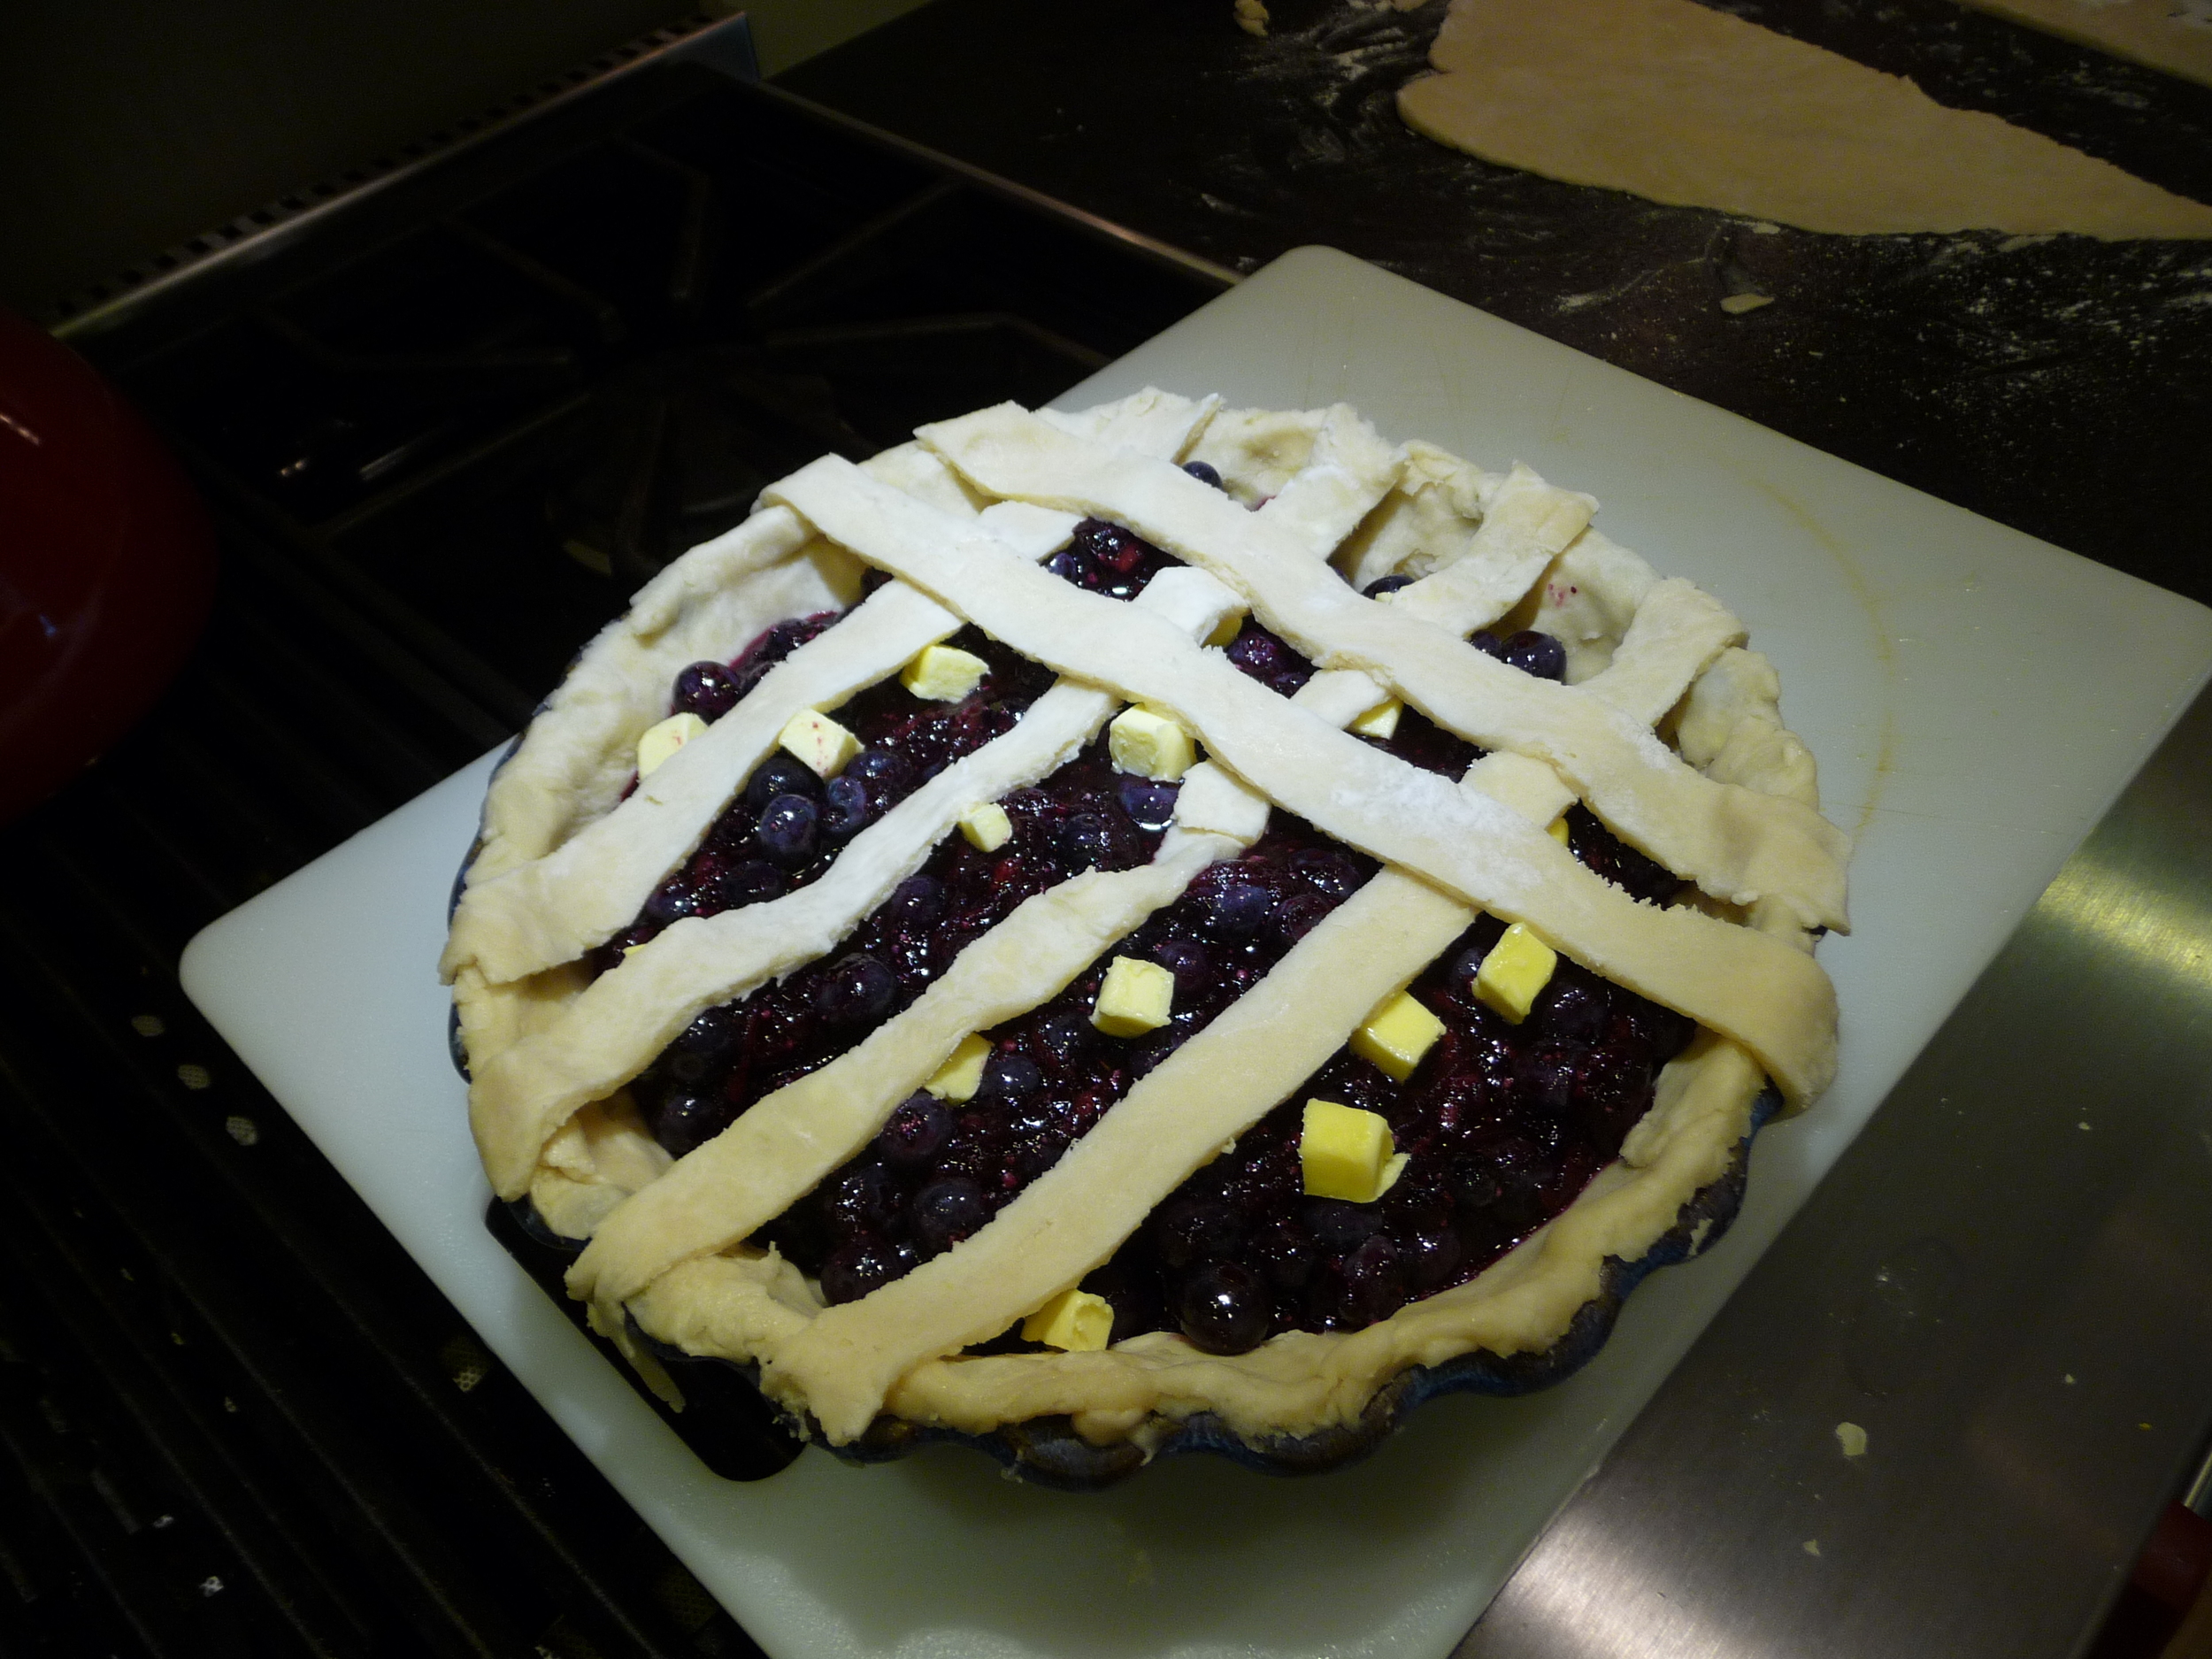
Place grated apple in kitchen towel and wring dry (or just squeeze it out with your hands, that's what I do). Transfer apple to a large bowl.  Add cooked berries, remaining 3 cups fresh berries, lemon zest, lemon juice, sugar, tapioca and salt. Toss to combine. Transfer mixture to dough-lined pie plate and scatter butter pieces over filling.

Roll out second disk of dough. You can either do a full double-crust and cut slits to let the pie vent. Or you can do a lattice top. I belong to some kind of religion that mandates berry pies to have lattice tops. Cut the dough into strips and assemble your lattice. My mother does this beautifully. Her lattice actually weaves. I just lay strips out one way, and then lay them across the other. I'm just trying to get through it, OK?

By the way, do not talk to me about crimping or fluting. I am missing that chromosome entirely. The edge of my pie is what it is.

Place pie on heated baking sheet and bake 30 minutes.

Clean up the unholy mess that is your kitchen counter:

After 30 minutes, reduce heat to 350.  If pie edges are becoming too browned, cover with foil.  Bake another 30 minutes at 350.

P1060693
P1060693

Remove from oven. Place on wire rack, or on windowsill, or on attractive curved ledge of your kitchen window pass-through, which your architect so thoughtfully designed for the express purpose of cooling a pie thereupon. Let cool completely, at least 4 hours.

Slice.

Serve.

Die.

You can see from the quarter of the pie that's left how nicely it holds. It's a beautiful pie. You did a great job. 

More, please.

Foolproof Pie Crust (from Cook's Illustrated)

The secret to this crust recipe being foolproof is the use of vodka, and Cook's Illustrated can give you all scientific know-how but basically the vodka prevents gluten from forming in the crust, which makes it turn out tough. Water makes gluten form, but you need water to make crust, so essentially you need something that's wet without being water and vodka is the ticket—it's only 60% water and the 40% alcohol evaporates away during baking, leaving perfect crust every time. Trust me.

Foolproof Pie Crust

  • 2 1/2 cups flour
  • 1 tsp table salt
  • 2 tbsp sugar
  • 12 tbsp (1 1/2 sticks) COLD unsalted butter, cut into 1/4" slices
  • 1/2 cup COLD vegetable shortening, cut into 4 pieces
  • 1/4 cup COLD vodka (any sensible person keeps vodka in the freezer anyway)
  • 1/4 cup COLD water

Process 1 1/2 cups flour, salt and sugar in food processor until combined (about 2, one-second pulses).

Add butter and shortening and process until homogenous dough just starts to collect in uneven clumps, about 15 seconds.  Dough will resemble cottage cheese curds and there should be no uncoated flour.  Scrape bowl with rubber spatula and redistribute dough evenly around blade.

Add remaining cup flour and pulse until mixture is evenly distributed around bowl and mass of dough has been broken up (4 to 6 quick pulses).  Empty mixture into medium bowl.

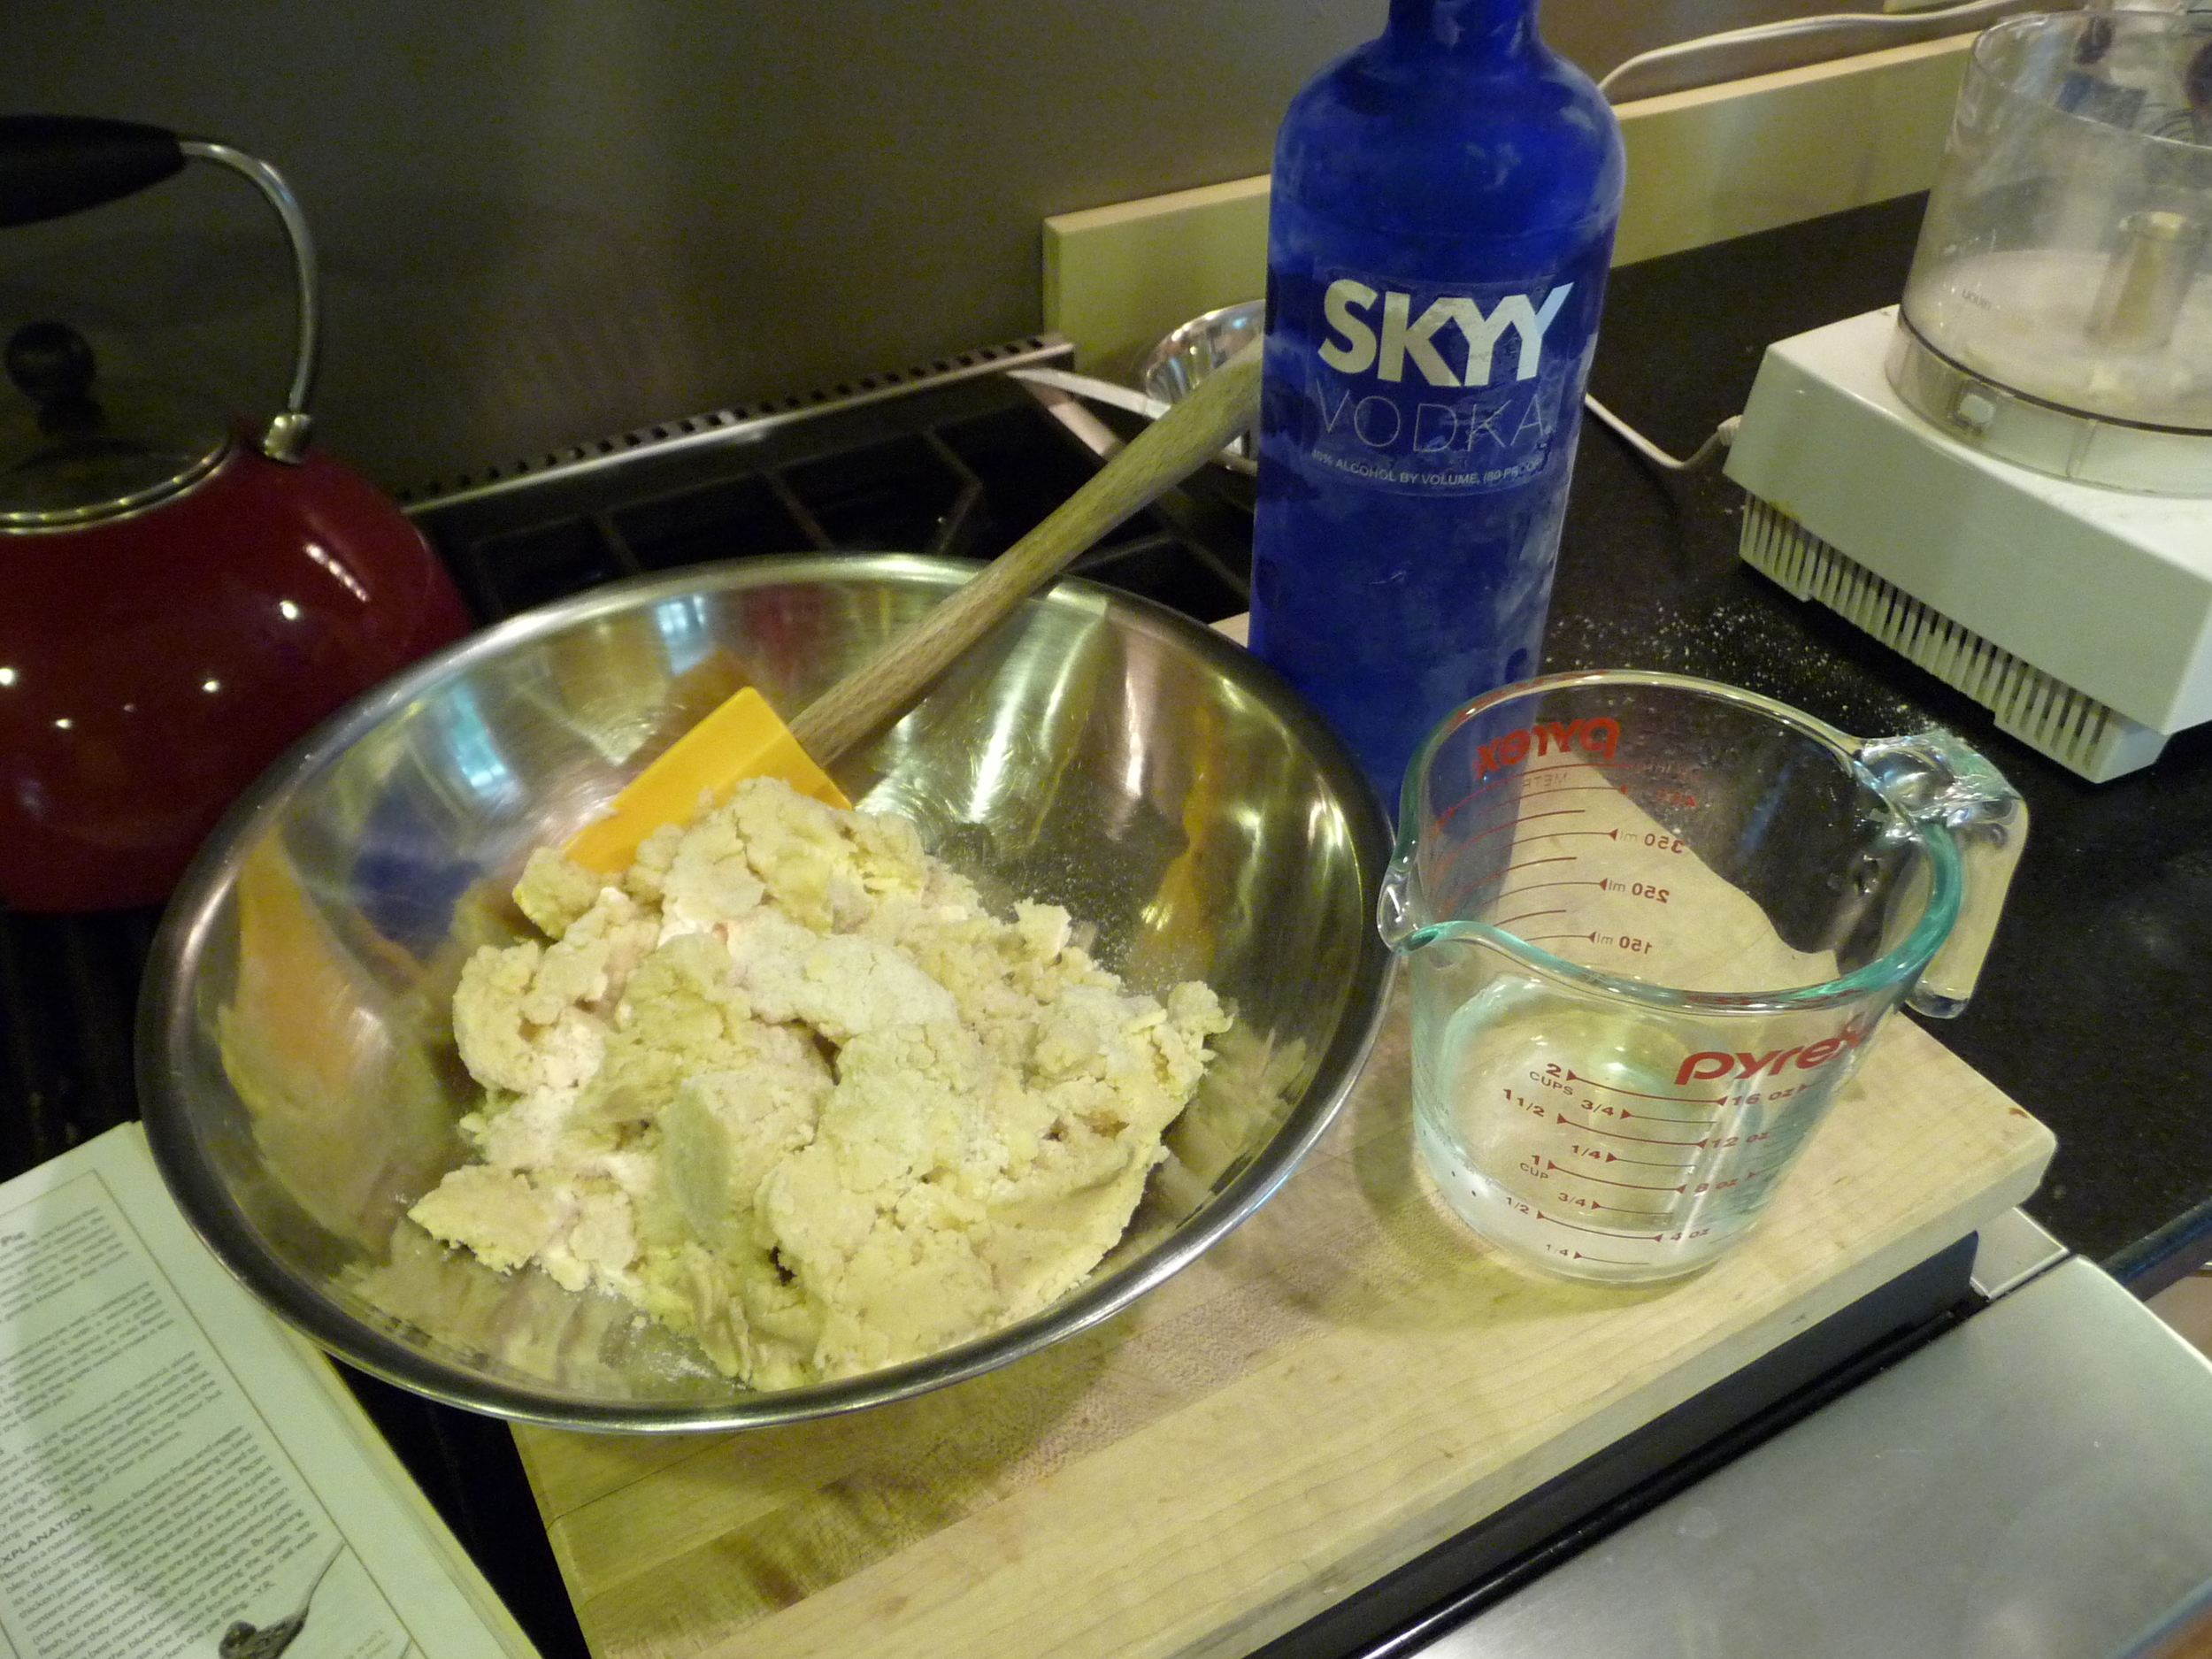
Sprinkle vodka and water over mixture.  With rubber spatula, use folding motion to mix, pressing down on dough until dough is slightly tacky and sticks together.

Divide dough into two even balls and flatten into 4-inch disks.  Wrap each in plastic wrap and refrigerate at least 45 minutes or up to 2 days.

Hazelnut. Nutella. Blondies.

As my good friend Jen would say, "Shut the front door!!"

As another good friend Mary would say, "Are you fucking kidding me??!?!"

I found these on Stacey Snacks, where I haven't been for a while so I had a nice long catch-up this morning with a cup of coffee, and I bookmarked about 12 recipes. These blondies, though, demanded instant attention, and an immediate trip to Hannaford because I was out of Nutella (strikes chest, shame be upon me).

Shameful Nutella Blondies

  • 8 tablespoons (one stick) unsalted butter, melted
  • 1 cup light brown sugar, packed
  • 1 large egg
  • 1 teaspoon vanilla extract
  • Pinch of salt
  • 1 cup all-purpose flour
  • 1/2 cup toasted hazelnuts, roughly chopped
  • 3 rounded tablespoons Nutella

Preheat oven to 350 degrees, Line an 8-inch square baking pan with foil or parchment paper, leaving an overhang on two sides. Spray with cooking spray.

In a large bowl, mix melted butter with brown sugar until smooth. Beat in egg and vanilla extract.

Add salt and flour. Mix until just combined. Add hazelnuts and mix until evenly distributed in batter.

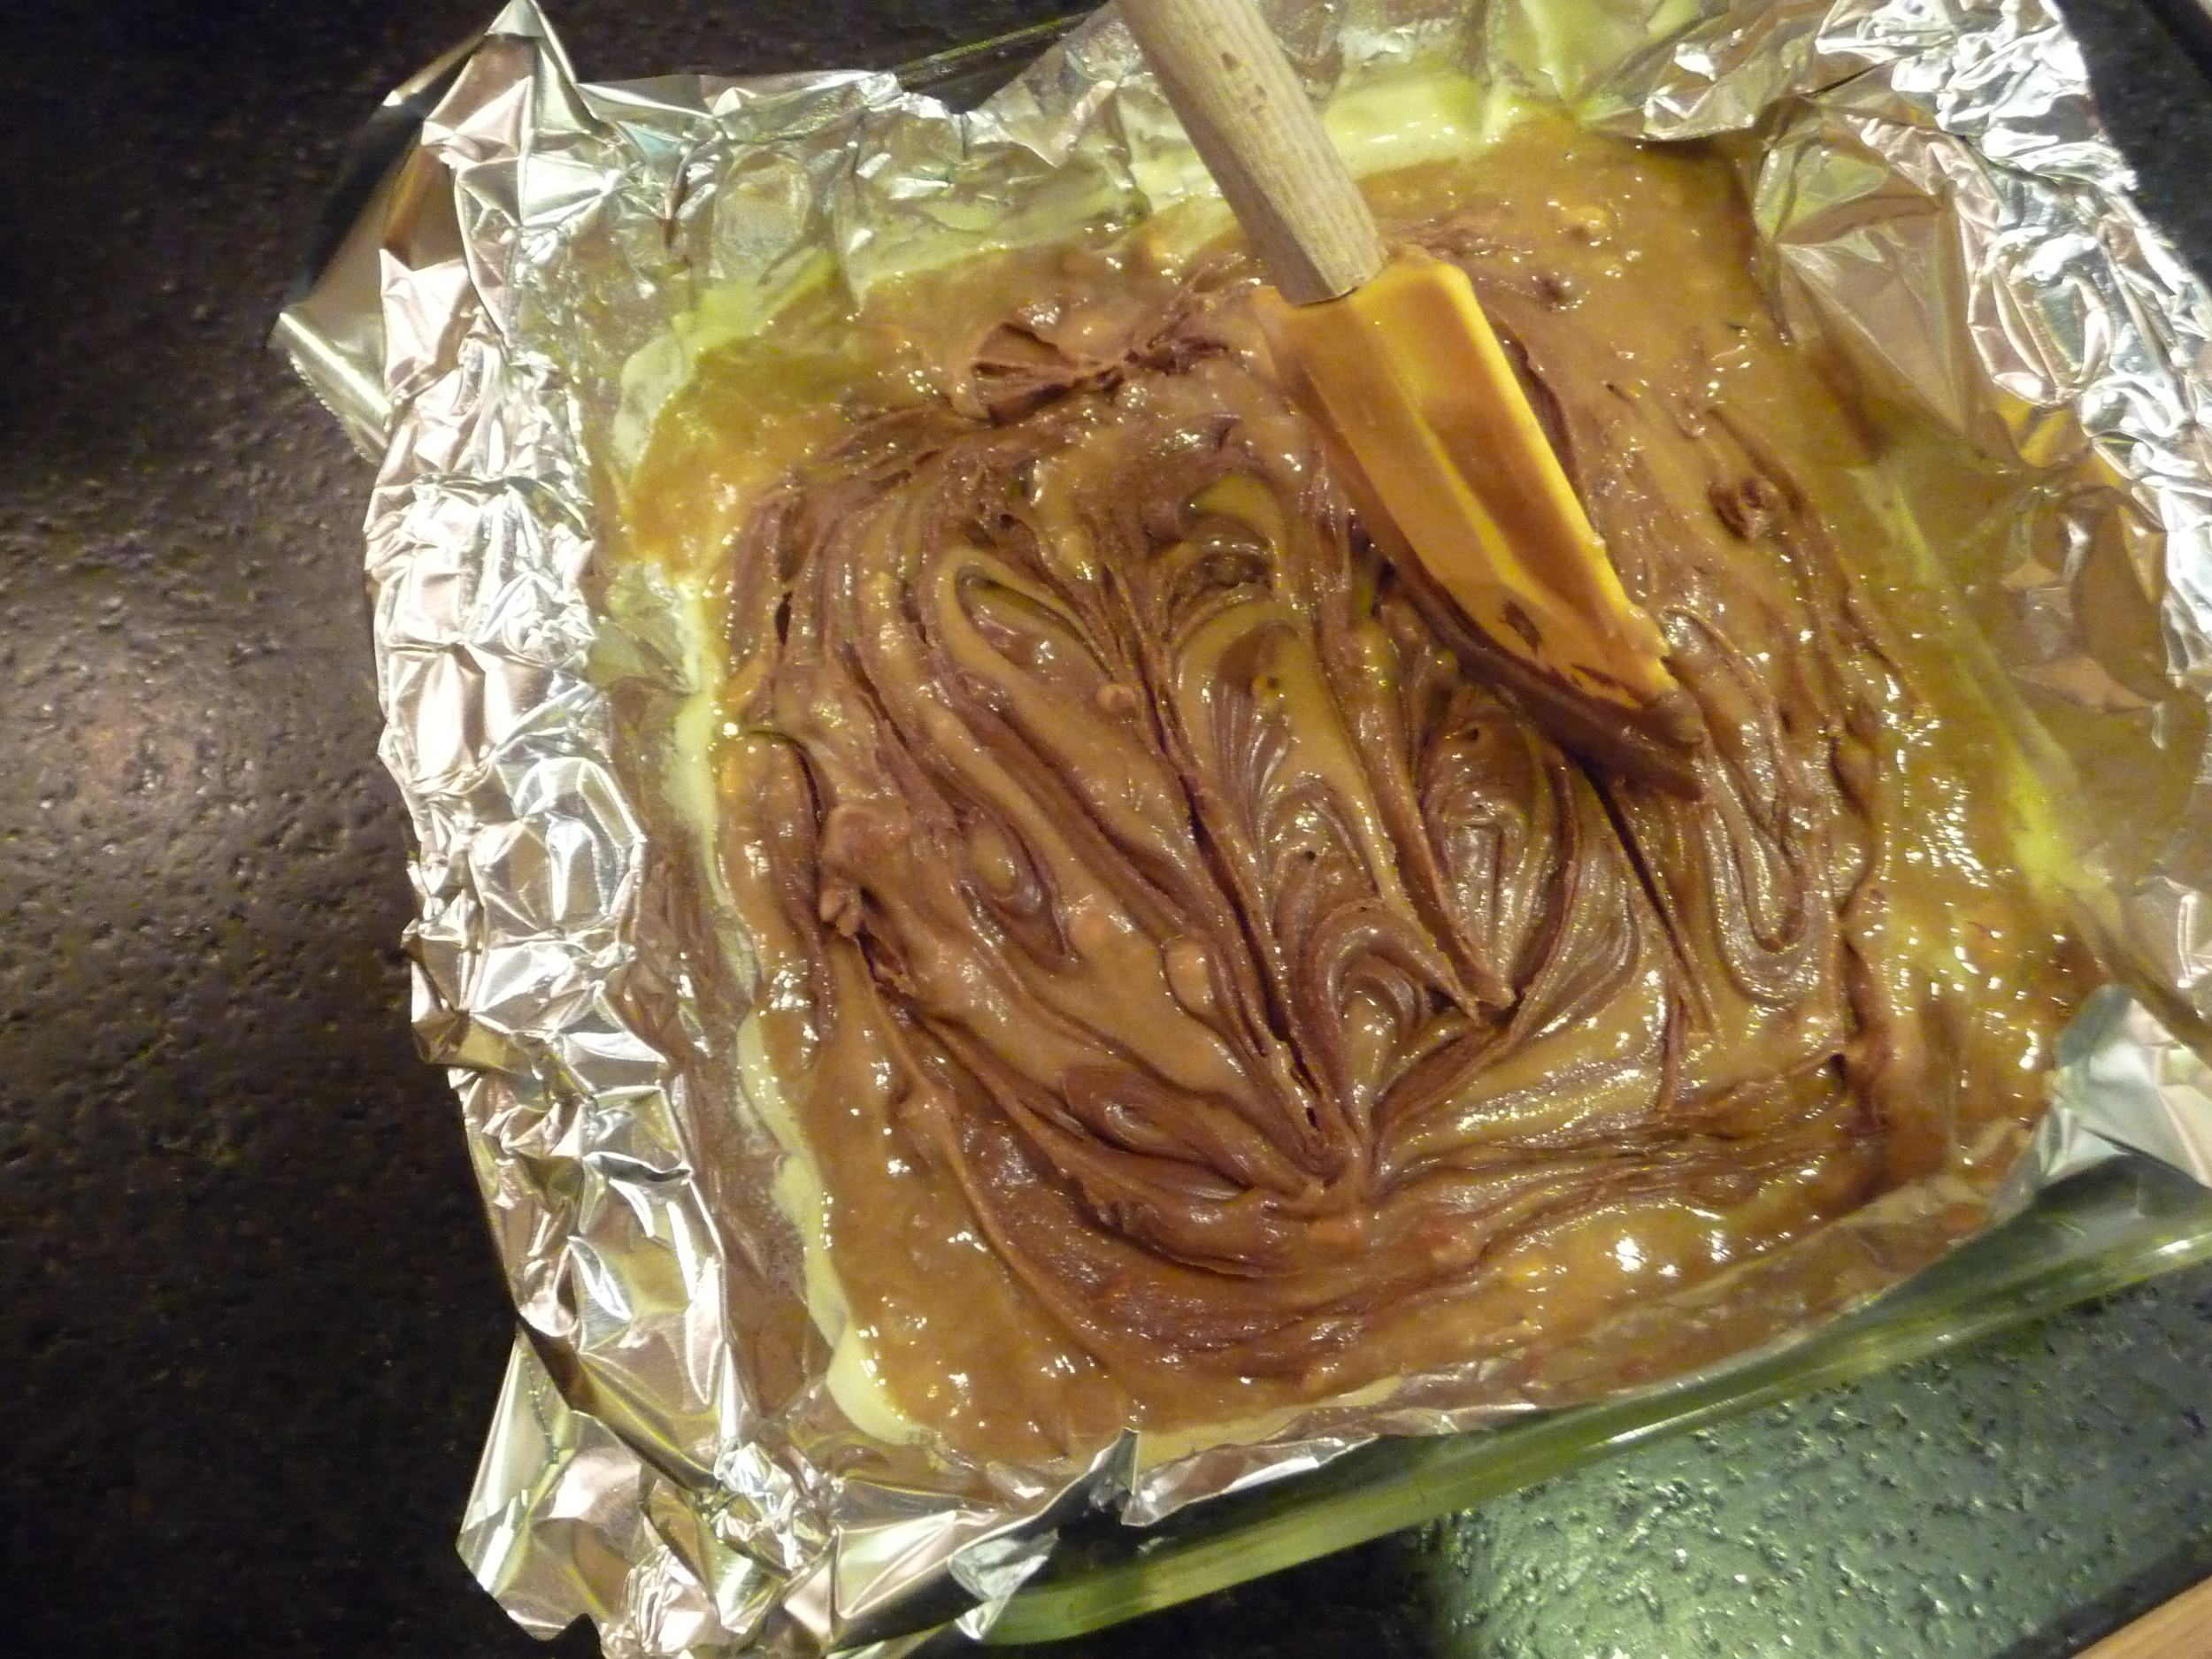
Pour batter into prepared pan. Plop three rounded tablespoons of Nutella onto the batter. Swirl into the batter with a knife.

Bake at 350F for 20-25 minutes, or until the middle is set. Do not over bake. Lift using the foil or paper and transfer the blondies to a rack to cool completely.

I can't even describe what the house smelled like when these were baking but I imagine the foyer of Heaven would be similar. And as for taste, they demanded that a cup of coffee be made immediately.

Super gooey goodness and dare I say a little too gooey and perhaps my rounded tablespoons of Nutella were too rounded, or perhaps my swirling technique was lacking.  But they were shut-the-front-door good!!

Van Harte Gefeliciteerd, lieve Oma!

Today, my husband's grandmother would have been 100 years old. She was born in Oss, Netherlands, and had she been living there today, she certainly would have received a congratulatory letter from Queen Beatrix. However, according to Aunt Mary, Oma would also have received a cake from the Queen.

Isn't that awesome?

Oma credited a lot of her longevity to eating eight almonds a day. And so in honor of her 100th birthday, I made an almond torte for her.

Almond Torte à la Julie Marie Leonie Wübbe Laqueur Dixon

  • 1 1/2 cups plus 1/4 cup sliced almonds
  • 3/4 cup plus 2 tbsp confectioners' sugar
  • 4 large egg whites
  • 1/ tsp salt
  • 3/4 tsp almond extract

Preheat oven to 325. Process 1 1/2 cup almonds with 3/4 cup sugar in a food processor until finely ground. Set aside.

Beat egg whites and salt until soft peaks form. Gradually add remaining 2 tbsp sugar. Beat until peaks are stiff and glossy. Beat in almond extract. With a rubber spatula, gently fold in almond mixture in two additions.

NOW. WATCH AND PAY ATTENTION! Are you watching? Good. Because I didn't. See how this looks below? It looks right but it is in fact bass-ackwards:

You are supposed to spray a 8" cake tin or springform pan with Pam, and then sprinkle 1/4 cup almonds on the bottom of the pan, THEN gently spread the batter on top. I did the reverse: batter first and almonds on top.

Whichever way you do it, bake until golden brown and firm in the center, 40 to 45 minutes. Cool completely in pan and then invert onto rack.

It wasn't in the recipe but we melted some chocolate chips and drizzled the torte with that and served it with whipped cream. And a candle.