Stacey and the Roasted Broccoli

Get used to the name Stacey. She is Stacey of StaceySnacksOnline. Her amazing food blog upped my cooking game like nothing else. I had no idea you could do so much with cauliflower, but suddenly I was buying a head every other week and roasting it with red onions and grapes (click it, try it, it's insane). Everything I have made from her blog has been easy and delicious. No strikeouts. So click here for her recipe for roasted shrimp and broccoli. Roasted broccoli, have you tried it? It's killer. Stacey said she made it once for her husband and thereafter he wanted it no other way. I made it once for JP and now we're both addicted. I served the shrimp and broccoli over coconut rice and it was fantastic.

IMG_2628
IMG_2628

The very next night, JP asked for roasted broccoli again. So I made it but this time tried it with salmon. We get great boneless salmon steaks from Horizon Foods and I usually broil them and often for too long, resulting in somewhat dry salmon. This time, in following the recipe, the broccoli roasted first for 10 minutes at 425. Then I put the salmon on the hot baking sheet and put it in the oven for five minutes. Perfection. Perfectly perfect salmon, I was so happy. I tried the technique again to make sure it wasn't a fluke but no, it works perfectly. So regardless of the vegetable, here's how salmon goes down at our house:

Preheat oven to 425 with the baking sheet in the oven

Drizzle salmon steaks or fillets with olive oil, brown sugar and dill.

When oven reaches 425, take out tray, put salmon on it, and put back in the oven for 5 minutes.

Serve.

Die.

Pulled Pork: A Novel

My seester Nini has turned me on to slow-cooking in general and pulled pork in particular. I mean, to quote the Contessa, how easy is this: one pork butt, sauce of your choice, cover, leave for 8 hours, come back to indescribable yumminess.

I still don't have a slow cooker. After this grandiose kitchen renovation and the Wolf Stove of my dreams (yes, I love you darling, you complete me) I feel guilty getting a slow-cooker (no, no, Wolfie, not yet, I promise). I'm sure the slow cooker is much more energy efficient BUT ANYWAY, back to the novel...

JP took the kids skiing the other day, and pork butt (can anyone write that with a straight face?) was on sale at Hannaford's. I picked one up, in keeping with this horrible cold weather and snow and all the comfort food I've been making to conquer it. Pulled pork seemed the perfect thing for après-ski

I Googled around for conventional oven techniques and sauce, mixed and matched a little, and came up with this:

Pulled Pork à la Wolfie

  • 1 onion, diced
  • 1/2 C ketchup
  • 1/3 C cider vinegar
  • 1/4 C brown sugar
  • 1/4 C tomato paste
  • 2 Tbsp paprika
  • 2 Tbsp worcestershire sauce (my favorite condiment to say)
  • 1 Tbsp yellow mustard
  • Salt and pepper

Preheat oven to 325. Throw pork butt into Le Creuset dutch oven (Wolfie is my man but Madame Le Creuset is my bitch). Mix all ingredients, slather all over butt (the pork, not yours). Cover, put into oven. Go away for at least 3 hours and soon the house will become permeated with the most awesome, tangy, barbecue-y smell in creation. My son came in the door after skiing and said "Mommy, I want to eat the AIR!"

Ideally a longer, slower cooking time for pulled pork is best because you essentially want the meat to fall off the bone and you should be able to shred it with two plastic forks. 3 hours at 325 was totally adequate. I needed regular forks to shred it but it tasted awesome. But after you take it out and get rid of the bone, spoon as much fat as you can off the sauce, and cut the real fatty bits off the meat before you shred it. Then mix it all back in with the sauce and let it sit back in the cooker or on the stovetop for about 10 minutes. I added a splash of apple cider for no reason, it just seemed like a good idea.

I'm sure everyone has their own idea of fixin's for pulled pork. I like to serve it with potato rolls, cole slaw and sweet potato fries. I also like a few bread-and-butter pickles on my sammich. And beer of course is great with this meal, although a Dr. Pepper would be a treat as well. I'm quite partial to Dr. Pepper.

167826_1805914833403_1405877792_2060212_3751258_n

Good Luck Salad

I couldn't think of anything for dinner tonight. I felt like I had to come up with something spectacular for the sake of the blog, but since this is a blog about real life, then those nights when I can't think of damn thing for dinner get included. Even take-out will be included. So there.

By the way, when do you decide what to make? Sometimes I have an idea in my head all day. Sometimes I don't get inspired until 5:00. Other times, like tonight, I got nothing. In which case there is nothing to do but surrender gracefully:

No shame in frozen pizza. And by the way, have you tried Trader Joe's Tarte d'Alsace? Actually, correction, it's not a Trader Joe's branded product, but they sell it there. It's made by Maitre Pierre but it is delicious—flatbread with gruyere cheese, ham and caramelized onions. Pandagirl will eat a whole one herself. So will I.

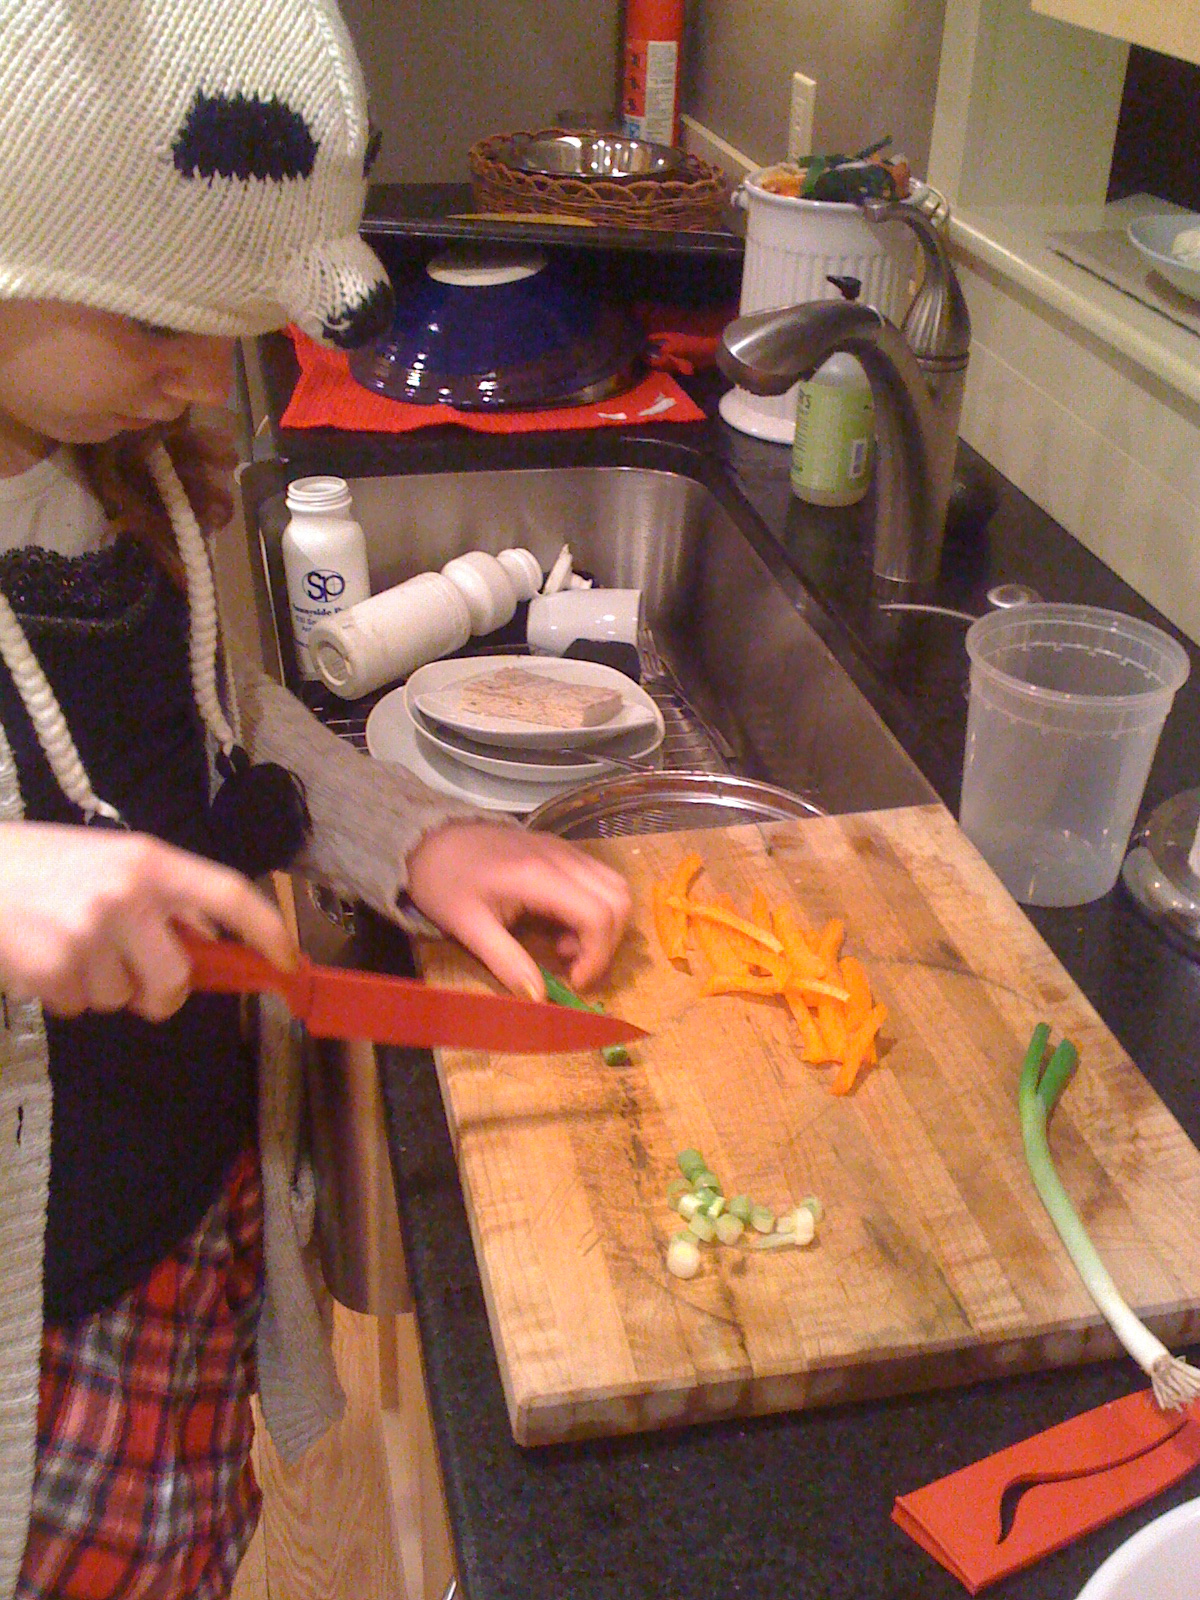
And speaking of Panda, she came up with the idea of making Good Luck Salad tonight, so we will be joined by my lovely sous-chef.  In her lovely panda hat.

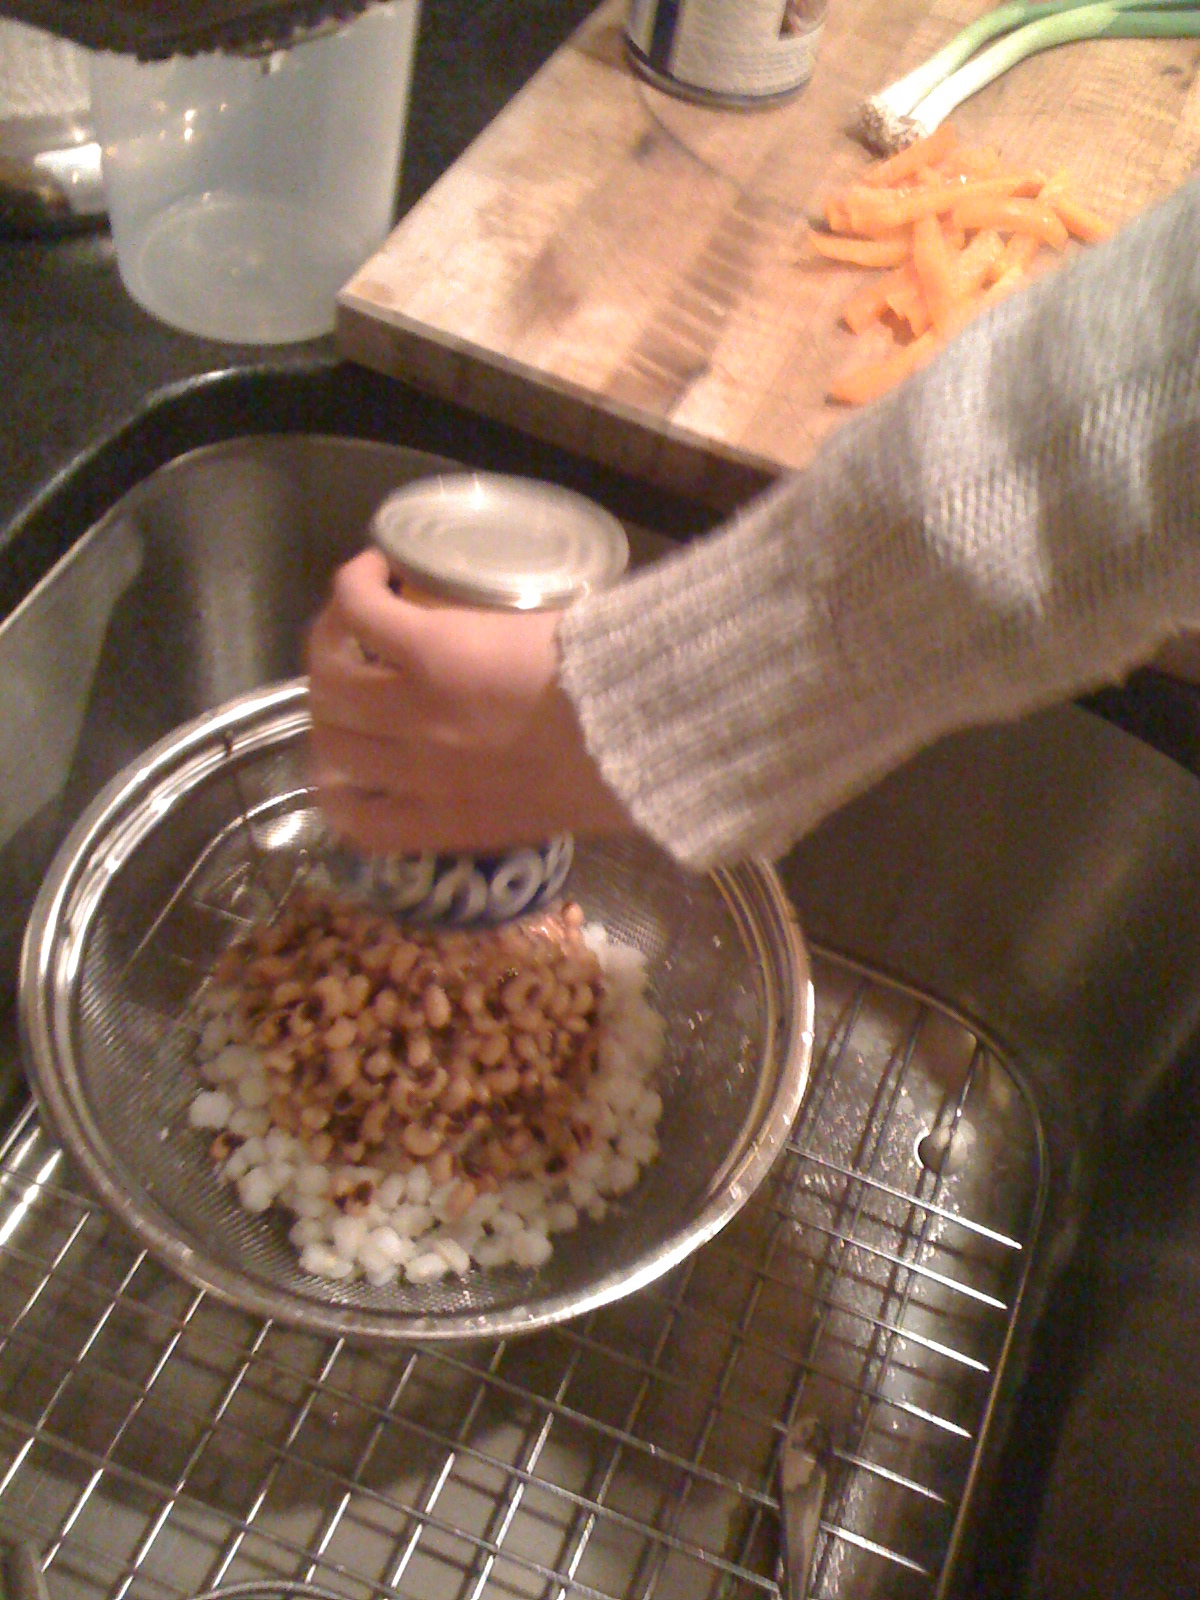
My delicious friend Claudia taught me about Good Luck Salad, which is traditional New Year's fare in the south. We're pretty addicted to it up North here and eat it at any given opportunity, which is why my pantry is always stocked with black-eyed peas and hominy.

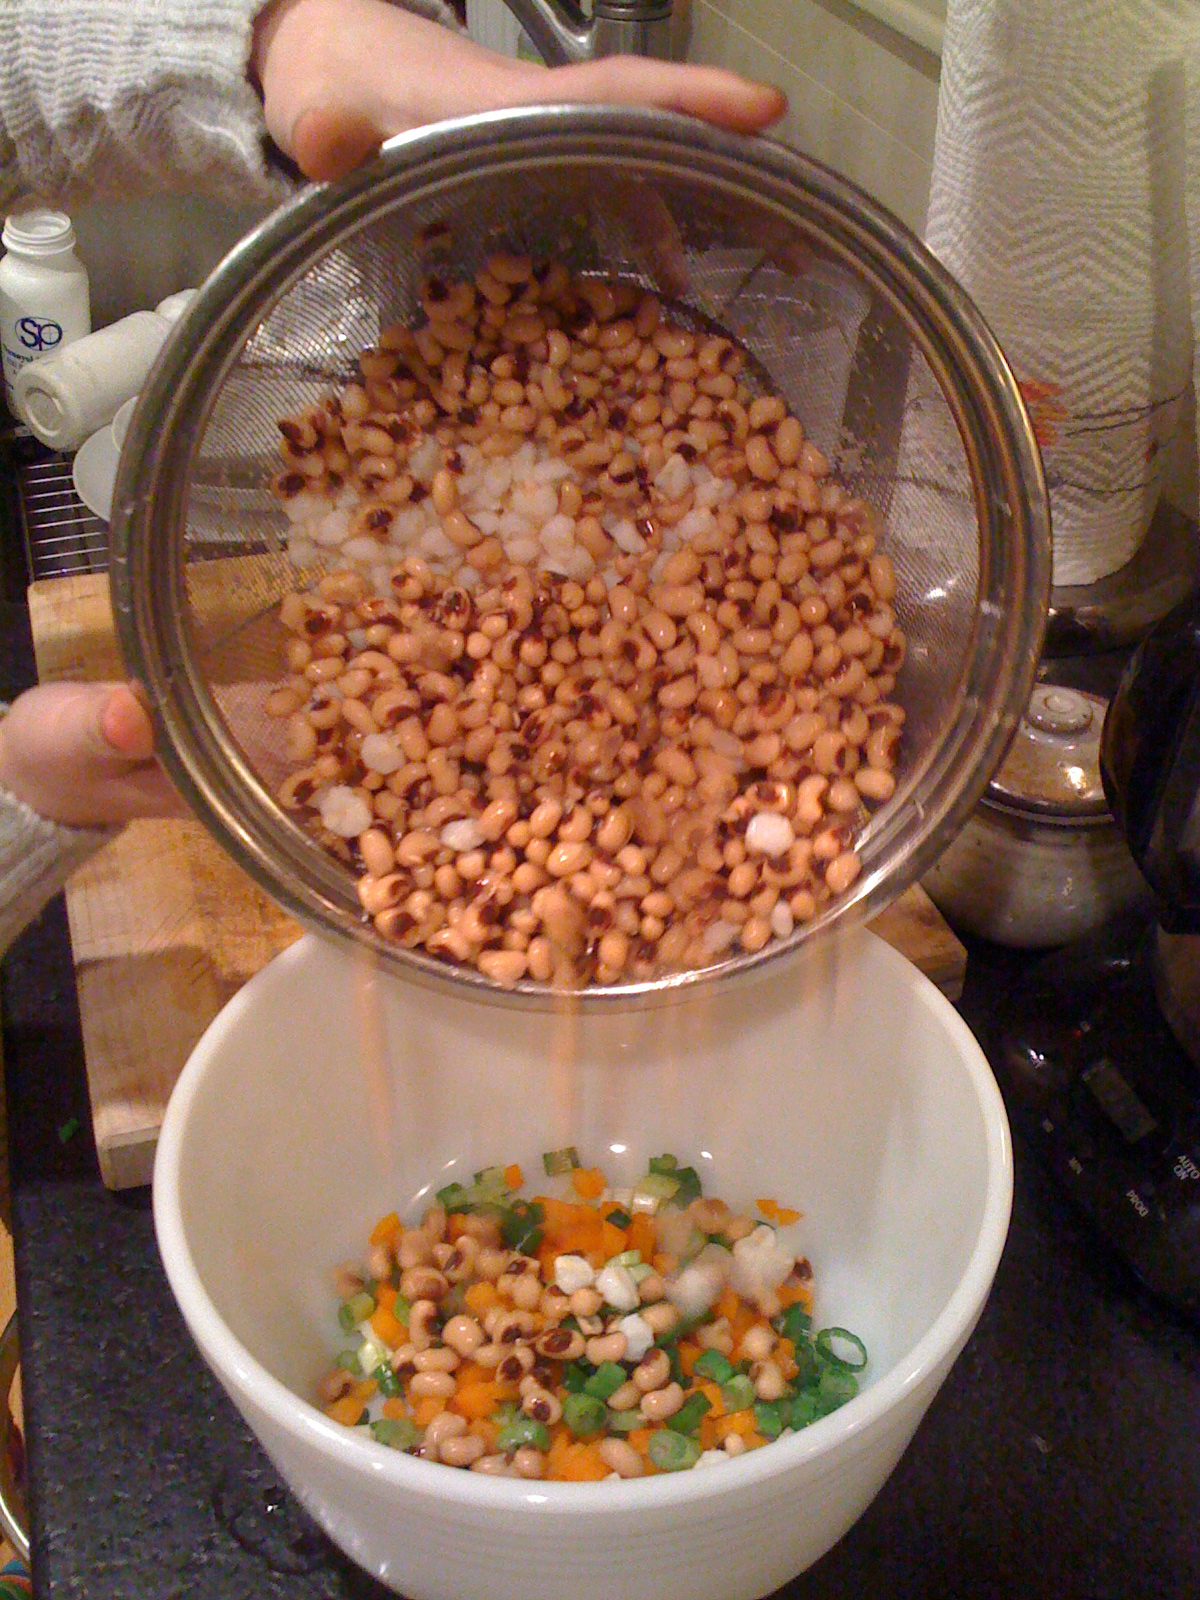
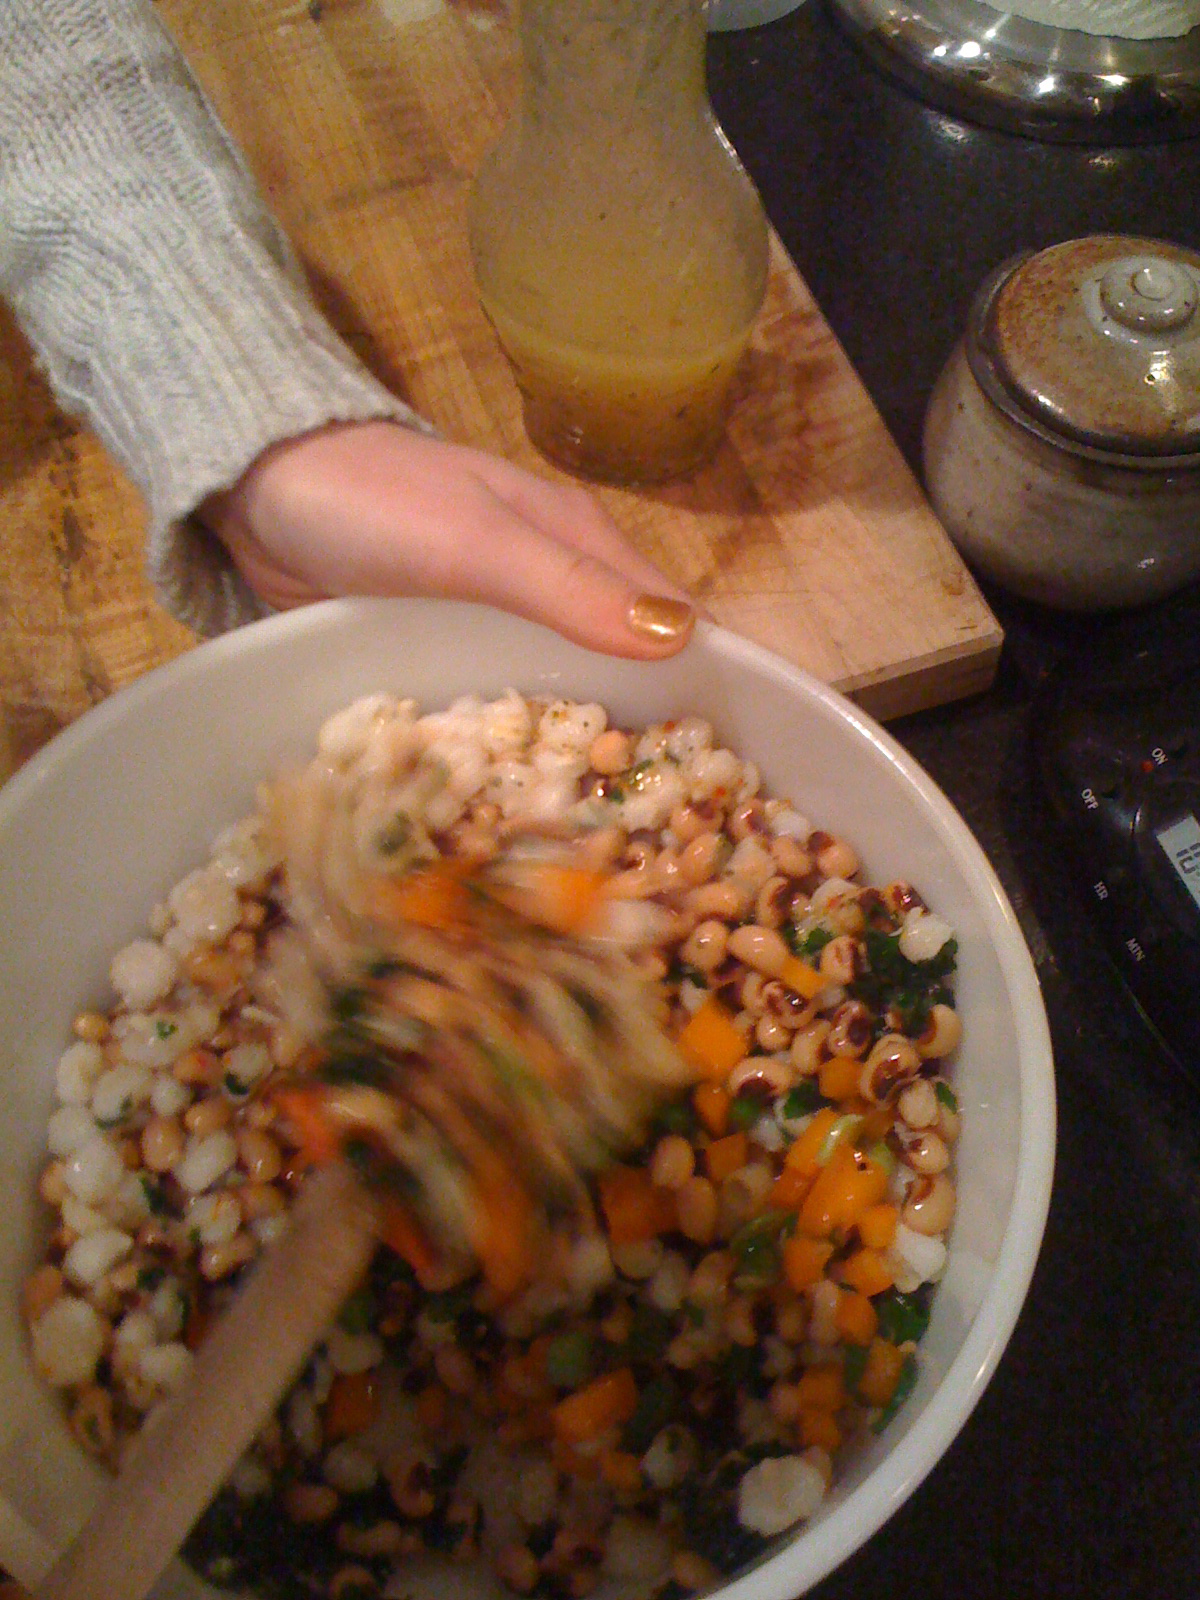
Good Luck Salad

Mix all. Serve. Die.

And voila, an excellent accompaniment to your frozen pizza on a night such as tonight, and a perfect dish for your aspiring young cook to put together. 

My mother did this to me...

....Which in the realm of the kitchen, is not a bad thing. There are some things which my kitchen will never lack: Knorr's chicken bouillon cubes because they save your ass in so many ways. Coconut milk because it is essential to my favorite soup and to coconut rice. Beans, because as Laurie Colwin said, a house without canned beans is a house that is not stocked for emergency. And fresh bread crumbs.

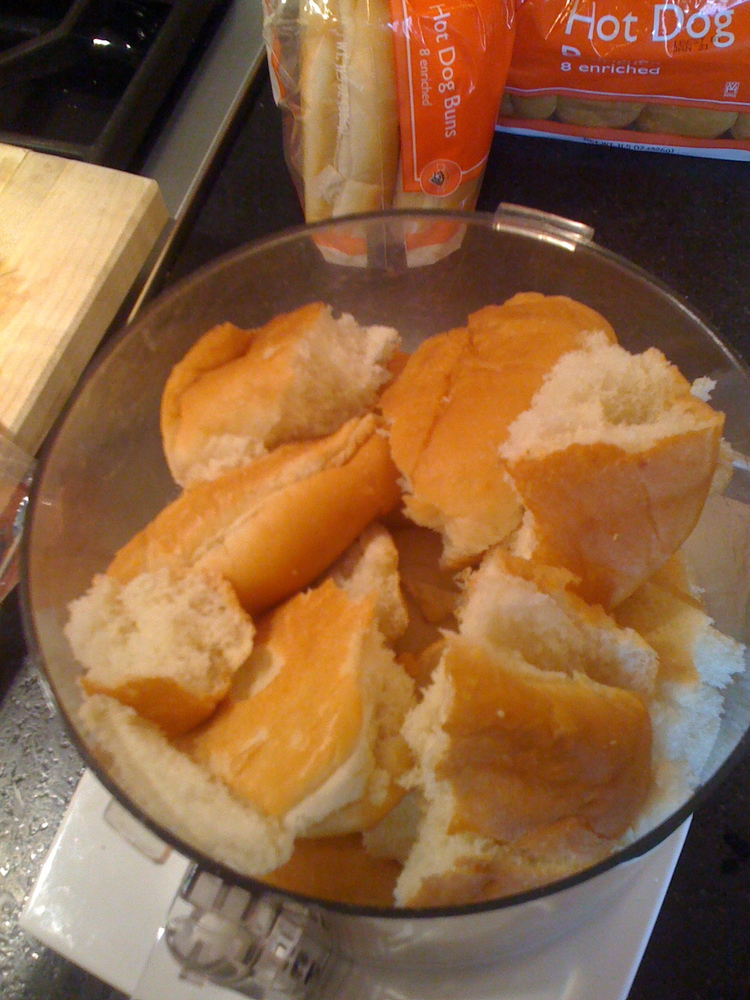
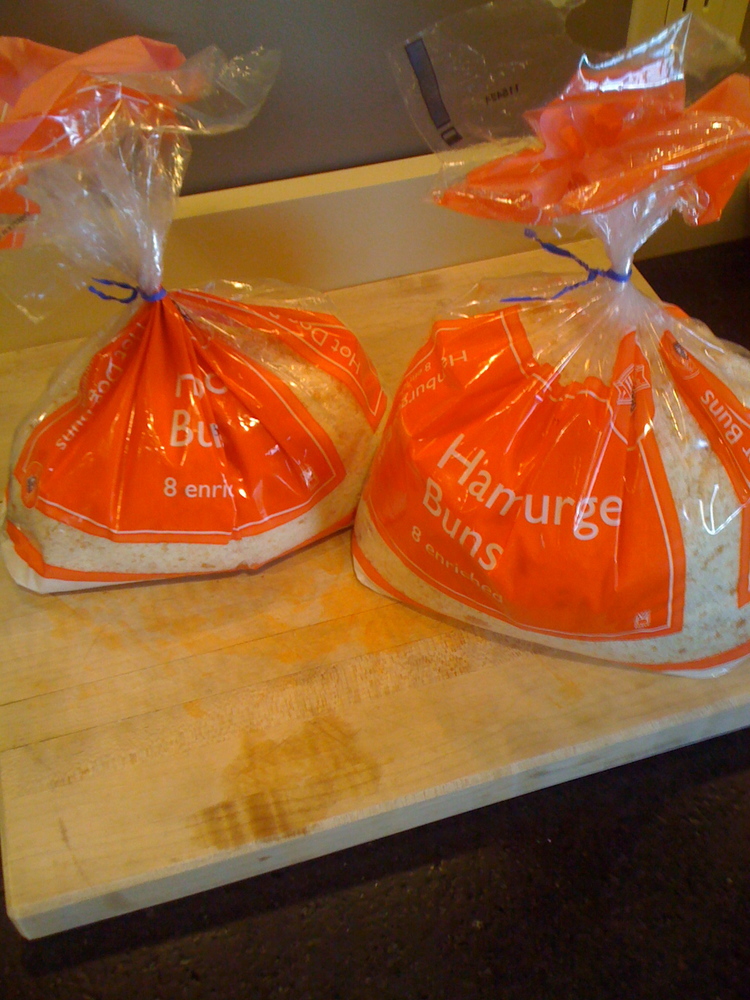
Yes, fresh bread crumbs. My mother did this to me. She taught me to make meatloaf and meatballs and breaded this-or-that and indoctrinated me into the importance of fresh bread crumbs. Therefore, once or twice a year, you will see me arrive home from the grocery store with what looks like provisions for a barbecue:

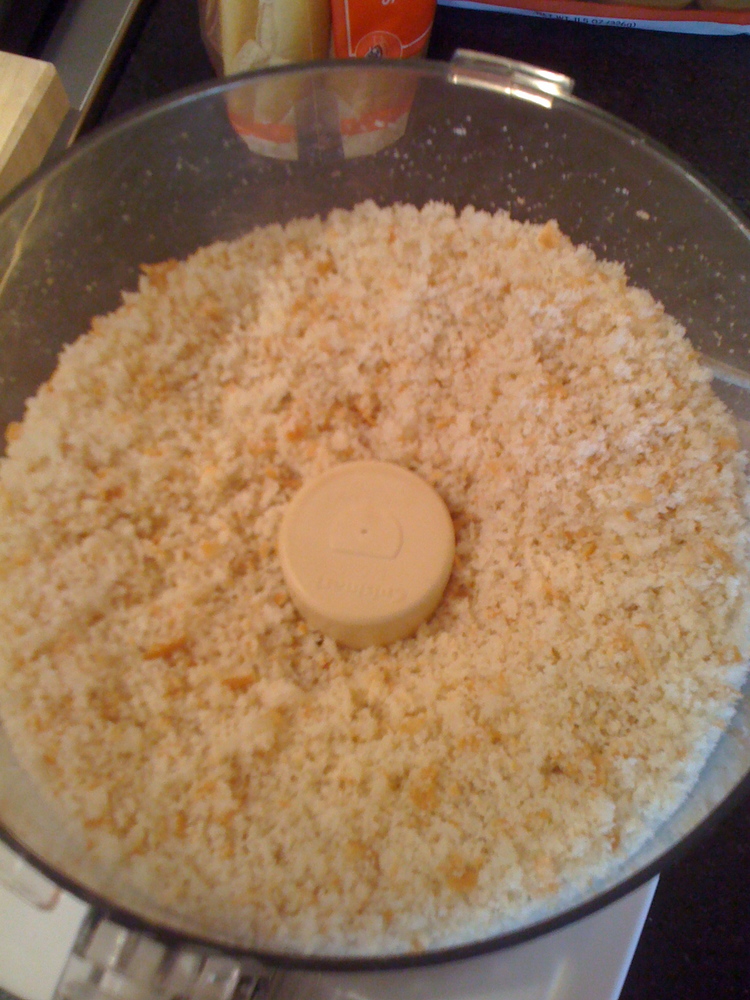
Just regular old hot dog and hamburger buns.  El cheapo.  On sale is ideal.  Into the food processor they go, and after being crumbified, right back into the bags and into the freezer.

Since this is a blog and since this is real life, I timed the entire operation as well as taking pictures. It takes eleven (11) minutes from opening the bags to putting the Cuisinart pieces into the dishwasher. Possibly less because you will not be pausing to take pictures.

Want to see what else my mother did to me? Check it out:

Know what that is? No, it's not pot, ha ha, very cute. That is fresh chopped parsley. My mother taught me to buy bunches of it, wash it, dry it, de-stem it, whirl it up in the Cuisinart, bag it and freeze it. And now, damn it, I can't be without it. I am a parsley whore. I put it in everything. The process takes much longer (it's the de-steming part, you could go crazy) but to me it's just one of those things that's worth it. Mom also taught me to chop and freeze dill but I abandoned that practice after a few years and decided dried dill was good enough for me. But scallions, surprise, freeze really well. Chop them up, throw them in a bag and next time you're making Mexican food or Black Bean Soup or anything else where you think, Damn I wish I had some scallions... You do! Grab the bag and throw them right in. Bam. You're a genius.

(Did I say parsley whore?  Really?)

Ricotta Cheese: How easy was that?

Ina Garten, I love thee. I kiss your bare feet. Maybe not. Anyway I heard you on the radio last month (for Leonard Lopate's interview on WNYC click here) talking about your new book Barefoot Contessa: How Easy Is That? And you started talking about homemade ricotta cheese. Leonard sniffed at the idea, wondering if it were too much trouble, and you gave him a gracious smackdown, distilling the process into three stupidly simple steps. You mentioned you had taught Nora Ephron (I love thee, Nora, I miss you so so much) how to do it and she called you later and said she'd made ricotta cheese four times in one week. I was sold. I had to try this.

Ina Garten's Homemade Ricotta Cheese

  • 4 cups whole milk
  • 2 cups heavy cream
  • 1 teaspoon kosher salt
  • 3 tablespoons good white wine vinegar (I wasn't sure what she meant by good, I assumed that it should cost more than 99 cents. I bought Star because I like the shape of the bottle. We're not going for refined here, folks)
  • Cheesecloth (you don't eat it but you'll need it on your shopping list, unless you are one of those refined kinds who has cheesecloth to hand in your kitchen.)

Did you know that a quart of milk such as pictured above has exactly 4 cups? And that size of heavy cream has exactly 2 cups? I didn't either. Now we know.

Set a large sieve over a deep bowl. Dampen 2 layers of cheesecloth with water and line the sieve with the cheesecloth.

Pour the milk and cream into a saucepan, stir in the salt. Bring to a full boil over medium heat, stirring occasionally.

Turn off the heat and stir in the vinegar. Allow the mixture to stand for 1 minute until it curdles. It will separate into the thick parts (the curds) and the milky parts (the whey)

Pour the mixture into the cheesecloth-lined sieve and allow it to drain into the bowl at room temperature for 20 to 25 minutes, occasionally discarding the liquid that collects in the bowl (and occasionally jiggling the cheesecloth so you can see that yes, you really really have made cheese!). The longer you let it stand, the thicker the ricotta. Transfer the cheese to a bowl. Taste it immediately because you won't believe how good it is. Use immediately or cover and refrigerate up to 5 days.

So? (Or as my friend Debbie would say, Nu?)

DELICIOUS!!!!

Easy? Totally. Worth it?  Oh yeah. Complaints? Well, in regards to "occasionally discarding the liquid in the bowl", you really do end up pouring a lot of your milk and cream down the sink which seems like such a waste. I'm sure there's something you can do with whey although I'm forever biased by Laura Ingalls Wilder, who tasted the whey in Little House in the Big Woods and didn't like it.

So what do you do with this stunning bit of dairy deliciousness? Ina's idea was to mix the ricotta with herbs and make little bruschettas. So I did just that.  Ina's recipe was to blend in minced scallions, fresh dill and fresh chives.  I only had scallions, dried dill, and chopped parsley so I mixed that up. I toasted my bread, drizzled with olive oil, spread the cheese on......and ate three of them. Myself. Without sharing.

Besides the bruschetta, I have been sneaking spoonfuls of this out of the fridge, my daughter eats it on any available cracker, and tonight we put it in panzarella. Totally totally delicious and yes, stupid easy. Who knows, maybe I'll become one of those refined types who has cheesecloth to hand in my kitchen.

Coconut Rice

Long time ago, in a kitchen far away, Martha Stewart Living had an article about Jamaican jerk chicken, which I'm not a huge fan of. The article also featured Jamaican rice and peas, and that looked very very interesting because it was made with coconut milk. She was going for a sweeter, milder version of the dish to counter the spiciness of the jerk.

We love rice and beans as a side dish at my house, so I tried her version. It was delicious—the coconut milk really made it something special—but a little labor intensive for a weekday (click here for the recipe).

The next time I reached for a bag of Vigo black rice and beans, I decided to apply Martha's twist. Rice and bean mixes usually call for 3 1/4 cups of water. I used a can of lite coconut milk which is right about 2 cups, and then topped off with water. Instead of butter or olive oil, I used coconut oil. A huge success and now I make packaged rice and beans no other way.

One night as I was making this, our Horizon Meat delivery man Tony showed up at the door. It was cold and it was late and he's a great guy so while he was chatting up Jeeps I put a couple spoonfuls of rice and beans into a ramekin and brought it over to him. His eyes lit up, he took a bite and then his eyes got even bigger.  

"There's coconut milk in here! How do you know to use coconut in rice and beans?"  

I was shocked that he'd picked that up right away and he told us his ex-wife was West Indian. This was the only way he knew rice and beans to taste, he was just shocked that, pardon him, a white girl would know. It was a good laugh and some nice validation.

I'll use coconut milk to make plain rice as well. After a lot of trial and error, I find that it's best to use more liquid than you typically would when making regular rice, more of a 3 parts liquid/1 part rice ratio. I also add a tablespoon of coconut oil because it's just so damn good. The rice will be very creamy, almost sticky. If you wish, grate in some lime zest before serving.

If you have leftover coconut rice, or any kind of rice for that matter, try mixing it with an egg and some chopped scallions, parsley or cilantro. Form into patties and fry in olive oil until golden on both sides.   Quick and delicious with a salad or soup.